Re: Learning to lathe
Another day with the lathe. Another day wasted.
Today I wanted to try for a couple of things: 1) Do my first internal threading; 2) Use my new Tripan boring tool holder that works with collets; 3) Use my four-jaw adjustable chuck and adjust it properly; and 4) Practice my drilling and boring.
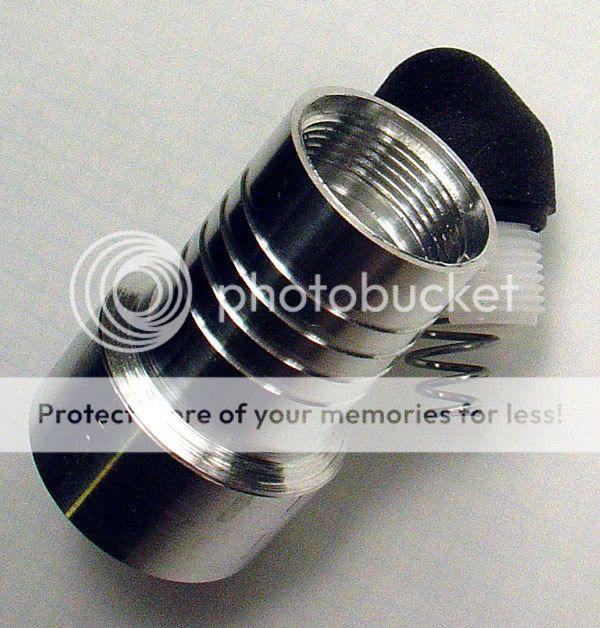
The goal was to fit a Kroll switch into the end of battery tube, so that the Kroll would be flush with the outer surface when screwed in place.
First I set-up the four-jaw with the round bar, roughly 22 mm in diameter to start with. It had been used before for threading practice, so it did have a smooth section near the jaws of the chuck that I could use for indicating.
One the chuck was adjusted and everything was fine, then I brought the stock down to 18.60mm and faced the end.
Next up, drill a hole deep enough to clear the Kroll Switch, including the spring. Then I tried boring that out to my minor diameter for the 5/8-28 threads. Unfortunately, I overdid it just a tad, not enough to ruin the job, but not spec on, either.
Then I bored out a 1.75mm deep recess to accommodate the rubber boot that forms a fairly waterproof seal, if it is seated properly inside the battery tube.
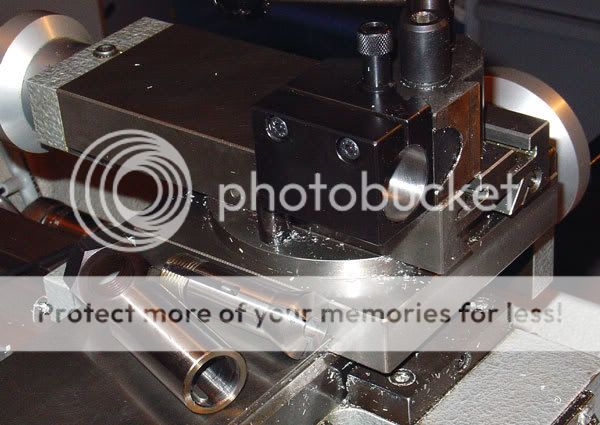
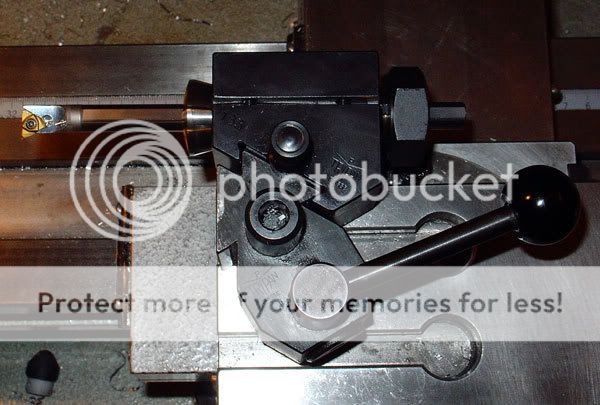
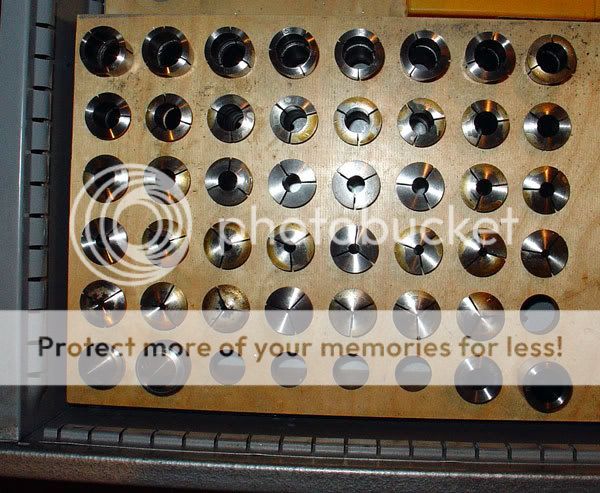
Finally, a chance to use my new tool, a Tripan boring/threading bar holder that has a 27mm bore in it, into which is inserted a stainless steel sleeve that is designed to accept the W20 collets that Schaublin and my Wahli use. This is really sweet because the collet set that I have ranges from .5mm to 20mm, in half-millimeter increments. That means that regardless of the shank size of the boring tool, or threading tool, I will most likely have a collet to fit it.
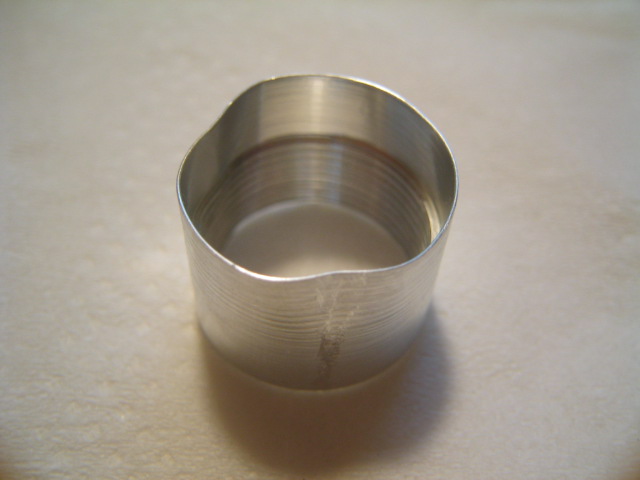
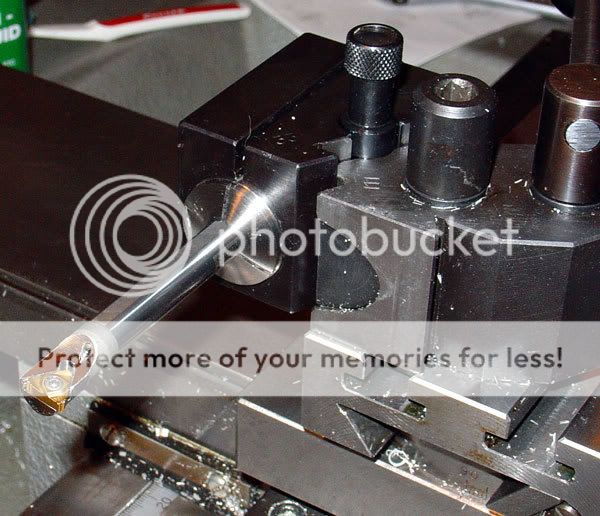
Dug out the threading bar that I planned to use, put it in the right collet and tightened down everything before starting the threads.
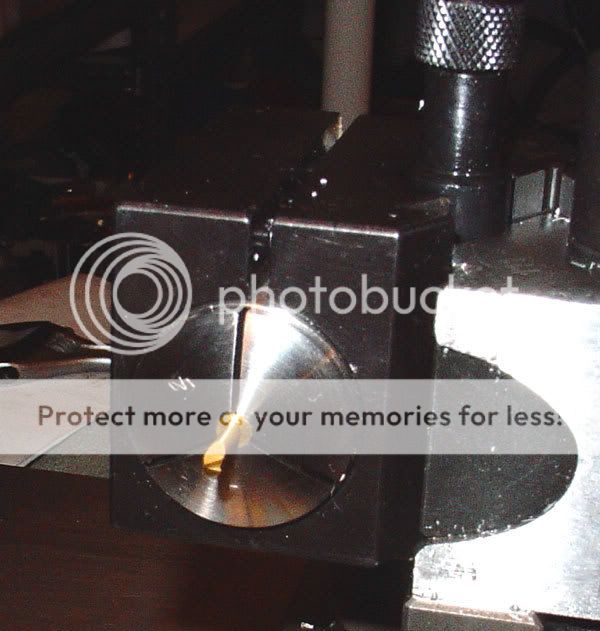
Thanks to Anglepoise's tip on covering the area to be threaded with black ink, it was fairly easy to do the internal threading. And, of course, a Groovy provided the light to peer into the end of the battery tube.
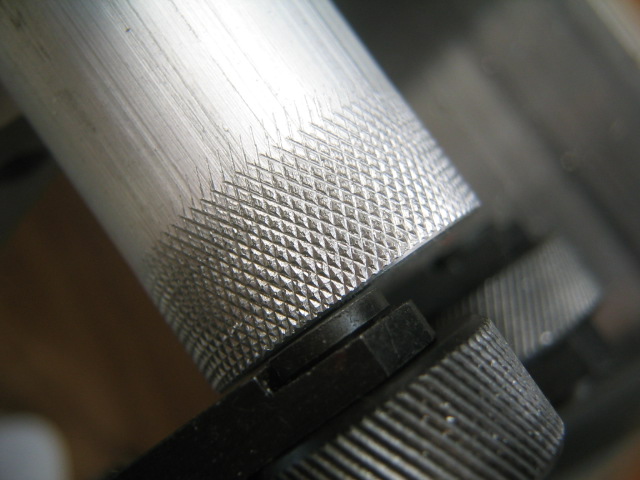
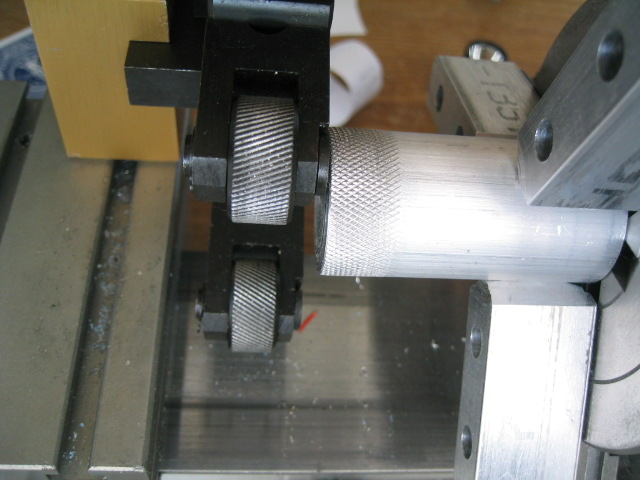
Once the threading was done, decided to throw a few grooves into the battery tube to break up the visual monotony.
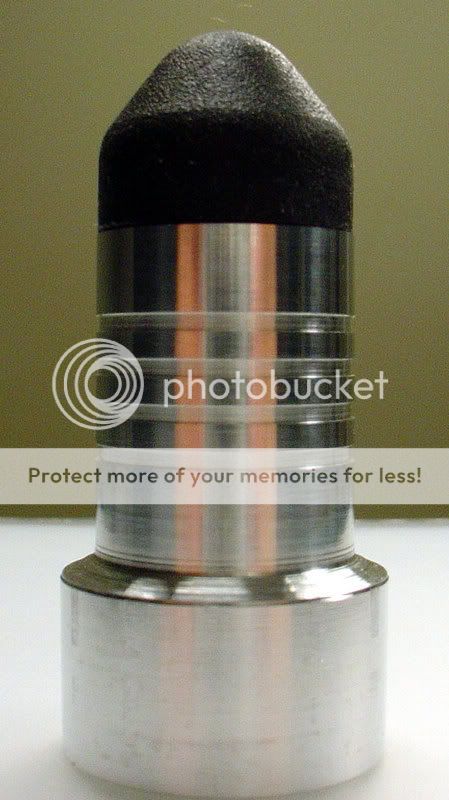
Here's what the piece looked like before inserting the Kroll switch:
And with the switch inserted:
What I didn't do that I need to work on: Bevel the area where the threads start and place a slight bevel on the bore where the rubber boot contacts the battery tube.
Sadly, all this work doesn't even come close to resulting in a usable piece.
Unless someone wants a Desktop Phallic Paperweight.