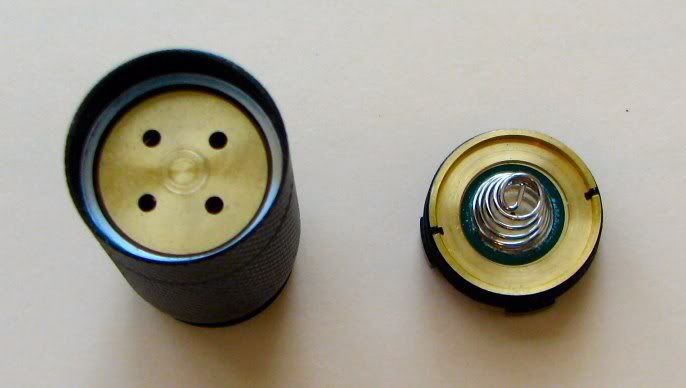
No ,, the way u remove it or tighten it is to remove the switch plate, simply stick a screwdriver in the lanyard hole and unscrew it ,, once off the whole brass tube will slide right out ,, the tube has no threads on it so tightening it like u stated shouldnt matter imo
maybe u actually tightened the switchplate and didnt realize it from the inside, lol
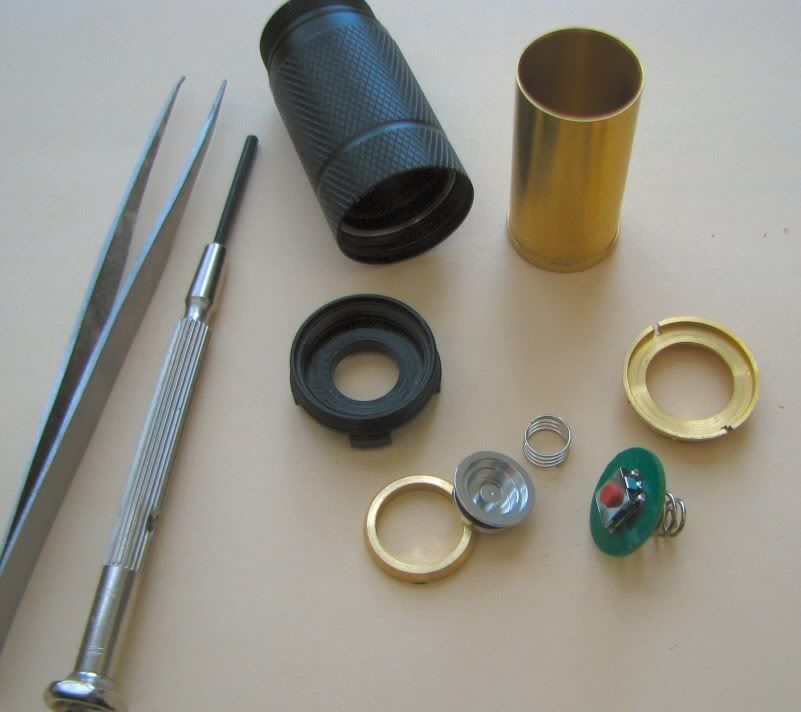
i took my completely apart and will show some pics soon as i get mine back from being pvd coated, since i love this one so much , i have done some modifications ,, like i felt the crenulated bezel was so shallow it was not usefull , so i removed them, an like it even better now , lol and it makes it just a bit smaller for edcing imo,, and i also modified the switch plate a bit to be a hair thinner as well and now sharp edges
hope this helps
madi05

") ).
).