I decided it was best to just buy it and see for myself.
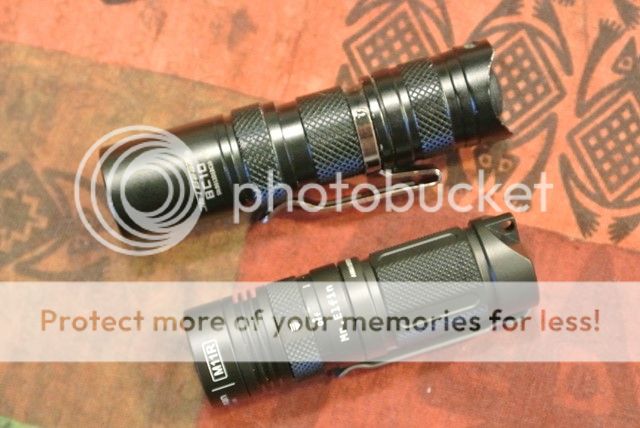
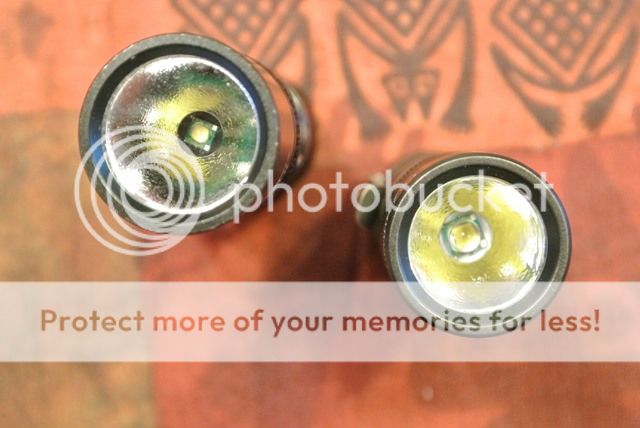
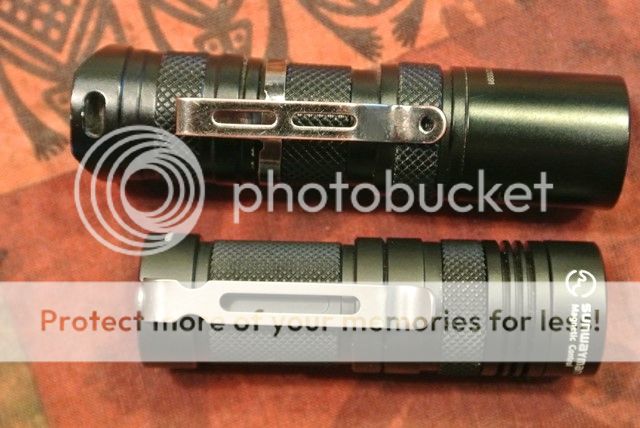
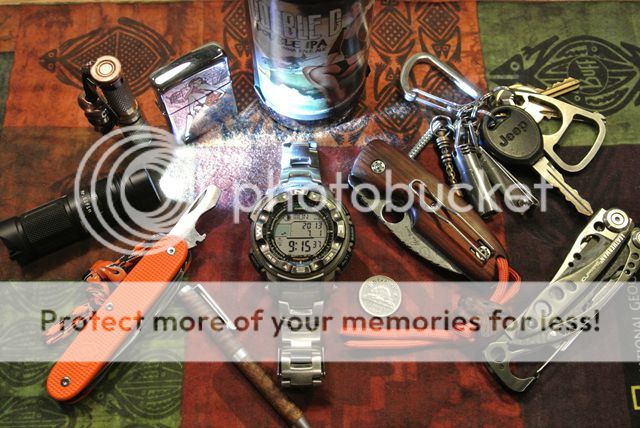
First off here are some pics of the light compared to my wonderful BC10.
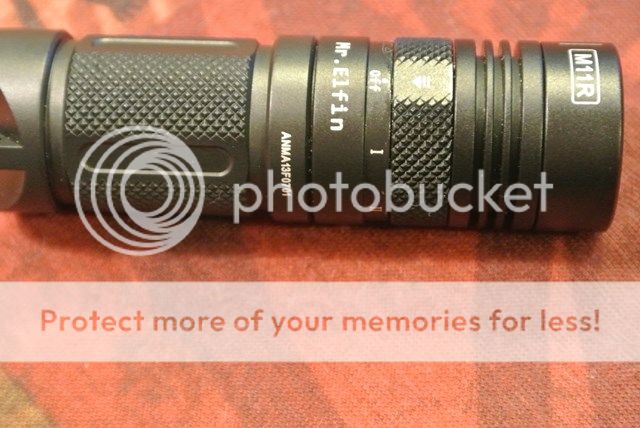
I would rate the control ring on a scale of 1-10, 1 being loose, as a 4. I decided I wanted to try and make it better. So I took apart the control ring. I did a quick Google on how to disassemble the control ring. I found this awesome thread on the V10r (which is essentially the same as the V11r, M10r, and M11r).
http://www.candlepowerforums.com/vb/showthread.php?330939-Sunwayman-V10A-V10R-control-ring-anatomy
After a quick read I went at it.
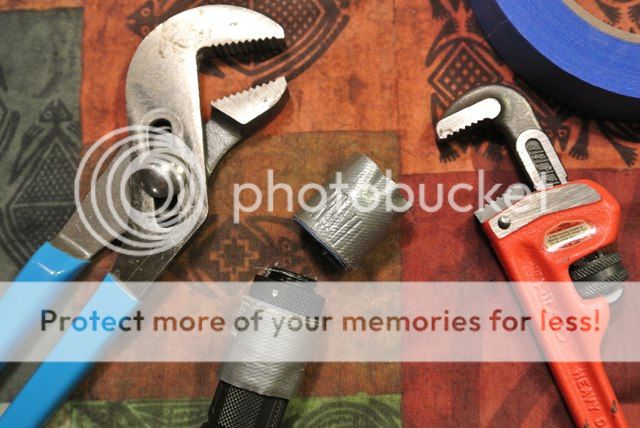
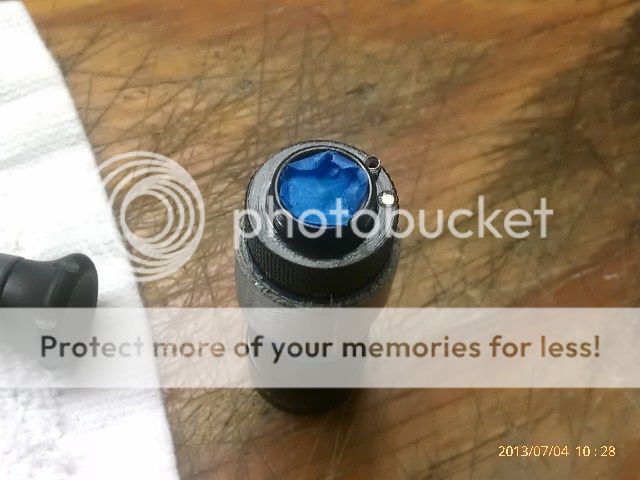
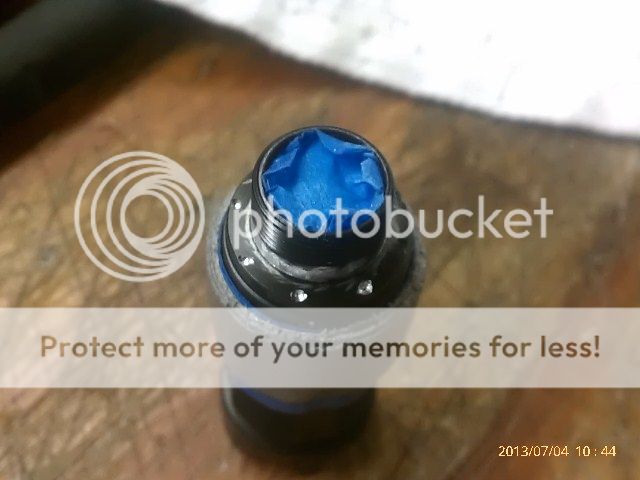
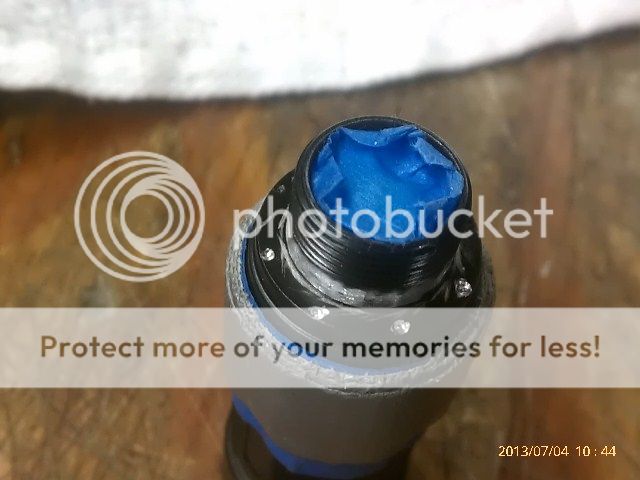
I wrapped the light with blue painters tape first so everything would come off easy. Duct tape can leave a residue.
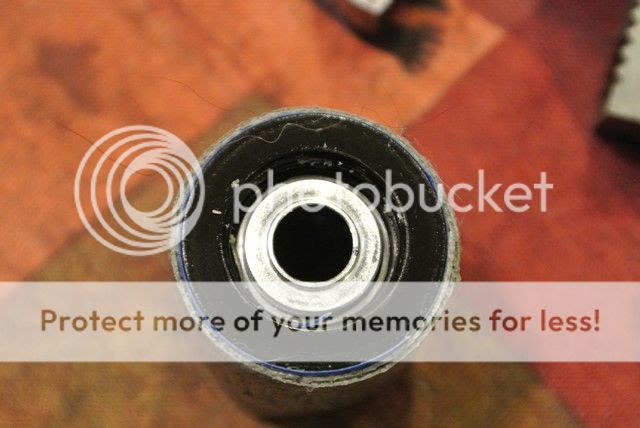
Here is the bottom of the reflector section. There is a loose washer/o-ring so be careful you don't lose it.
It looks like it was held on with blue loc-tite. It certainly wasn't red.
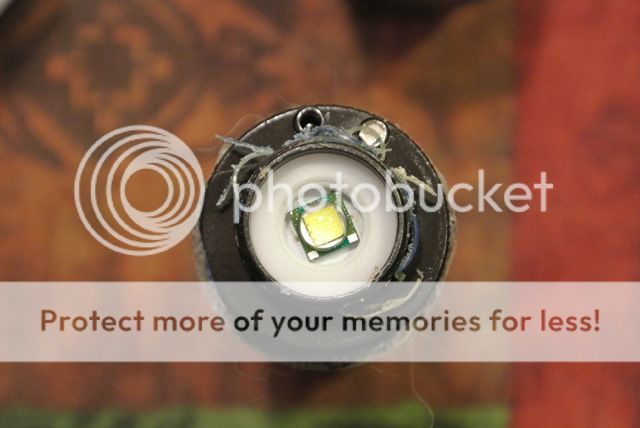
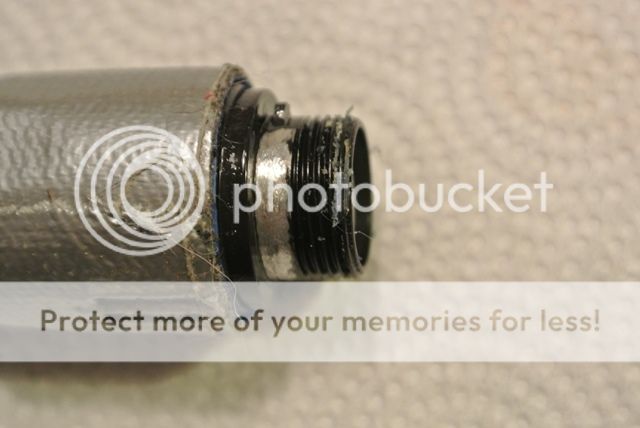
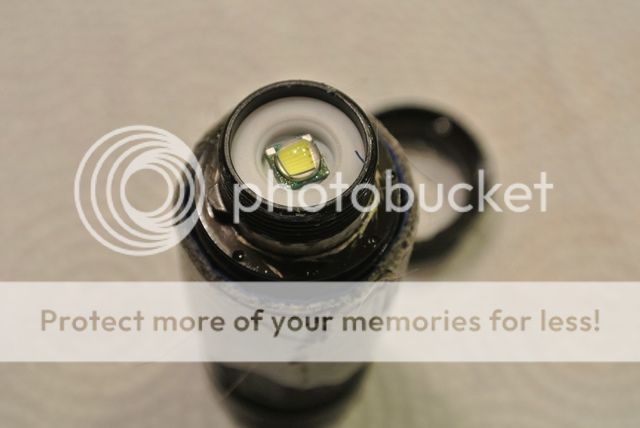
Here is the body of the light with the ring removed. Notice the unfinished aluminum peaking out. Also notice the notch at the top of the shiny aluminum ring. This is the stop for the control ring.
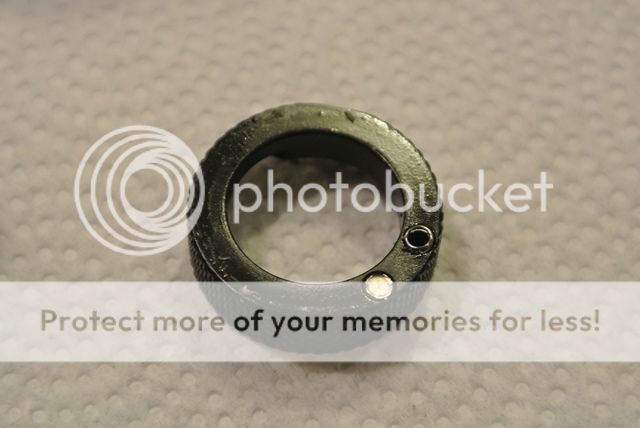
Here is the control ring. The shiny piece at 5 o'clock is the control magnet. The piece at 4 o'clock in the spring. There is a ball detent under the spring. The ball detent is used to set the position of the Low-Med-High (I,II,III).
Here is the underside of the control ring with the ball detent.
Here is a top view of the mating portion of the control ring. You can see the stop at 9 o'clock and you can see the detent holes that the ball will set in.
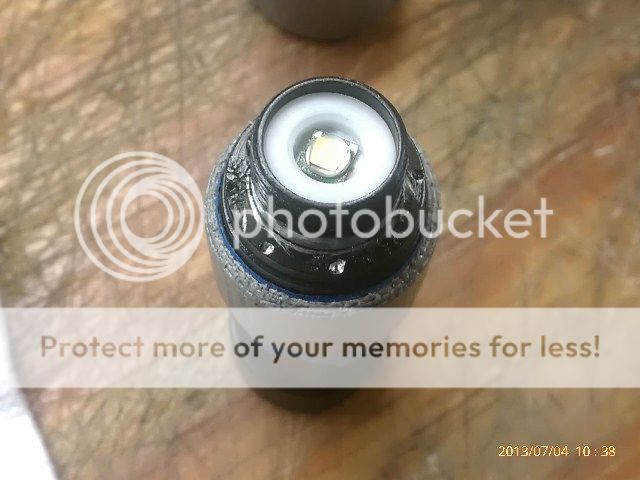
I wiped away the light oil that was under the control ring and replaced it with Green Grease (an automotive super tacky grease). I added a small piece of plastic in the spring hole to add more tension to the ball detent.
After all the mods, on the same 1-10, the ring was a looseness 4. Now I'd rate it at 6. I'd rate the V11r as a looseness 6 too.
If you go this route, MAKE SURE YOU HAVE SEVERAL LAYERS OF DUCT TAPE SO THE PLIERS TEETH DON'T GET TO THE ANODIZED BODY.

 )
)