dom
Enlightened
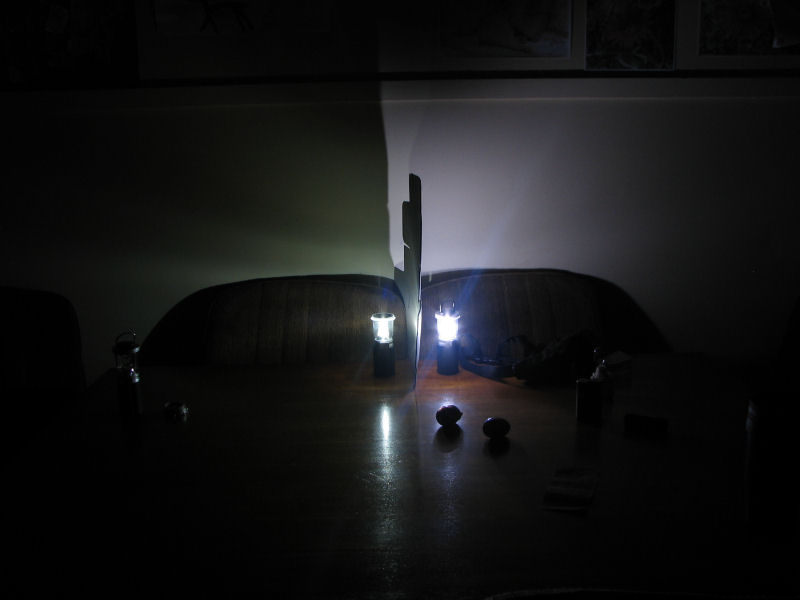
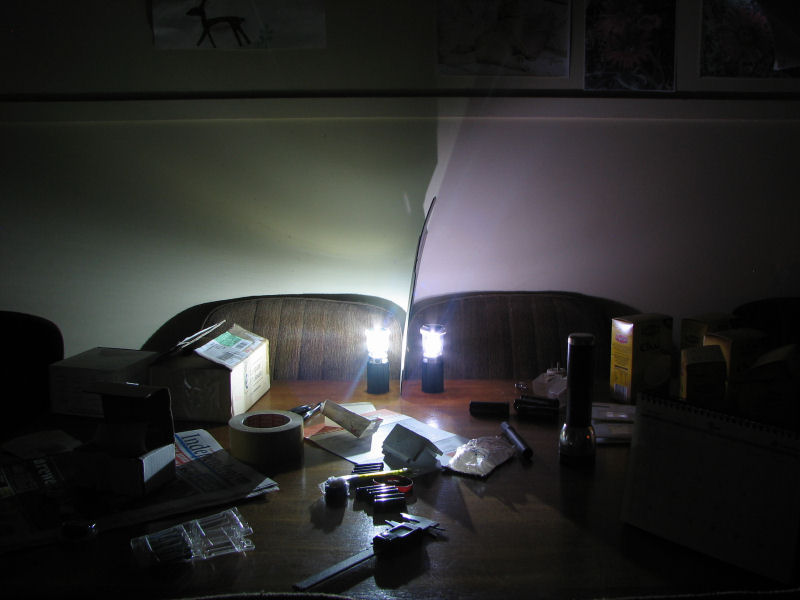
These were from Wits'End 's Groupbuy at the Marketplace
I'll delete the link once his thread is closed.
http://www.cpfmarketplace.com/mp/showthread.php?t=177003
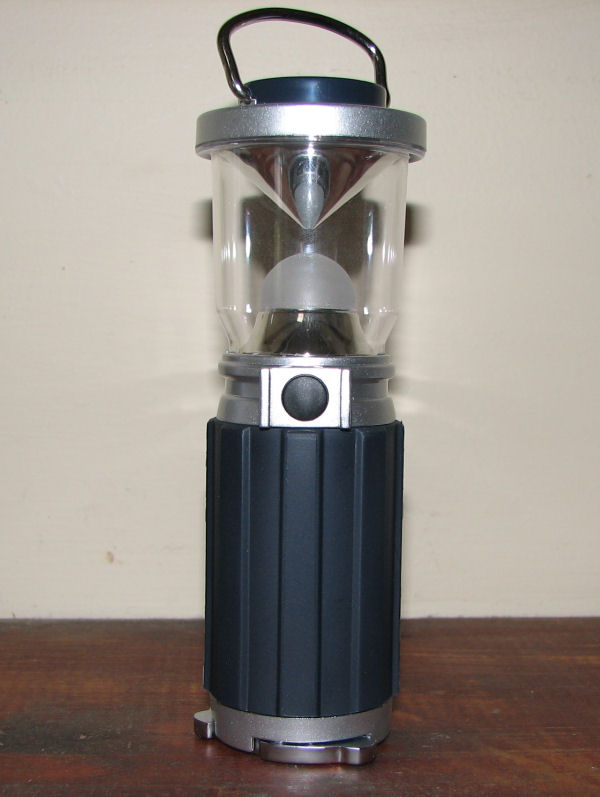
Hi
As a few people have got these lanterns,though i'd do a step by step on how to upgrade the emitter and/or add an optic to improve brightness/beam.
Comments and different/better ways of doing things are welcome.
Mod 1 :- Change the emitter and modify the tailcap so it doesn't chew the batteries.
Component parts
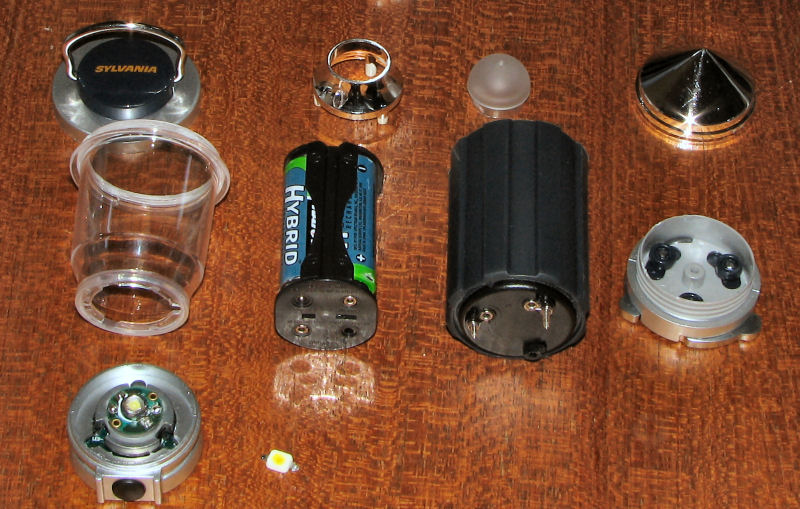
From top left,clockwise.
Cap ,Diffuser holder/reflector ,Diffuser,Top reflector, Tailcap ,Main body ,Battery holder ,Lens(window) ,Driver,switch and Seoul emitter, Osram emitter.
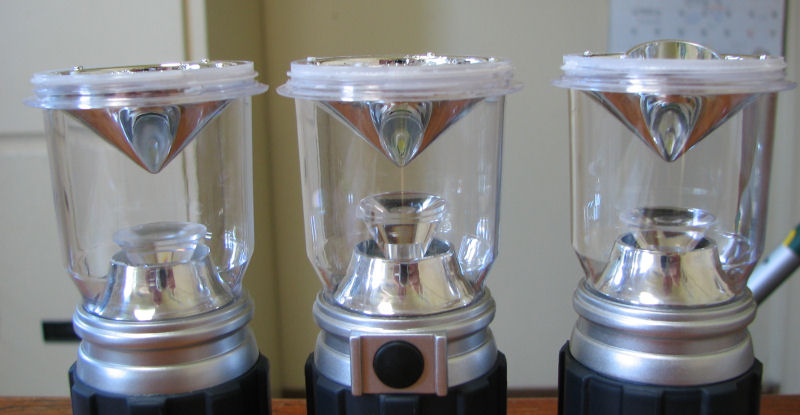
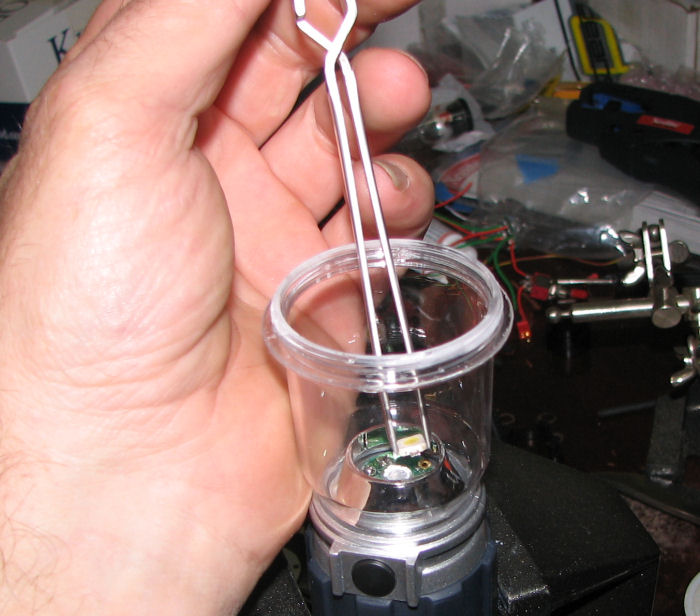
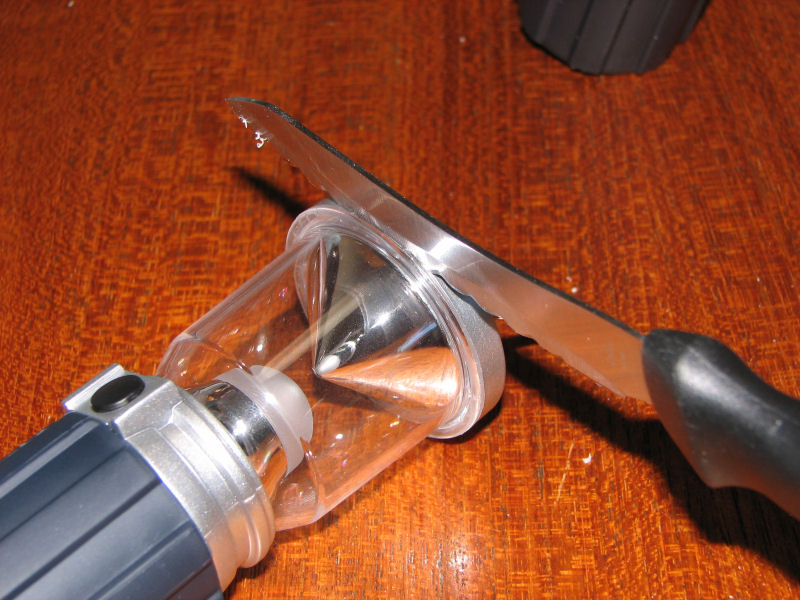
First thing to do is take off the Cap -run a sharp knife in the joint and roll the lantern around.You will hear the glue crack -then you can just twist the Cap off.
Also you may be able to just unscrew it with a little pressure without using a knife first -my wrist was damaged so i couldn't try this before but since it has healed a bit the seal broke fairly easily on my last lantern-thanks Stereodude.
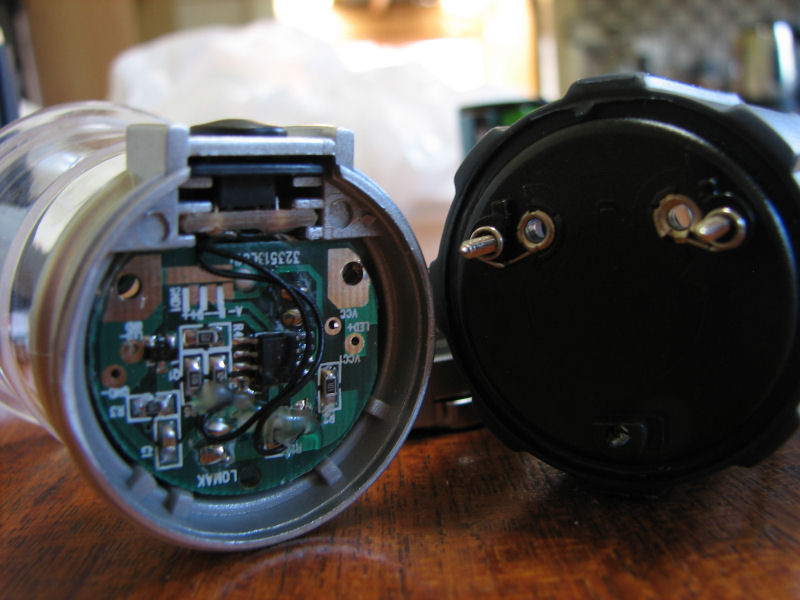
Next is to remove the Main body -take off the Tailcap and use a small phillips head screwdriver on the 3 screws.
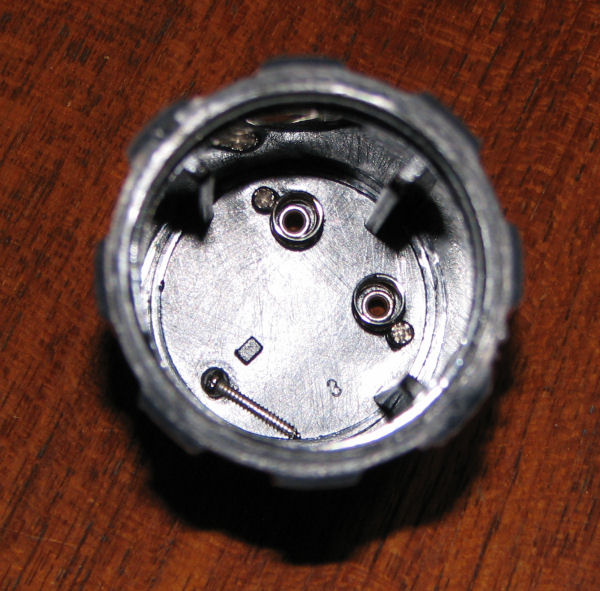
The whole lot will now pull apart.
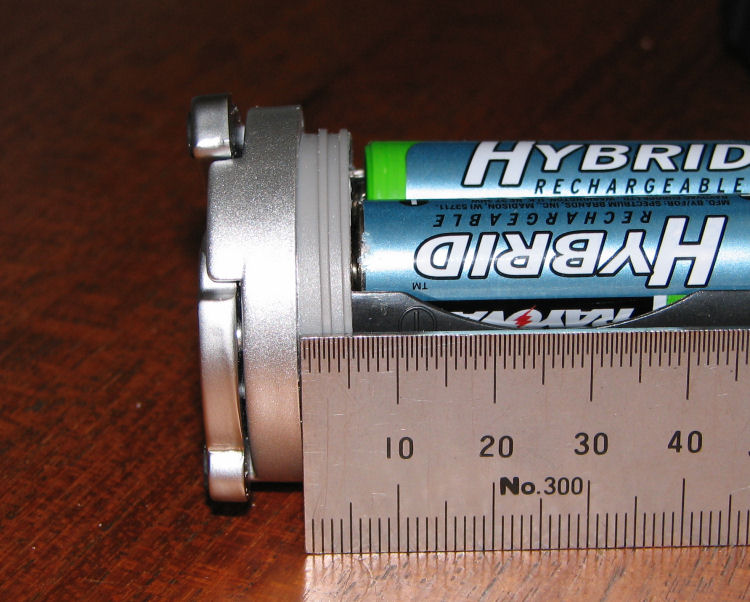
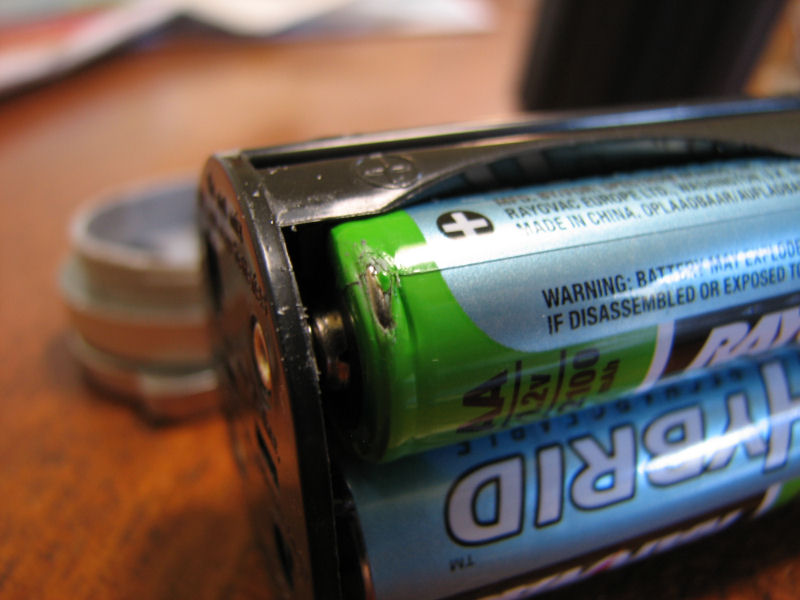
Next is the Tailcap mod. If this isn't done you will most likely have problems like the battery coverings getting chewed or no power -as the edge of the cap will push against the negative side of the batteries in the holder and push it off the contact.
5.5 mm is about the maximum length you want it.
Either use a razor saw or a knife to cut it down to length.
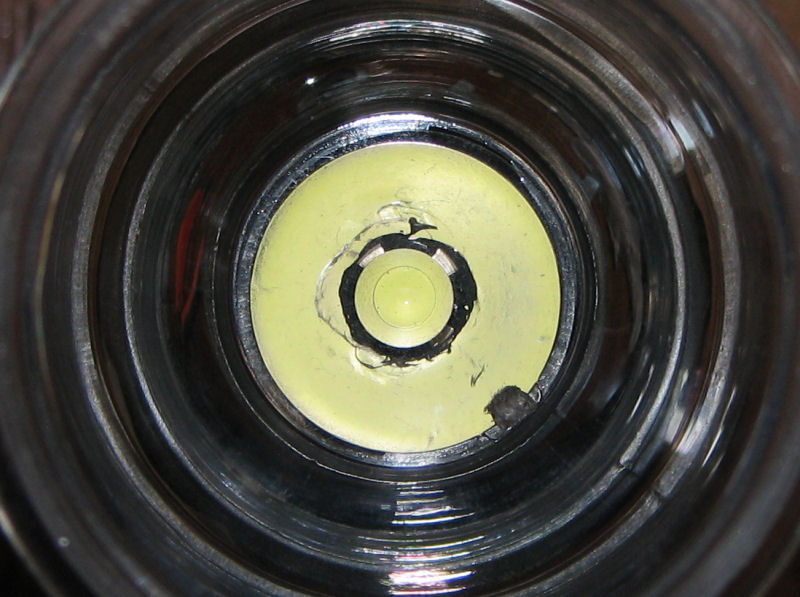
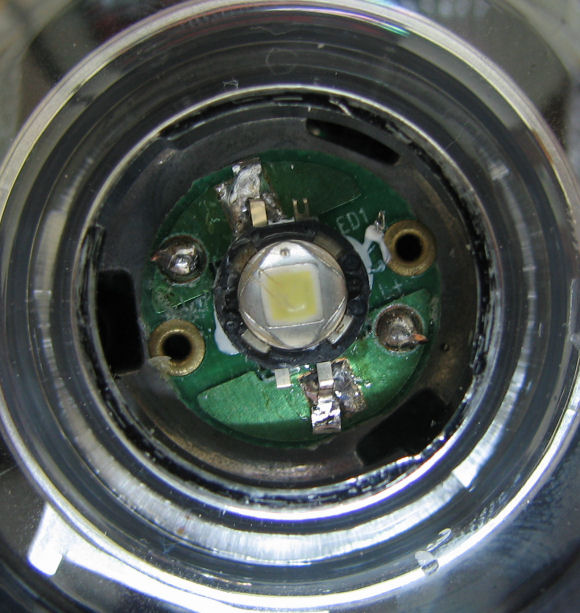
Next is the emitter swap - using either a Cree or Seoul -both can be soldered on without using any wire,just the original solder pads.
Desolder the Osram -use a small screwdriver to help lever it up as you desolder each connection -there is a recess underneath to get the screwdriver in.
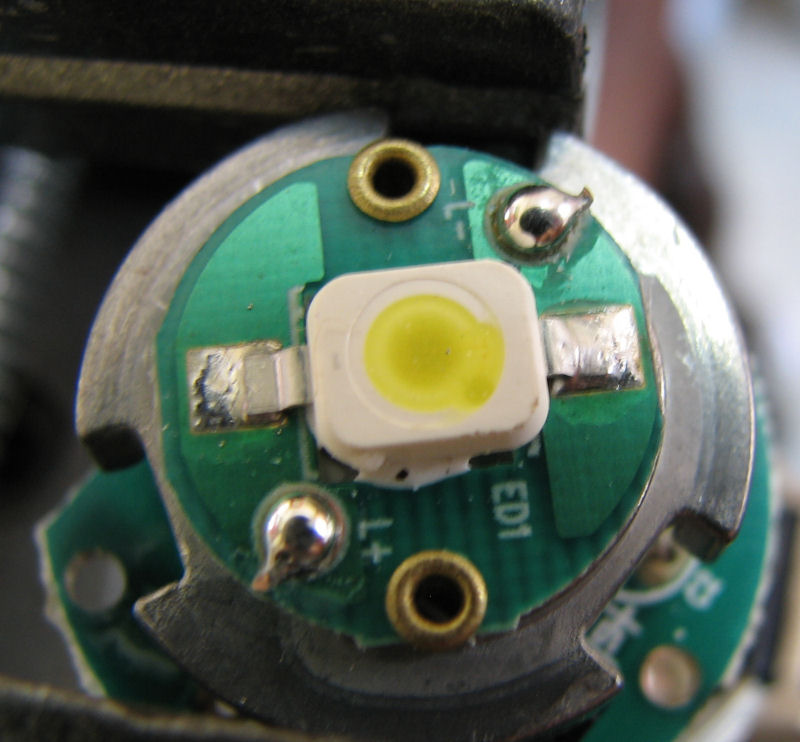
If using a Cree -clean up the solder pads with solder wick so it will sit flat.
Prep your Cree emitter with a little solder on it's +/- pads.
Align + to + (both on the left in the pic.
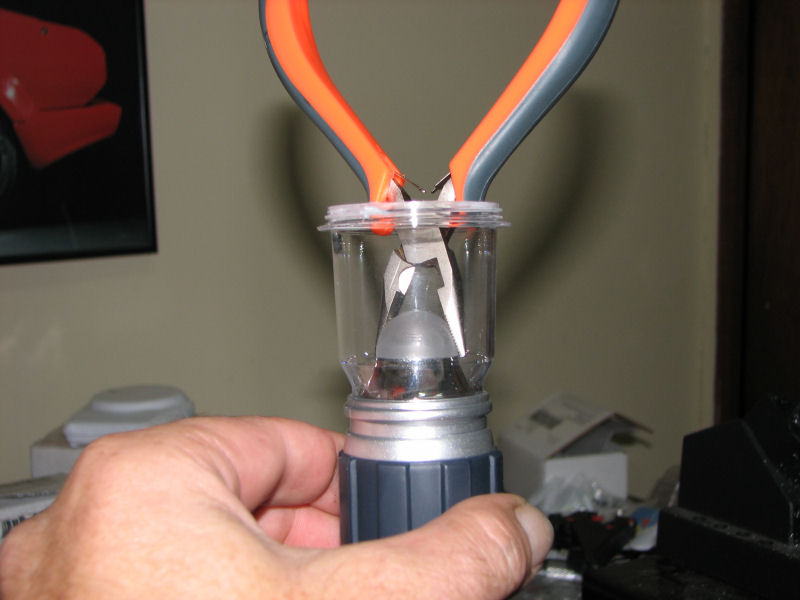
Use either AA,AS or thermal grease and centralize the emitter.If using grease,you'll have to apply downwards force with pliers as you solder to keep the gap to a minimum.

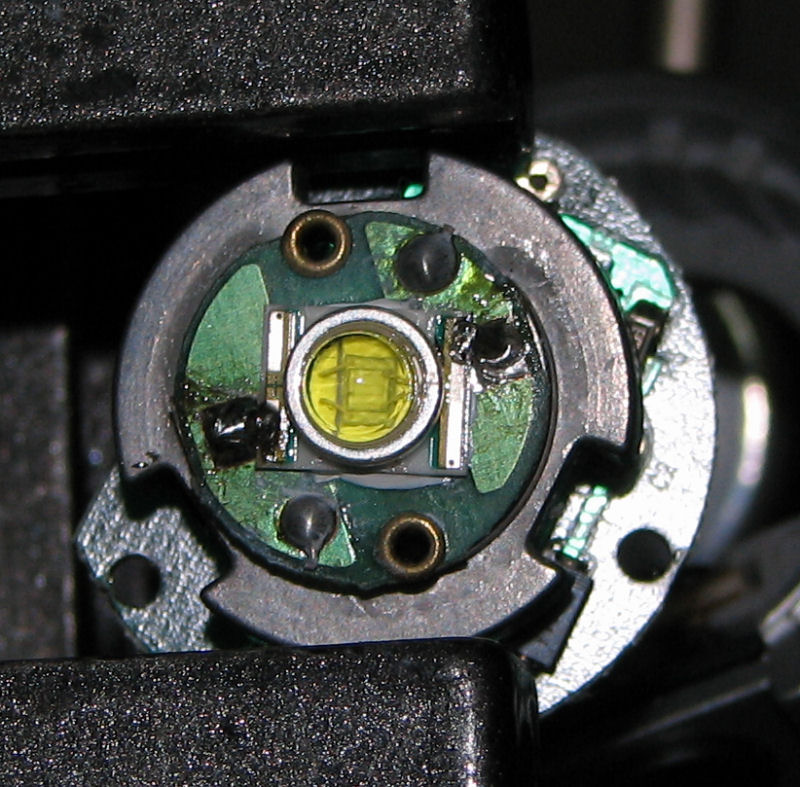
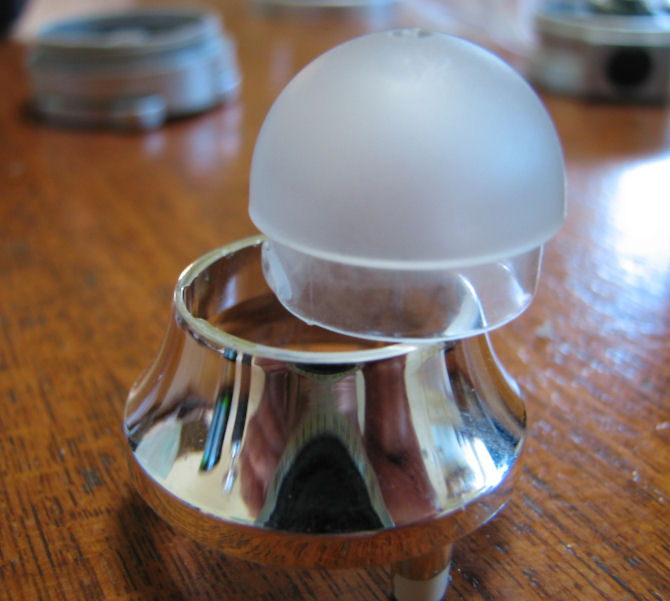
If just using the diffuser again -reassemble after checking that the emitter is working.
Line up the arrows
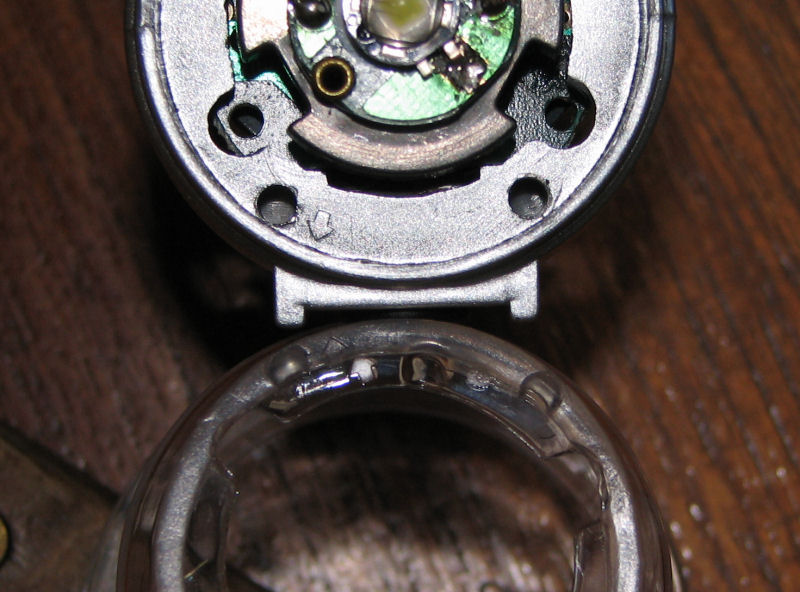
Line up the Main body and top section.
Cheers
Dom
I'll delete the link once his thread is closed.
http://www.cpfmarketplace.com/mp/showthread.php?t=177003

Hi
As a few people have got these lanterns,though i'd do a step by step on how to upgrade the emitter and/or add an optic to improve brightness/beam.
Comments and different/better ways of doing things are welcome.
Mod 1 :- Change the emitter and modify the tailcap so it doesn't chew the batteries.
Component parts

From top left,clockwise.
Cap ,Diffuser holder/reflector ,Diffuser,Top reflector, Tailcap ,Main body ,Battery holder ,Lens(window) ,Driver,switch and Seoul emitter, Osram emitter.
First thing to do is take off the Cap -run a sharp knife in the joint and roll the lantern around.You will hear the glue crack -then you can just twist the Cap off.
Also you may be able to just unscrew it with a little pressure without using a knife first -my wrist was damaged so i couldn't try this before but since it has healed a bit the seal broke fairly easily on my last lantern-thanks Stereodude.

Next is to remove the Main body -take off the Tailcap and use a small phillips head screwdriver on the 3 screws.

The whole lot will now pull apart.
Next is the Tailcap mod. If this isn't done you will most likely have problems like the battery coverings getting chewed or no power -as the edge of the cap will push against the negative side of the batteries in the holder and push it off the contact.
5.5 mm is about the maximum length you want it.
Either use a razor saw or a knife to cut it down to length.


Next is the emitter swap - using either a Cree or Seoul -both can be soldered on without using any wire,just the original solder pads.
Desolder the Osram -use a small screwdriver to help lever it up as you desolder each connection -there is a recess underneath to get the screwdriver in.

If using a Cree -clean up the solder pads with solder wick so it will sit flat.
Prep your Cree emitter with a little solder on it's +/- pads.
Align + to + (both on the left in the pic.
Use either AA,AS or thermal grease and centralize the emitter.If using grease,you'll have to apply downwards force with pliers as you solder to keep the gap to a minimum.


If just using the diffuser again -reassemble after checking that the emitter is working.
Line up the arrows

Line up the Main body and top section.

Cheers
Dom
Last edited:


