
narmattaru
Enlightened
Flashlight was provided for review by manufacturer.
———
I also own BC30, so i`ll compare they here as this pair offer a good choice for those who want to get integrated battery and for those who don`t want. .
Features


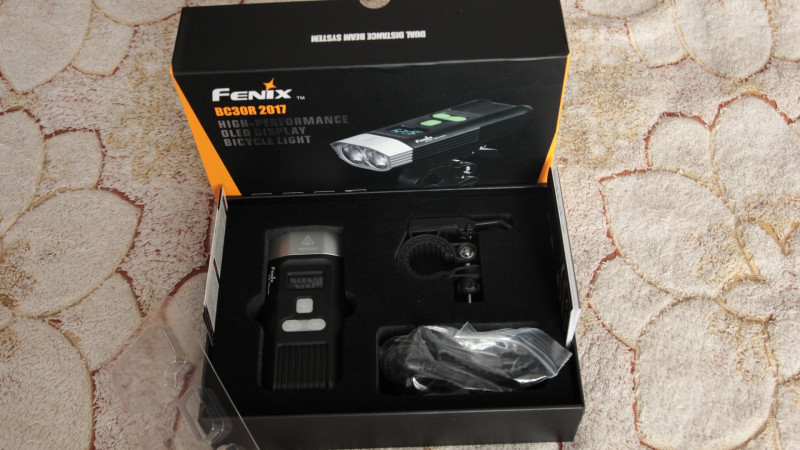
Package includes:
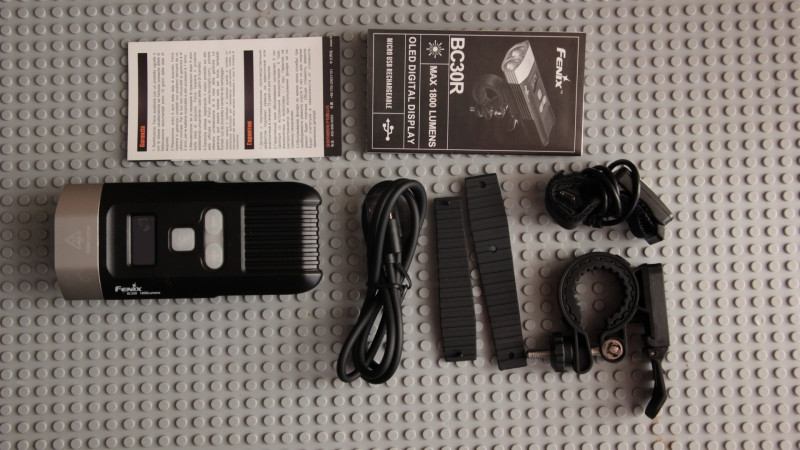
*BC30R itself
*Bike mount
*2 rubber mats to fit different handlebars
*Remote pressure switch
*2 o-rings
*warranty card
*manual
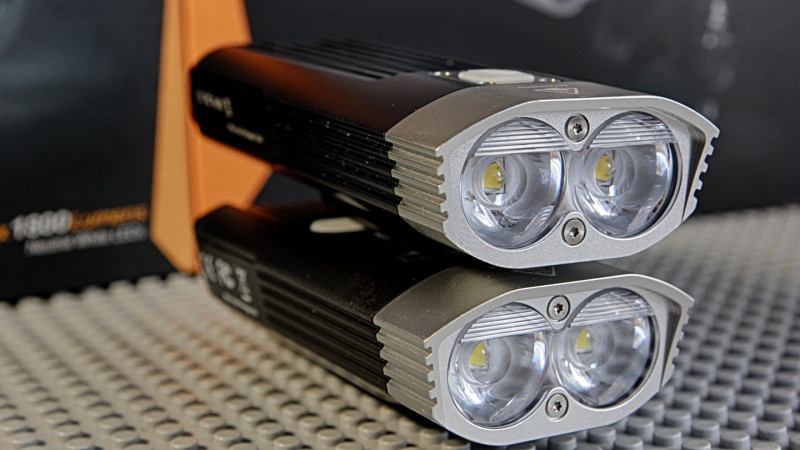
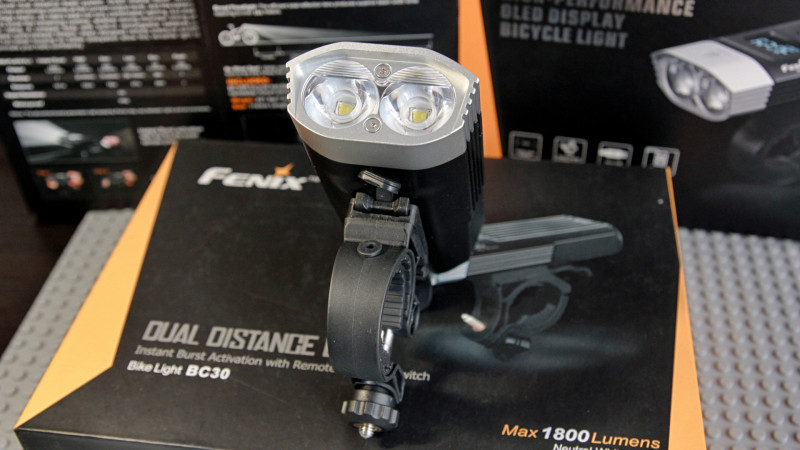
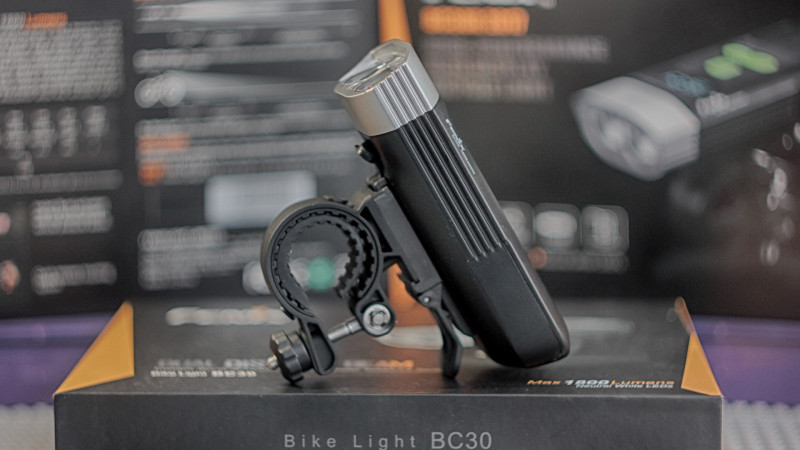
BC30 itself is flat bar with a pair of plastic TIR- "eyes" and a lot if cooling ribs.
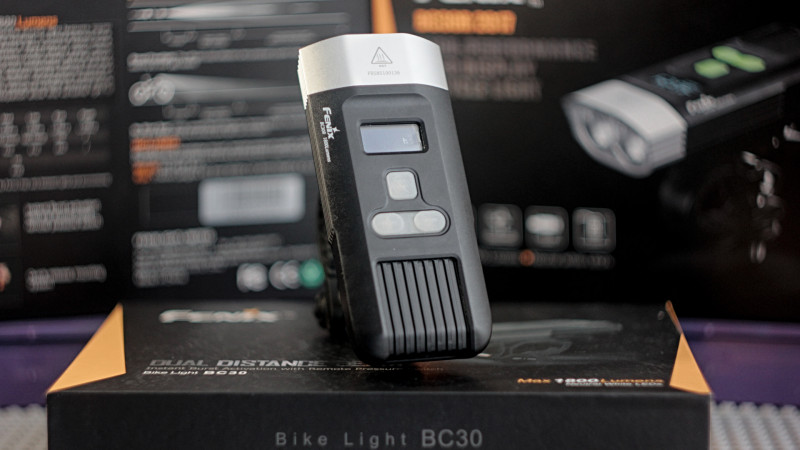
Held in hand, BC30 make a good impression of something solid. I`m not sure i`ll pick a proper words, but believe, rare flashlight makes such an impression even when it looks good. As for me, that reminds me of EC4. BC30R is significantly shorter than it`s older brother, 114 vs 126mm long.
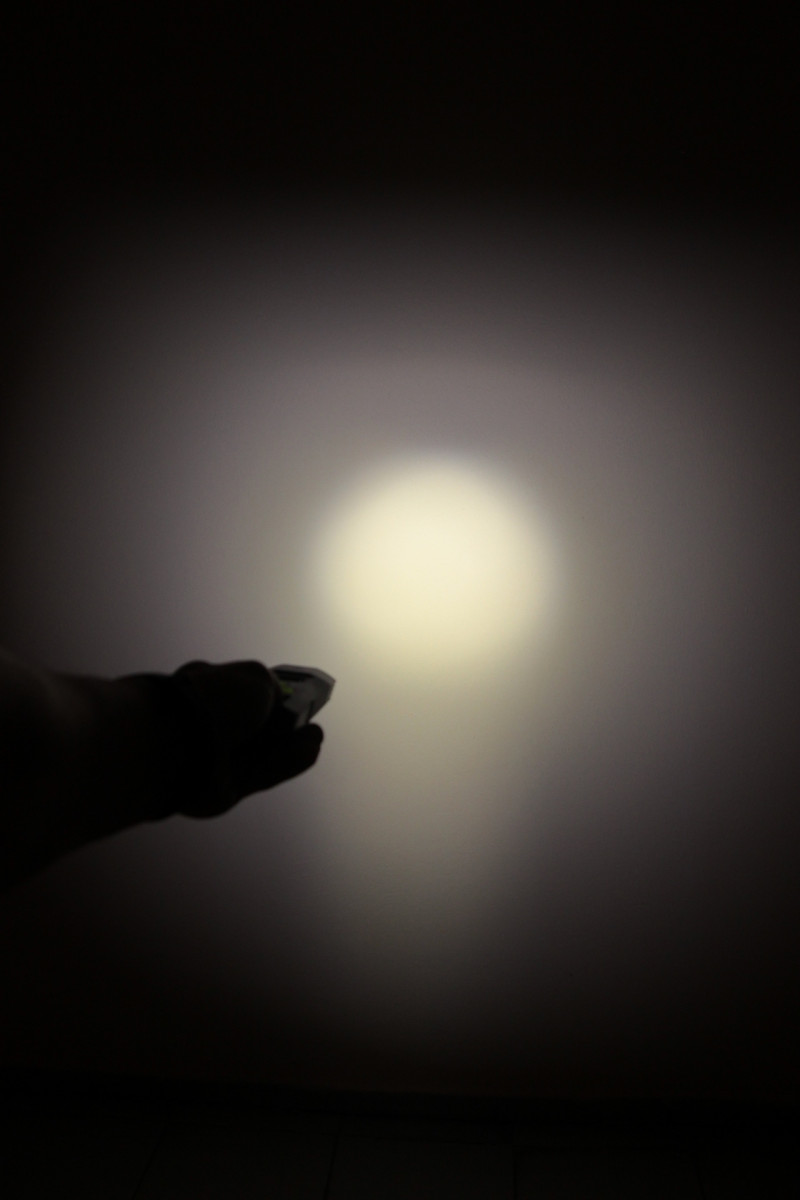
By the way, grip is convenient enough to use BC30R as flashlight.
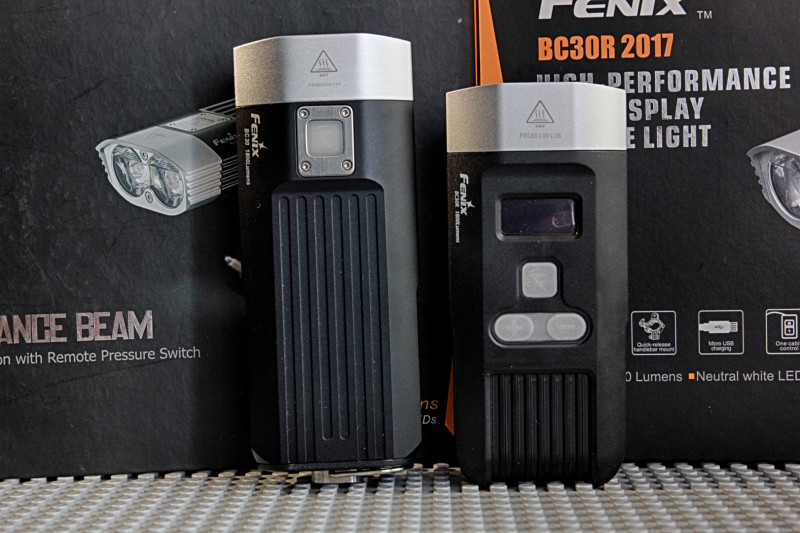
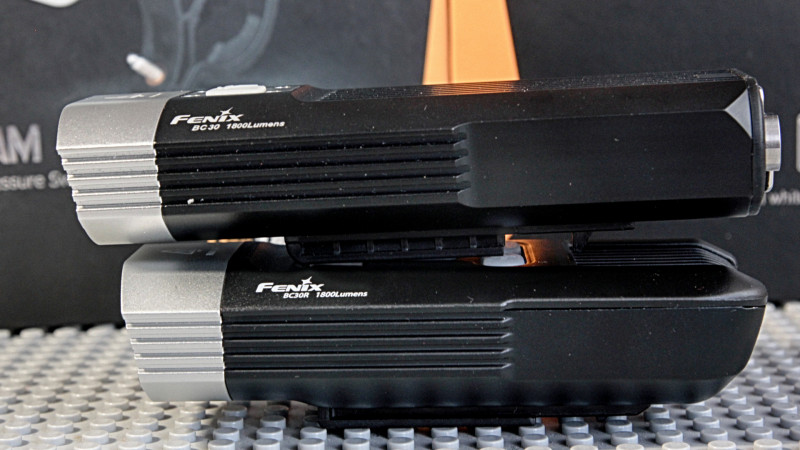
Head is the same as body – aliminium, but in this case non-anodised. SN and model name + heat warning are engraved there. BC30R is under BC30.
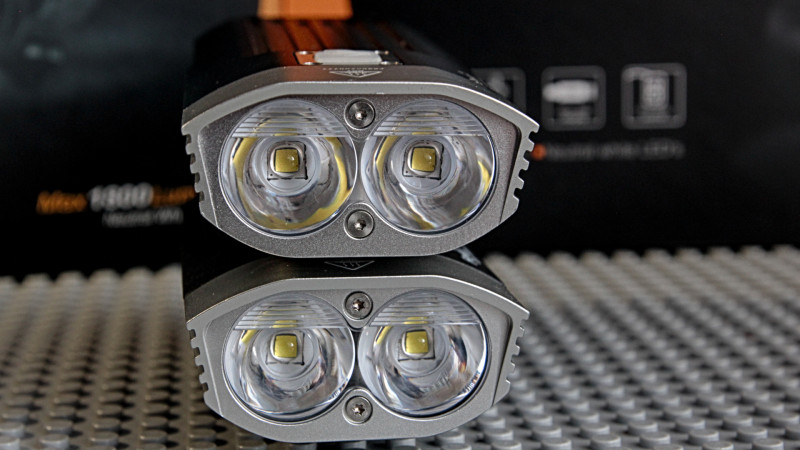
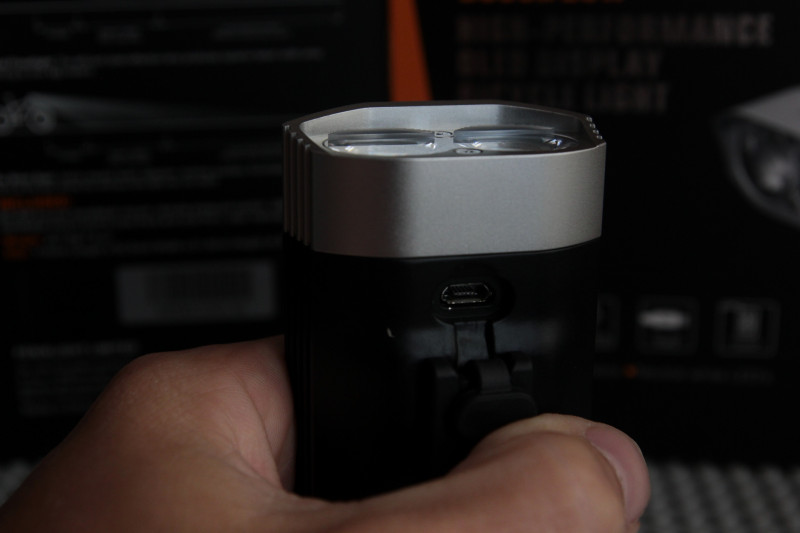
BC30 had a pair XM-L T6 , BC30R has *L2*s. The rest remains the same – optics here is quite unusual. There are some lines at the upper part of it, which are intended to distribute light downwards, closely to bike`s front wheel to prevent blinding of those who moves toward biker.
There is also small visor at the top of head. I don`t know what is supposed to to. May be it also reflects some light, that could go uselessly upward, to road.
Cooling ribs are long, and covers a significant part of body. Chance of overheating is veeeery low, may be while riding through desert. I tested checked heat dissipation without cooling, in room. In high mode I got 45 Celsius at head, 30-32 in the middle and 40 at tail. That is way lower from temperature uncomfortable for LEDs and hands. So, even without motion, this bike light is massive enough to dissipate a lot of heat.

There is a pair of plastic rails at the bottom for bike mount. I think that they are plastic to prevent any damage to flashlight body in case bike gets into any road accident. Rails will simply break. If they were metal ones, they would stay firmly attached to body and that may lead to damaging it.
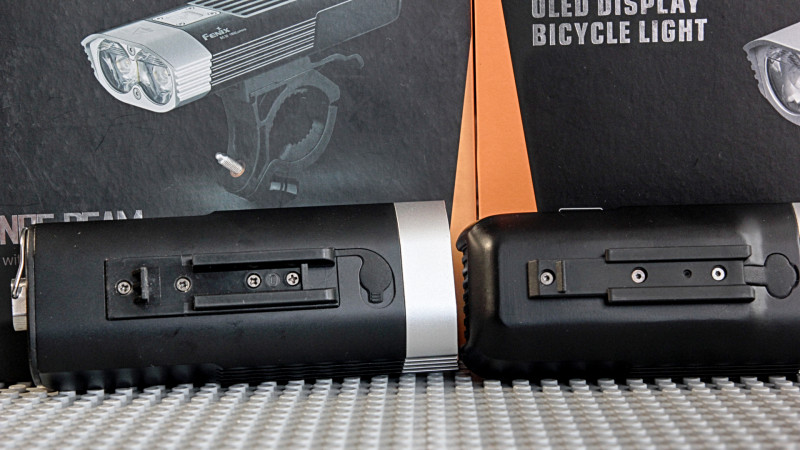
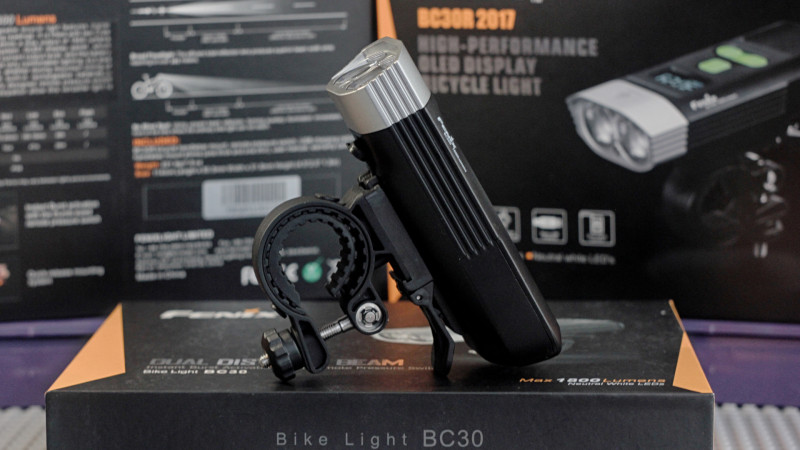
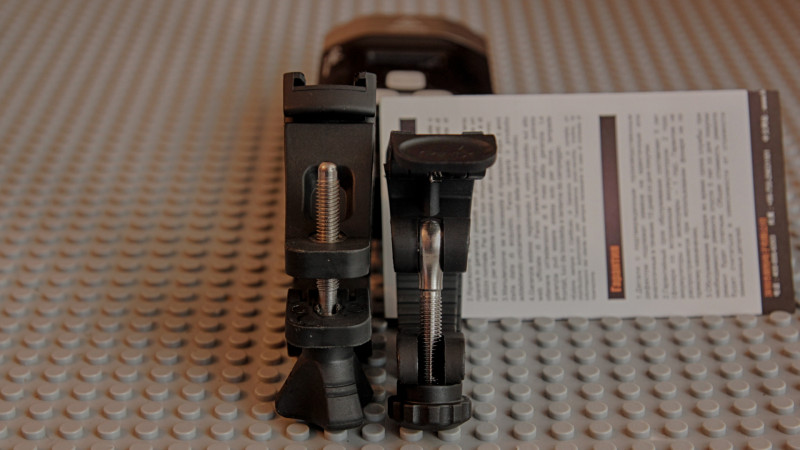
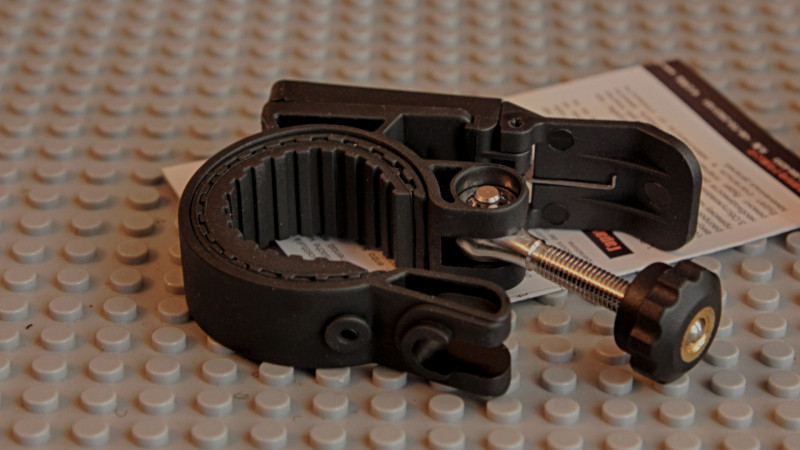
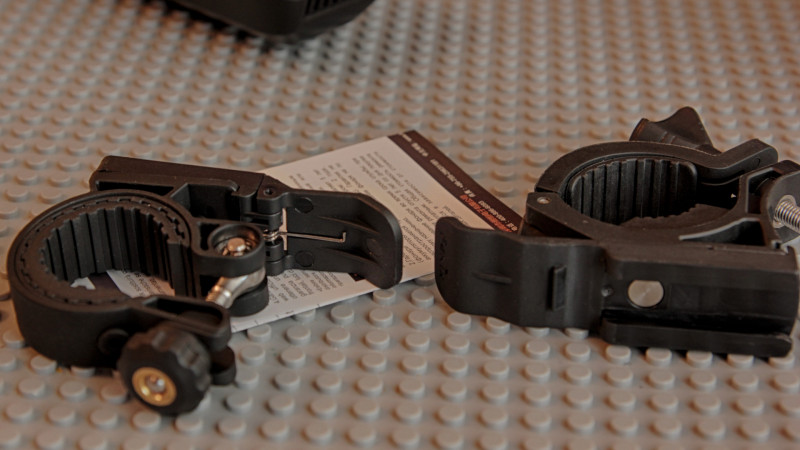
Mount of BC30 also has quick release function, but mount of BC30R is better:
a) "tongue" , part which you suppose to press is spring-connected with the rest of mount and you can detach bikelight almost immediately. Really , this is a simple and convenient release system.
b) Mount of BC30 has to stay on bike, while mount of BC30R can also be taken just in seconds.
Btw, **BC30R`s mount perfectly fits BC3**0, so if you want some upgrade – that definetely deserves spending some bucks on changing mount.
There also 30degrees horizontal adjustment with 5 stops at left-right side for correct angling light.

Well, here is BC30R on mount again.

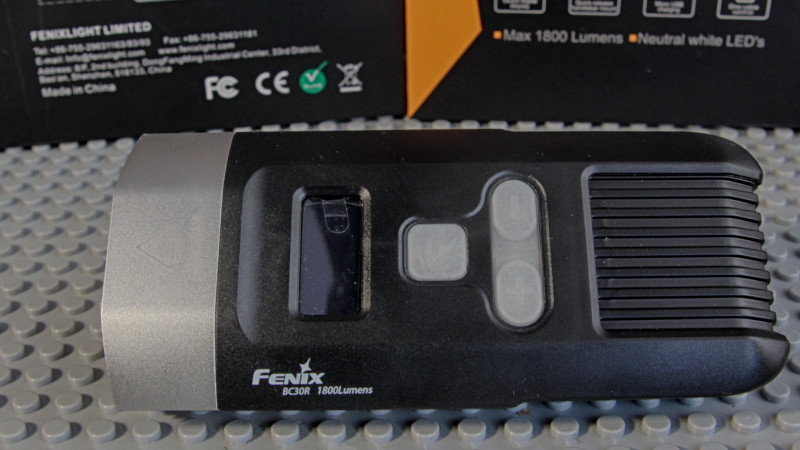
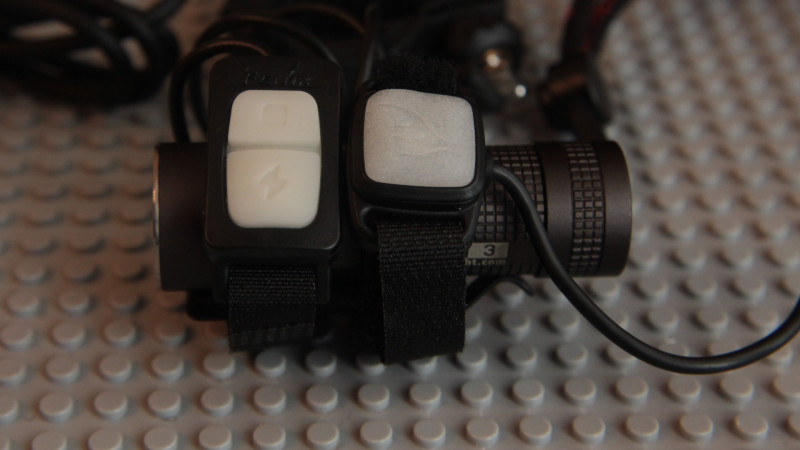
Side and remote buttons are responsible for turning on\off and switching modes.
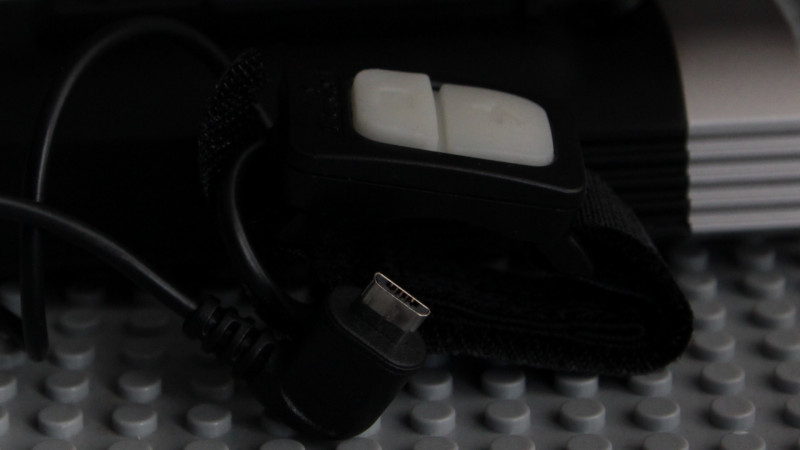
Previous version of remote button used 3.5mm jack plug, this one has micro-usb that fits socket really tight.
Another difference is that there is 2 buttons now instead of one.
Difference in side button is that BC30R has 3 buttons (on-off and +\- modes) instead of just one at BC30. Remote buttons are phosphorescent 1st one also works as charge\discharge indicator, changing light from green to red.
I think that`s all `bout appearance. Again as it was with BC30 – there is no sight of build defects or anything that looks or feels cheap or inappropriate. I like design of BC30R.
Very simple and convenient
1. Press and hold the upper power button for 0.5 seconds to turn ON/OFF the light, with the light on, the light will display Fenix boot screen, then automatically check the remaining battery level and runtime.
2.
3. With the light switched on, double click the power buttton to enter Flash mode, click once again any switch, the light will return to general mode.
4. With the light switched on, single click + to turn up output levels, one press for a higher level until to the supported highest. Single click – to turn down output levels, one press for a lower level until to the lowest.
5. With the light switched off, press power button to check the battery level, the light will go out automatically after 5 seconds.
*Remote Pressure Switch *
1. Press and hold the switch for 0.5 seconds to turn ON/OFF the light, the light will display Fenix boot screen, then automatically check the remaining battery level and runtime.
2. With the light on, click the "square" switch, to cycle through High→Eco→Low→Med.
3. In any status, press the "lightning" switch to enter the supported highest brightness at current battery level, release the light will return to previous status, press and hold "square" switch for constant 20-second illumination (with sufficient battery level), then the light will return to previous status.
4. With the light switched off, click the "square" switch to check the battery level, the light will go out automatically after 5 seconds.
Note:
1. The light will accumulate a lot of heat when used on High output level for extended periods. it will automatically downshift to reduce temperature.
2. The light memorizes the last selected brightness level on General mode. When turned on again the previously used brightness level will be recalled.
3. When the battery power level is not sufficient, higher brightness levels can not be activated, the bicycle light is programmed to cycle through lower brightness levels.
Low Power Warning and Intelligent Output Downshift
Low Power Warning: With the light on, when the runtime is less than 30 minutes, the switch will blink red constantly, to remind you to downshift to a lower brightness level to extend runtime or to recharge the bicycle light ASAP.
Intelligent Output Downshift: If non-stop use is needed, the light will downshift to a lower output level to extend runtime. Whenthe light downshifts to Flash mode, indicating it will go out soon. Stop riding and replace the battery or bicycle light.
Charging Indicator: The indicator light on the switch flashesgreen to indicate charging. Then turns solid green when the battery is fully charged. Fenix recommends using a power adaptor with output of 5V,1.5A. It takes about 5 hours to fully charge the bicycle light.
Tint is little bit more close to NW than the one of BC30.
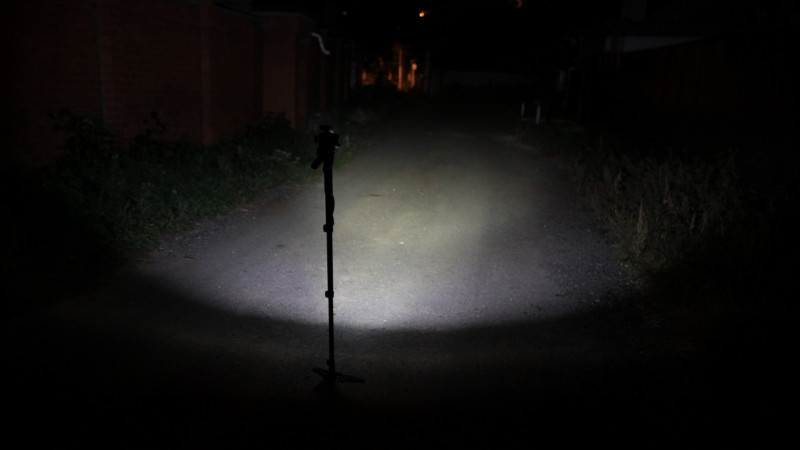
Light distribution is unusual due to unusual optics.BC30R produces visible elongated beam, with some sidelight
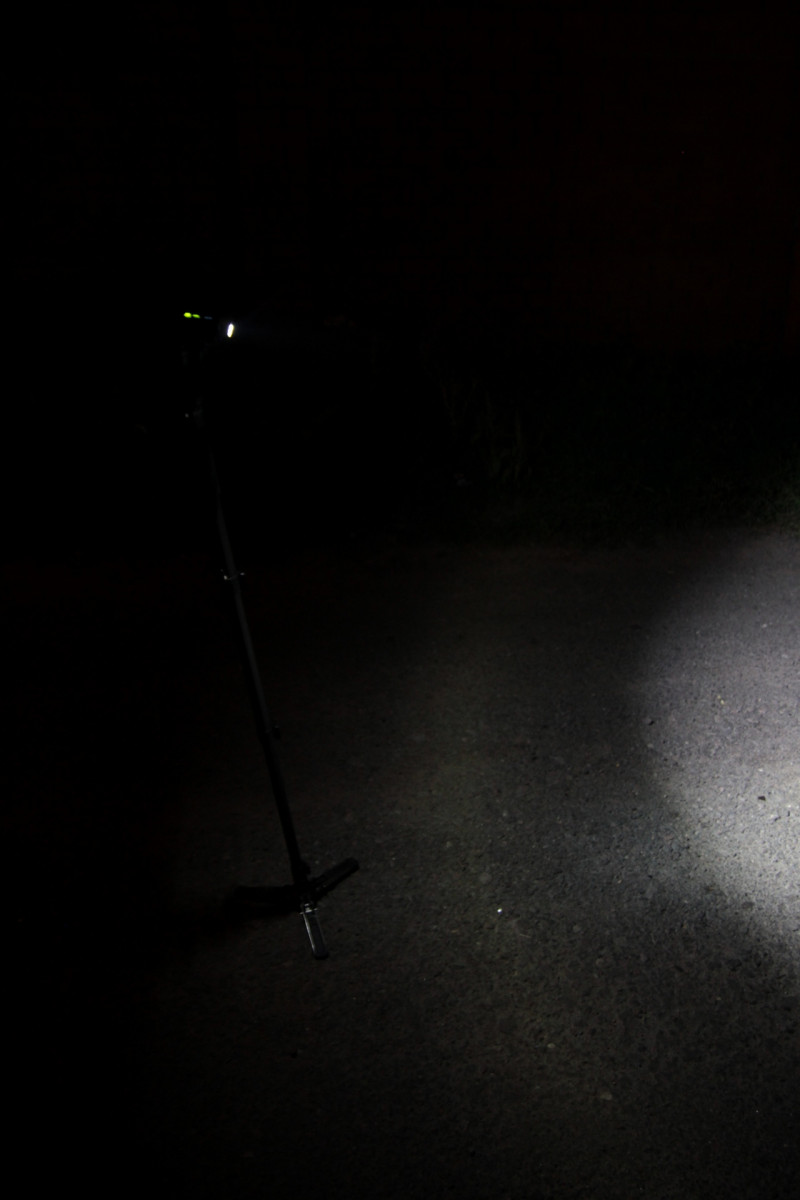
You can see the small "path" of light from diffused hotspot to down of pick. In reality that will mean that if you point BC30R somewhere 10meters ahead, there will be no less bright space between bike and hotspot, instead you`ll get a bright line pointing right from the bike to hotspot. One more pick.
And as well, some light goes directly down to bike`s front wheel. I used monopod here to take photos, as using bike for this is not comfortable – bike support doesn`t allow it stays vertically.
Modes of BC30R are little bit lower than those of BC30. Serious difference could be seen only in ECO mode. The rest is visually the same.
Charging amperage is 1.7-1.84A, that takes about 2.5 hours to fully charge battery. My usb tester shows something around 4800mah. There is a pair of 2600 battery inside. And for me this is the only disadvantage of this model, because I definitely would like to see a pair of 3400.
Cool feature is that you can still use bikelight while charging. But this features supports only ECO mode. Anyway this is ok:
a) You can still ride, though with slow-moderate speed
b) It`ll take just about 30minutes to charge battery enough for providing you with 3-4 hours on LOW mode, which is definitely useful brightness.
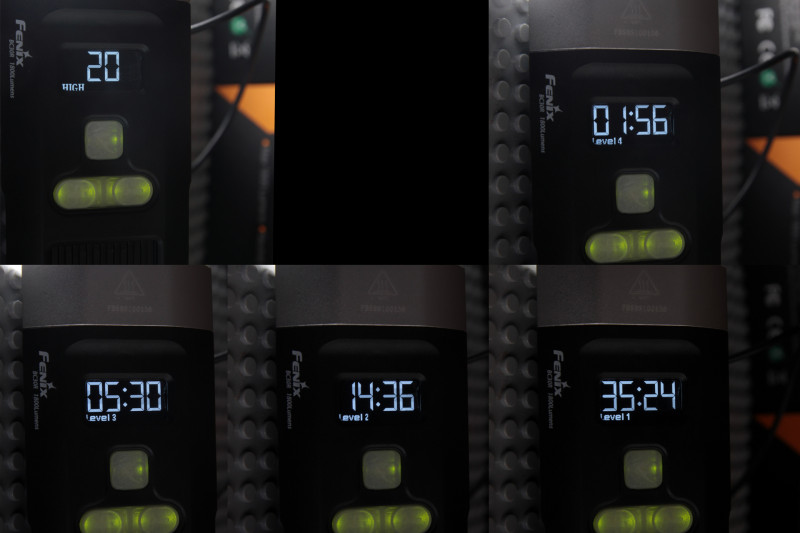
When battery gets discharged, powerbutton starts to blik red. And, of course, you just can take a look at the indicator to check remaining runtime.
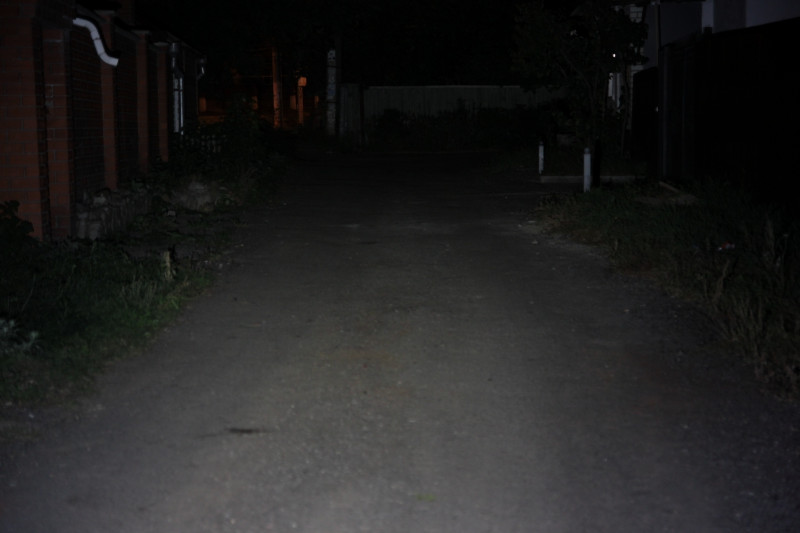
ECO is ok for slow ride, or to use when where is some additional light. I`d estimate useful working range as 5m. Within this range you will see any root or holes.
LOW also comfortable for slow ride, 5meters range. Of course you`ll see in longer distance, but not so clear. 5-7meters is a range within which you`ll see anything clear.
MID I supposed this mode to be most comfortable. There will be enough illumination for any crazy ride at any speed. 15-20 meters range. And this is very balanced mode for light\runtime.
HIGH is very bright. Very. I suppose you all have 1000 lumen lights, so you can imagine what I mean. 25-35 meters range. Be careful to blind those ones who moves toward you. If you are leader of a bike column, this may be useful mode, so anyone will see road ahead.
BURST
Mostly I treat this mode as a marketing one, as previous mode is definetely bright enough to illuminate everything. This one is "See, who is KING!" mode. 50meters range. That mode is also can be used for group riding, showing people max area around for 20 seconds.
the same review in video
Reasonable set of modes, convenient UI. I personally would like to see a pair of 3400 installed + support of full modes while bikelight is being connected to external powersource. But BC30R work ok even as is now.
I bet that there is a lot of owners of this light here in forum, i`ll appreciate if you share your opinion about it here.
———
I also own BC30, so i`ll compare they here as this pair offer a good choice for those who want to get integrated battery and for those who don`t want. .
Features
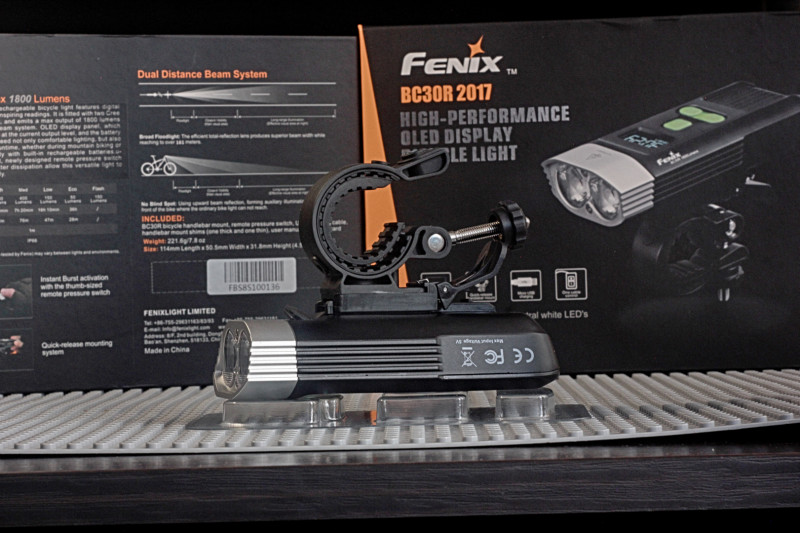
PACKAGE AND APPEARANCE:
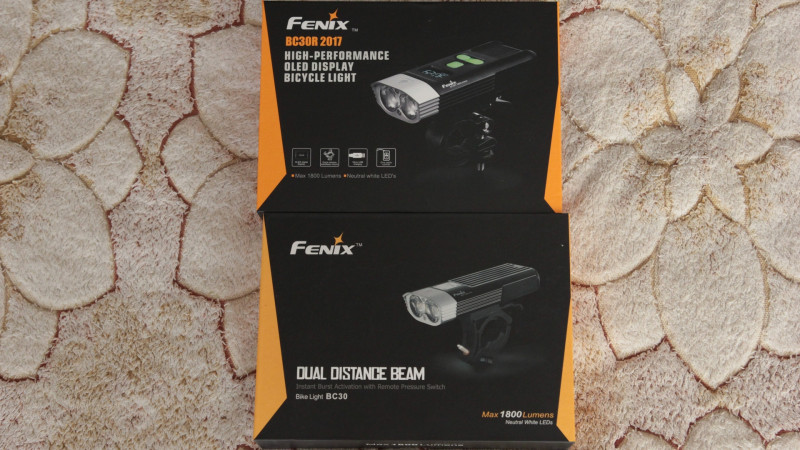
*Package *is good: design, polygraphy, build quality of box. All the Fenix products that I got were decently packed. Both boxes are almost the same, with minor differences in details.
Package includes:
*BC30R itself
*Bike mount
*2 rubber mats to fit different handlebars
*Remote pressure switch
*2 o-rings
*warranty card
*manual
BC30 itself is flat bar with a pair of plastic TIR- "eyes" and a lot if cooling ribs.
Held in hand, BC30 make a good impression of something solid. I`m not sure i`ll pick a proper words, but believe, rare flashlight makes such an impression even when it looks good. As for me, that reminds me of EC4. BC30R is significantly shorter than it`s older brother, 114 vs 126mm long.
By the way, grip is convenient enough to use BC30R as flashlight.
Head is the same as body – aliminium, but in this case non-anodised. SN and model name + heat warning are engraved there. BC30R is under BC30.
BC30 had a pair XM-L T6 , BC30R has *L2*s. The rest remains the same – optics here is quite unusual. There are some lines at the upper part of it, which are intended to distribute light downwards, closely to bike`s front wheel to prevent blinding of those who moves toward biker.
There is also small visor at the top of head. I don`t know what is supposed to to. May be it also reflects some light, that could go uselessly upward, to road.
Cooling ribs are long, and covers a significant part of body. Chance of overheating is veeeery low, may be while riding through desert. I tested checked heat dissipation without cooling, in room. In high mode I got 45 Celsius at head, 30-32 in the middle and 40 at tail. That is way lower from temperature uncomfortable for LEDs and hands. So, even without motion, this bike light is massive enough to dissipate a lot of heat.
There is a pair of plastic rails at the bottom for bike mount. I think that they are plastic to prevent any damage to flashlight body in case bike gets into any road accident. Rails will simply break. If they were metal ones, they would stay firmly attached to body and that may lead to damaging it.
Mount of BC30 also has quick release function, but mount of BC30R is better:
a) "tongue" , part which you suppose to press is spring-connected with the rest of mount and you can detach bikelight almost immediately. Really , this is a simple and convenient release system.
b) Mount of BC30 has to stay on bike, while mount of BC30R can also be taken just in seconds.
Btw, **BC30R`s mount perfectly fits BC3**0, so if you want some upgrade – that definetely deserves spending some bucks on changing mount.
There also 30degrees horizontal adjustment with 5 stops at left-right side for correct angling light.
Well, here is BC30R on mount again.
Side and remote buttons are responsible for turning on\off and switching modes.
Previous version of remote button used 3.5mm jack plug, this one has micro-usb that fits socket really tight.
Another difference is that there is 2 buttons now instead of one.
Difference in side button is that BC30R has 3 buttons (on-off and +\- modes) instead of just one at BC30. Remote buttons are phosphorescent 1st one also works as charge\discharge indicator, changing light from green to red.
I think that`s all `bout appearance. Again as it was with BC30 – there is no sight of build defects or anything that looks or feels cheap or inappropriate. I like design of BC30R.
UI:
Very simple and convenient
1. Press and hold the upper power button for 0.5 seconds to turn ON/OFF the light, with the light on, the light will display Fenix boot screen, then automatically check the remaining battery level and runtime.
2.
3. With the light switched on, double click the power buttton to enter Flash mode, click once again any switch, the light will return to general mode.
4. With the light switched on, single click + to turn up output levels, one press for a higher level until to the supported highest. Single click – to turn down output levels, one press for a lower level until to the lowest.
5. With the light switched off, press power button to check the battery level, the light will go out automatically after 5 seconds.
*Remote Pressure Switch *
1. Press and hold the switch for 0.5 seconds to turn ON/OFF the light, the light will display Fenix boot screen, then automatically check the remaining battery level and runtime.
2. With the light on, click the "square" switch, to cycle through High→Eco→Low→Med.
3. In any status, press the "lightning" switch to enter the supported highest brightness at current battery level, release the light will return to previous status, press and hold "square" switch for constant 20-second illumination (with sufficient battery level), then the light will return to previous status.
4. With the light switched off, click the "square" switch to check the battery level, the light will go out automatically after 5 seconds.
Note:
1. The light will accumulate a lot of heat when used on High output level for extended periods. it will automatically downshift to reduce temperature.
2. The light memorizes the last selected brightness level on General mode. When turned on again the previously used brightness level will be recalled.
3. When the battery power level is not sufficient, higher brightness levels can not be activated, the bicycle light is programmed to cycle through lower brightness levels.
Low Power Warning and Intelligent Output Downshift
Low Power Warning: With the light on, when the runtime is less than 30 minutes, the switch will blink red constantly, to remind you to downshift to a lower brightness level to extend runtime or to recharge the bicycle light ASAP.
Intelligent Output Downshift: If non-stop use is needed, the light will downshift to a lower output level to extend runtime. Whenthe light downshifts to Flash mode, indicating it will go out soon. Stop riding and replace the battery or bicycle light.
Charging Indicator: The indicator light on the switch flashesgreen to indicate charging. Then turns solid green when the battery is fully charged. Fenix recommends using a power adaptor with output of 5V,1.5A. It takes about 5 hours to fully charge the bicycle light.
PERFORMANCE
BC30R succesfully passed PWM-shimmering test in shower. Tint is little bit more close to NW than the one of BC30.
Light distribution is unusual due to unusual optics.BC30R produces visible elongated beam, with some sidelight
You can see the small "path" of light from diffused hotspot to down of pick. In reality that will mean that if you point BC30R somewhere 10meters ahead, there will be no less bright space between bike and hotspot, instead you`ll get a bright line pointing right from the bike to hotspot. One more pick.
And as well, some light goes directly down to bike`s front wheel. I used monopod here to take photos, as using bike for this is not comfortable – bike support doesn`t allow it stays vertically.
Modes of BC30R are little bit lower than those of BC30. Serious difference could be seen only in ECO mode. The rest is visually the same.
Charging amperage is 1.7-1.84A, that takes about 2.5 hours to fully charge battery. My usb tester shows something around 4800mah. There is a pair of 2600 battery inside. And for me this is the only disadvantage of this model, because I definitely would like to see a pair of 3400.
Cool feature is that you can still use bikelight while charging. But this features supports only ECO mode. Anyway this is ok:
a) You can still ride, though with slow-moderate speed
b) It`ll take just about 30minutes to charge battery enough for providing you with 3-4 hours on LOW mode, which is definitely useful brightness.
When battery gets discharged, powerbutton starts to blik red. And, of course, you just can take a look at the indicator to check remaining runtime.
ECO is ok for slow ride, or to use when where is some additional light. I`d estimate useful working range as 5m. Within this range you will see any root or holes.
LOW also comfortable for slow ride, 5meters range. Of course you`ll see in longer distance, but not so clear. 5-7meters is a range within which you`ll see anything clear.
MID I supposed this mode to be most comfortable. There will be enough illumination for any crazy ride at any speed. 15-20 meters range. And this is very balanced mode for light\runtime.
HIGH is very bright. Very. I suppose you all have 1000 lumen lights, so you can imagine what I mean. 25-35 meters range. Be careful to blind those ones who moves toward you. If you are leader of a bike column, this may be useful mode, so anyone will see road ahead.
BURST
Mostly I treat this mode as a marketing one, as previous mode is definetely bright enough to illuminate everything. This one is "See, who is KING!" mode. 50meters range. That mode is also can be used for group riding, showing people max area around for 20 seconds.
the same review in video
OVERALL.
Well build and reliable product, that may serve as regular hand light.Reasonable set of modes, convenient UI. I personally would like to see a pair of 3400 installed + support of full modes while bikelight is being connected to external powersource. But BC30R work ok even as is now.
I bet that there is a lot of owners of this light here in forum, i`ll appreciate if you share your opinion about it here.