cdrake261
Enlightened
may have fried the board...caught the slightly frayed positive battery cable shorting out to either a chip or small resistor. This build hasn't gone as planned.

may have fried the board...caught the slightly frayed positive battery cable shorting out to either a chip or small resistor. This build hasn't gone as planned.
It's your first modified Maglite - pretty damn impressive attempt working or not. As long as you learn from your mistakes then your onto a winner irrespective of the initial result. Plus I'm sure you'll get it going reliably. Though the added cost of a new driver would suck lol.


Nice!
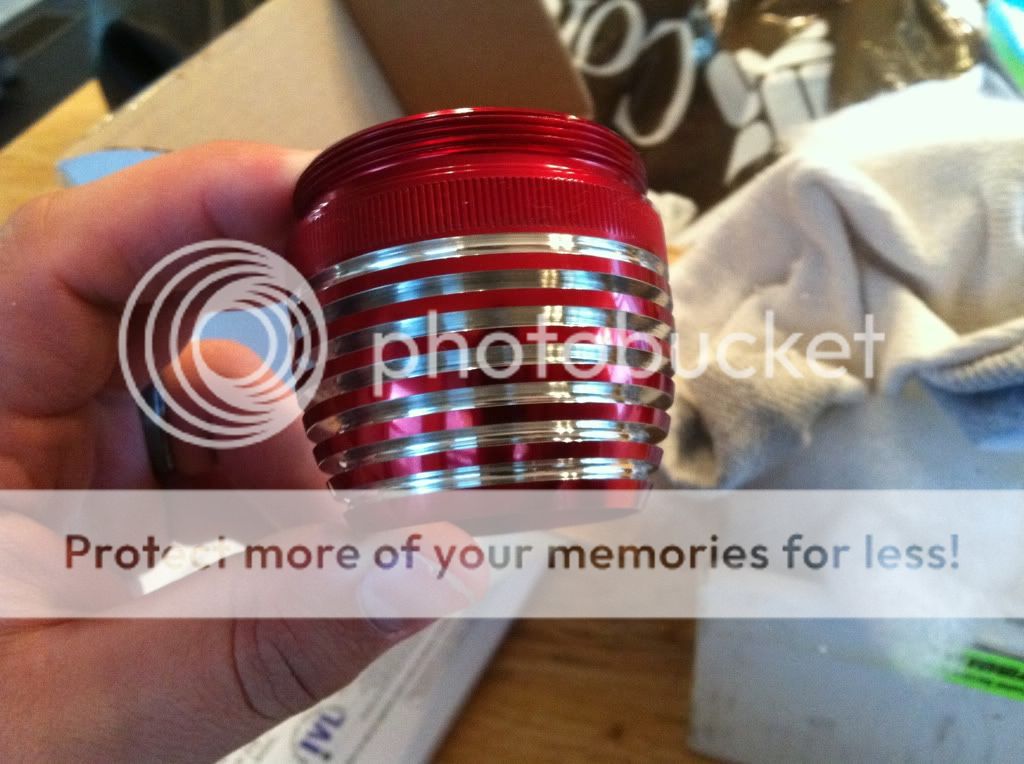
How much % more surface area do you get with this?
Glad to see you are about to get her going again. I just wanted to ask if you had put any thermal paste on the surfaces of where the heatsink contacts the mag. Such as heatsink compound made for cpu's not the epoxy thermal compound. I use Artic silver thermal compound. Without the compound you want get as much heat trasfer to the head so that it can give off the heat. It will for the most part just stay in the heatsink.
Can you post a pic which show how your driver is mounted on the heatsink?
Did you used a thermal pad to mount it?
And how do you prevent all these tiny pins on the back side from shorting out on the heatsink? :huh:
Yeah I know. But when its on the heatsink how do you know that there is enough epoxy under it that those contacts doesnt come in contact with it?
Hopefully you dont kill another driver because of that. :sweat:
Sorry to hear about your bad luck with the first board. Perhaps George can repair it? Better than just throwing it away. I like the way you drilled new holes in the heat sink for the LED output wires. It gives a full size mounting surface as well as taking advantage of the H6Flex's ability to monitor temperature. That's a nice solution to a difficult problem.:thumbsup: I had imagined using something like an H6Flex by putting a very thin layer of Arctic Alumina epoxy on the back of the board with an old credit card and let it harden. A second layer after light sanding would safely glue it in place without danger of a short. Perhaps like The_bad_Frag said, the Bond-Ply pad that comes with the H6Flex if not as effective might be safer than thermal epoxy.
You should be able to get M2-0.4 at the local hardware store. A good way to make sure it's a regular 0.4mm pitch thread. Home Depot also sells metric screws. But you'll probably have to get a pack of more than you need. Google has a ton of hits on M2's if you don't have any hardware stores nearby.