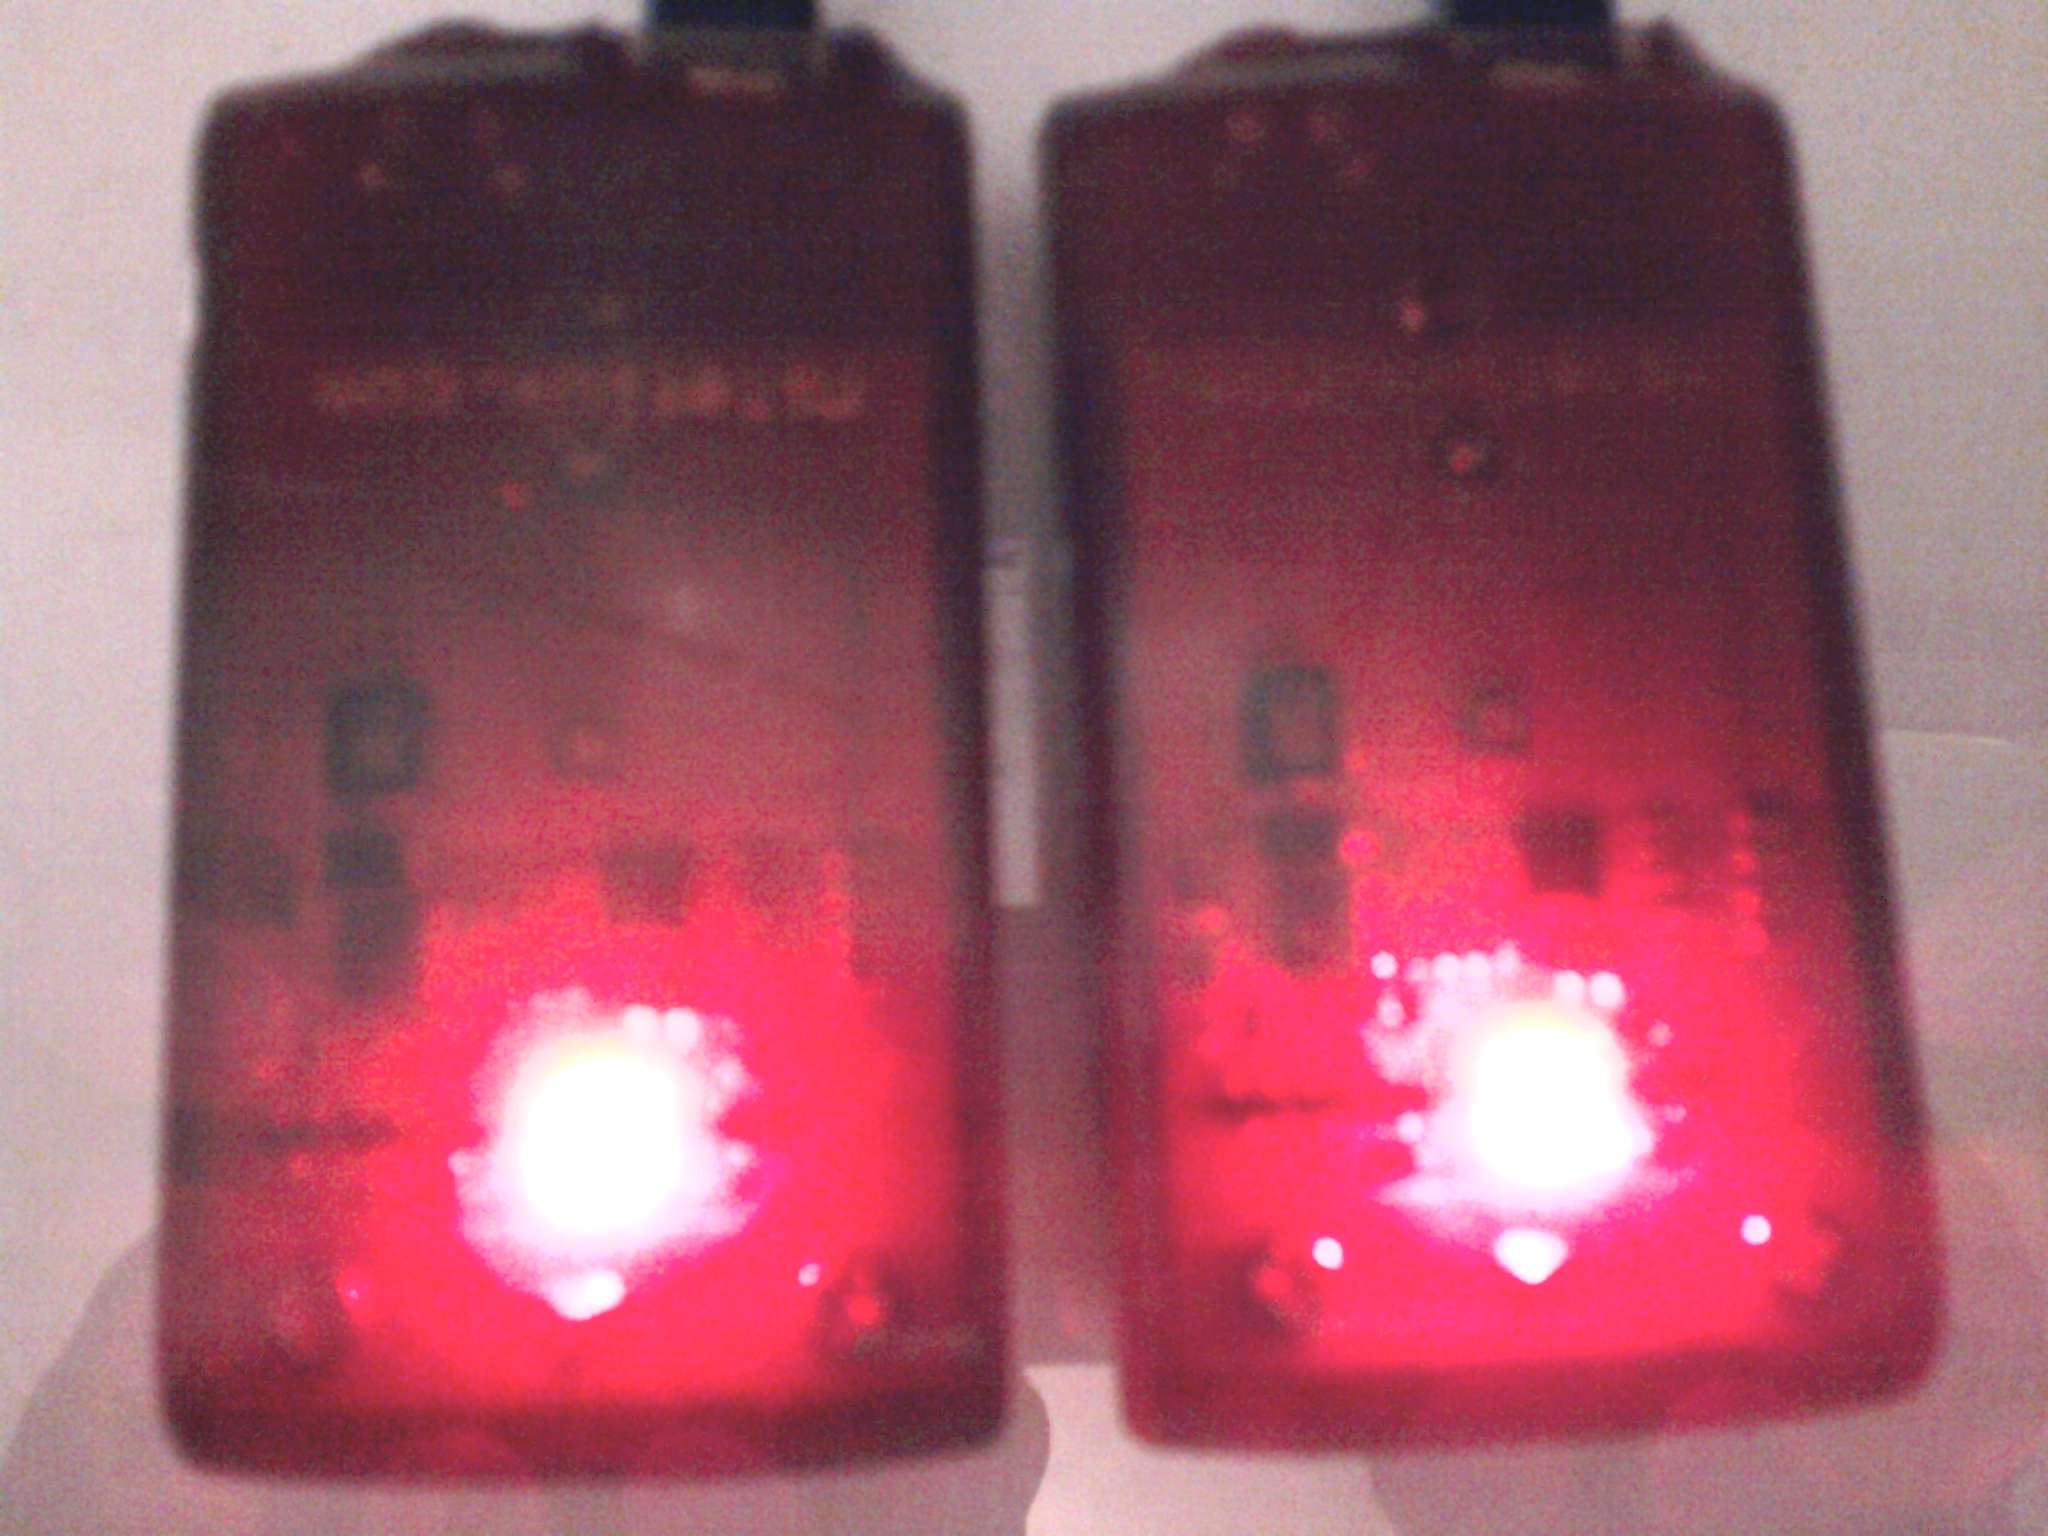
Whencharged the red LED goes into blink mode and you can then see the smaller status LED is green.
I forgot when you swap batteries in my camera, the time stamp goes to default. So ignore it please. Videos 08/03/2011 circa 8-8:30 PM, except the last which has the right time stamp.
Evening light video comparable to overcast day. Easel has two Red Zone 4's center upper, two DIY 100 lumne bubble lens lights center lower, A PB Turbo Left end of easel shelf, Radbot 1000 right end of easel shelf, ans a DangerZone center left of easel shelf. All batteries recently charged but run long enough to be off the high voltage of fresh charge.
This one is straight back, camera 50 feet away, zoomed, and on night exposure. Left RedZone is at 2.4 W, right at 4.0 W.
http://imageshack.us/clip/my-videos/691/2s9e.mp4/
The 1.2 W setting was brighter than the DangerZone straight back but not quite as bright as the Radbot 1000, or PB Turbo, but the 2.4 W is comparable to my eye to the Turbo but the pulse lasts longer and is bigger. The DIY lights are at a 45 degree angle so are less visible straight back. If the bike swings, one or other of their higher intensity central beams come to bear.
This one is also straight back, both Red Zones at 4.0 Watts.
http://imageshack.us/clip/my-videos/846/ous.mp4/
Yep, that works.
This one is at 45 degrees straight down one of the DIY beams. The RedZone 4's are 1.2 W (left, nearer, 4.0 W right, further).
http://imageshack.us/clip/my-videos/689/z3cc.mp4/
Even at 1.2 W the RedZone beats the Danger Zone, Turbo, on left part of shelf (closer) and the 1000 on the right sire (further). The full 4 W is awesome. At 45 degress, the Redzone 4s don't give up much to the beamier DIY on axis and their flashing mode is more attention getting than full on.
The side on (Radbot is eclipsed, but it is not as good as either the Danger Zone or Turbo side on) video, and the Dangerzone is lost in the blaze from the two RedZone 4s:
http://imageshack.us/clip/my-videos/819/28023576.mp4/
Only my DIY and the RedZones report for much duty at the side on angle, trhe bubble lenses work better i the dark, though..
LiteFLUX suggests clipping a Red Zone to the helmet's occipital strap. Mine has this big ol' adjuster making a single straight back impossible without some custom effort. So since I have two, I will try them mounted each side of the adjuster aiming out at about 45 degrees from straight back. I will find out how much they hurt my night vision.
Well, unless you are near something to get flashback, that placement on the Occipital straps does not blind with direct light from the Red Zone 4s. One does shine into the helmet mirror though, so I'll have to see if I can move the mirror out enough to avoid that.
Here is a rideby on my unlit street with no vehicle lights to 'fire' the reflective stuf on me and the bike. A pedestrian or skunks' view, if you will. The camera is NOT zoomed for driver 'tunnel vision' , night mode +2 exposure (still not nearly as sensitive as the human eye, but good enough for our purposes, at 25 feet from the road. Figure this is the sensitivity of a driver (what he/she would see) 50-75 feet from the road. I rode sort of fast to keep the file size down but maybe close to my average pace showing how little time you have to be seen (if they are looking in the first place):
http://imageshack.us/clip/my-videos/690/ozg.mp4/
On the return I pointed the helmet light at the camera as I would to an approaching car that appeared not to be yielding. Our headlights remain our best defense. I think you 'd have to agree that mounted like this, the RedZone 4 s are unlike anything we have had before in terms of power and distribution. Stopping at differnt frames shows things well.
I had both of the RedZones at 4 W. Wanted this video, post here, and then to bed. Besides the dyno headlight on the front rack, and the the helmet light with side lights, there are two DIY 100 lumen 45 degree non-flashing lights on the seat post, and two 45 degreee Radbot 1000s on the seat stays below them, and the single Turbo on the rear rack another center back of the helmet. The Turbos are pathetic at these angles. (this of course begs for ride away videos, so they CAN be seen. Be patient. The ability for light to exit the sides of the Turbo, DangerZone, and Radbot 1000 may make user think that appreciable 'to be seen' light is emitted. I think it is dangerously inadequate making a cyclist feel safer and more visible than he/she actually is, but that's just MHO.
Even the angled-out Radbots are hardly 'there' as their main narrow beams kick in after the bike is well past and fuse with the DIY beams so you can just make out their pulsing as their main beam comes into play amost out of frame. You can see the side output of the helmet light in some frames and I plan to triple the brightness of that side output, but the Red Zone 4s will still be brighter, I think.
The Redzone 4s are all that I hoped they would be. The 4 watts would be too much riding with buddies. They don't seem excessive to me in this video. I think the blinking keeps them from being too bright, an issue with my DIY lights. Weight wise on the helmet, I felt no neck strain, and the two are lighter than my video camera when helmet mounted. They seemed to balance the helmet headlight nicely and being lower aren't straining the tilting muscles.
OK. The nigglies. These are not massively produced lights in the PBSF vein, though as a driver, I wish they might be, so every cyclist could own one or two. These are not a price-no-object one-off or a limited edition item either. So some slack is in order.
I found the wire clips very stiff and I hope that means they will last and gradually ease off. If the lights stay on the helmet where they now are, this is a one time struggle for each new helmet. If you are moving them from canoe to back pack to a wheelchair, whatever, I hope you have strong fingers. or they ease off some. I have hyperextendible finger joints so have difficulty applying pressure though my thumb or finger tips (no finger pushups for me, the joints just bend back). So the clip may be harder for me than for most. The material that keeps the light safe from impact is soft and easily marked, so don't rub it abrassively with a rag and those who have to have everything absolutely 'cherry' may need to take some care. Scratches might help dispersion some, though.
The switch is stiff for me. Fortunately you will likely only set your power and flash selection one time. I currenlty have all eight selectable on both lights for testing purposes. I wore my thumbs out holding and deleting until I got all five. On/Off isn't easy but not as hard because you aren't repeating it of holding to get into the menu. I may turn them off and on in the house in the winter if they get stiffer in the cold.
I really like this flash pattern. There are seven more. One is "B-I-K-E' in Morse Code. Must have a pause so that it isn't 'I-K-E-B', or 'K-E-B-I' or 'E-B-I-K' as well.
")
"SOS" is likely the other Morse option. The other five flashing seem to be different speed single flashes from their video.
So we need a ride by in front of vehicle lights and under street lights and a ride-away, plus some playing with the mirror.
The white ones mounted to glove backs (or lower arms if your gloves are in windshields in winter) would make great front side markers with hands on bars and and arm signal markers when the arms are raised to signal.
More to come.
BrianMc.