Ok, I know this is an older thread, but I'm a bit confused on the wiring. I'm not a total electronics novice, but I could use an explanation.
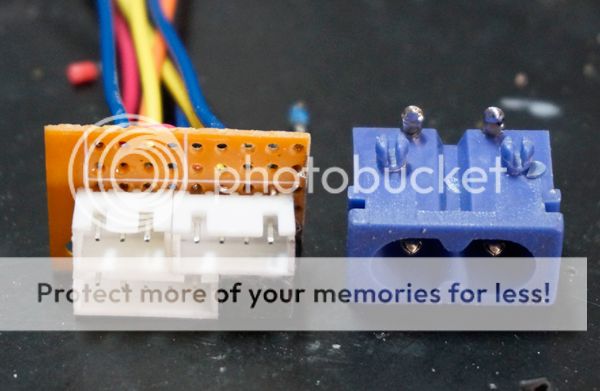
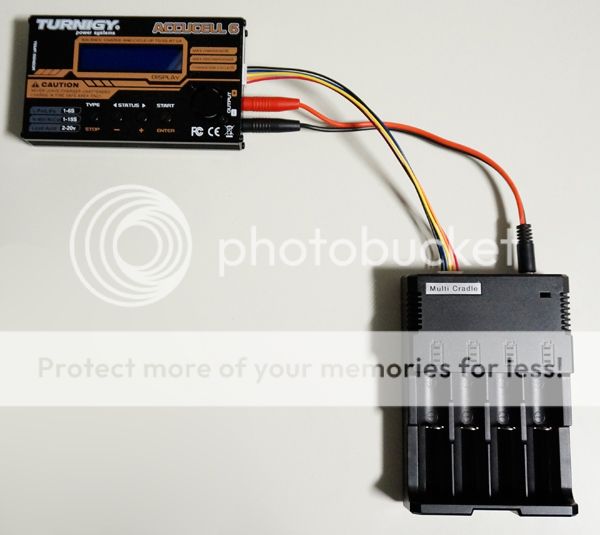
I get how power flows when the cradle Nisei built is loaded with 4 cells, but isn't the V+ in broken when using less than 4 cells? It looks like you'd load starting from the left going right, but say if you did 3S1P, what takes the positive voltage from the top right terminal to the V+ terminal to the left when there is no fourth cell to carry the voltage? The orange wire normally wouldn't act as V+ in a 3S arrangement, you'd unclip the red wire from the 4S position and clip it to the 3S position.
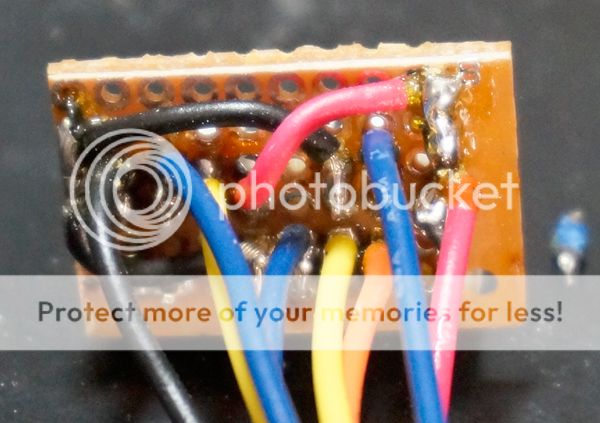
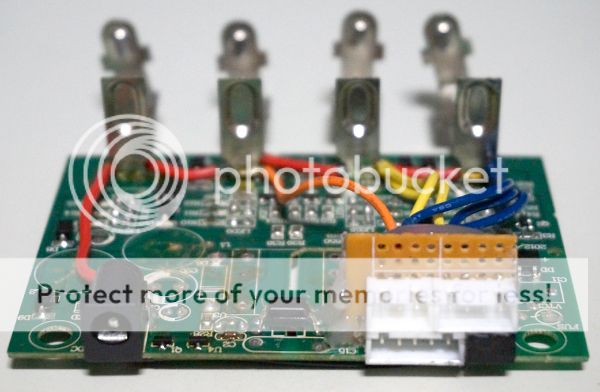
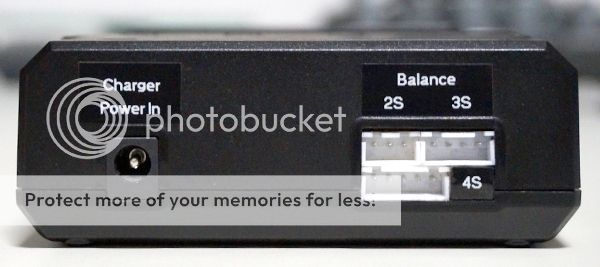
Or is the charger's original circuit board still functional? I assumed that the board was completely bypassed. Or is the i4 charger completely functional with the hobby charger supplying 12V, but how? My 106b+ won't send out even close to 12V in a 1S or 2S confuguration, unless the charger doesn't need +12V. I'm also a little confused as it looks like the balance wires are also pulling double-duty as power and neutral wires. Unless the cut traces on the underside are to disable not only the AC, but to disable the +12V as well.
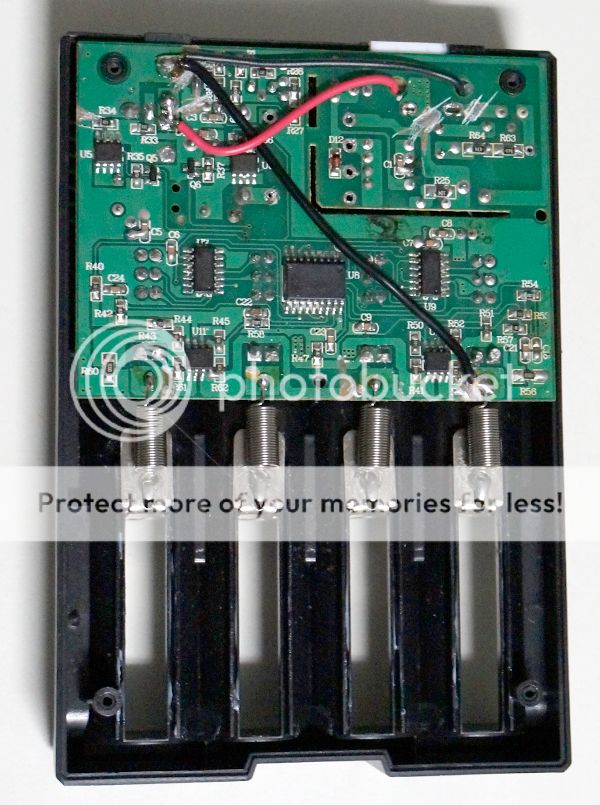
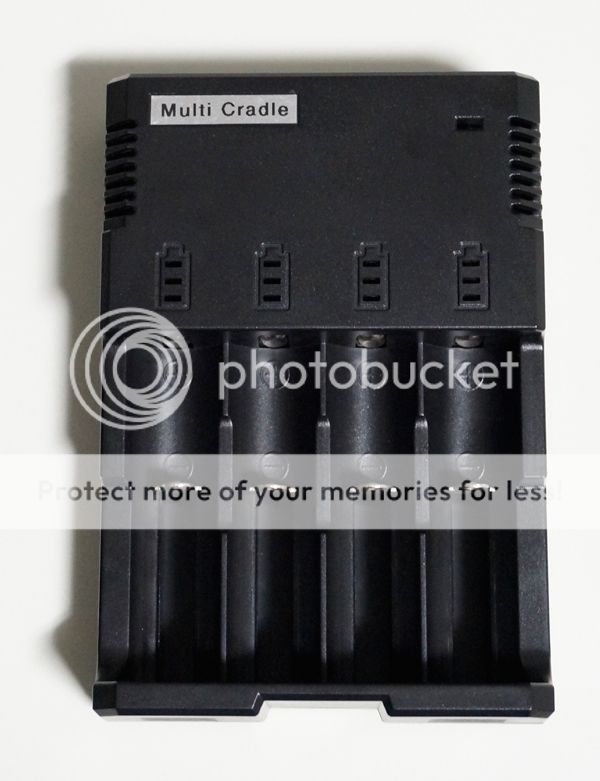
I got mostly confused as I ordered a similar holder to this:
https://highdesertvapes.com/products/4X-18650-Battery-Holder.html (link as an example) and I wondered how to wire it up so that I don't have to move the power leads around when doing less than 4S.
(sorry for the long post!)