Old-Lumens
Newly Enlightened
Hello,
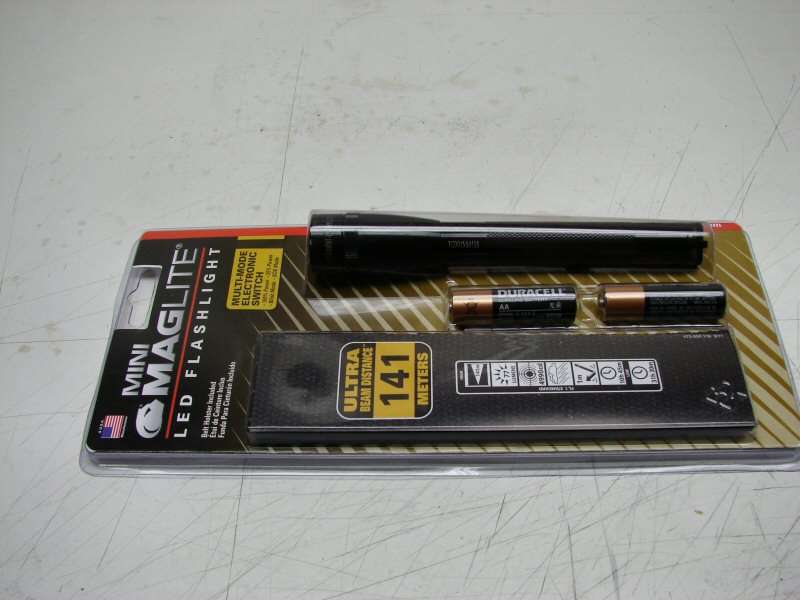
This one is odd enough that I thought I might post the build here. It started as a 2AA LED Mini-Mag and it will undergo some major surgery and hopefully become a 90 Degree light. I have done one other this way, but it was an Incan. I'm doing the LED because the longer head gives me room for a linear driver, where the Incan was DD.
I need to cut a 45 degree angle across the body, so I used a square and marked a 90 on the table top. Then I measured up an inch each way and marked the 45 degree line.
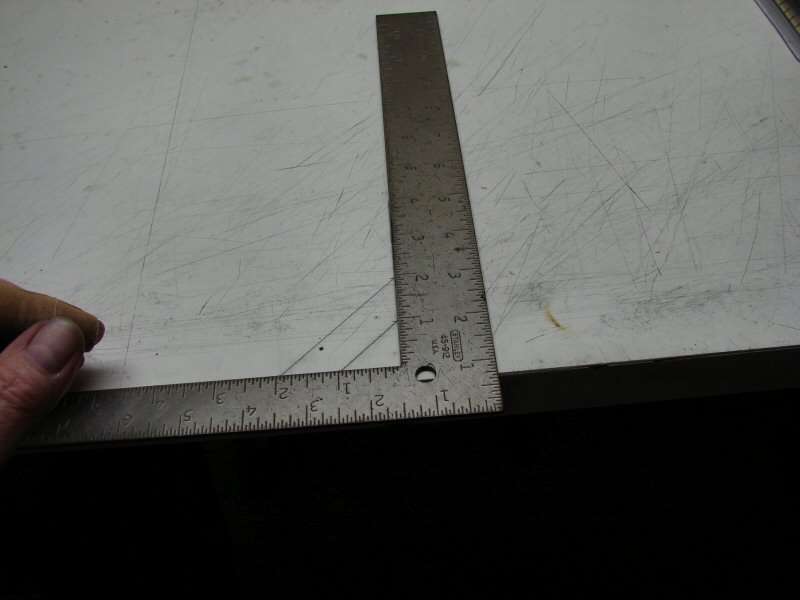
I just held the body on the table top with clamps and used the line as a guide. I made the cut with a hack saw and then smoothed the ends up with coarse and fine sandpaper blocks, by pulling the pieces across the flat surface of the sanding block.

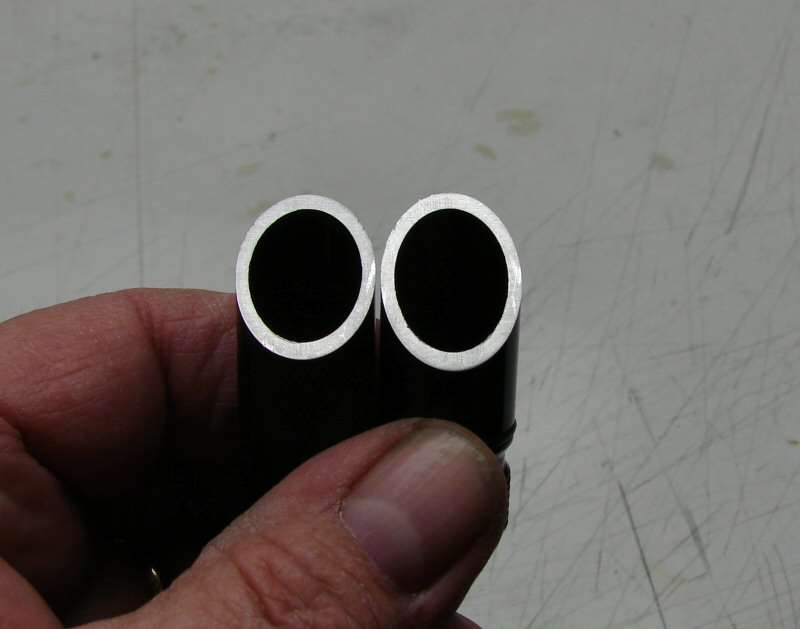
Here are the two ends, ready to use, to make a 90.
I am using copper pipe to make the inner 90, which will hold the light together. This sleeve will be cut and soldered together, so that the two body pieces fit over it. A 1/2" pipe is too big, so I split it with a hacksaw and then I had to cut it more, to make it fit. The slices are what I cut off.

Of course, a hacksaw is not all that accurate and guesswork allows for errors. Once I tried the pipe, I found it was too small and I had an open slot. Time to make use of those slices that I cut off.
I put one of them and filed it down to fit the open slot. It's a little difficult, but it worked.
Now, it fills the gap and I can commence soldering the pipe.
I soldered the pipe in place, right inside the body. I just slid both pieces of the body in place and heated it all with my small butane torch, till I could run solder on the copper. Let it cool and pull everything apart. You can heat the anodizing hot enough to melt 60/40 solder, without hurting the ano, at least on a Black Maglite you can. Too hot and the color will turn.

That holds it together and after I can go ahead and do a little more soldering. The wires just hold everything together while I solder.
I put the copper pipe back in and mark it for cutting. I cut it while it was in the body, so that I could put it all in the vise and not flatten the soft copper. Here are the cut parts.
I sanded the copper just as I did with the body and here are the parts in the body, ready to make a 90.
I hold the two pieces together with these great little vise grips. They give enough of a hold, so that I can heat it up and run some solder in there, to solder the copper pieces together.
The copper is soldered into the 90, but there are still some gaps. Since there are a lot of solder joints here, I will just use JB Weld to fill the gaps in.
After putting some JB Weld on, I will let it set for 24 hours, before I do any final finishing of the copper 90. I still need to clean it all up and cut the battery end, so that I have the right depth for a single 14500 to fit in the body tube.
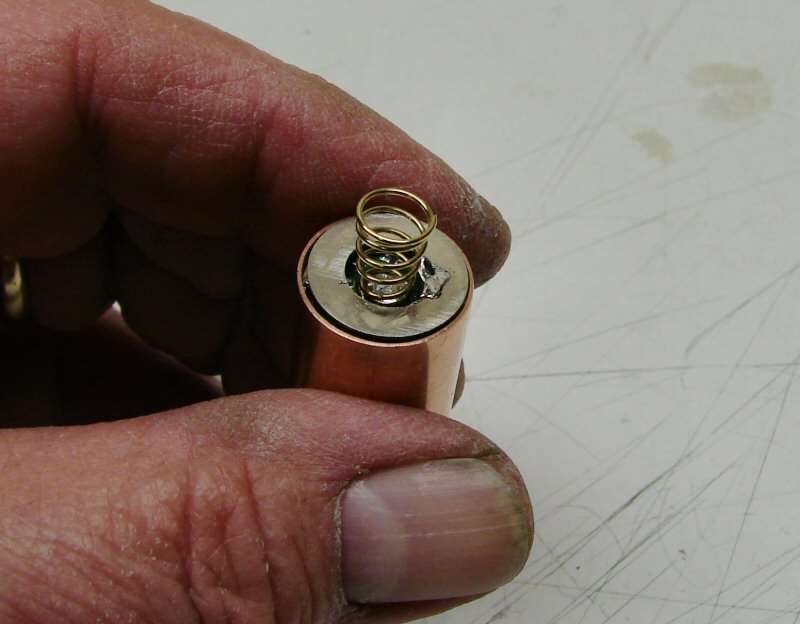
I will use a couple of plastic bushings in the copper, with a couple Nickel Silver rounds, to make positive contacts.
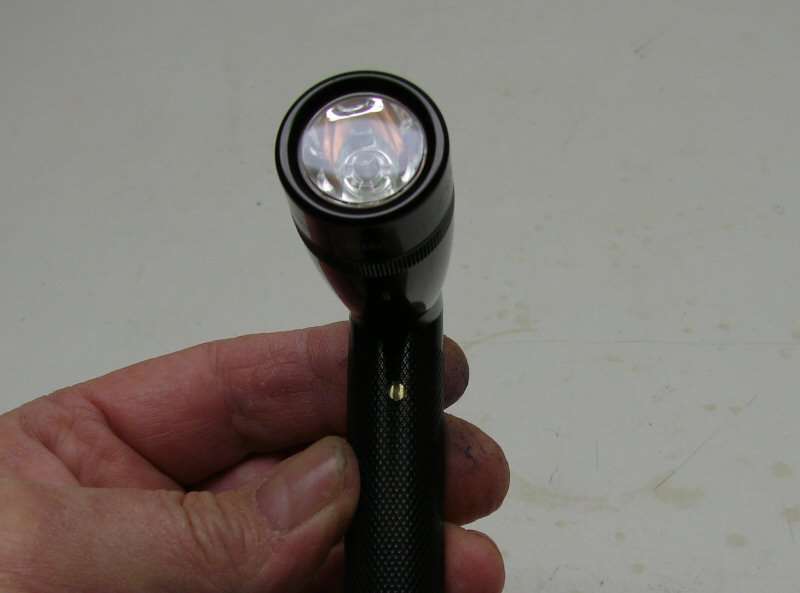
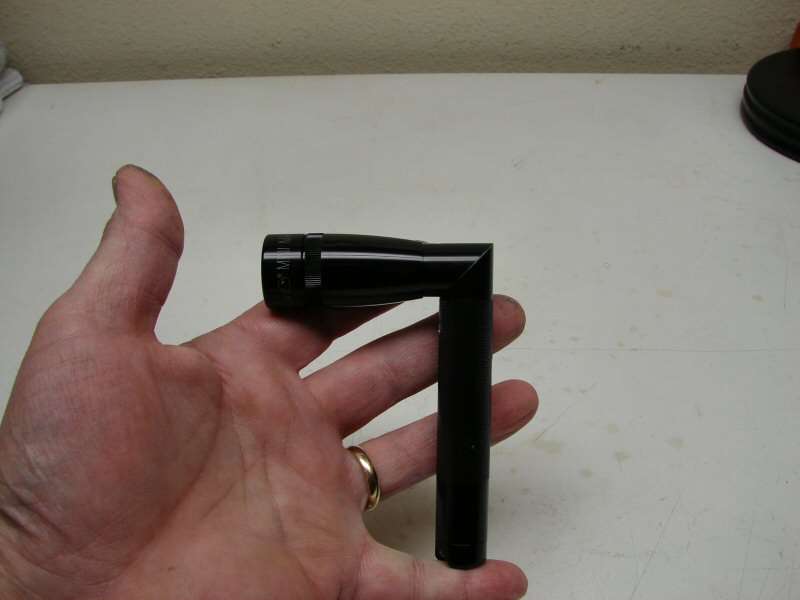
Well, the light is finished. Here's a couple more photos.
The copper insert is done, with the two positive terminals in place.
The plastic plugs are held in place by using a fine point chisel and smacking the copper, to push it into the plastic. It should not move. I did that in three places on each of the plugs. The Nickel Silver rounds are glued in place with Fujik. I am trying out Fuiik instead of Arctic Alumina in some assemblies, because AA is so expensive, but I can tell already that I don't care for the Fujik. It does not harden fast (took 24 hours+), where AA hardens in a few minutes.
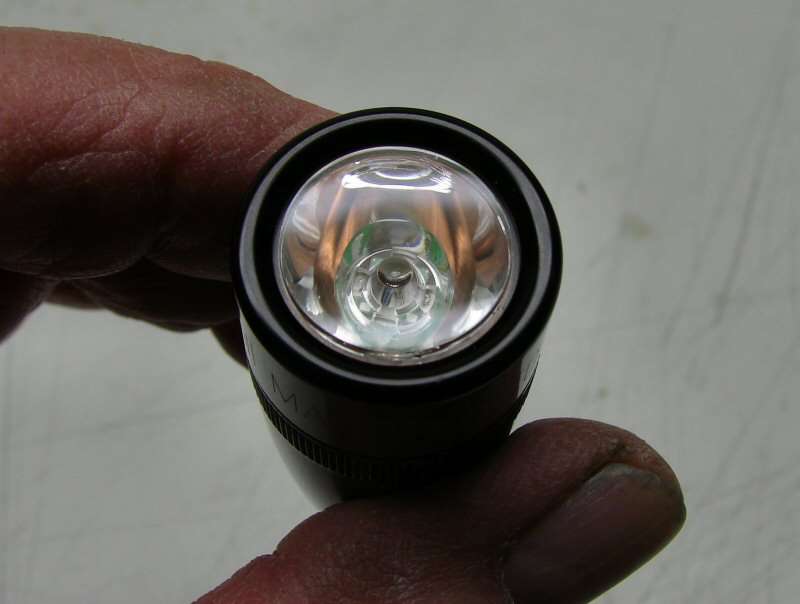
Photos of the finished light.

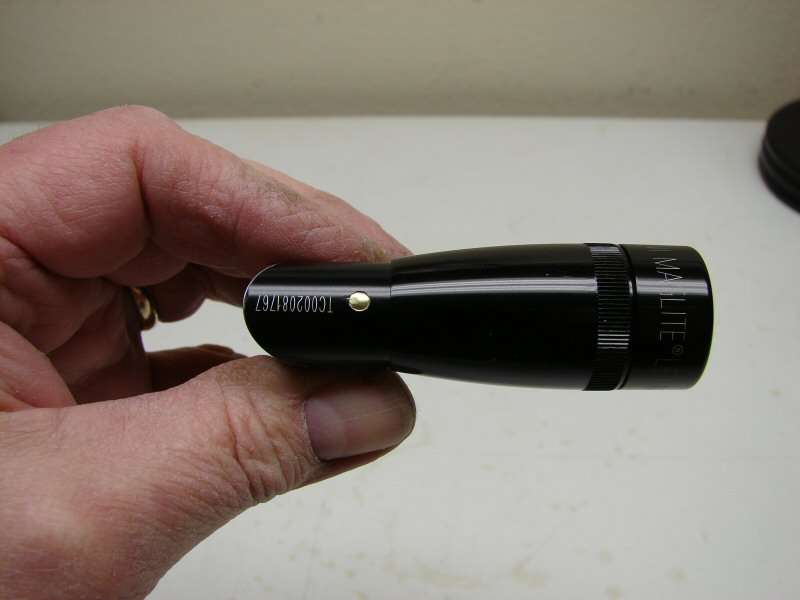


The Brass pins are there, to make sure there is continuity throughout the body. They go thru the body and into the copper insert, so ground is achieved. The Copper pin is a mistake that was turned into a copper pin of larger diameter than the brass.
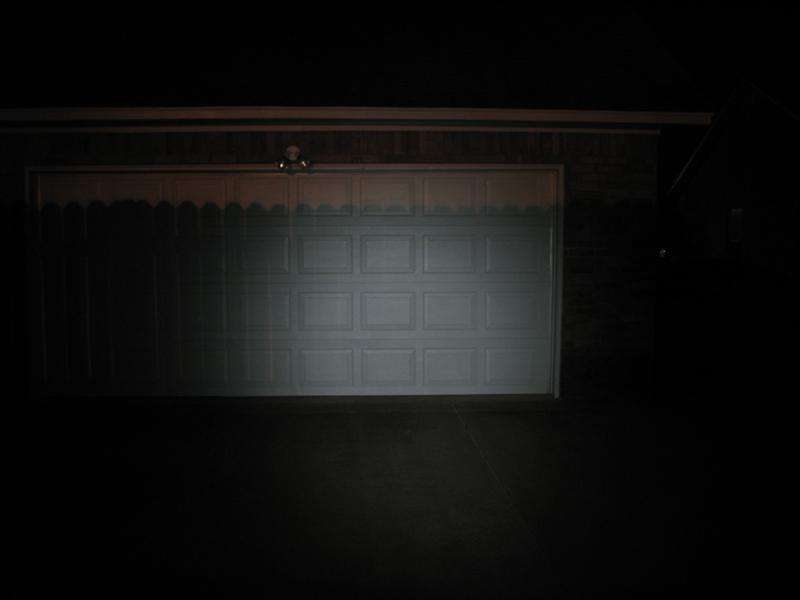
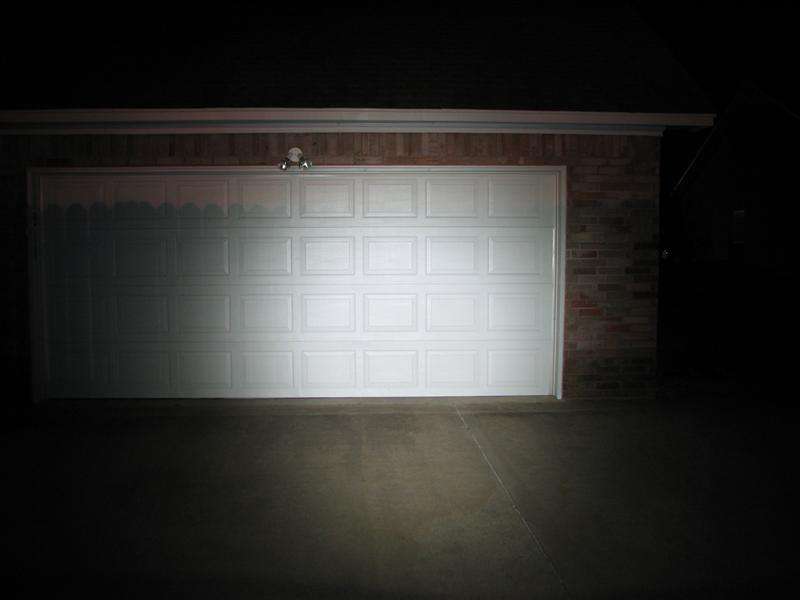
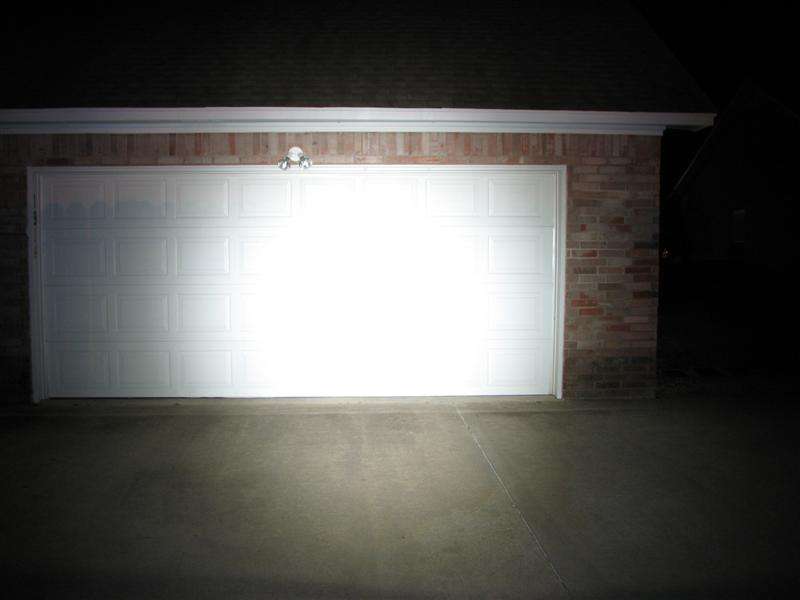
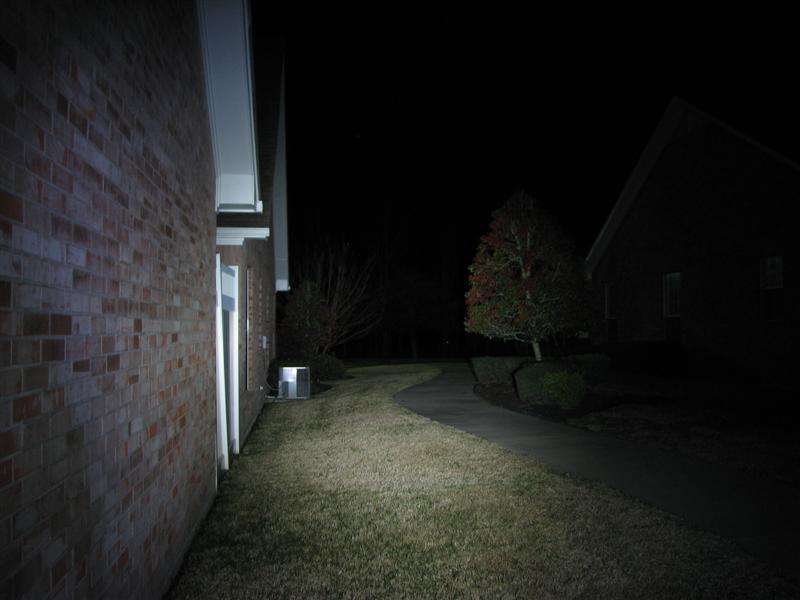
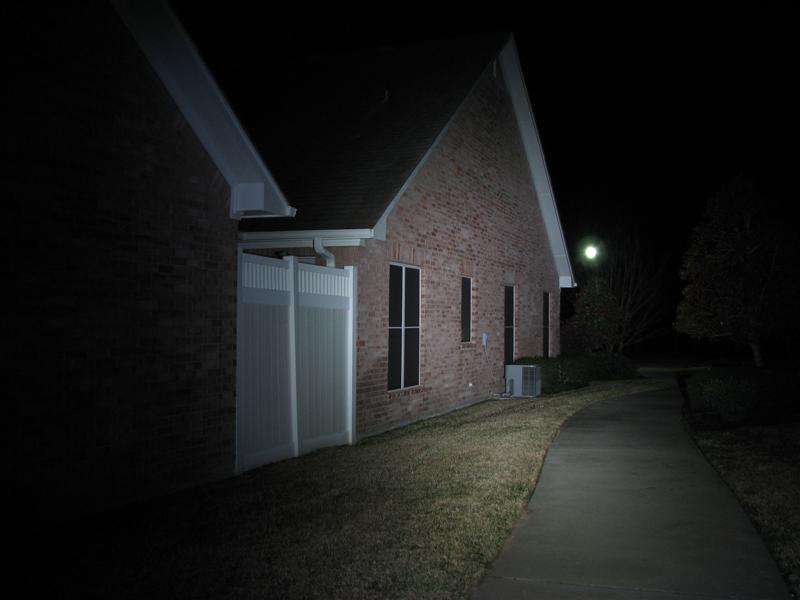
That's it. I will try to take some beam shots tonight and then it will go up for sale. I am not sure of a price, since it is a one off. Maybe it would be better on ebay and let the buyers determine the price via auction.
BEAM SHOTS in Post #7
This one is odd enough that I thought I might post the build here. It started as a 2AA LED Mini-Mag and it will undergo some major surgery and hopefully become a 90 Degree light. I have done one other this way, but it was an Incan. I'm doing the LED because the longer head gives me room for a linear driver, where the Incan was DD.
I need to cut a 45 degree angle across the body, so I used a square and marked a 90 on the table top. Then I measured up an inch each way and marked the 45 degree line.
I just held the body on the table top with clamps and used the line as a guide. I made the cut with a hack saw and then smoothed the ends up with coarse and fine sandpaper blocks, by pulling the pieces across the flat surface of the sanding block.
Here are the two ends, ready to use, to make a 90.
I am using copper pipe to make the inner 90, which will hold the light together. This sleeve will be cut and soldered together, so that the two body pieces fit over it. A 1/2" pipe is too big, so I split it with a hacksaw and then I had to cut it more, to make it fit. The slices are what I cut off.
Of course, a hacksaw is not all that accurate and guesswork allows for errors. Once I tried the pipe, I found it was too small and I had an open slot. Time to make use of those slices that I cut off.
I put one of them and filed it down to fit the open slot. It's a little difficult, but it worked.
Now, it fills the gap and I can commence soldering the pipe.
I soldered the pipe in place, right inside the body. I just slid both pieces of the body in place and heated it all with my small butane torch, till I could run solder on the copper. Let it cool and pull everything apart. You can heat the anodizing hot enough to melt 60/40 solder, without hurting the ano, at least on a Black Maglite you can. Too hot and the color will turn.
That holds it together and after I can go ahead and do a little more soldering. The wires just hold everything together while I solder.
I put the copper pipe back in and mark it for cutting. I cut it while it was in the body, so that I could put it all in the vise and not flatten the soft copper. Here are the cut parts.
I sanded the copper just as I did with the body and here are the parts in the body, ready to make a 90.
I hold the two pieces together with these great little vise grips. They give enough of a hold, so that I can heat it up and run some solder in there, to solder the copper pieces together.
The copper is soldered into the 90, but there are still some gaps. Since there are a lot of solder joints here, I will just use JB Weld to fill the gaps in.
After putting some JB Weld on, I will let it set for 24 hours, before I do any final finishing of the copper 90. I still need to clean it all up and cut the battery end, so that I have the right depth for a single 14500 to fit in the body tube.
I will use a couple of plastic bushings in the copper, with a couple Nickel Silver rounds, to make positive contacts.
Well, the light is finished. Here's a couple more photos.
The copper insert is done, with the two positive terminals in place.
The plastic plugs are held in place by using a fine point chisel and smacking the copper, to push it into the plastic. It should not move. I did that in three places on each of the plugs. The Nickel Silver rounds are glued in place with Fujik. I am trying out Fuiik instead of Arctic Alumina in some assemblies, because AA is so expensive, but I can tell already that I don't care for the Fujik. It does not harden fast (took 24 hours+), where AA hardens in a few minutes.
Photos of the finished light.
The Brass pins are there, to make sure there is continuity throughout the body. They go thru the body and into the copper insert, so ground is achieved. The Copper pin is a mistake that was turned into a copper pin of larger diameter than the brass.
That's it. I will try to take some beam shots tonight and then it will go up for sale. I am not sure of a price, since it is a one off. Maybe it would be better on ebay and let the buyers determine the price via auction.
BEAM SHOTS in Post #7
Last edited:

") .
.