(Moderator - if you prefer this to be posted in Reviews, please feel free to move it - thank you!)
I confess – part of the motivation for this experiment is an ongoing desire to help out my fellow CPF sisters and brothers – part of it is the boredom that a 52 year old man experiences when he hasn't worked for 5 months (hopefully I will soon!) – and part comes from my procrastination as related to getting busy with my grad school research paper that I should be working on! Oh, well.
Whatever the motivation, I found this fascinating and perhaps you will also. We hear about beam shapes and profiles and do beamshots – and many experiment with the 'wall profile' shot. This experiment was an attempt to quantify (as much as possible) a hybrid of the wall profile shot.
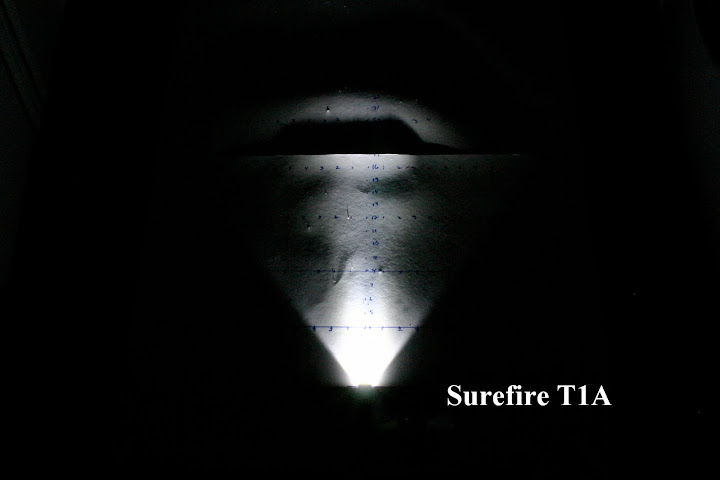
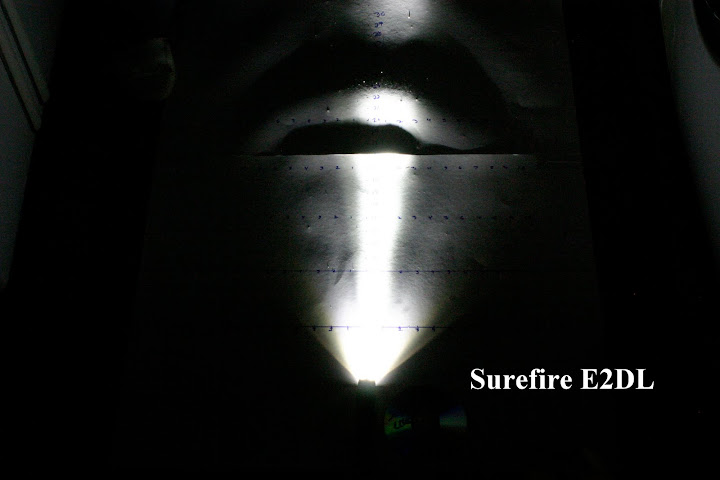
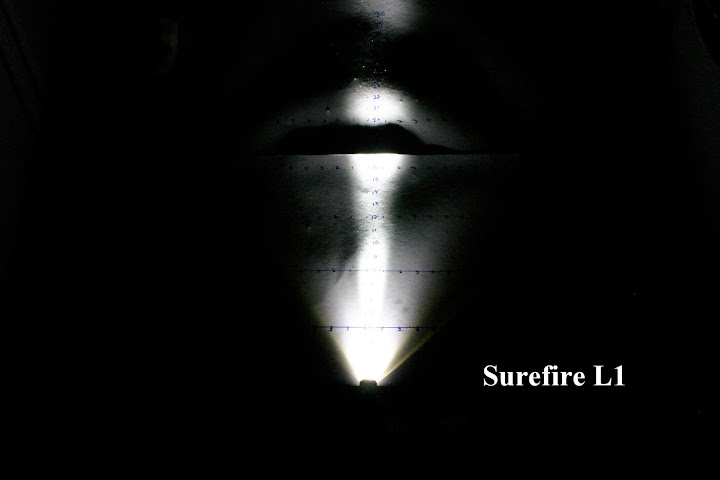
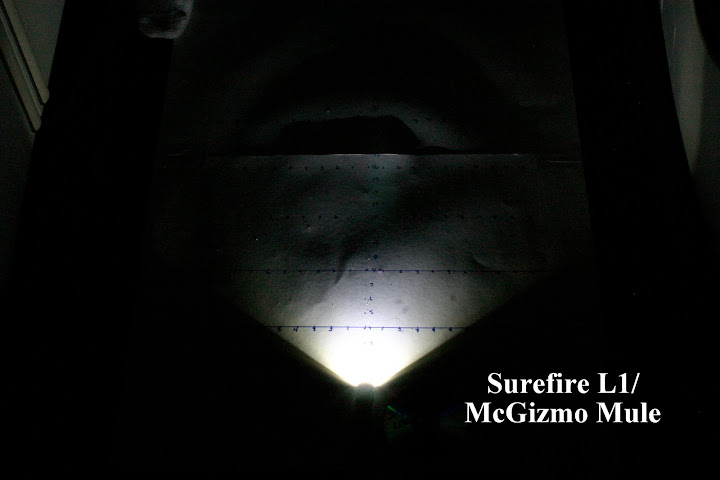
Here's the set up – took 2 pieces of 22x28 poster board and taped them together along the long edge. Then took a framing/sheet rock square and marked it – found the center and marked that spot for placing the light then marked distance from the bezel – in inches – out to 30 inches – marked distance to the sides out from the center in 1 inch increments to 10 on each side – will double each 'reading.'
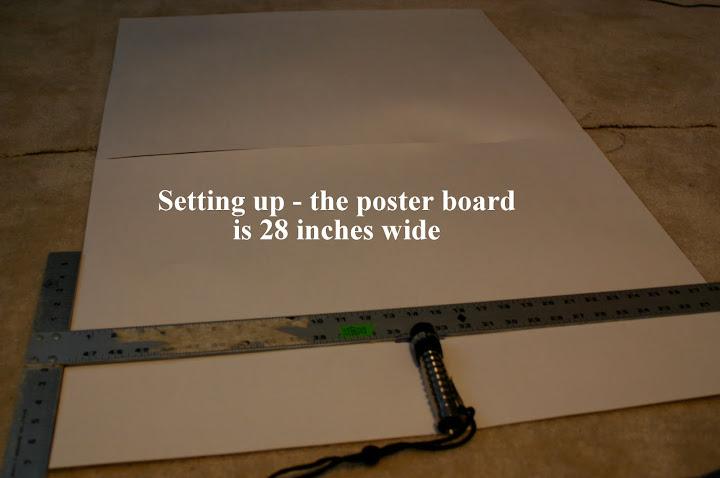
The only disappointment was that the poster board would not lie flat at the joining of the 2 pieces. IF I should set this up again I'll used only one piece of poster, place the bezel right at the edge, and measure from there. None of the lights were really measurable (except the Surefire TIR equipped lights) for width beyond 20 inches or so anyway.
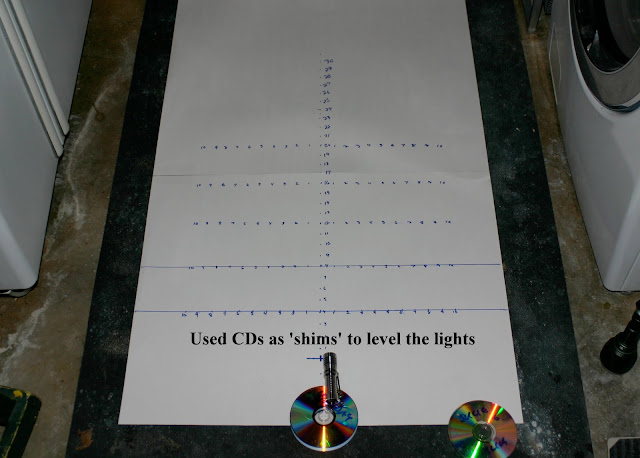
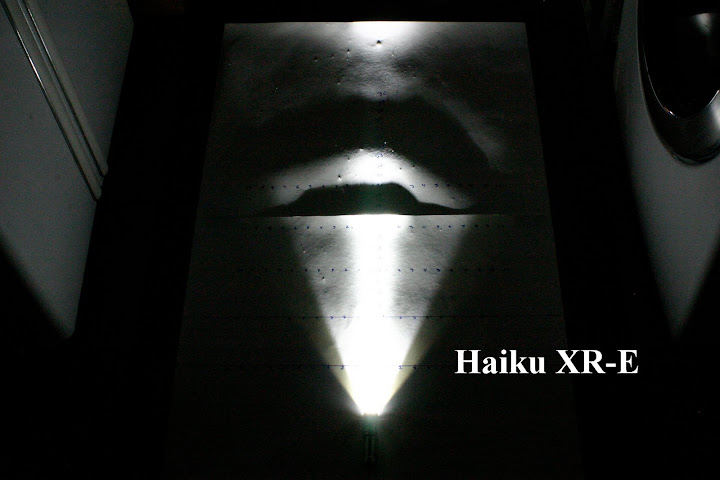
Because of that slight 'bump' in the middle, the beam profile is broken at that point, but I still think the visual is useful. There was more light than the camera would capture - probably need to experiment with those settings more, but live and learn. It is a DSLR and the settings were manual - shutter 1/4 with f/22. Here are photos of all the lights…after the photos you'll find a chart with all the actual values.
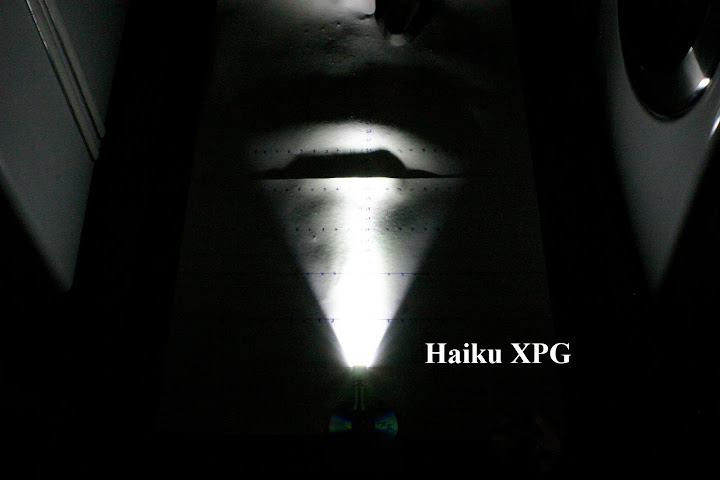
(Although they look similar, I had to set up again and didn't get the camera the same distance - the numbers in the chart reflect a different story...
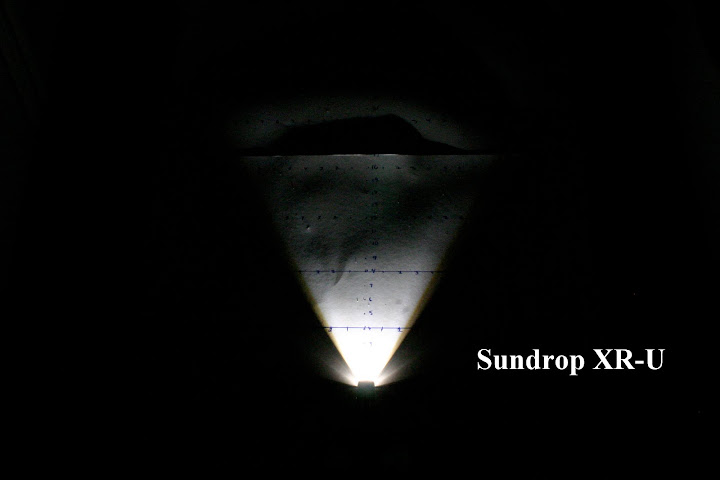
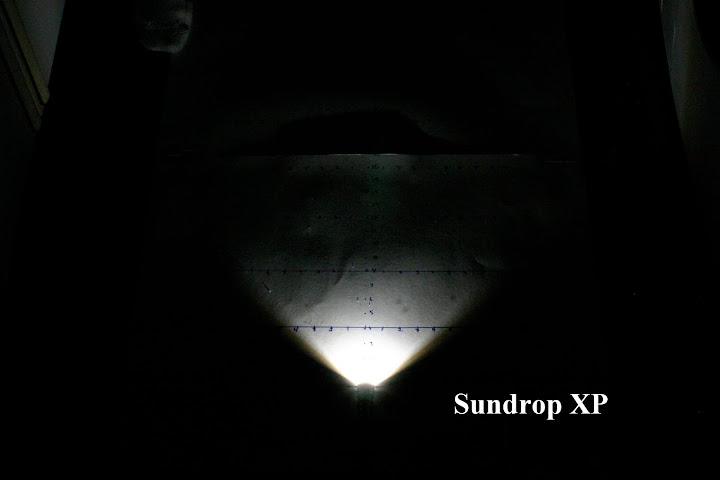
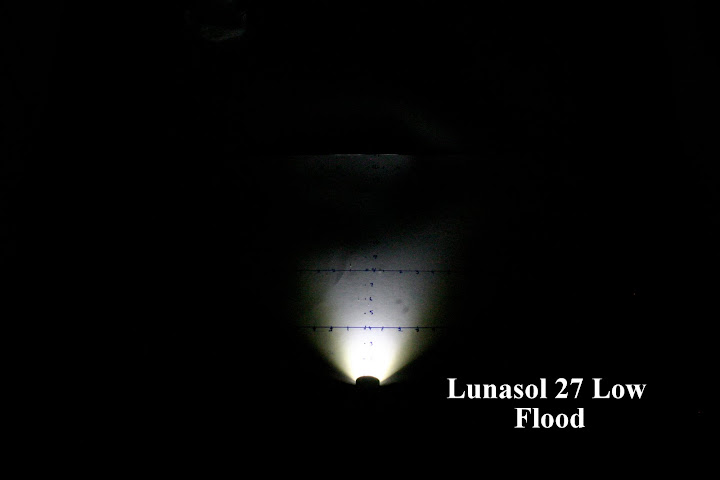
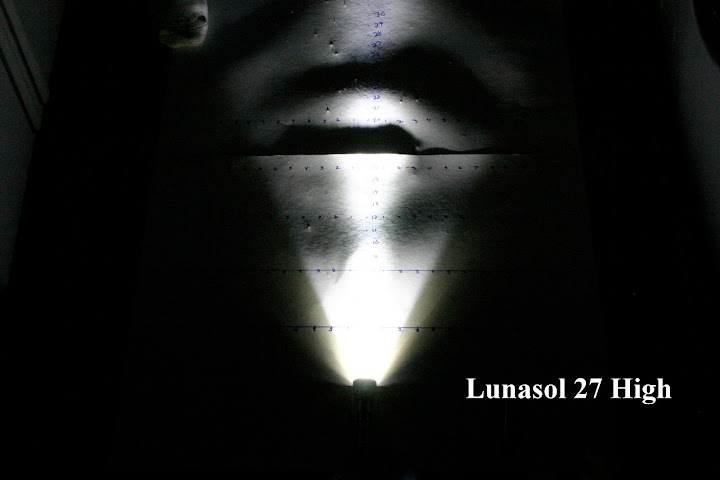
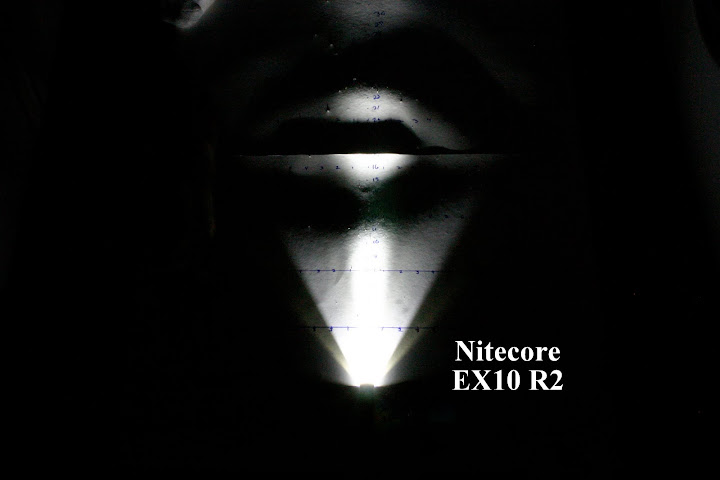
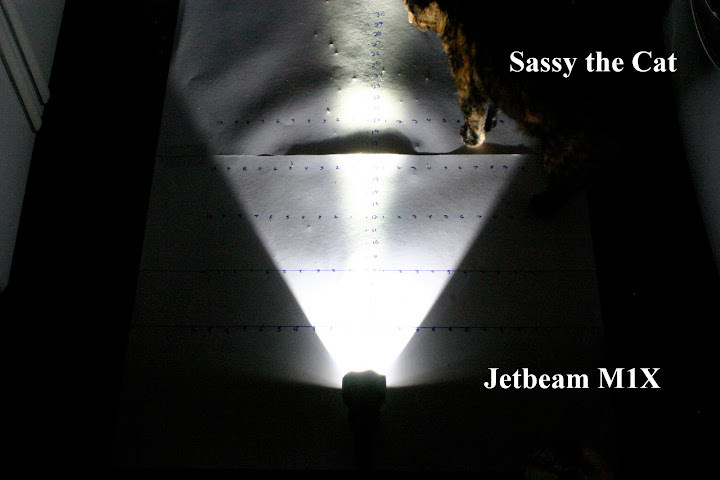
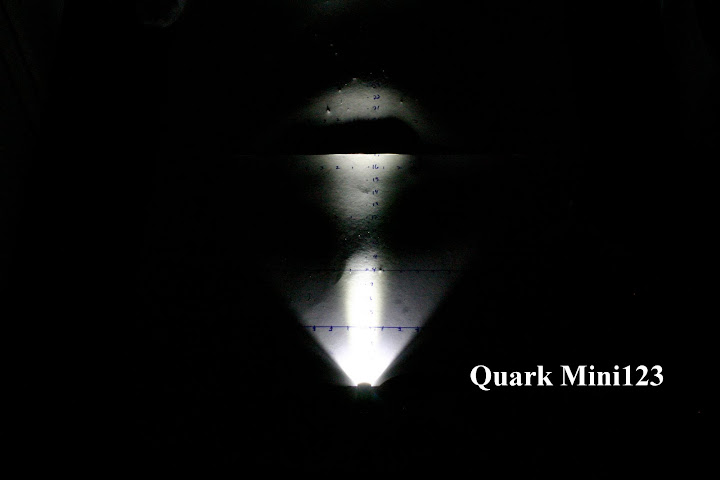
The Creemator you see in the next photo has Milky's focusable optic - I have it set for 'flood'...pretty amazing, 'cause it still has a major league spot.
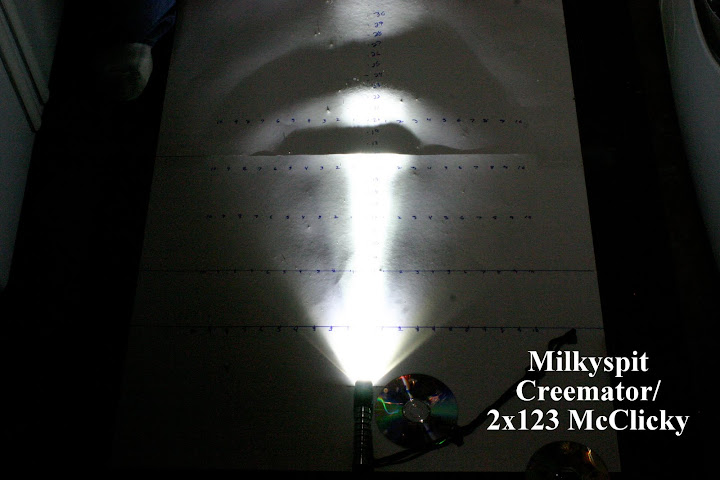
There's a short one minute video that makes comparison easy...
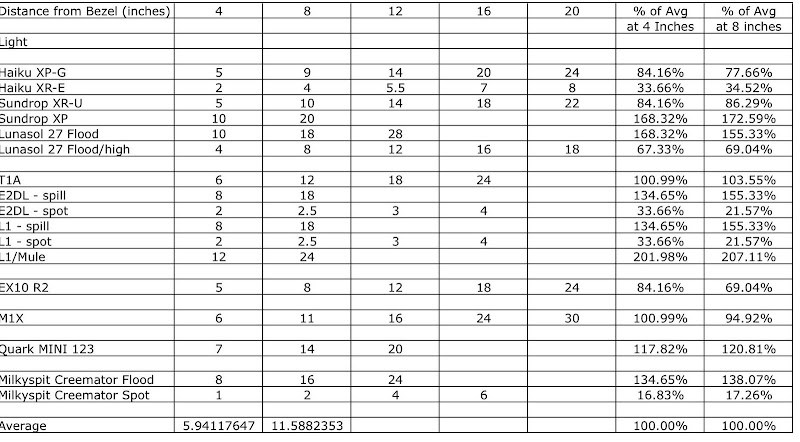
And here are the measurements (if there is no number shown, the beam had extended beyond the 22 inches of the poster board):
Don't know if this is useful, but it does help me better understand the differences in these lights. Scout24 sent his Haiku XR-E - should arrive today - I'll test it, too, and add it to the mix. When my PD-S returns from being converted to a PD-XPG I'll test it, too. My light collection isn't as large as it once was, but this should capture a decent sampling of what is available out there.
(Updated to add the Haiku XR-E - thanks, Greg!)
Hope this helps someone!!

I confess – part of the motivation for this experiment is an ongoing desire to help out my fellow CPF sisters and brothers – part of it is the boredom that a 52 year old man experiences when he hasn't worked for 5 months (hopefully I will soon!) – and part comes from my procrastination as related to getting busy with my grad school research paper that I should be working on! Oh, well.
Whatever the motivation, I found this fascinating and perhaps you will also. We hear about beam shapes and profiles and do beamshots – and many experiment with the 'wall profile' shot. This experiment was an attempt to quantify (as much as possible) a hybrid of the wall profile shot.
Here's the set up – took 2 pieces of 22x28 poster board and taped them together along the long edge. Then took a framing/sheet rock square and marked it – found the center and marked that spot for placing the light then marked distance from the bezel – in inches – out to 30 inches – marked distance to the sides out from the center in 1 inch increments to 10 on each side – will double each 'reading.'
The only disappointment was that the poster board would not lie flat at the joining of the 2 pieces. IF I should set this up again I'll used only one piece of poster, place the bezel right at the edge, and measure from there. None of the lights were really measurable (except the Surefire TIR equipped lights) for width beyond 20 inches or so anyway.
Because of that slight 'bump' in the middle, the beam profile is broken at that point, but I still think the visual is useful. There was more light than the camera would capture - probably need to experiment with those settings more, but live and learn. It is a DSLR and the settings were manual - shutter 1/4 with f/22. Here are photos of all the lights…after the photos you'll find a chart with all the actual values.
(Although they look similar, I had to set up again and didn't get the camera the same distance - the numbers in the chart reflect a different story...
The Creemator you see in the next photo has Milky's focusable optic - I have it set for 'flood'...pretty amazing, 'cause it still has a major league spot.
There's a short one minute video that makes comparison easy...
And here are the measurements (if there is no number shown, the beam had extended beyond the 22 inches of the poster board):

Don't know if this is useful, but it does help me better understand the differences in these lights. Scout24 sent his Haiku XR-E - should arrive today - I'll test it, too, and add it to the mix. When my PD-S returns from being converted to a PD-XPG I'll test it, too. My light collection isn't as large as it once was, but this should capture a decent sampling of what is available out there.
(Updated to add the Haiku XR-E - thanks, Greg!)
Hope this helps someone!!
Last edited:

