Help with modding Jetbeam M1X with neutral MC-E

The_Driver

Flashlight Enthusiast
Joined
Jan 6, 2010
Messages
1,177
Location
Germany
Hi,
like the title says i want mod my M1X with a neutral tinted Cree MC-E. As far as I can tell it should be relatively easy for an experienced modder. Unfortunately I'm not one of those :laughing:.

I want to use a Cree K-bin MC-E with a 5A-Tint.

Here is what I already know:
-The MC-E is mounted on a 20mm star in a 2s2p configuration
-Jetbeam has used a soft white thermal-grease to keep the led cool

What are the materials i would need to mod my M1X?
Where can I get the required led on a 2s2p-star? (I live in Germany)
What thermal-grease should I use?
Should I mix it with epoxy?

Thanks,
The_Driver
 
Is the Jetbeam led star screwed or fastened down to the body?
Or is the soft white thermal compound like silicone?
If so it could be silicone, silicone will transfer heat just not as well as most accepted thermal grease.
Mixing thermal grease with epoxy fouls the epoxy and the cure isn't as good.
Mixing a metal component in with the epoxy is better.
You could buy a 5A MC-E from Cutter on a 20mm Individual Access star and just swap it for the one you have. Add a jumper wire to create the 2s2p configuration. I live in USA and New Zealand is where I buy from.
 
No, the star isn't fastend to the pill on which it sits. Selfbuilt posted a nice picture of the pill with the star in his review here.

The star seems to be only held down by the two wires which are soldered onto the contact pads.

Wouldn't it make sense to use new thermal paste / epoxy when mounting the new star?

Here is all the thermal paste I have:
-12g Arctic Silver 5
- 2 x Thermalright "The Chill Factor" 8g
- Thermalright "Chill Factor 2" 2g

Couldn't I just mix one of those with/without epoxy to mount the new star?

How would I need to wire the star?
Can i use any type of wire as a jumper wire on the star?

:thanks:
wiring.jpg

The Jetbeam uses a white wire for ground but I used a black in the picture
Use the smallest wire you have that won't melt and burn from soldering iron. The wires in USB cables are often teflon coated stranded wire. If you have an old usb mouse or other unused cable consider sacrificing it.
Also keep the wires and solder really low to avoid grounding to the back of the reflector.

If you want to use a grease/epoxy blend try out a test before hand and see how the adhesion holds up.
You could also use just thermal grease and then superglue the corners of the star where they touch the body. It looks like the star touches the sides. Just don't put the head together before the fumes dissipate or you could get some problems. Superglue fumes will settle on surfaces and harden into an opaque film that doesn't come off where ever there is oils and grease. Look up superglue fuming its a forensic technique.
 
Thanks, your drawing and your explanation really helped me.
I have another question:
Wouldn't it be easier to just use thermal-compound adhesive
(Cutter has some here)
or is a mix of thermal coumpound with epoxy better?

Which method of mounting/heatsinking the led would recommend and why?
 
Arctic Alumina Adhesive is what I use and most other modders
Artic products are the best thermal adhesives available.
Just clean the heatsink with some Isopropyl Alcohol on a q-tip good to get the old grease off and use a thin layer of Arctic epoxy. The thinner the better.

IN CASE ANYONE IS INTERESTED IN SALVAGING MATERIALS
I just cut a usb cord off a broken D*ll keyboard and it has Teflon 7 stranded wire inside. Red and black are about 24ga. and white and green 28ga.
 
Ok, yesterday I ordered the MC-E and Arctic Alumnia Adhesive from cutters. Should be here in a couple of weeks. I think I'll take some pictures a post them here when I do the emitter swap.
 
The MC-E and the thermal eadheisve have arrived. I will try to take and post some pictures of when I do the mod, but it will take a few days.
 
I have all the materials now and will probably do it today. I am going to use a thin wire (0.25mm) wire with silicon insulation as bridge wire. I will try to take some pictures during the process, but I can only use my cell phone at this time (nokia e90). I might even try to do some beamshots and compare it to my Fenix TK20.
 
I have finally swapped the emitter in my Jetbeam M1X for a Cree MC-E K-Bin 5A-Tint (neutral-tint). It worked out great. When using the light outside and even inside it seems noticeably brighter then before with the cold tint (because common colors like red and brown are actually lit brighter).

Here is what I did:

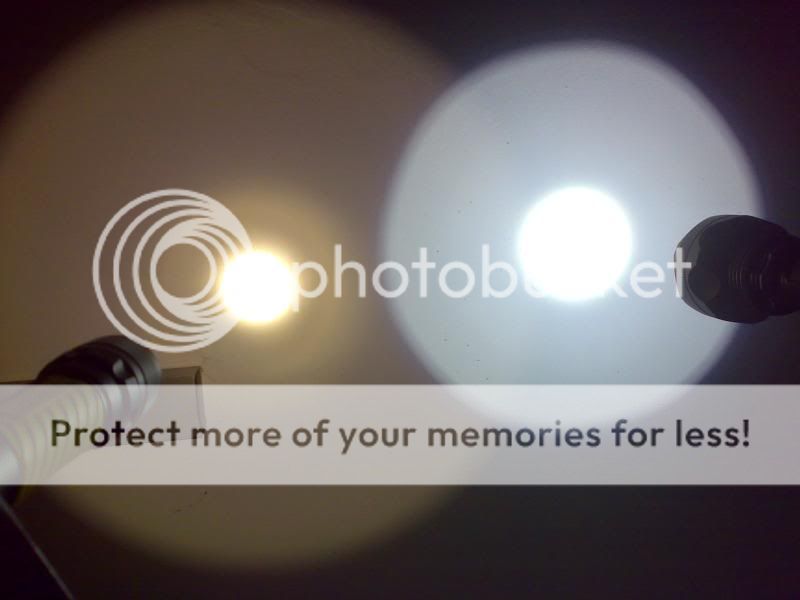
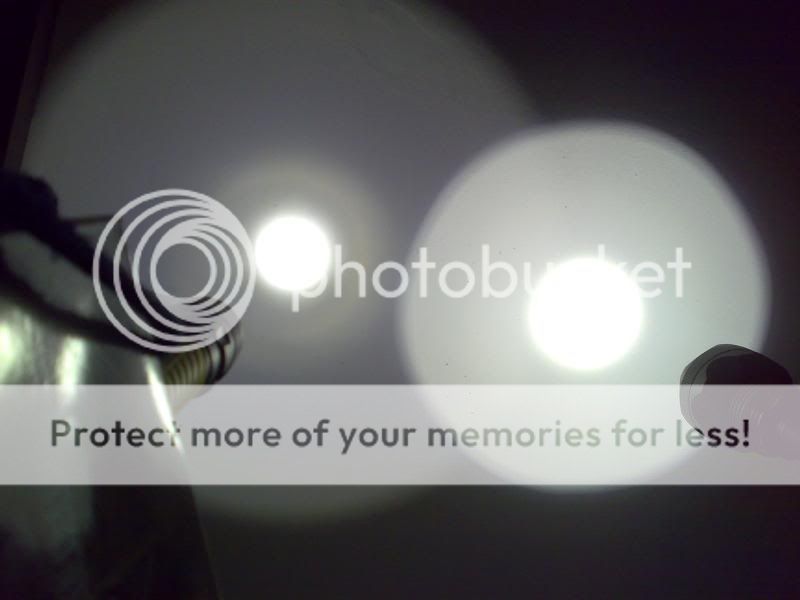
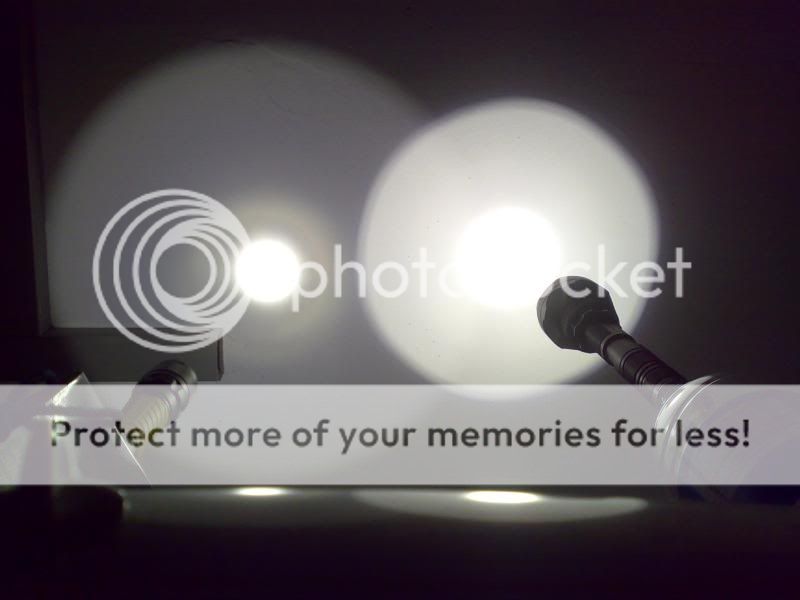
1. I took a beamshot on the white ceiling of my basement comparing the unmodded M1X to my Fenix TK-20 which already has a neutral tint Cree XR-E Q2 emitter.

mo1_mod_0006.jpg


mo1_mod_0005.jpg


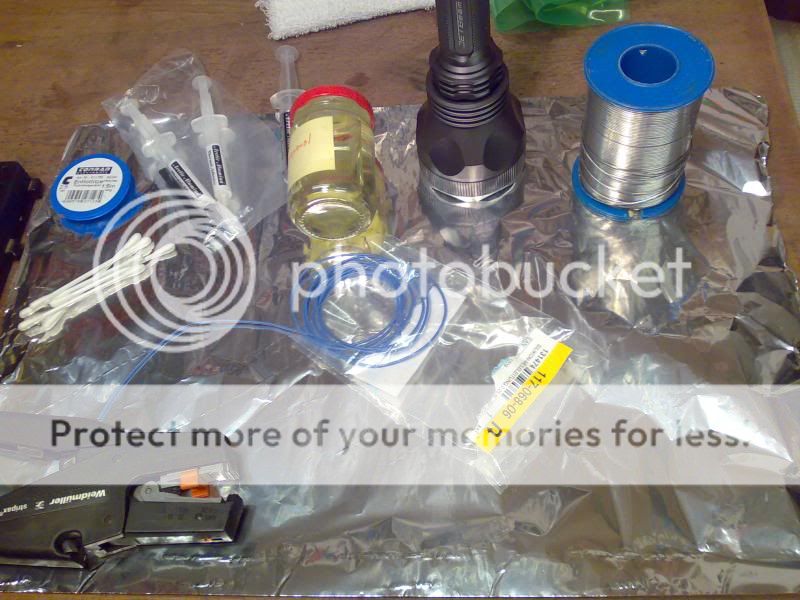
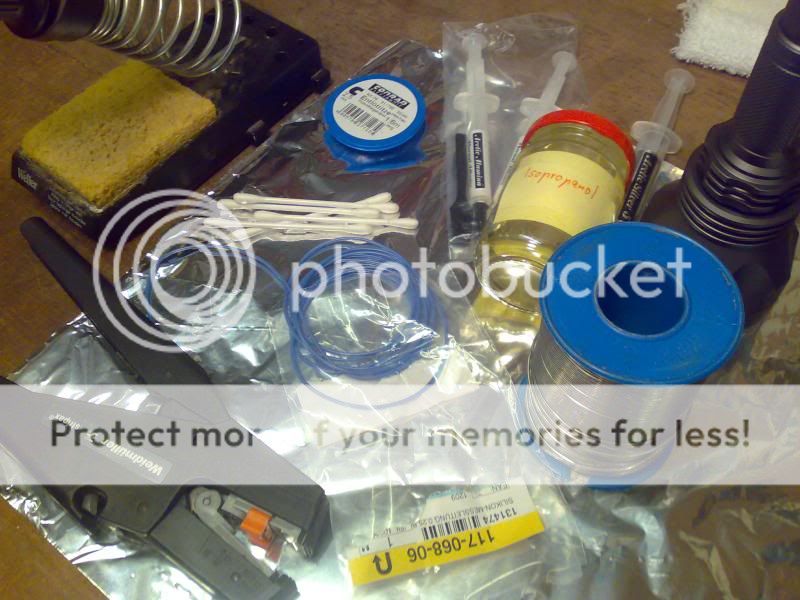
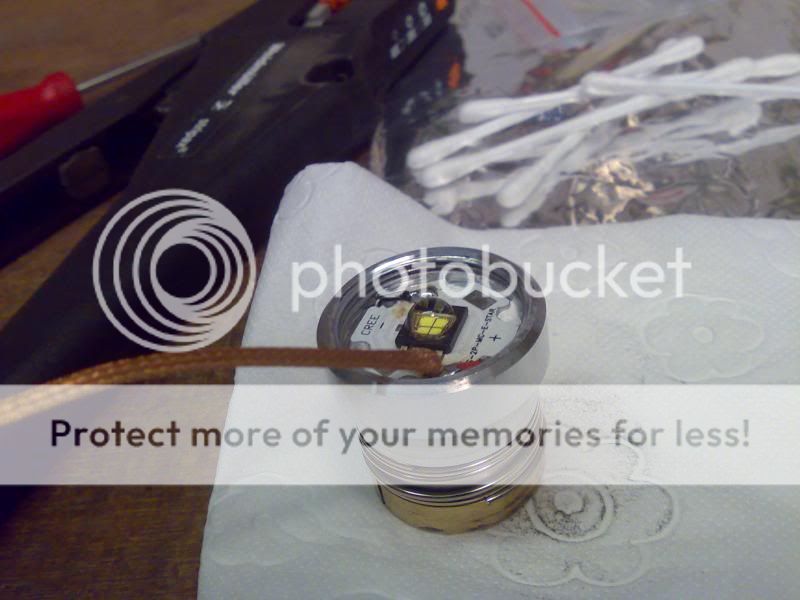
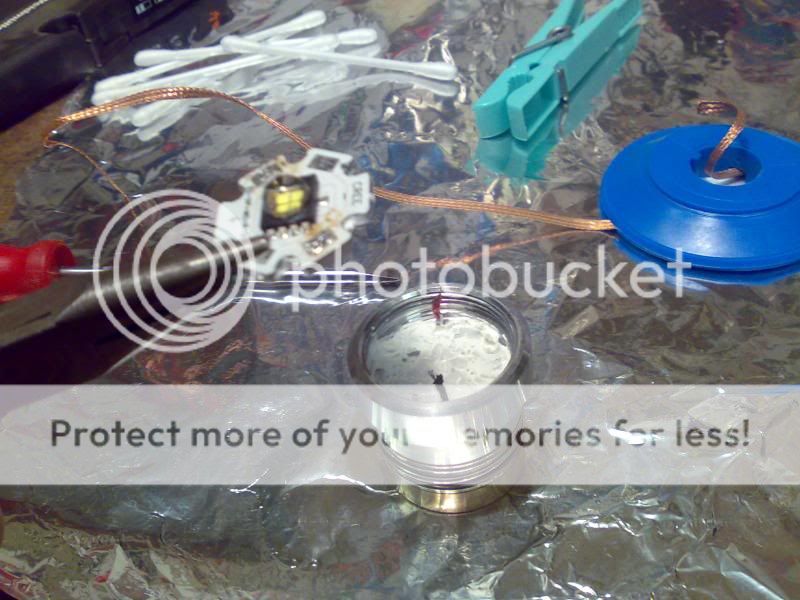
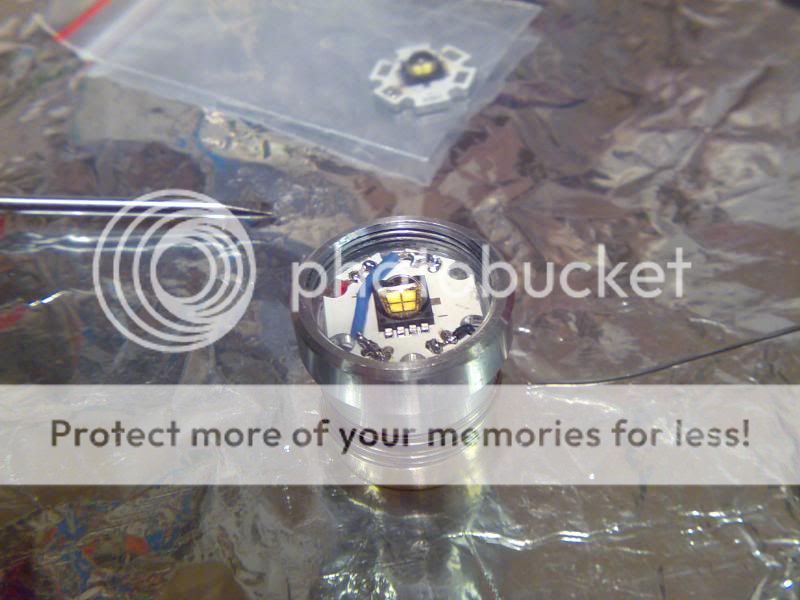
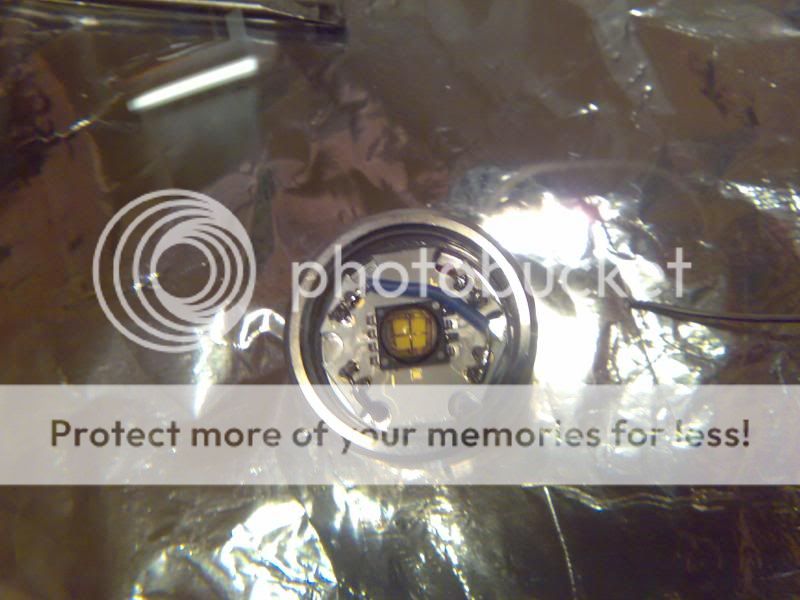
2. I gathered all my materials and tools and took the head of the light apart.

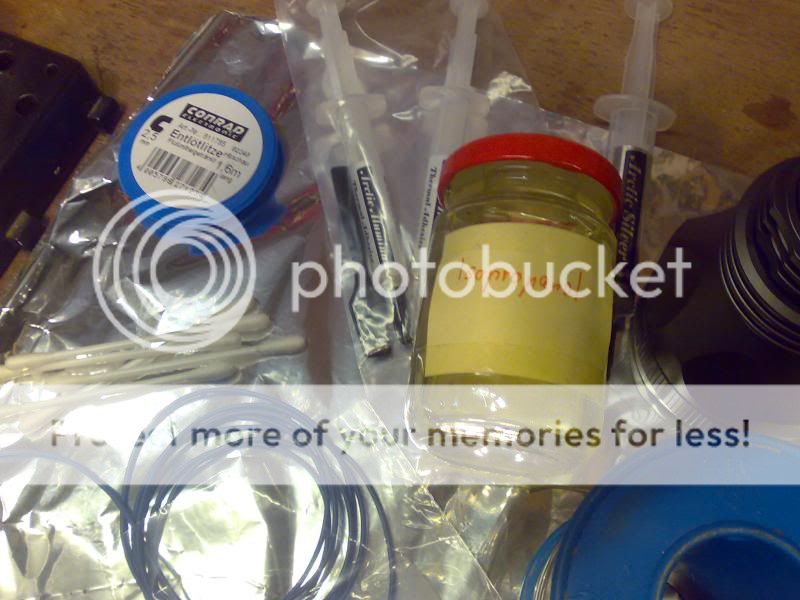
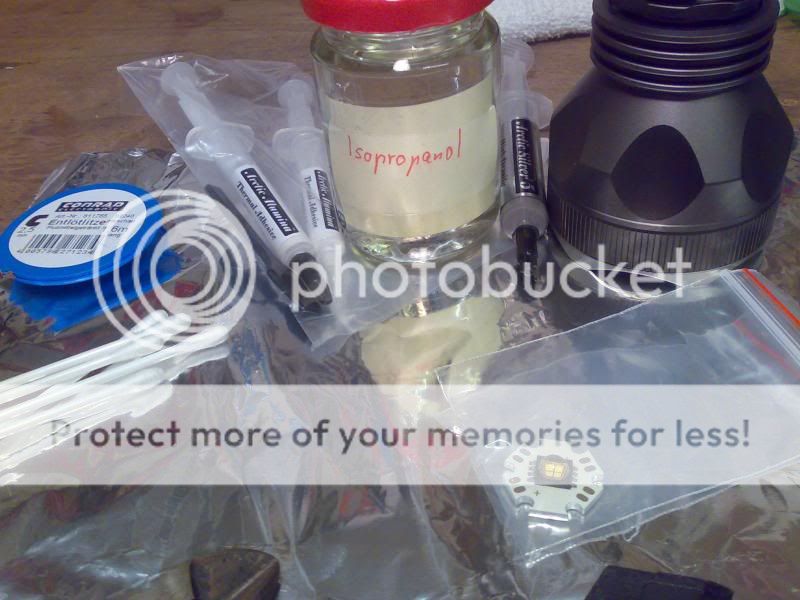
mo1_mod_0001.jpg


mo1_mod_0002.jpg


mo1_mod_0003.jpg


mo1_mod_0004.jpg


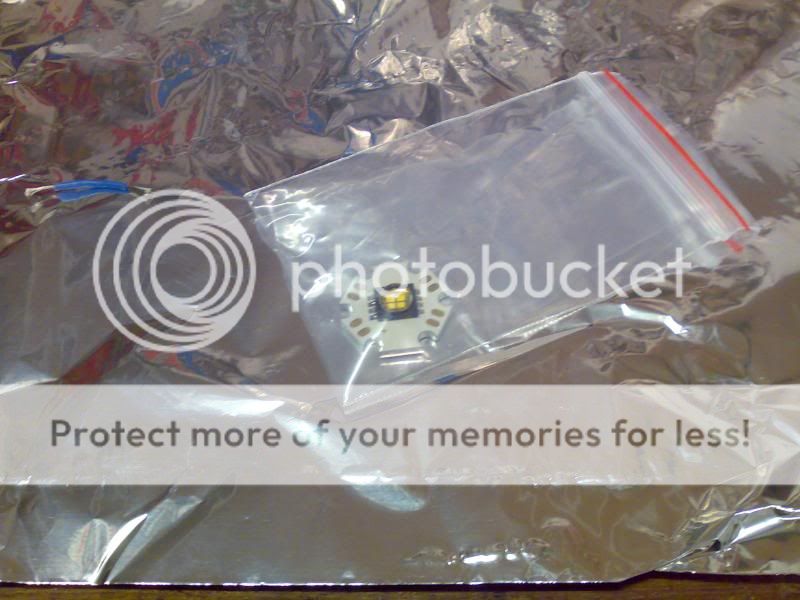
3. I got the new emitter. It is mounted on a 20mm-star-pcb with individual access to all of the dies.

mo1_mod_0007.jpg


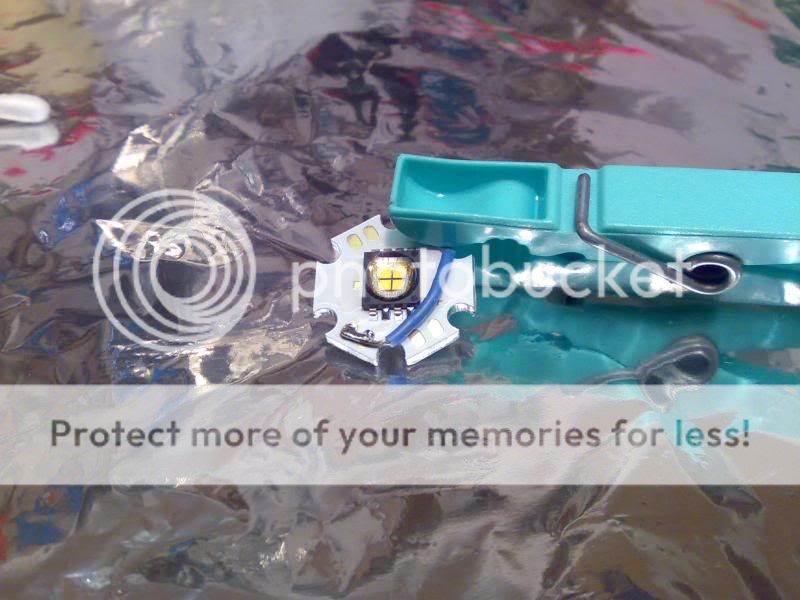
Since the emitter in Jetbeam is connected in a 2s2p-fashion I had to solder a jumper wire onto the pcb from the new emitter. I used wire with silicon-insulation (which is almost as temperature-resistive as teflon-coated wire, but far more flexible and probably cheaper too :twothumbs) and a thickness of 0,25mm. You can order it here.

mo1_mod_0008.jpg


4. I then desoldered the wires on the emitter on the pill from the M1X.

mo1_mod_0011.jpg


5. Since the emitter on the pill was not mounted with epoxy, but with a soft silicon like thermal grease I could now just remove it.

mo1_mod_0012.jpg


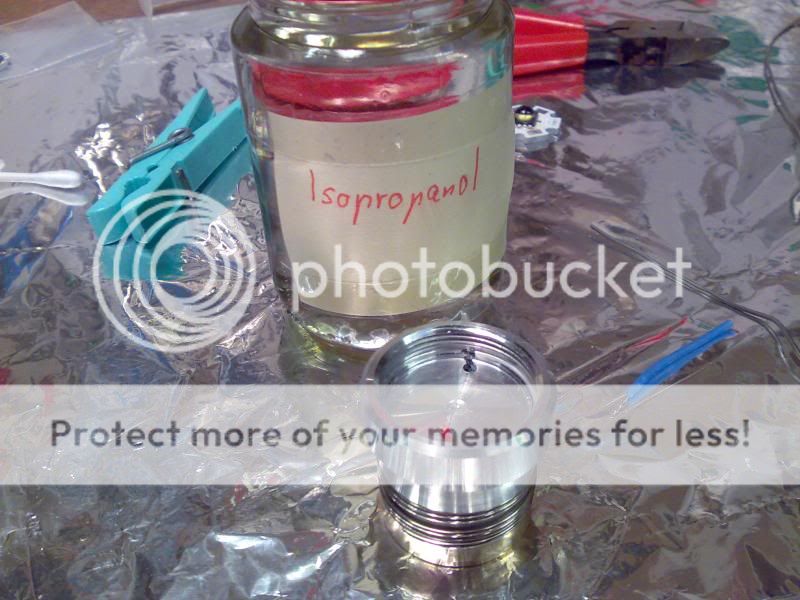
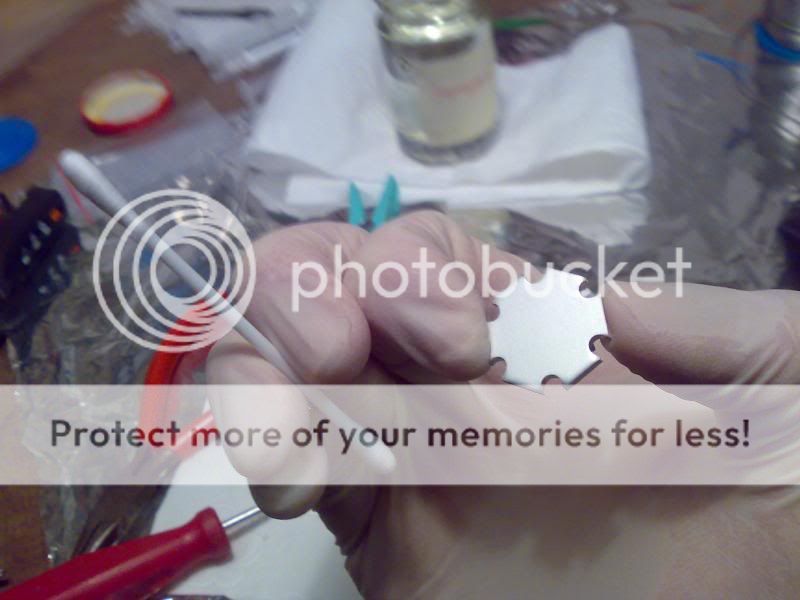
6. Now I removed all of the silicon off of the pill and then wiped it with Isopropyl Alcohol (in Germany we call it Isopropanol) using Q-Tips.

mo1_mod_0013.jpg


7. I then checked to see if the new emitter-star-combo fitted nicely into the pill and suprise it did :laughing:.

mo1_mod_0014.jpg


8. Now I also wiped the new emitter's star-pcb with isopropyl alcohol.

mo1_mod_0015.jpg


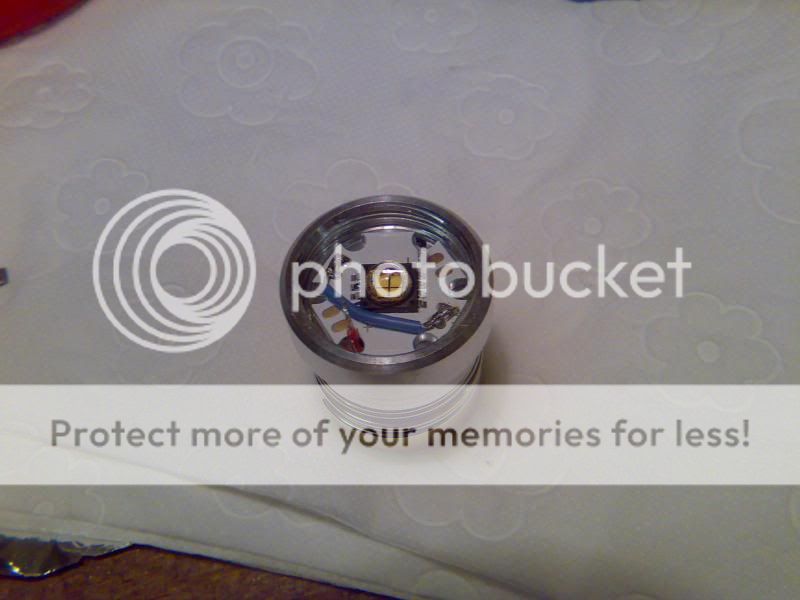
9. I then mixed my Arctic Alumnia thermal-epoxy and glued the new emitter onto the pill. After that I soldered the 2 wires onto the pcb like nein116 showed me (thanks again).

mo1_mod_0016.jpg


mo1_mod_0017.jpg


Finally I was done :twothumbs. I then let the epoxy dry a little and then tested it to see if it works and it did :devil:.

I took more beamshots again comparing it to my TK-20. Remember the ceiling is white, but my camera was set to automatic.

mo1_mod_0018.jpg


I then went farther away with my camera and took more shots.

mo1_mod_0019.jpg


mo1_mod_0020.jpg


In conclusion I would say that the mod was definitely worth it and that I recommend it to anyone who has some soldering skills (I'm not saying that I'm very good at it). The only drawback that I want to mention is that the tint is more yellow than that of my TK-20, which seems like pure white in comparison.
 
Last edited:
Thanks rayman :twothumbs. This mod has made the light about twice as useful as before (for me) because you can actually tell what you're looking at when looking at something farther away. In addition to this the neutral tint makes it look brighter outside than the cold tint.
 
Nice mod! I love the color of the neutrals! Its a pity you dont have a outdoor beamhots before the mod to compare now! or do you have? :grin2:

Cheers
Dioni!
 
Tanks Dioni,
but sadly I don't have any outdoor beamshots of the light comparing it to when it still had the cold tint. The problem was that at the time of the mod I only had my cell phone camera to take pictures which doens't work well in low light conditions (you can't see the beam or the spill at all) and has no real manual mode :mecry:.
 
Top