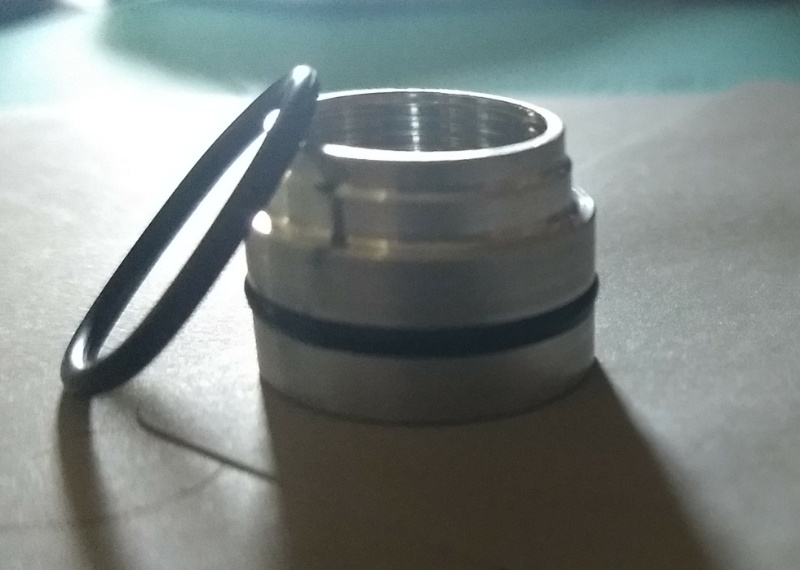
Do you have the one with an o-ring in the middle?
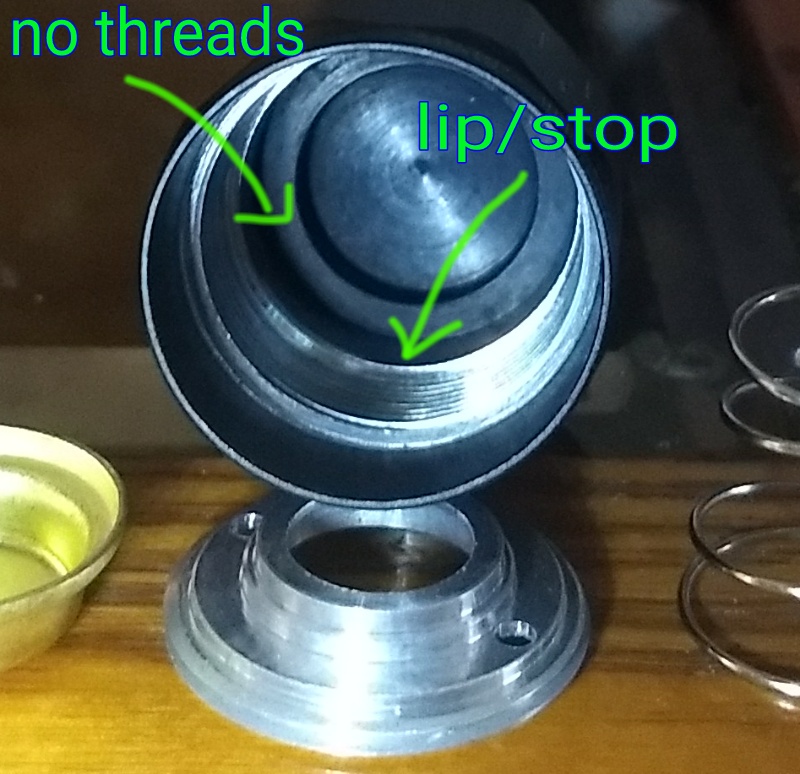
Chris said he oversized it slightly so it won't fall out when changing batteries. It seems that perhaps if it was threaded that would be better because once it's 'pushed' in, it aint going to want to come back out.
https://web.archive.org/web/2015070...ghtreviews.com:80/reviews/pelican_clickie.htm
Here are some instructions.
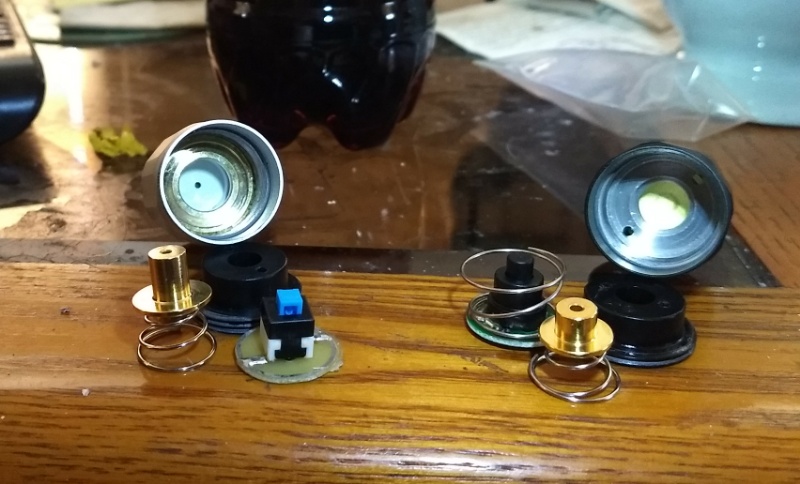
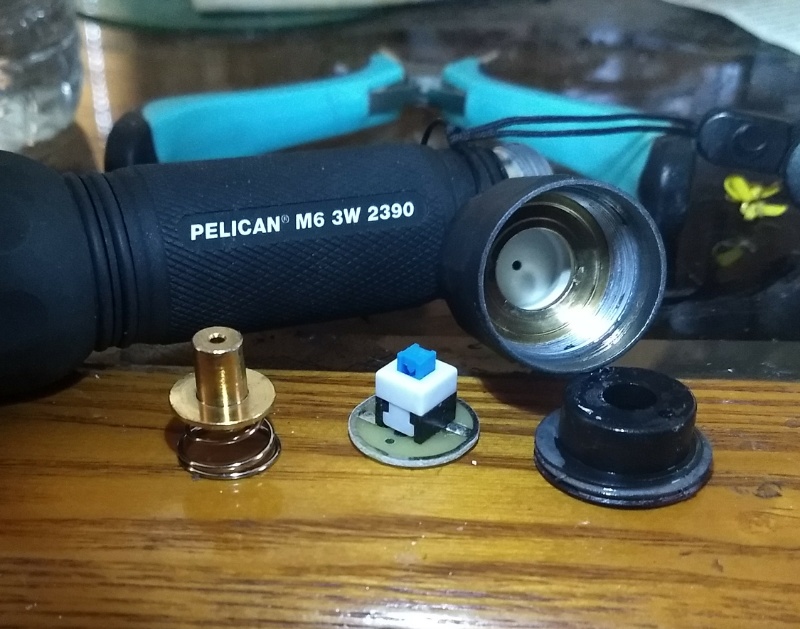
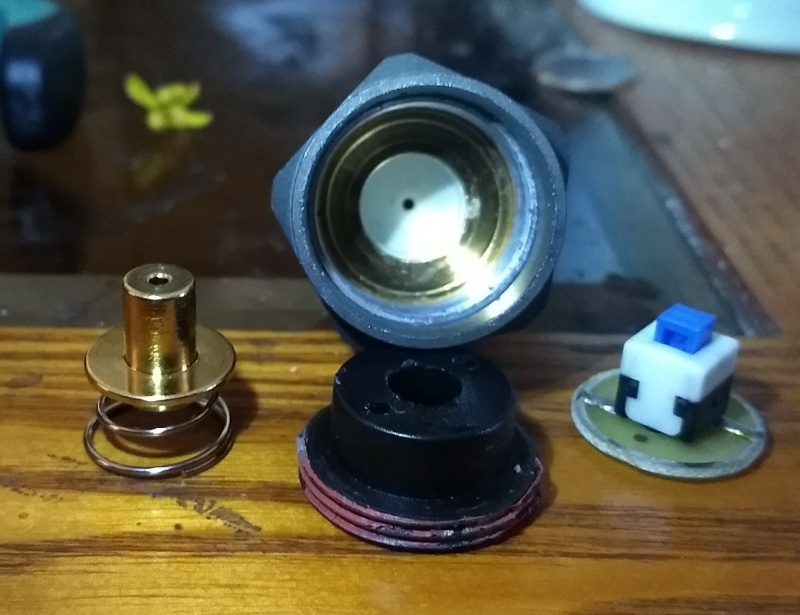
I have 2 types of clicky assemblies. Left is the older one that broke. Right is a newer one made in about 2014.
I swapped parts to the silver tailcap.
The brass coated alluminum disk in the older one was glued in. Plus no holes to remove the disk. I drilled holes to remove it later.
The brass covered alluminum disk was left in and 'guts' above that disk from the black tailcap are now in the silver one and it works great.
I'll confirm from FLL if the new sleeve is supposed to be banged in or trimmed with a dremel (or other tools).