Ol' *******: vintage Big Beam, modern Streamlight

RacinPason

Newly Enlightened
Joined
Dec 23, 2014
Messages
28
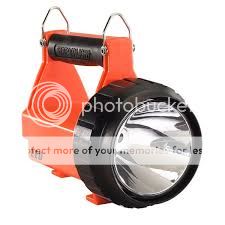
So a few weeks ago a friend of mine dropped the coin on a Streamlight Fire Vulcan LED. I was automatically inpressed with the amount and quality of the light! It's amazing that that much light can come from such a small package. Long story short, I hate the orange, plastic housing :green:


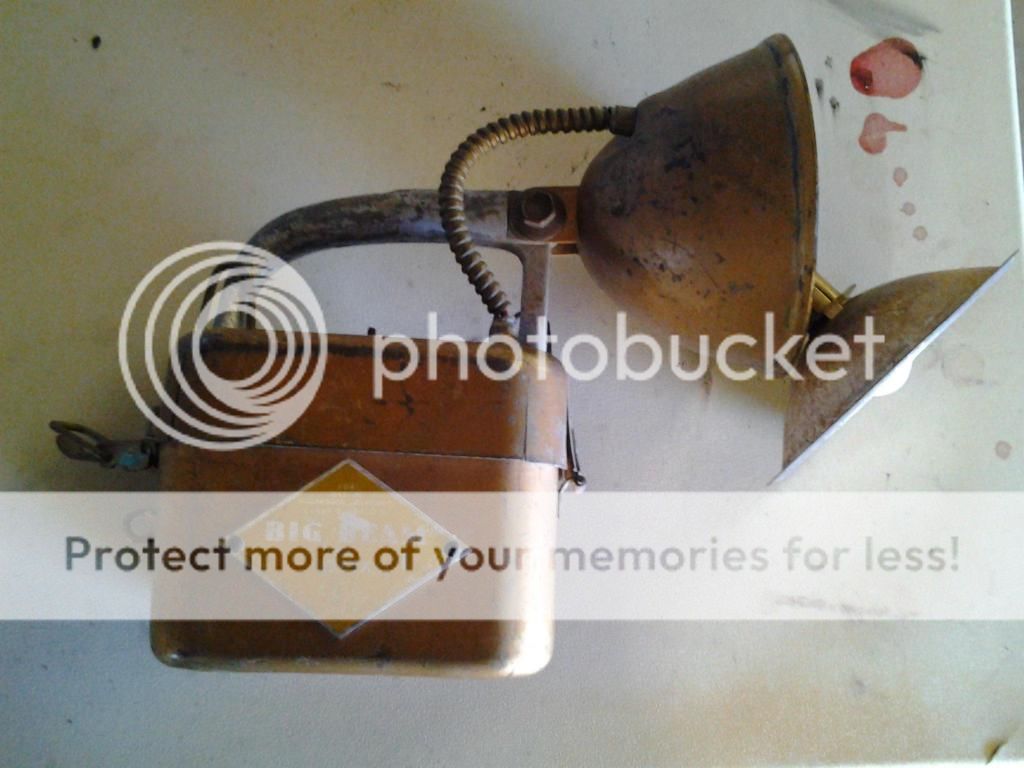
I have an old Big Beam 211 that is in nearly mint condition, which makes it hard to cannibalize. I might look for another on in a bit rougher shape for this project. The Plan: gut the Vulcan and transplant the goods to the Big Beam!:shakehead I'm still waiting for the Vulcan to show up but as soon as it does, it's Frankshine Tyme!


Here are the donors:


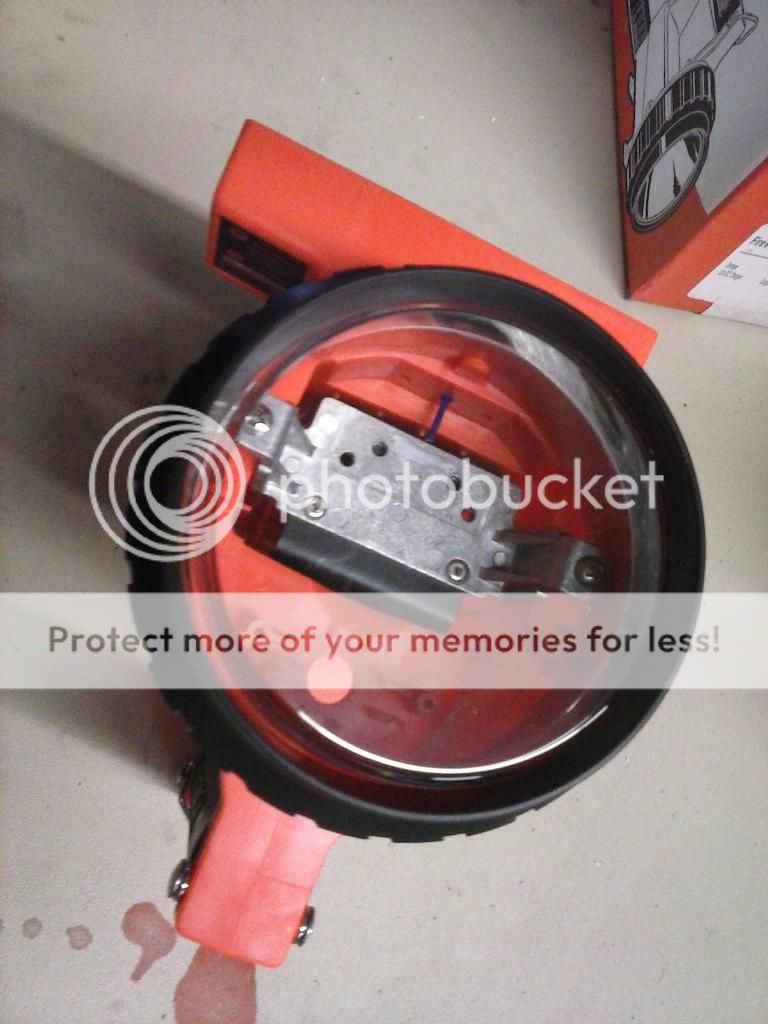
Under all the dirt is a near flawless 211. It is really front heavy without a battery(the Vulcan battery is very light) I may swap to a BB 166's shorter frame. We'll see once I remove the guts and glass lense of the 211 light housing.
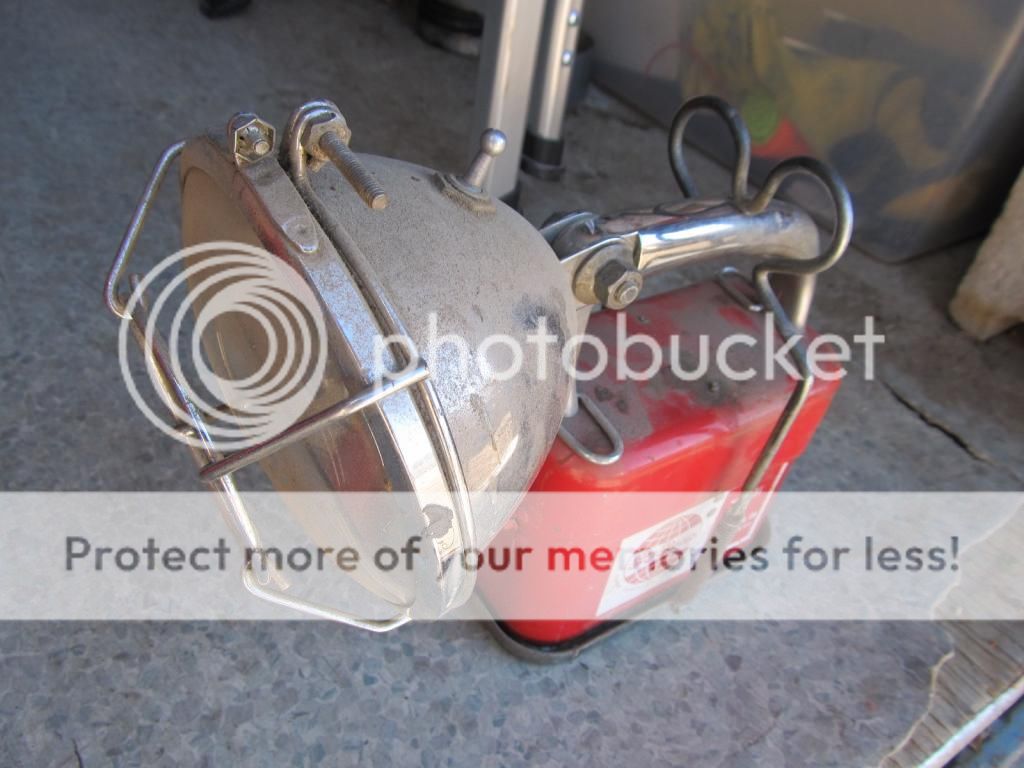

IMG_1708.jpg


http://cdn.chiefsupply.com/media/ca...eab33525d08d6e5fb8d27136e95/4/4/44454SL_2.jpg

See Rule #3 Do not Hot Link images. Please host on an image site, Imageshack or similar and repost – Thanks Norm

Does anyone know if the aluminum LED mount in the FV is a heatsink? I haven't been able to look too closely at the FV my friend has to see if it is just a mount of a heatsink.
 
Last edited:
Sorry for the hotlink Norm. I didn't see that rule.


This is the donor:

index.jpeg
 
Last edited:
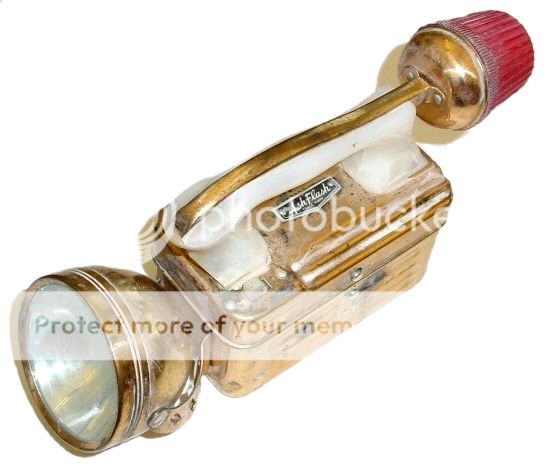
This AshFlash light caught my eye. It has a tail light that could be utilized for the rear flashes on the SL Vulcan....hmmmmmm I really like the brass!


AS00017.jpg


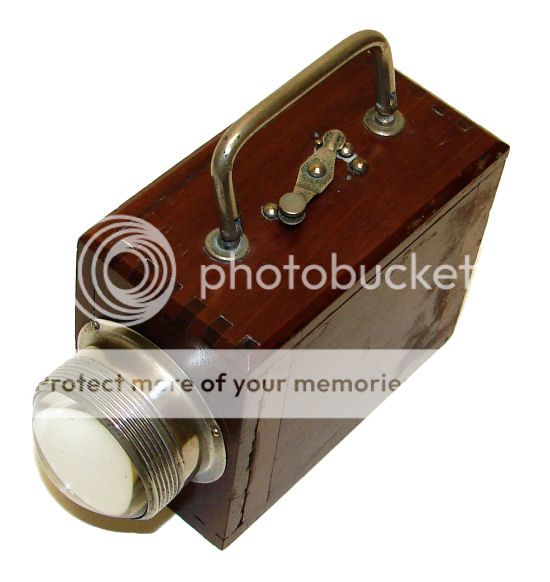
If the old British Eveready box lights were not so expensive and hard-for-me-to-distroy, I'd do one of these housings.

BT00019.jpg
 
Last edited:
I saw an old AshFlash at the flea market... and I made these

2m7t9w2.jpg


In retrospect I should have bought rusty and restored her back up.
 
Last edited:
I saw an old AshFlash at the flea market... and I made these

2m7t9w2.jpg


In retrospect I should have bought rusty and restored her back up.


Very nice. I thought about this type of option also. I like the seales LED lights like you used. I really want something that looks old as dirt and might not even work. But, when you turn it on, it does work and work well!!
 
Last edited:
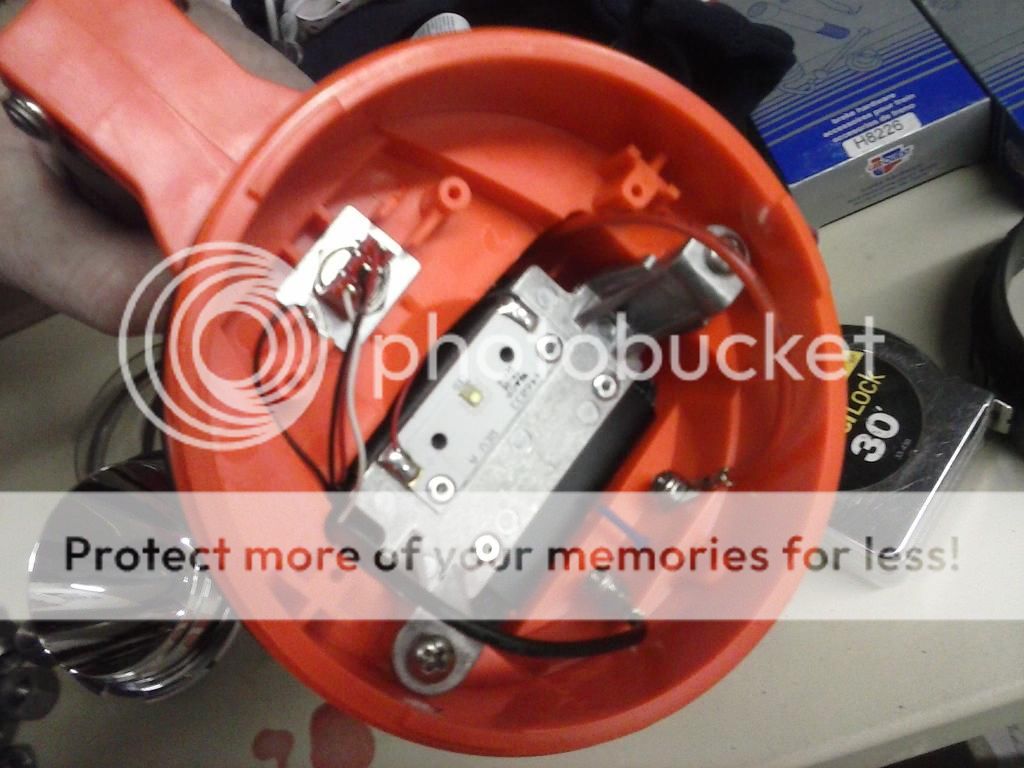
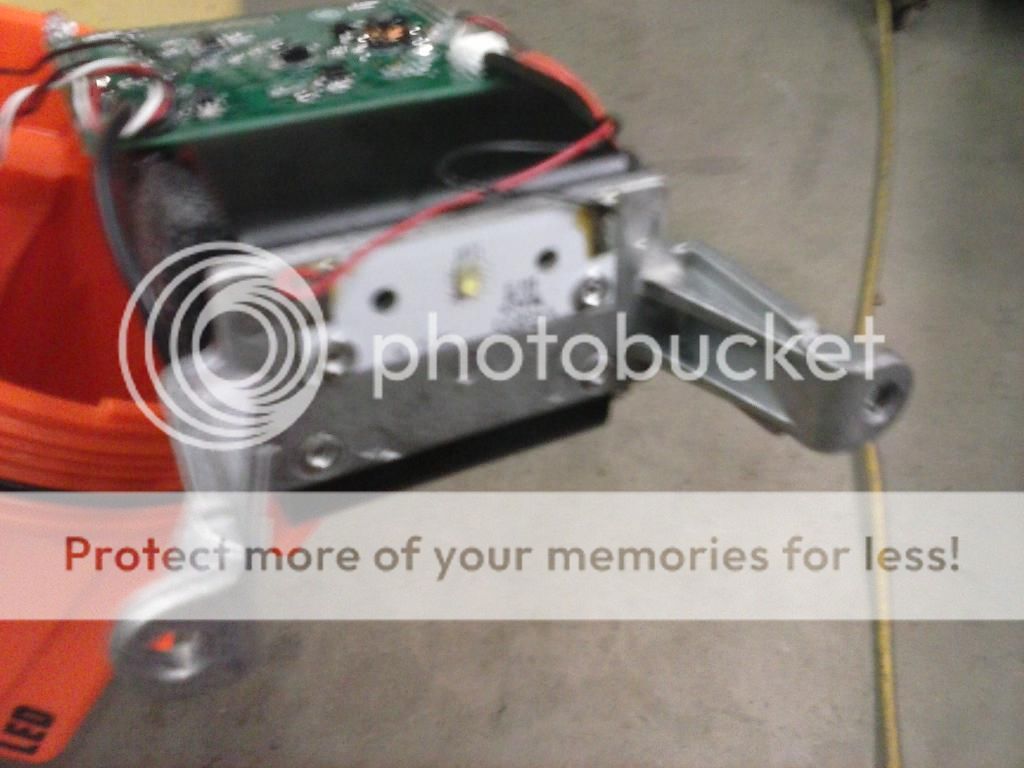
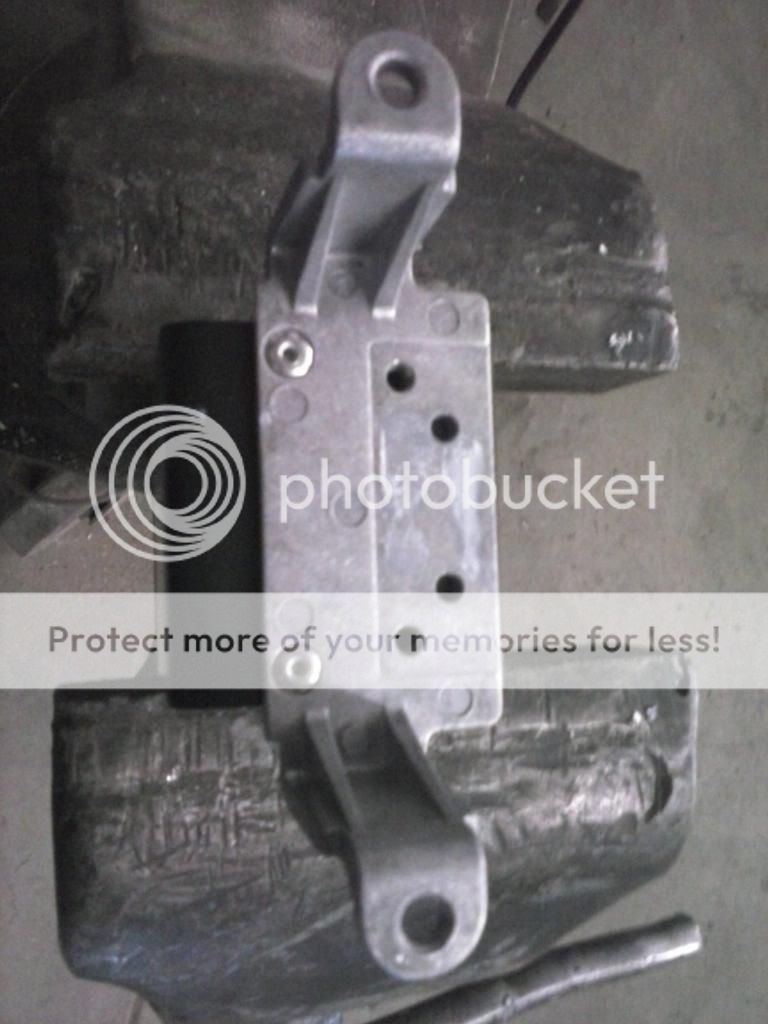
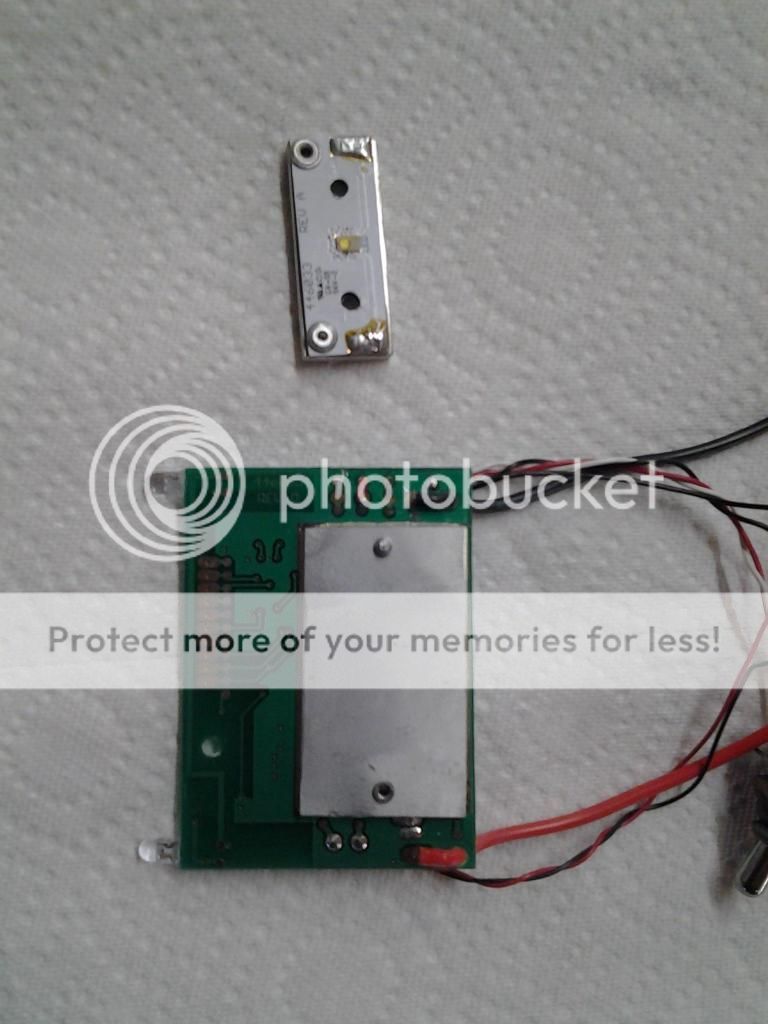
Here is a picture of the LED mount. Is it also a heatsink? The LED is part of a thermal plastic looking strip and the strip is riveted to the aluminum mount. I will probably use the aluminum mount and just cut it down a bit to fit in the light housing.

CAM00648.jpg
 
Last edited:
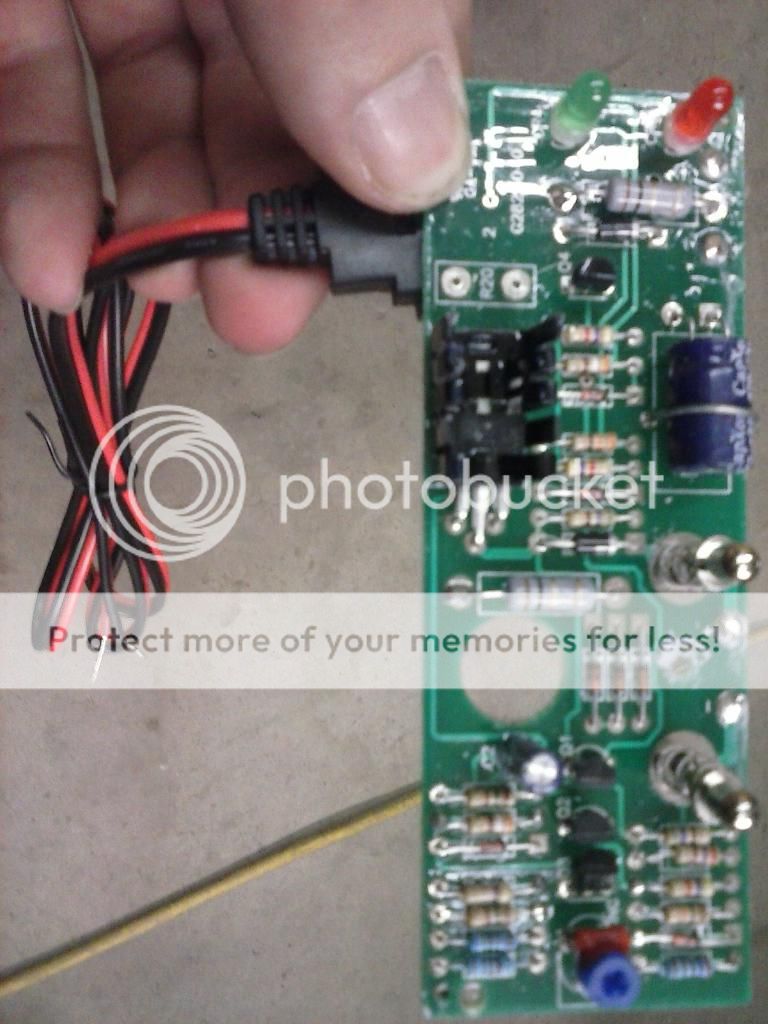
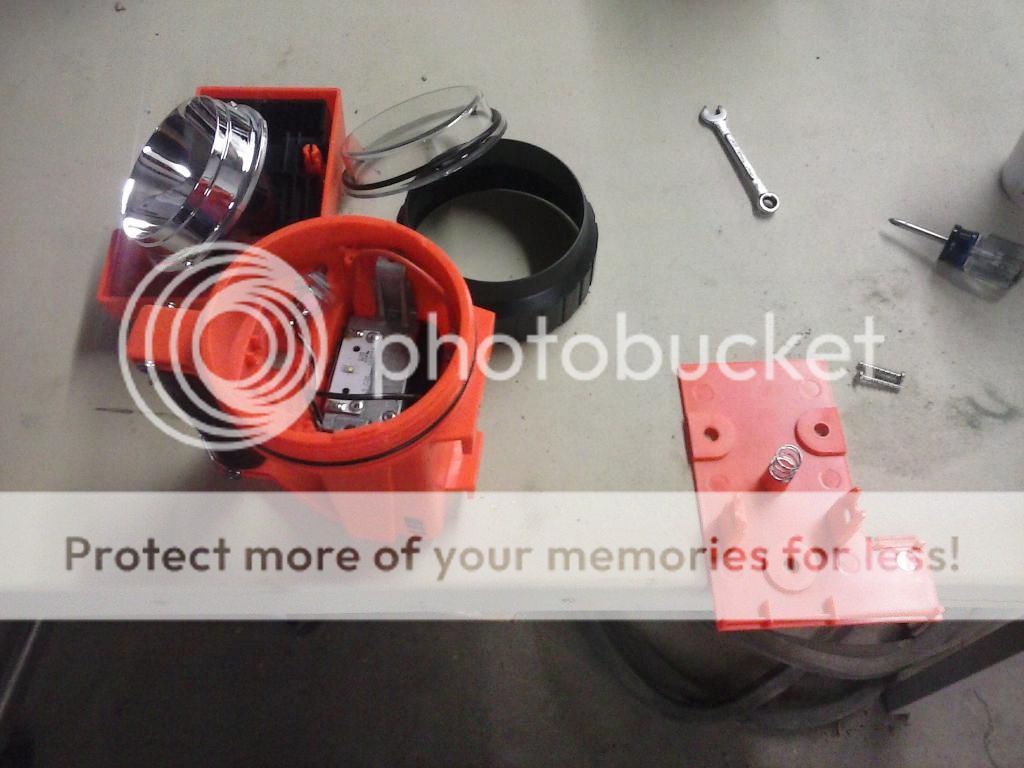
So my light finally came in and 2 seconds out of the box I had the charger apart to have a looksee. This board will have to be directly attached to the battery tray and enclosed in the main case of the light.

CAM00657.jpg


It looks like what I thought was a heat sink is only a mount for the LED and battery. That makes it much easier to mount the LED to the new, old light's housing.

CAM00656.jpg


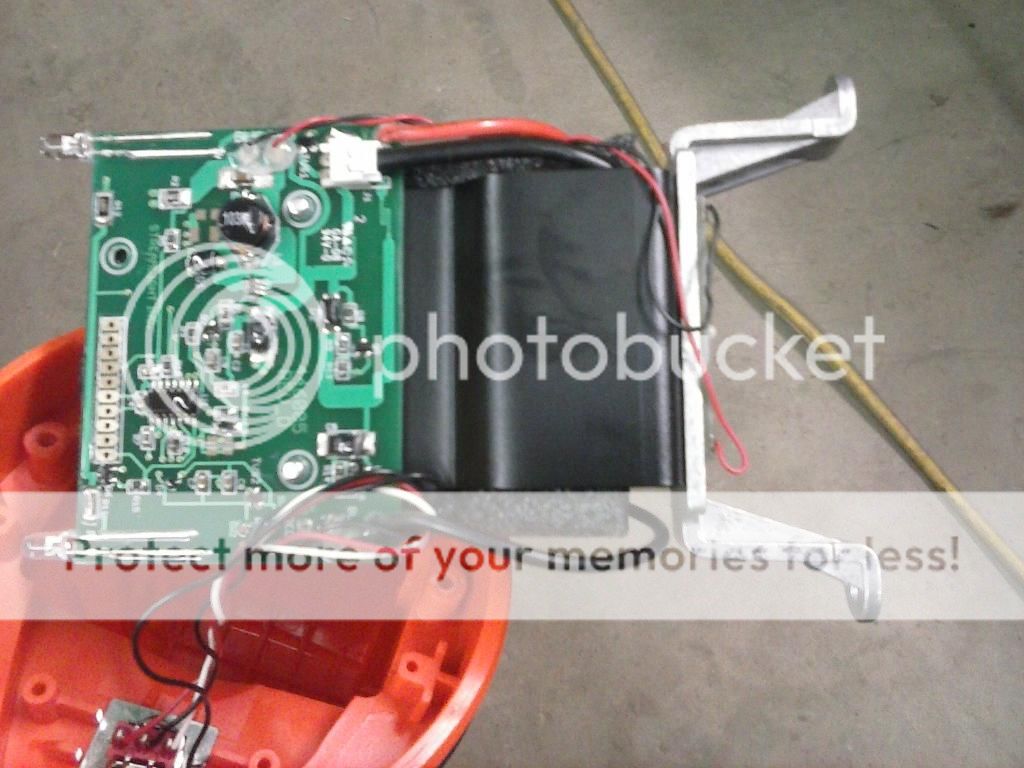
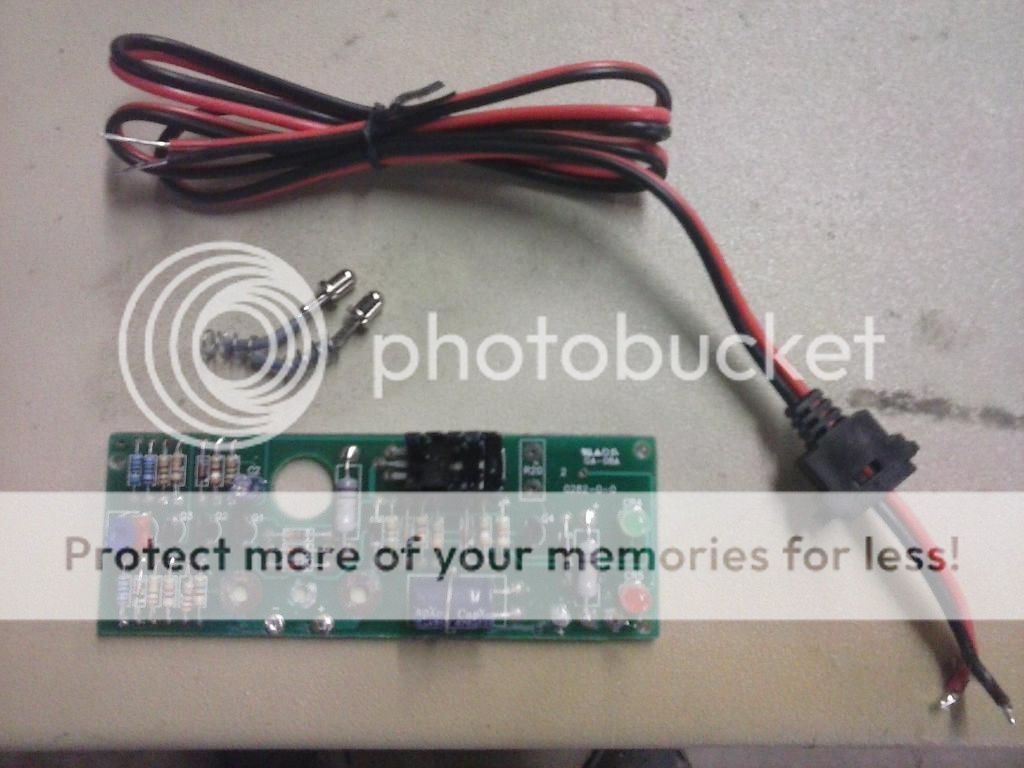
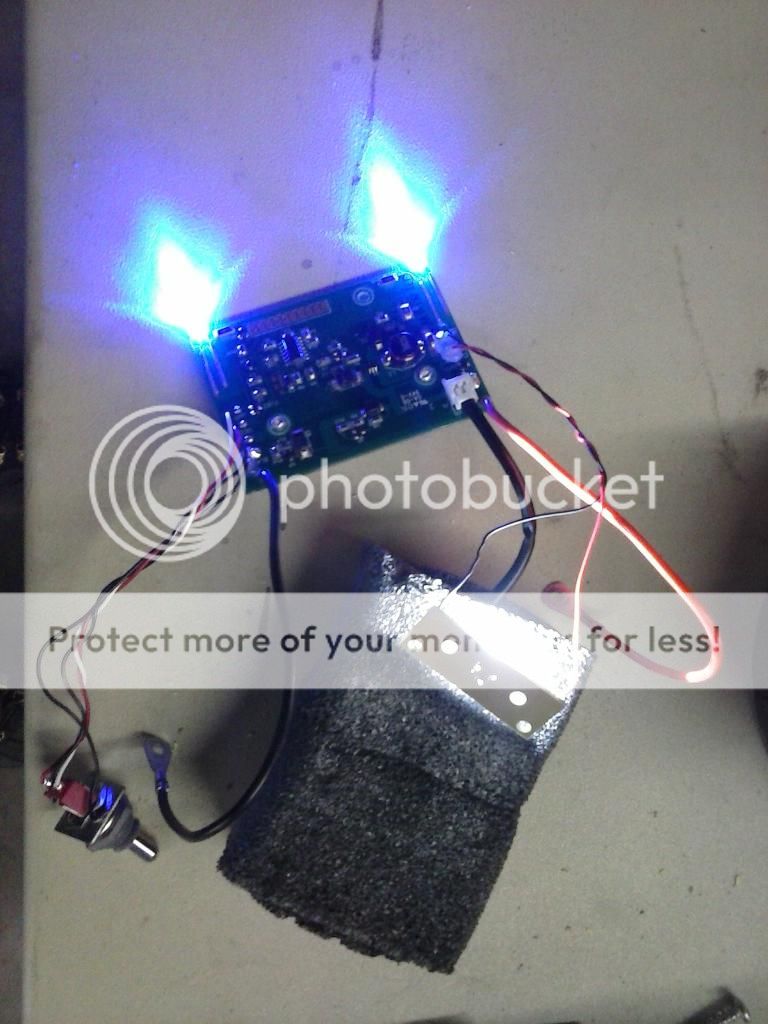
And one more of the light's circuit board. The only real mod here it to extent the leads to the LED for remote mounting. The leads to the switch might be long enough.

CAM00655.jpg
 
It was snowing and cold all day so I was bored and decided to rename the project. I'll have this ethed on a peice of polished stainless and rivet it to the blank side of the light body!! That should look pretty good!! I found a perfect old donor in the form of a Big Beam 287ex in brass!! It'll be pretty sexy!

frankshein.jpg
 
"Frankenshein"... that is awesome! Why did I not think of that name?!?! :banghead: :hairpull:

Woulda' been perfect for a mongrel mod of transplanted parts that I've been wanting to get around to for years that was to be called MC-E Hammer. It needs a new name now that it will no longer be using MC-E's... lol.

Good luck with the build. Looking forward to the results!


Thanks!! I am still waiting for the new(old) brass 287 to show up but as soon as it does, it's game on! I contacted Big Beam today about a replacement lens and lens guard in brass. The have the lens for under $6 but the brass guard was "obsolete maybe decades ago" as the parts lady discribed it. She couldn't quite understand why I would want one!! I'll probably just build one. I have a chrome one for a pattern.
 
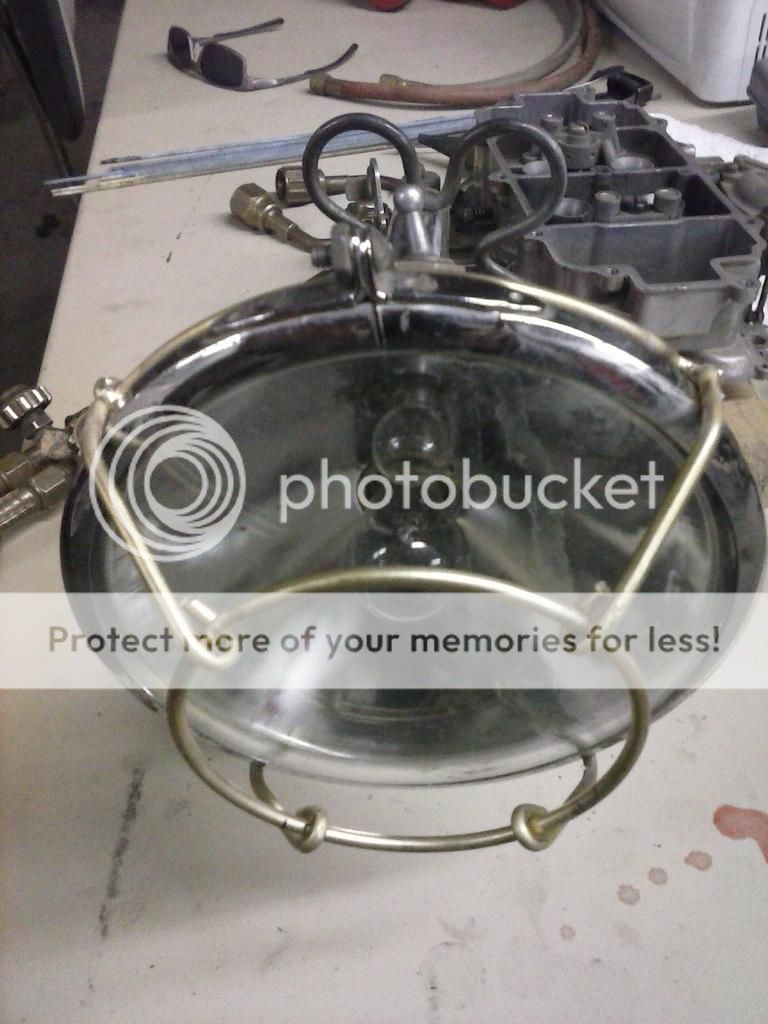
Seeing as I can not find a 220B lens guard(brass, for the 287ex) I decided to make one. Easier said then done but we'll see!!


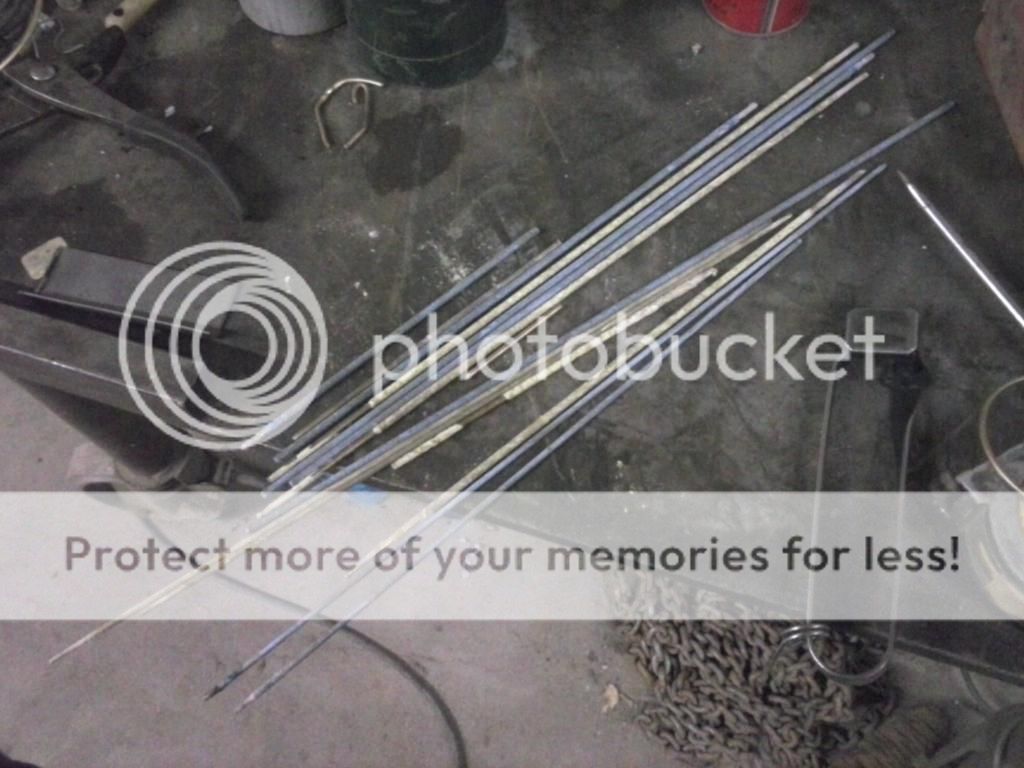
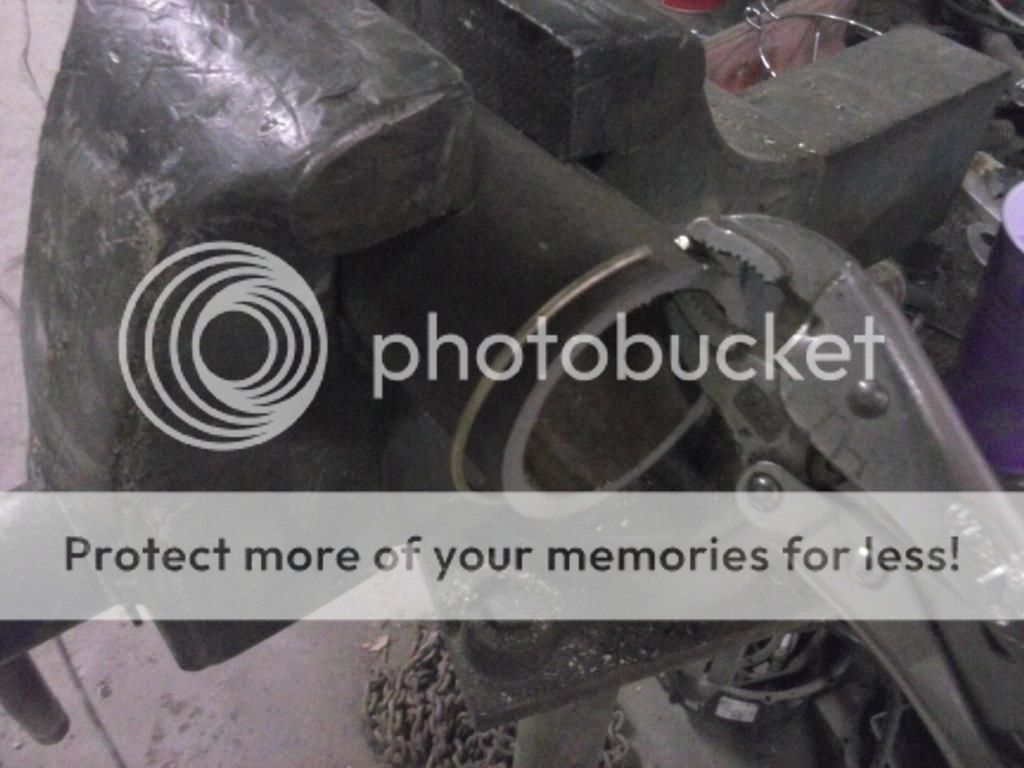
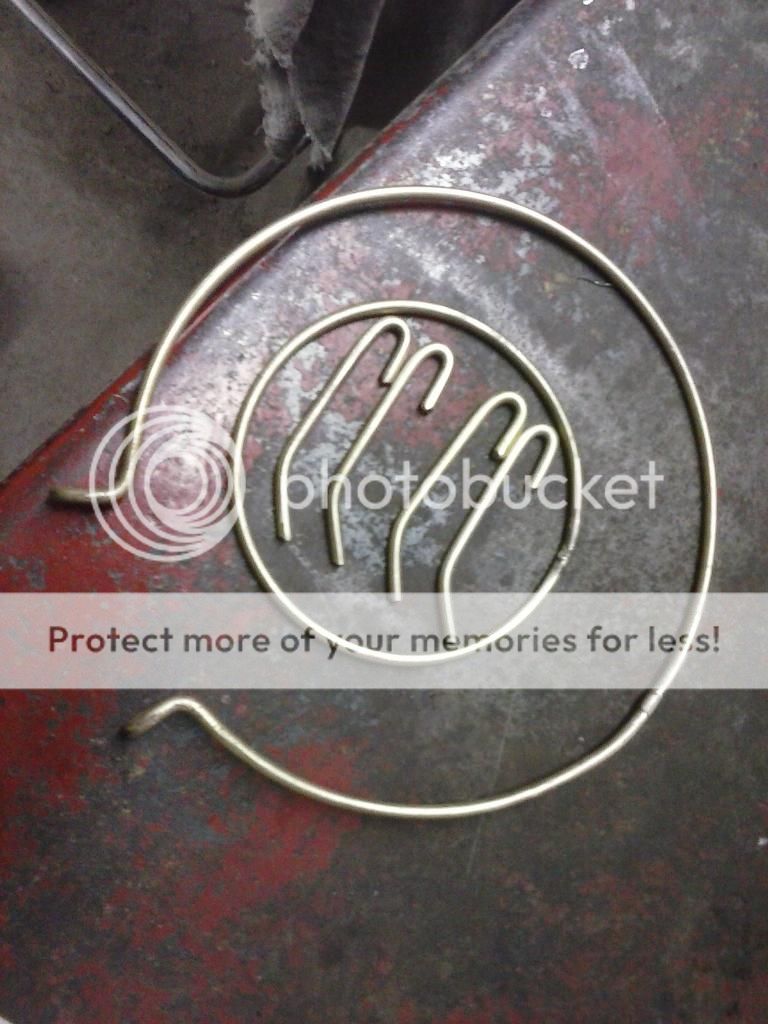
First I started with what I had laying around. Some 20-year-old .125" brass welding rod will work.

CAM00662.jpg


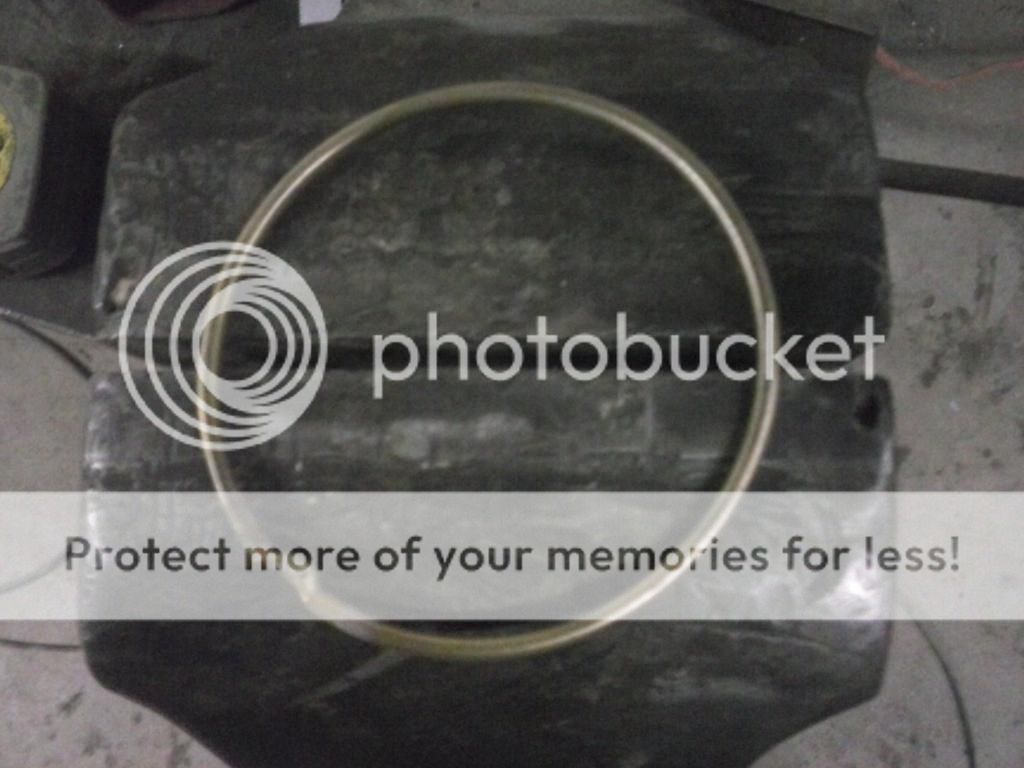
The flux that bad not been beat off of the rod from riding around in the tool box was removed quite easily with a wire wheel on the bench grinder. I used a piece of 2.375" pipe to form the inner ring of the guard. That was almost the perfect size!

CAM00663.jpg


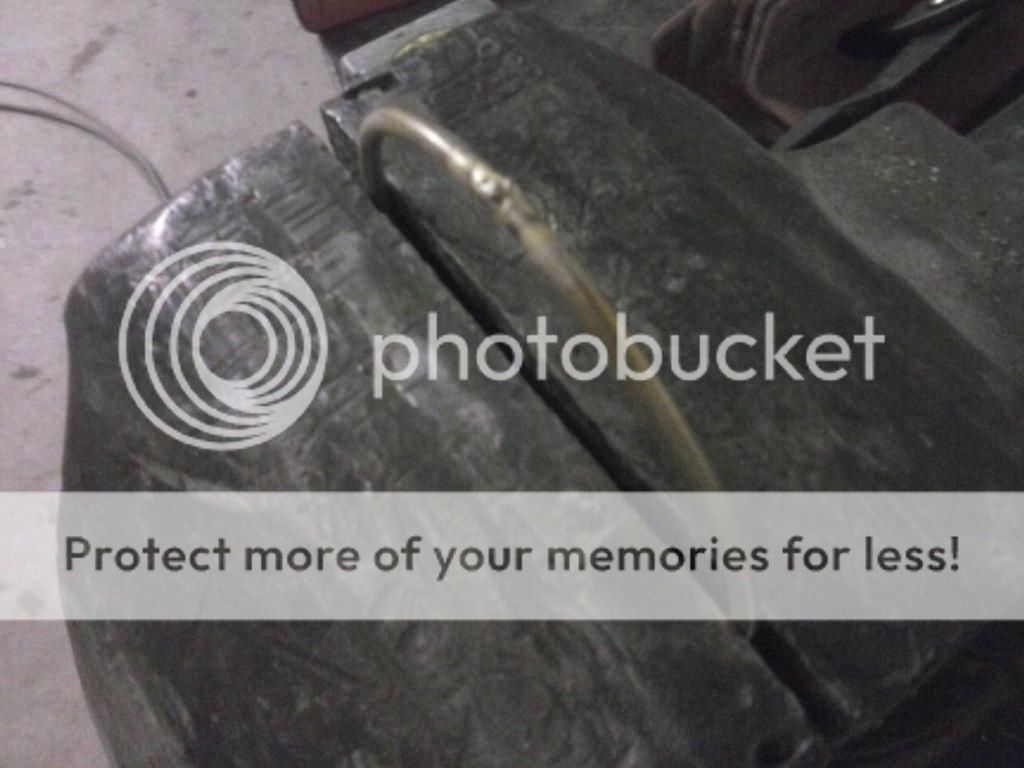
I practiced a few times at brazing the rod ends together with much success. Then can time to braze the ends of the ring together. Oppps, too much heat for too long!

CAM00664.jpg


The second inner rings was much more successful!

CAM00665.jpg


Next came the supports. A piece of .125"X1.5" stainless strap worked perfect for this!

CAM00666.jpg


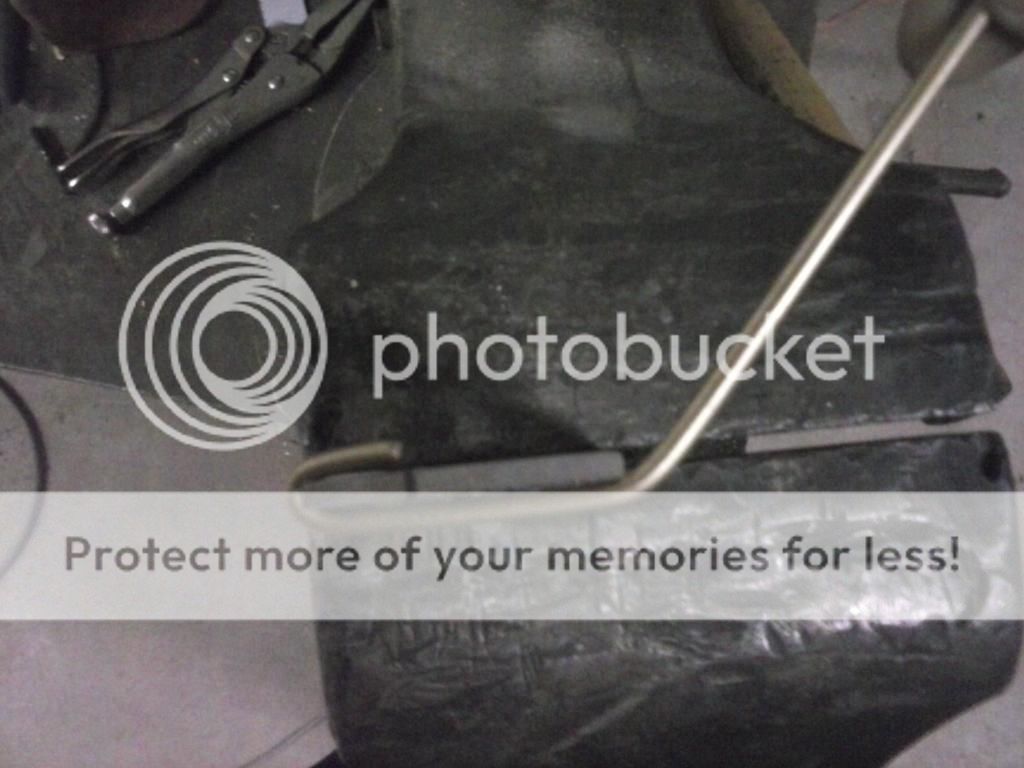
I didn't get any pictures of the outer ring but it was not easy to for the loops for the screw that secures it to the light. I also didnt have a piece of rod long enough and had to weld 2 pieces together.....Kids these days. But there was nothing open today so buying a piece was out. That leaves us with this:

CAM00667.jpg


Mind you, brazing the supports to the outer ring was not even close to being easy. I ruined the ring 3 times and fixed it 4 times! I may end up redoing the ring because it is not up to my standards but then again, this light needs to look used and abused to a point. This may just do the trick. I am not happy with my work on this guard but I think it will be perfect for the rustic look. You decide.

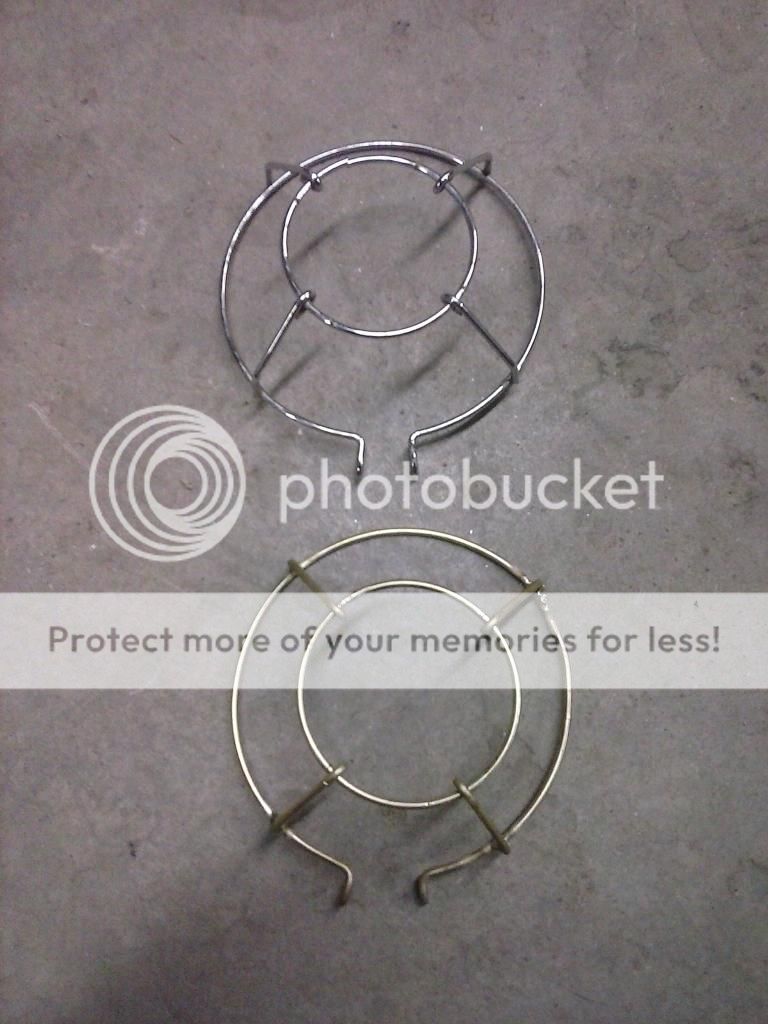
Brass on the bottom, factory BB guard on top.

CAM00668.jpg


The guard needs a bit of clean-up and such but I think it will look good. Not perfect though and that bothers me!:)


CAM00669.jpg
 
Thank you! I keep forgetting my camera at home and end up with only my phone at the shop to take pictures! I'll try to get some better pictures later on in when the light gets here!
 
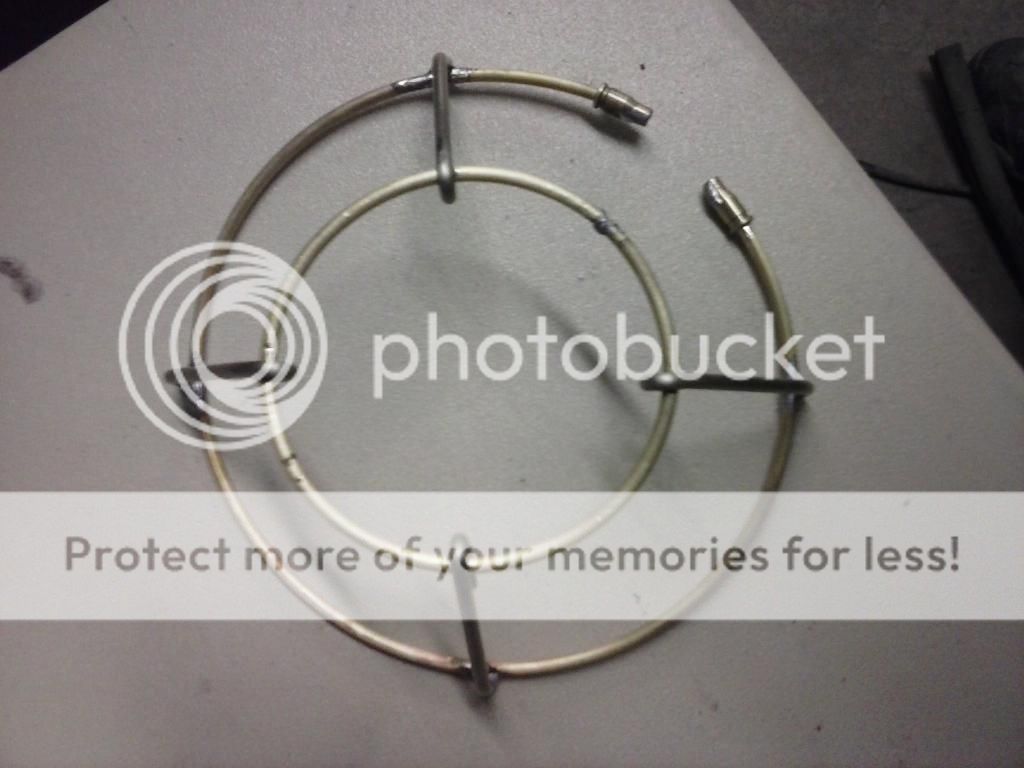
I couldnt get over the goober gobber weld and splice on the first attempt. So I built a new one today. I have a different idea for the attachment point. You'll have to stay tuned to see that:eek:

I still need to clean a bit of solder off but it came out a bit better than the first attempt!


CAM00670.jpg
 
A good start to a bad idea? Let's find out

CAM00672.jpg


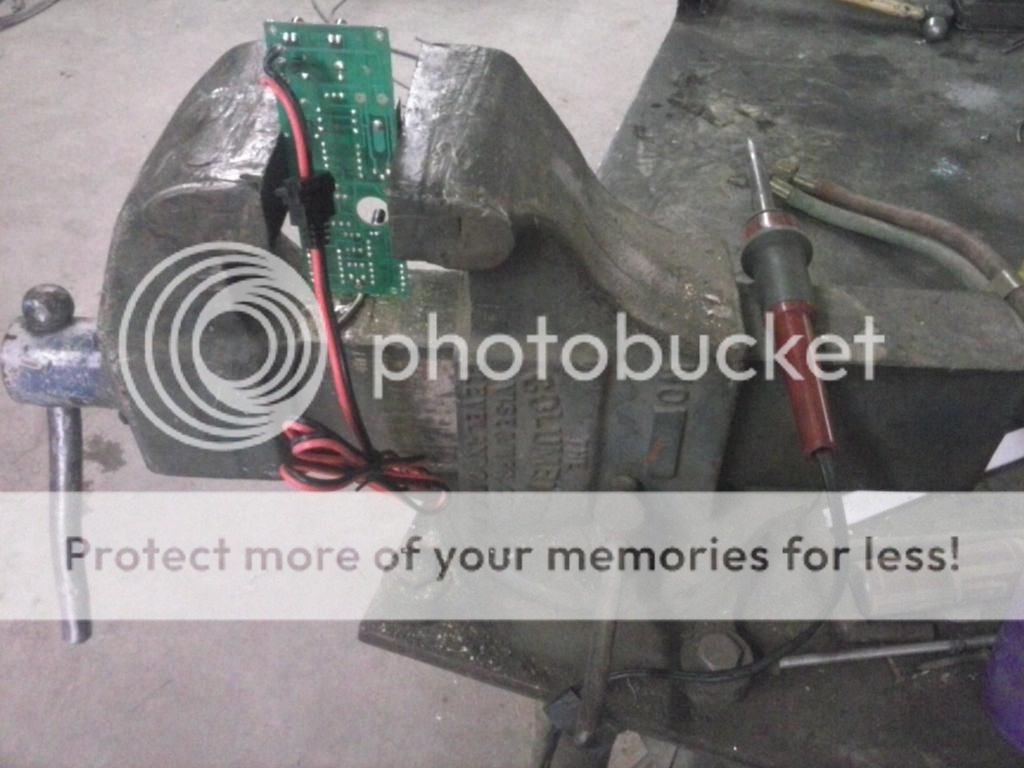
Some delicate surgery commenced on the charger board, with precision tools of the modern age...ha!

CAM00671.jpg


Power leads and charger posts removed. This board will be installed in the lid of the new 287.

CAM00675.jpg


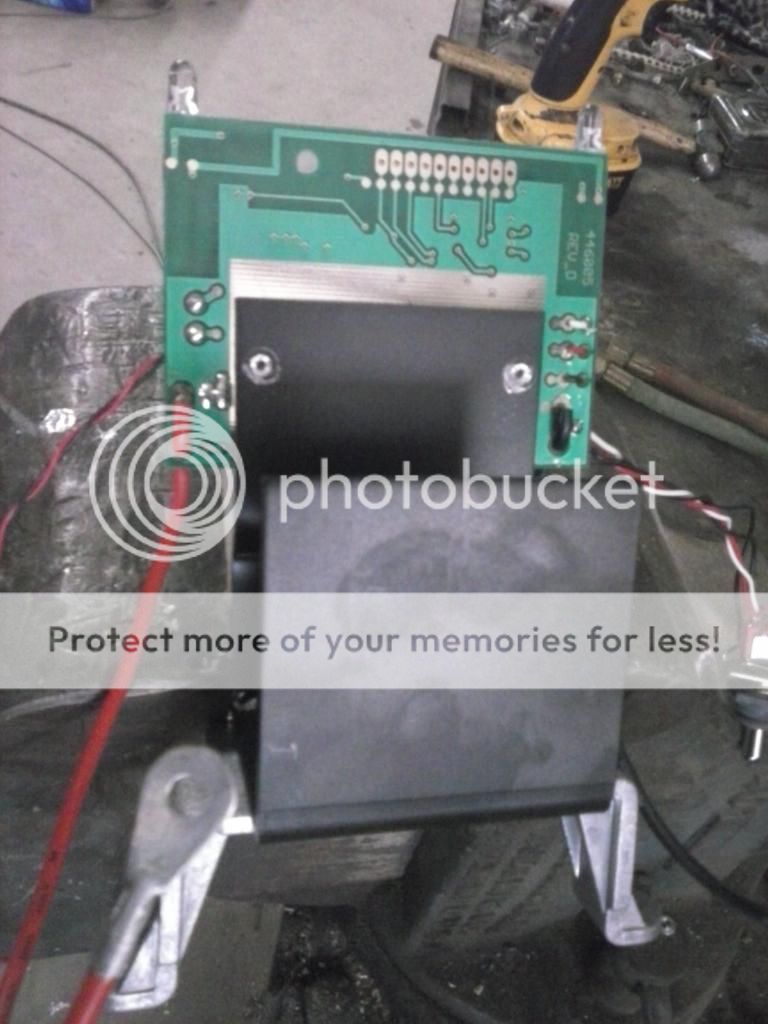
Now I have a question for the electrical experts: The main board has bare gold circuitry on the back where it was riveted to the steel(black part) battery mount. The battery mount is powder coated and no bare metal to ground to or anything. Is the board using the mount as a heat sink and does it need a piece reattached?

CAM00677.jpg


Next question is: The led was riveted to the aluminum mount. It too, has bare gold circuitry on the back and has a bit of dielectric grease between it and the aluminum mount. Is the led using the aluminum as a heatsink and does it need a piece reattached to help cool it?

CAM00678.jpg


It still works!

CAM00679.jpg


Looks like we has the makings of a Hipster fish tank.

CAM00682.jpg
 
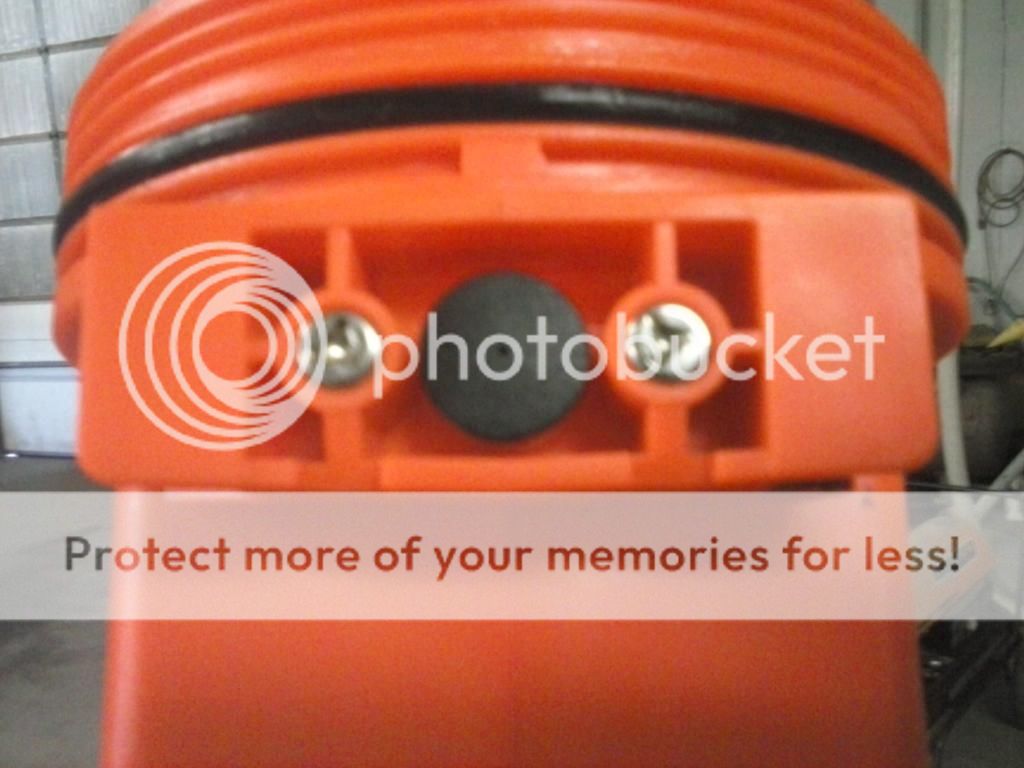
Mind you, the charge posts on the light have a tamper-proof, 3-sided Philips head looking thing. Fun fun. I ended up grinding an small old flat head to fit. Not fun but eh,what else was I to do?

Sorry about the bad photos. I got a new photo yesterday that should take better photos!

CAM00673.jpg


I ordered up a handful of parts today. Some RC servo extensions(for the plugs mostly) a waterproof 12v cigarette socket and some copper wire, hardware and rivets!
 
Last edited:
I got bored today and a few heatsinks, just in case. I never did find out if the main board and the LED needed to have a heatsink so I just did it anyways. I had a piece of .125" aluminum laying in the metal rack so that's what was used! A little dielectric grease and a few .125" aluminum rivets with the trick. If you do this typeof thing, be sure to use cheap aluminum rivets as they provide the right amount of clamping force but not enough to break the board.

IMG_20150106_153300.jpg
 
Look what finally showed up! It is a bit rougher than I had expected but overall in fine shape.

2 seconds out of the box:

IMG_20150110_121555.jpg


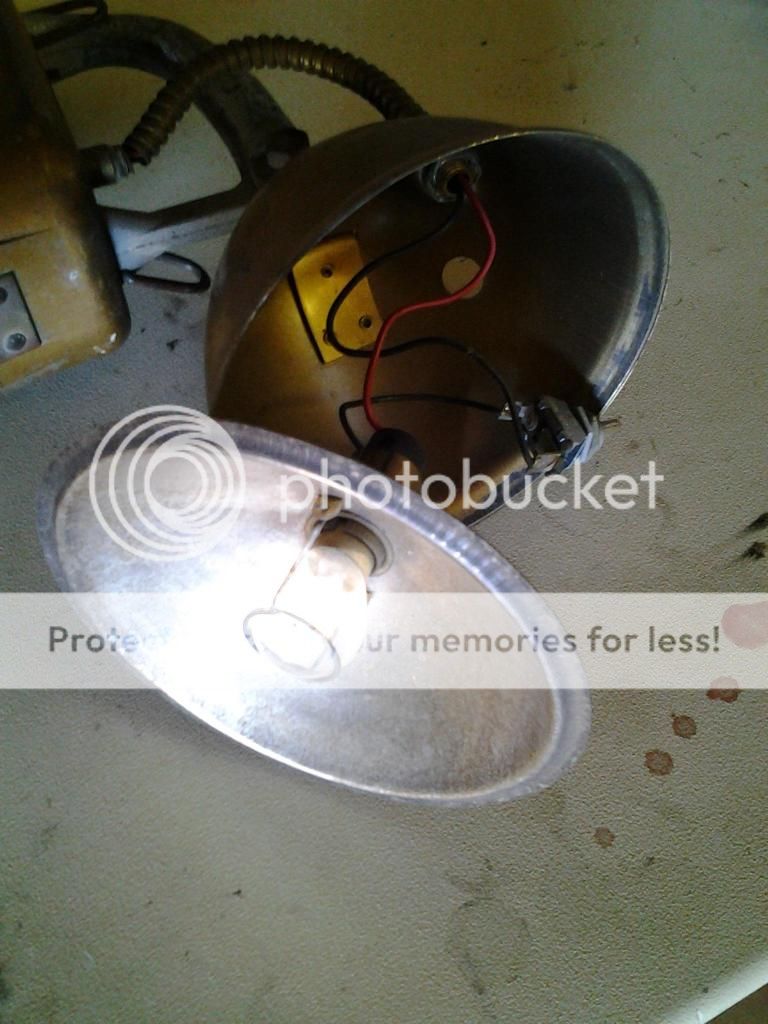
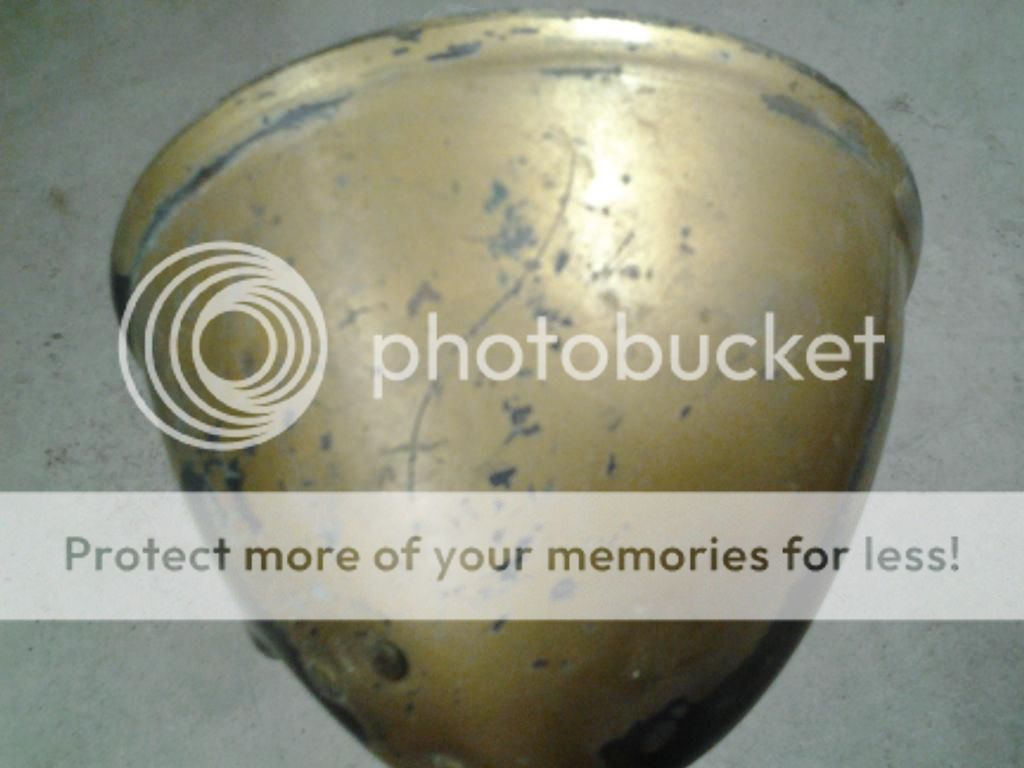
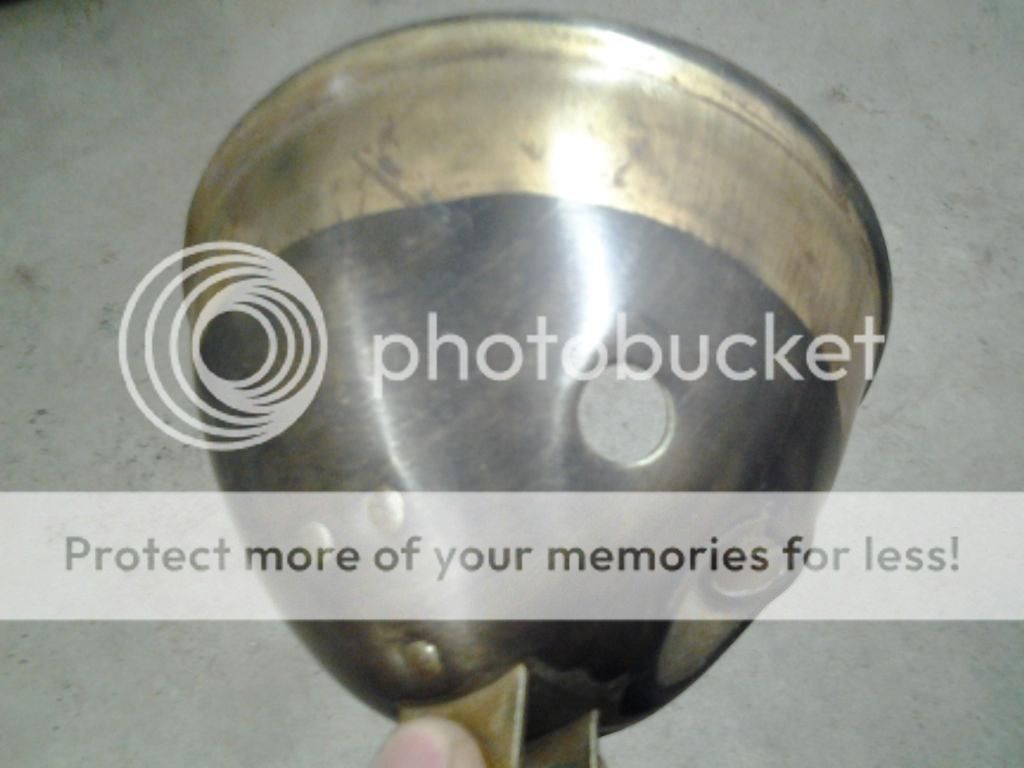
Surprisingly that is not light coming from the bulb. The sun was shining at just the right angle. The reflector is brass with real silver plating. I can cut that one up! I only need a filler ring about .500" thick to adapt the new reflector to the old housing.

IMG_20150110_121604.jpg


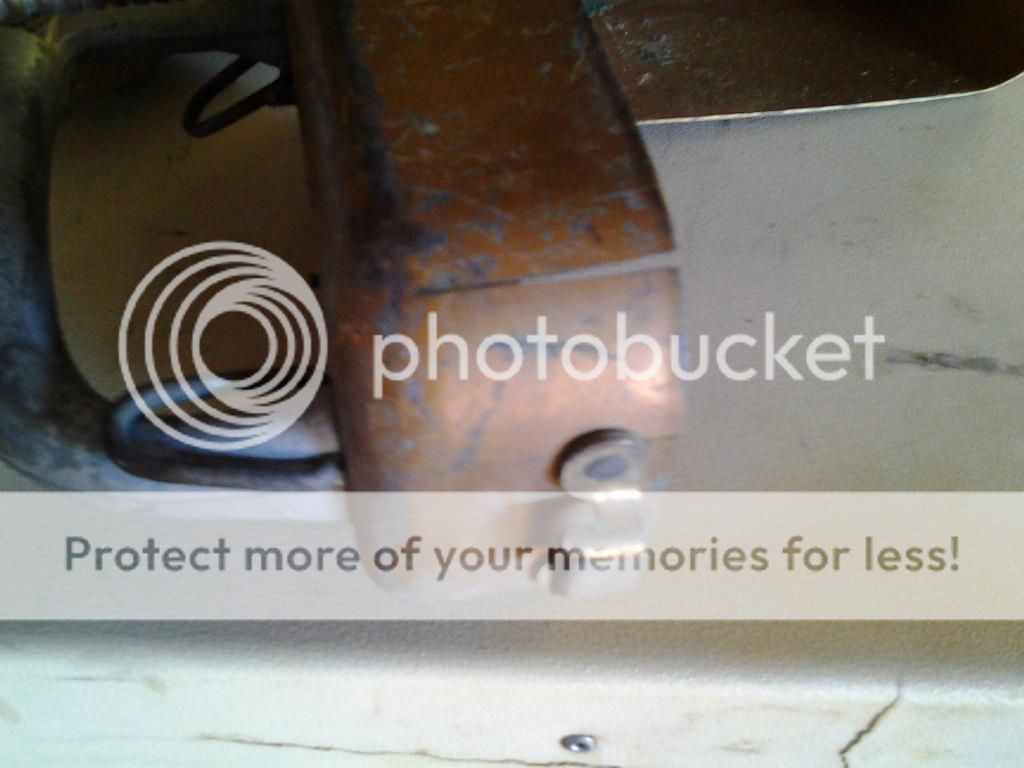
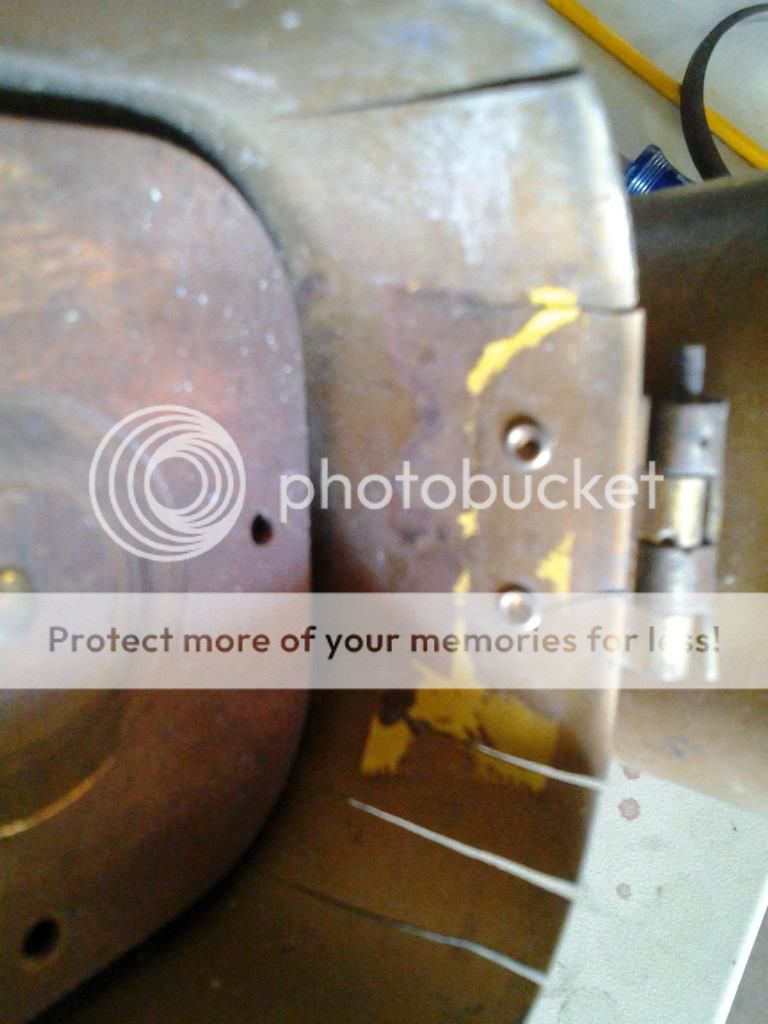
The lid is the worst of the parts. It has many cracks and a really messed up hinge. This will be easily fixed with a bit of silver solder.

IMG_20150110_121620.jpg

IMG_20150110_121635.jpg


First up was stripping the gold paint on the housing. It was thin and easily removed on the bench grinder with a wire wheel. Before:

IMG_20150110_172934.jpg


After: I like the weird strip. It is just a different color of the brass. It's stripped bare. I will leave it just like this!

IMG_20150110_172949.jpg


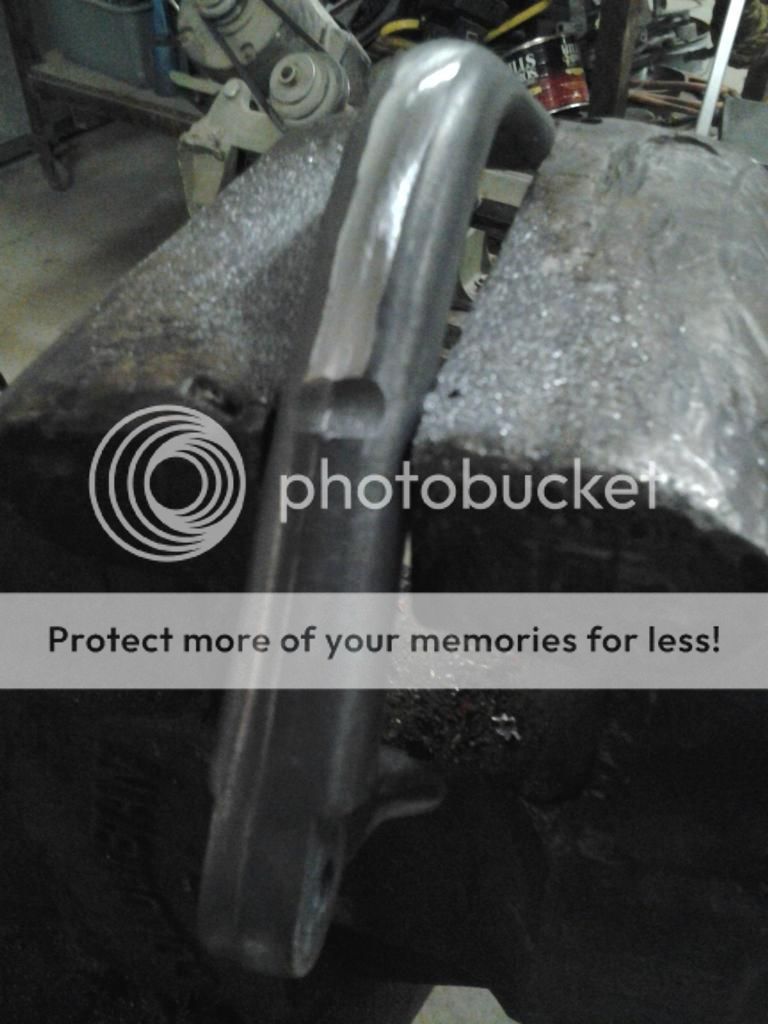
Next up was the handle which is cast zinc. I am not sure what finish this will get but the casting marks need to go. Mid way through.

IMG_20150110_194417.jpg
 
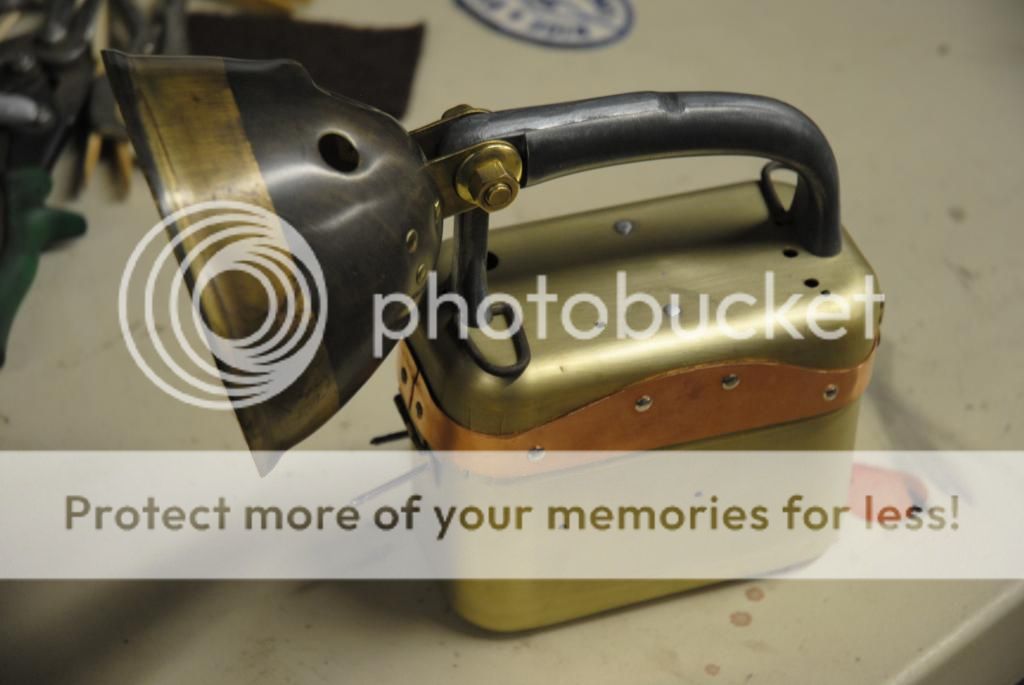
The case is just about done. Getting tired of waiting for parts that shipped 2 weeks ago! I am hoping Radio Shack has what I need tomorrow but I am not holding my breathe.

DSC_0013.jpg
 
Top