I searched to see if anyone had done this yet – didn't find such a post. I know that the good folks at 4Sevens posted some written instructions… and I know that the Flashaholics on this forum don't really need help…but maybe this will be a help to someone.
As a proud owner of the new Quark 123.2 Turbo AND the new 18650 battery tube, I am illustrating, with photos, the steps involved in using the 18650 body on the Turbo. These instructions would apply to any of the other appropriate Quark "Lego" combinations as well.
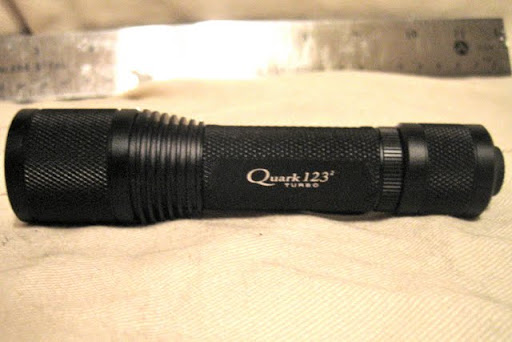
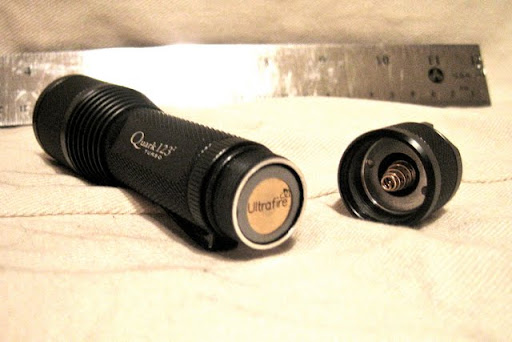
This is the 123.2 Turbo without any of the accessories:

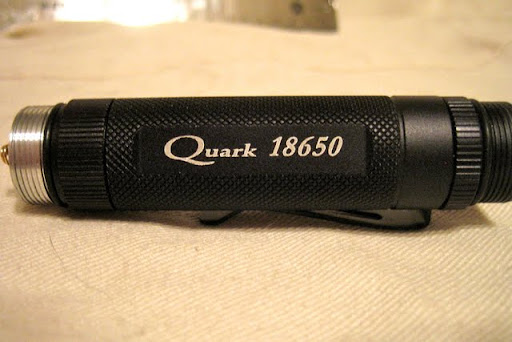
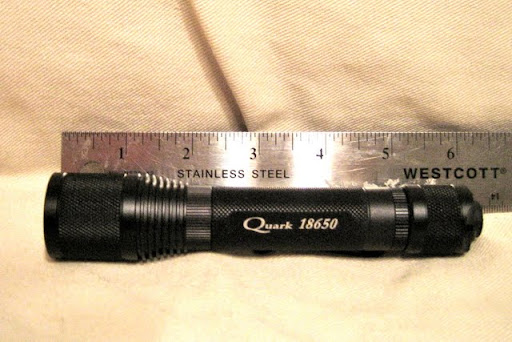
The 18650 tube:
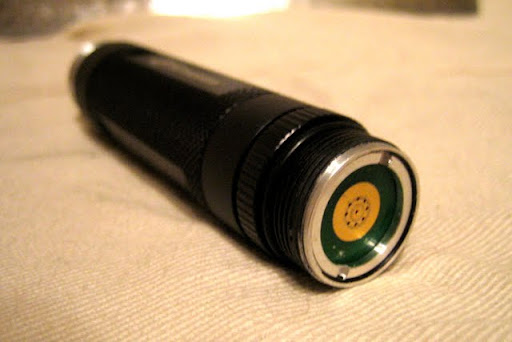
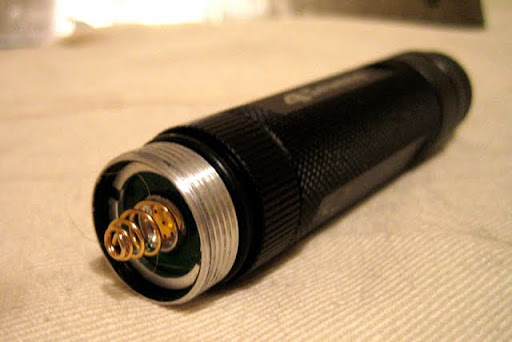
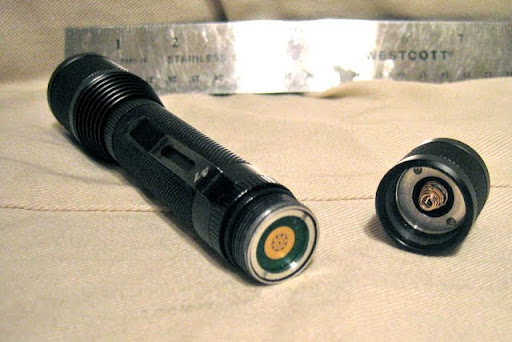
First, remove the threaded end from the tube as shown – the end opposite the 'printed circuit' board
Disassemble the 123.2
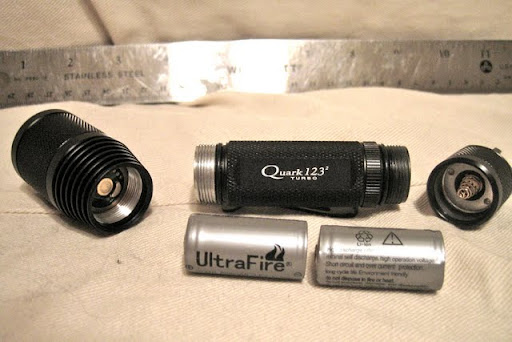
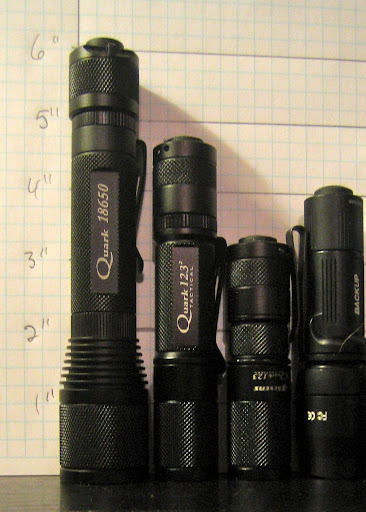
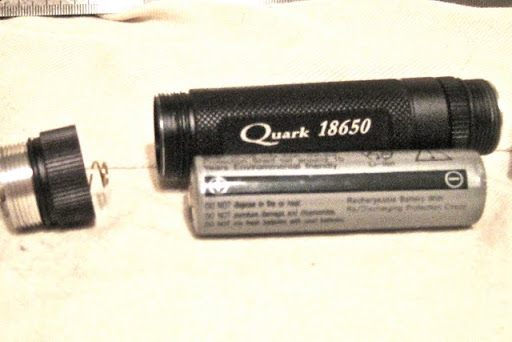
The needed parts of the 123.2Turbo and the 18650 tube – head, cap from tube, 18650 battery, 18650 tube and tail clicky switch – won't be using the 123.2 tube – just shown for reference
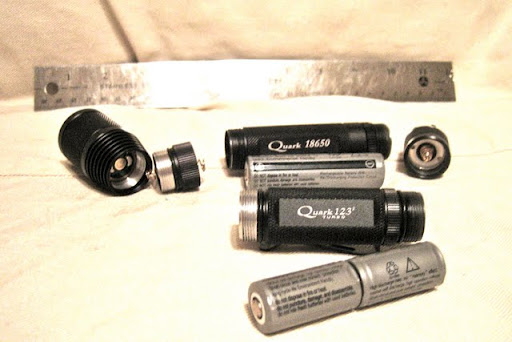
Put battery in as shown – positive end protruding – negative end inserted into the tube.
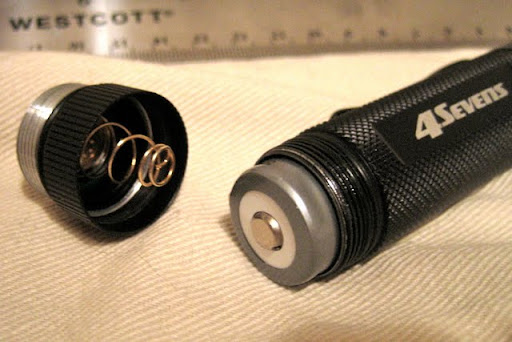
Attach the threaded cap – spring will align with and tighten down on positive battery contact
Attach the Turbo head to the other threaded end of the cap – the spring will press against the head.
Attach the clicky switch to the other end and viola! Your assembled Quark 18650 Turbo.
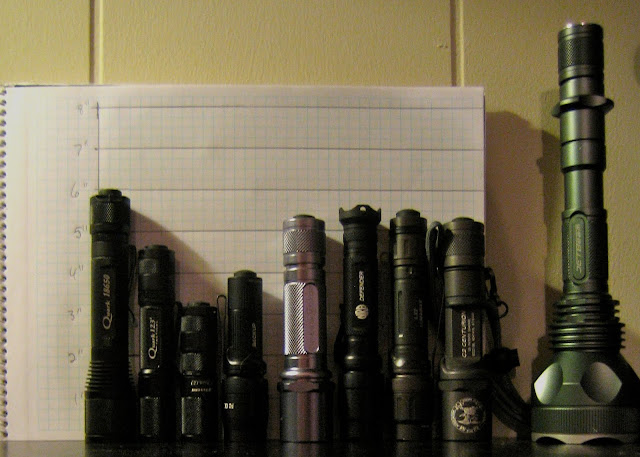
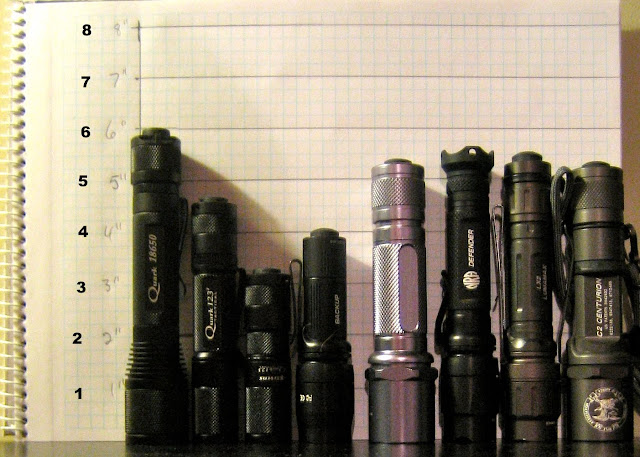
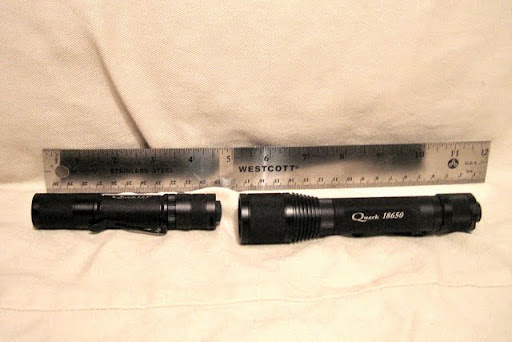
Compared to the 123.2T Neutral
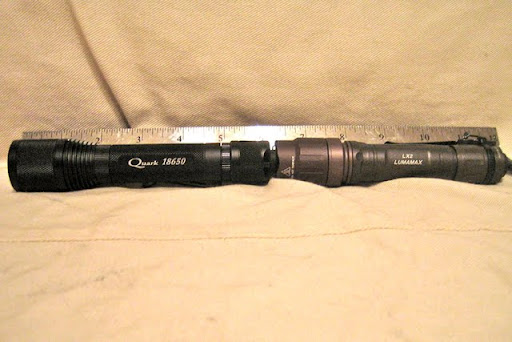
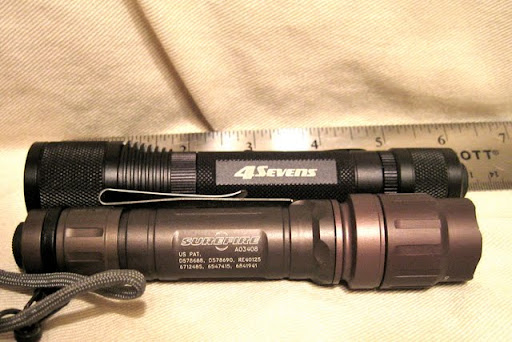
Compared to the Surefire LX2
This is a great flashlight – so versatile. And no, I don't work for 4Sevens
:twothumbs
As a proud owner of the new Quark 123.2 Turbo AND the new 18650 battery tube, I am illustrating, with photos, the steps involved in using the 18650 body on the Turbo. These instructions would apply to any of the other appropriate Quark "Lego" combinations as well.
This is the 123.2 Turbo without any of the accessories:
The 18650 tube:
First, remove the threaded end from the tube as shown – the end opposite the 'printed circuit' board
Disassemble the 123.2
The needed parts of the 123.2Turbo and the 18650 tube – head, cap from tube, 18650 battery, 18650 tube and tail clicky switch – won't be using the 123.2 tube – just shown for reference
Put battery in as shown – positive end protruding – negative end inserted into the tube.
Attach the threaded cap – spring will align with and tighten down on positive battery contact
Attach the Turbo head to the other threaded end of the cap – the spring will press against the head.
Attach the clicky switch to the other end and viola! Your assembled Quark 18650 Turbo.
Compared to the 123.2T Neutral
Compared to the Surefire LX2
This is a great flashlight – so versatile. And no, I don't work for 4Sevens
:twothumbs
Last edited:
")