What did you mod today?

m4a1usr

Enlightened
Joined
May 4, 2013
Messages
884
Location
Washington State
Long overdue and a well needed upgrade. My "Black Bullet" needed a better pill design, new LED and Driver. Much, much better now but me thinks a bigger Aspheric lens is on the horizon.

:devil:


Genna

Flashlight Enthusiast
Joined
Feb 2, 2010
Messages
1,297
Location
Germany
Triple XHP-70 @ 10 Amp VOB Guppy driver, 2x26500 and 10A+ switch

ImageUploadedByCandlepowerforums1463236406.665528.jpg
 

nein166

Flashlight Enthusiast
Joined
Feb 16, 2006
Messages
1,579
Location
New York
Long overdue and a well needed upgrade. My "Black Bullet" needed a better pill design, new LED and Driver. Much, much better now but me thinks a bigger Aspheric lens is on the horizon.

:devil:

Is that the wavien collar?
 

ShineOnYouCrazyDiamond

Flashlight Enthusiast
Joined
Aug 18, 2009
Messages
4,442
Location
CT, USA
Last night I decided to have a go at building a poor man's e-switch from a McClicky. The goal was to be able to use this in a Haiku since the Ti e-series e-switches are rarer than rare to find and will sell for well over $100.

I started with a McClicky switch and one of the e-switch inserts used on the Ku and Tain lights. I pulled apart the McClicky to see if there was enough space and to gather thoughts on how this could be done. What I ended up doing was using only the threaded part of the McClicky and the push button switch. I bored a few holes in the McClicky threaded part to seat the e-switch, cut the push button to sit at the right height, and soldered on a wire to make the negative contact to the battery tube.

All in all it is a functional prototype which does what I wanted it to do. But if I were to make another iteration I would definitely try and find a very thin o-ring to replace the wire and provide contact around the full outside circle.

IMG_2620.jpg


IMG_2621.jpg


IMG_2619.jpg
 

eala

Flashlight Enthusiast
Joined
May 1, 2009
Messages
1,452
Location
Canada
Cool SOYCD. I was going to do the same and prototyped it a while ago. My solution was to use a washer that is 16mm OD and 11mm ID to mount on the shoulder of the Haiku and pickup the contact on the board. I would use a simple oring to center the switch board and then a slice of a McClicky to thread the thing down. A simple rubber insert works to transfer the presses from the boot to the eswitch. My issue now is to locate good quality, thin washers in the right size.

eala
 
Last edited:

Poppy

Flashaholic
Joined
Dec 20, 2012
Messages
8,472
Location
Northern New Jersey
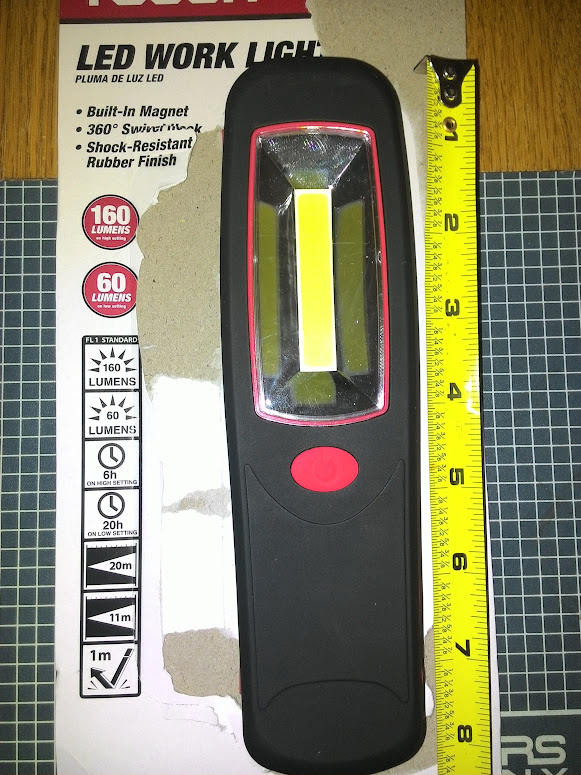
I modified the battery box of THIS:

IGc0UQ_PkseZcpcspclcSuGxIfCzIT3q9C3bX0koTe54k2zKV9e-VjoEPmOmZPNFTl_-MLVRMGniKQejIpJV99VsakqjIR6oFiiwukzZRlDeK-lPxQR3Nul-WHX17nZ7GtdajMAA0etX3R6kYuHf3KFeZfkRwdMdi9PfKkmkKPhpv_chpNPp1BC2p94jmHGBPC3cLSvyA5YCxvc4qFMXRc9FUWOSFuB-KurDSxy7bkM2wBAJbVRc0ZBKhTB0iygreAVP99lkw9Yf-Uzv29hvyxzLMyURQBHHsG4rPOO4H9k56hqLQr9H6PbYPdbO8ZrkEqmCkbftRe-WD452ItyGU1MpJwD-otbYmqgCw69fASn-iasZ-tk_R9zsJGlAnemw7Kk4vGmUYMZK4eMVN3pg3VA9oCDIYId9sTfBs0jpijK60RLPryIYP3n0-2w2jL5zLzFh3GykaJreTPXubwiLggvMeiAwmKR6oXW_0K9xbLwQckl1NMgUW0zNO4xQplb4rRqTMMsbKcyEs1I6mFxKsTQml7PC3sVuAgmBBvU8ErVDUWX0FpRhqlFHhnnuKKsz-6ocOPI7UQCo0dl9mJQV-41YLrgXKAA=w582-h775-no


The positive pole tips of AA alkaline batteries is just a smidgeon longer than those of my duracell rechargeables. With Duraloops installed, when the cover of the battery box is closed, it pushed the middle of the three batteries away from the center positive battery box contact. The light wouldn't light.

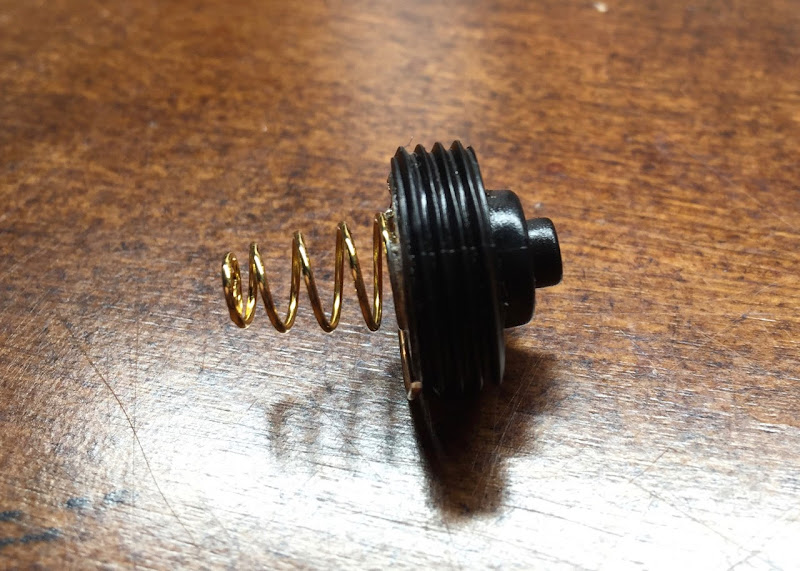
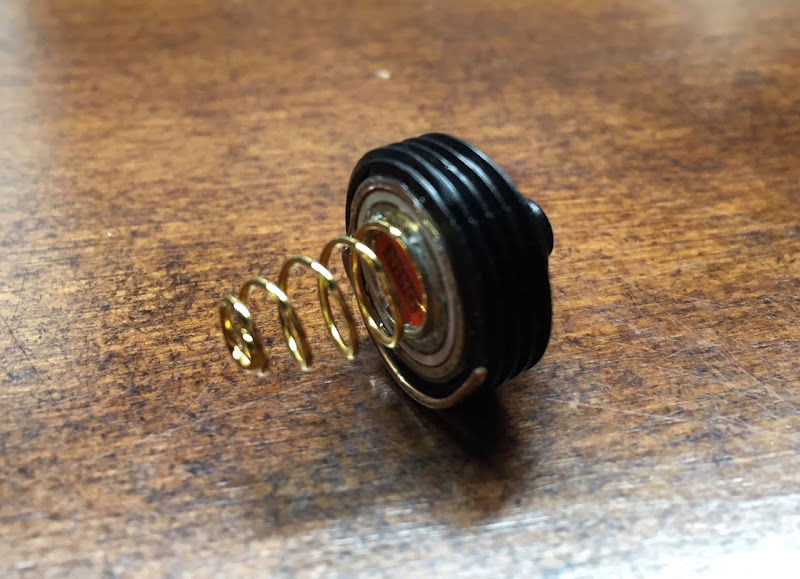
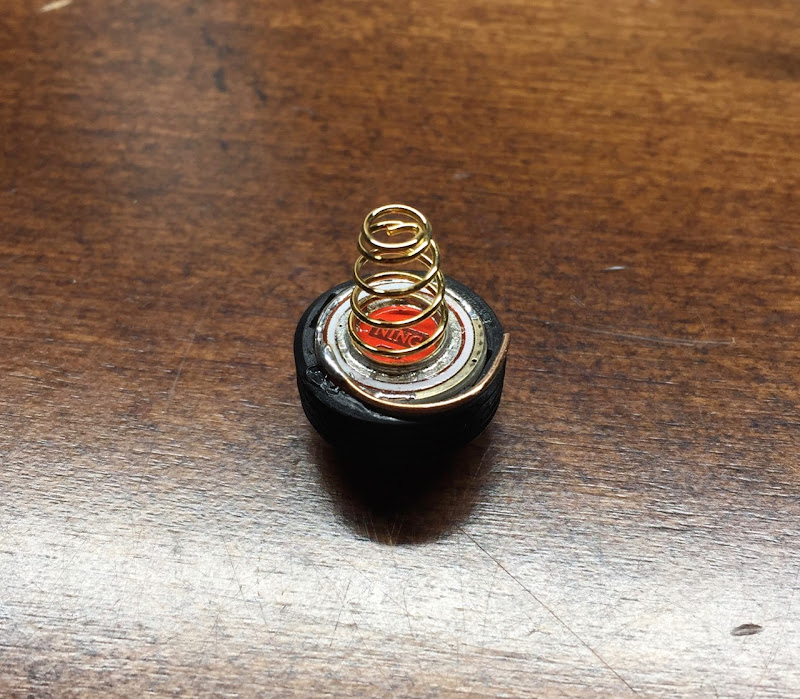
I took it apart... just six screws. I pulled the contact out, put it on my workbench, and put a dab of solder on the contact, to build it out, just a little bit.

Now duraloops work!

As a side note:
I have three kinds of duraloops, white tops, black tops, and green tops. The white tops worked without modification, but the green and the black tops did not. Now they all work! :)

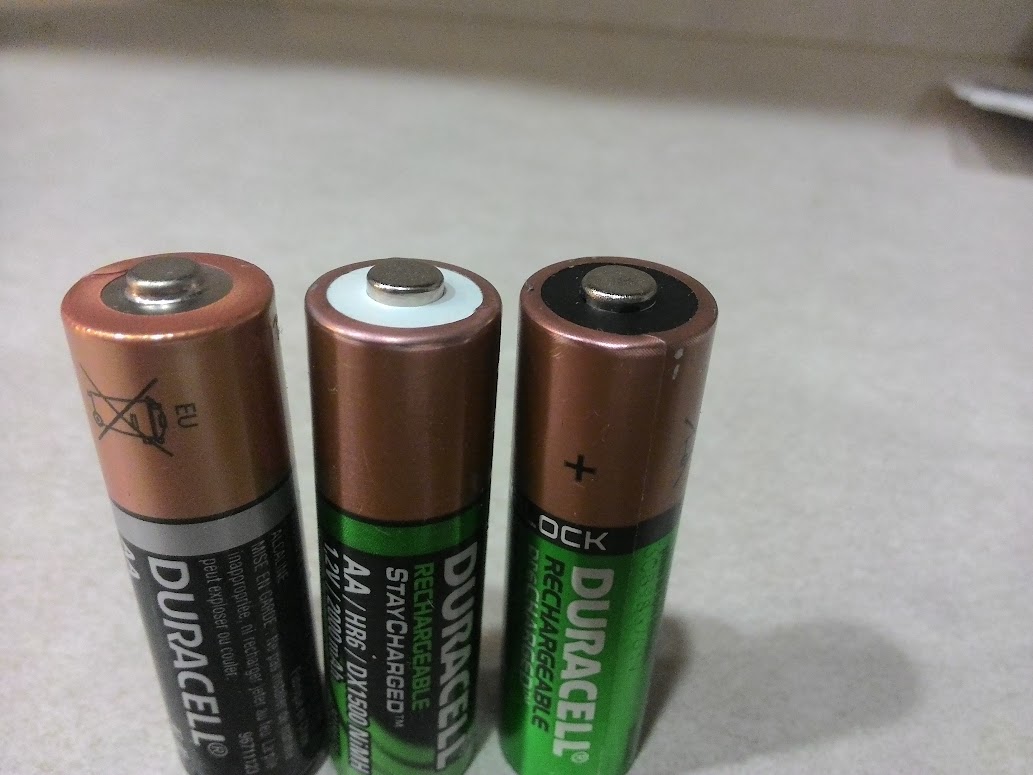
Here is a picture of the tips of the batteries,

Left to right... Alkaline, white top, black top.

cciYwT0aIRmMWXKocPz-wAXTI_bklzaSzEh2phq3V6Xw_KsDRkOWJ_k1DKjFiuZg8ir9JTEXOUWXqSJ0xl3d7zrqcaq2tBniD3pHdP4GWLrG6fGS7ArPS3HS1-KJVFx0wlBkuMB__xCUZMpFTm7oQv4KeYdY6sflymfWwFO_vy6LjQaixbgwuBPpFd68wTtZPIbR8xtegPBdf2-WQSXMISxTB9nm_xvsi7WQ9xXWwhmFJyp9V0Mx_xa4qNQMFDUxvW67qOe1-JCGmQPD7NcovCDtwrfihCZXdqLzZR1lXg3Q8H9iaZMBwBHwOA8oQ0geU-lII_DZtEz-XE-_KjJjNzG1Opj1S6KXi6MPRSi2kK83PA4_LPuz7E5IYUdJy0SWOIm3VvctSGTCfo9bKrMuyGz74MN_DcolTHa8QEdQllvL0CiCkaxYn9l8F0s9lWg_agFsDu-iymj2fm-gsycpBu4ZbmsSezxLk13EqRPO7kbXtb-1YjGTQR5LKlnnJHyvYeBBCKxfrivGCcrSP5BpSZmm63tGyNaTPOFiTY6ssAXZo6t7sKvixGpTFavYg_G6tH10LKZxSfZXtjzOXaTKWskI0yYTYas=w1034-h775-no
 
Last edited:

turkeylord

Enlightened
Joined
Aug 21, 2012
Messages
410
Getting ready to swap another forum member's S1A Cu. Wanted to do a copper MCPCB, had to thin it out for the optic to sit correctly. Soldered myself a little handle and took it to the disc sander. :)

MDyIS6J.jpg


Before:
LcWggjn.jpg


After:
VLDAz3k.jpg


Did the same on mine, turned out great!
 
Top