
CaNo
Flashlight Enthusiast
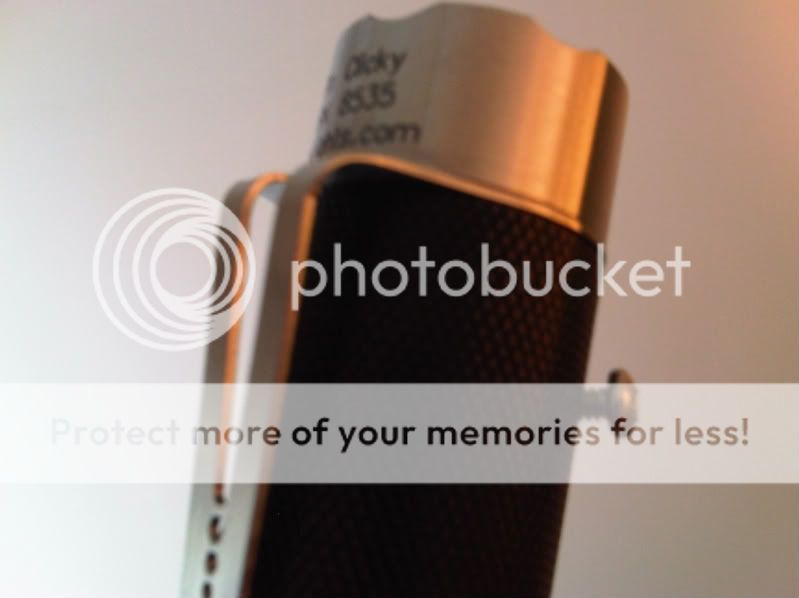
I currently EDC my Custom Ra Clicky that I had purchased from Henry, and absolutely love it. I was not happy with the stock clip it came with and had purchased a SS clip from Moddoo which I am more than happy with! The clip resides under the bezel requiring no screws unlike the previous clip. Using this clip now leaves me with two holes where the screws once were.
With these two holes left open... I would assume the light is no longer water proof correct? Correct me if I'm wrong please. The solution I thought of was to screw the screws back in to fill the holes right? Well my dilema is... one screw goes in fine, but the other screw only goes half way in and gets stuck. If I try to screw it in more, I will destroy the philip screwdriver shape on the head of the screw, leaving me "screwed" when I decide to try to take it out or screw it it more in the future. Process of elimination tells me that the screw is not the problem, as I tried screwing each screw in both holes. Leaving the screw sticking out like this is very inconvenient and becomes an annoyance when clipping and taking the light out of my front pocket. I'm afraid in the future I might drop the light because of the screw sticking out and when taking it out of the front pocket, it will shoot out of my hand from trying to yank it, only to see my $160 light fall to the floor and get dinged up. Yes it is supposedly tough and durable, but I do not want to scratch this expensive light if I can help it. Any suggestions?
With these two holes left open... I would assume the light is no longer water proof correct? Correct me if I'm wrong please. The solution I thought of was to screw the screws back in to fill the holes right? Well my dilema is... one screw goes in fine, but the other screw only goes half way in and gets stuck. If I try to screw it in more, I will destroy the philip screwdriver shape on the head of the screw, leaving me "screwed" when I decide to try to take it out or screw it it more in the future. Process of elimination tells me that the screw is not the problem, as I tried screwing each screw in both holes. Leaving the screw sticking out like this is very inconvenient and becomes an annoyance when clipping and taking the light out of my front pocket. I'm afraid in the future I might drop the light because of the screw sticking out and when taking it out of the front pocket, it will shoot out of my hand from trying to yank it, only to see my $160 light fall to the floor and get dinged up. Yes it is supposedly tough and durable, but I do not want to scratch this expensive light if I can help it. Any suggestions?
Last edited:
")

