History:
Quite a few years ago I made a little Mag mod stubby that I always loved and was impressively bright. It ran on 4x lithium 14430 and those powered 3 cree XPG emitters. Many years have passed and I felt it was time to make something really fun using the newer XML emitters. With some new machines skills and access to a CNC mill and a lathe, I was sure this next mod had a lot of potential.
The Build:
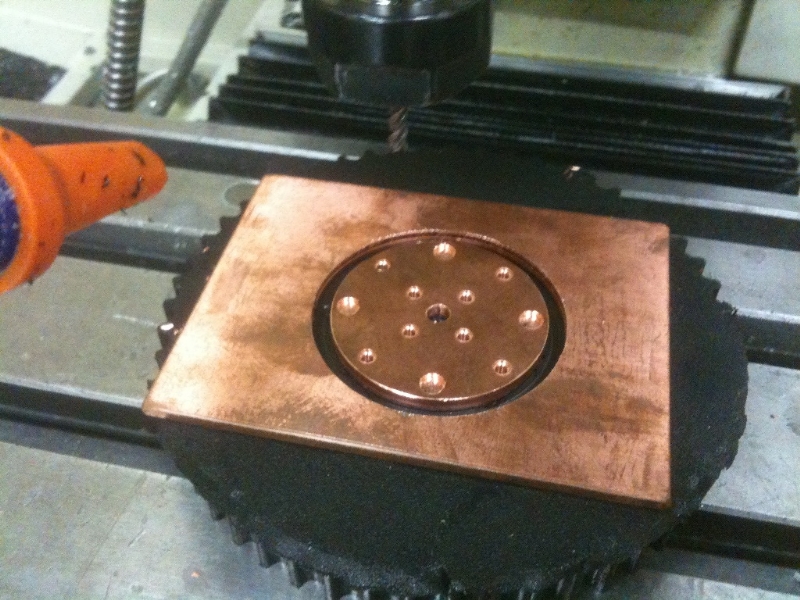
First off I needed to get to the shop to create my led mount and heat spreader. I decided to use .125in thick copper to ensure the heat would be spread perfectly to the edges and then dissipated into the body of the flashlight head.
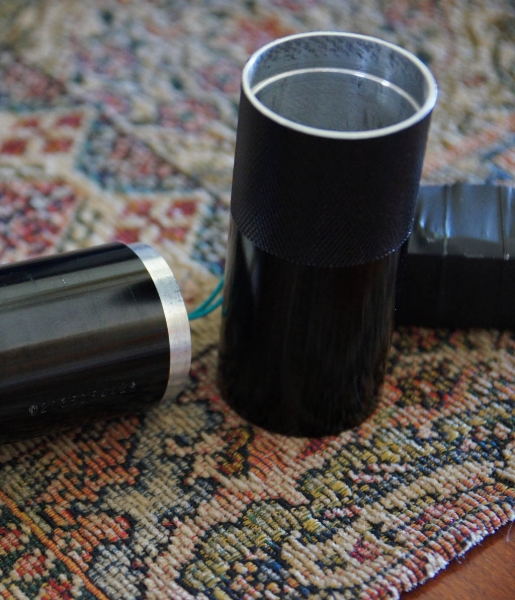
Next I knew I wanted to shorten the body of the flashlight so I cut out around 1.5in of body tube. Sadly I didn't take a photo while I was doing anything on the Lathe! I then bored out the inside of battery tube to fit my higher powered lithium cells and then created a pressure fit overlapping area for the two bodies to be pressed back together and look fairly seamless.
Once all the machining was done now I got to play with the electronics that had come in from deal extreme. I ordered a Deal Extreme 57779 which had not been tried yet with 4x XMLs. I put my leds on the copper puck proceeded to test them out. Sadly with in about 20 seconds I knew the driver would not work stock! The two diodes with the label D2 were heating up instant burn temps within 8 seconds of running on high.
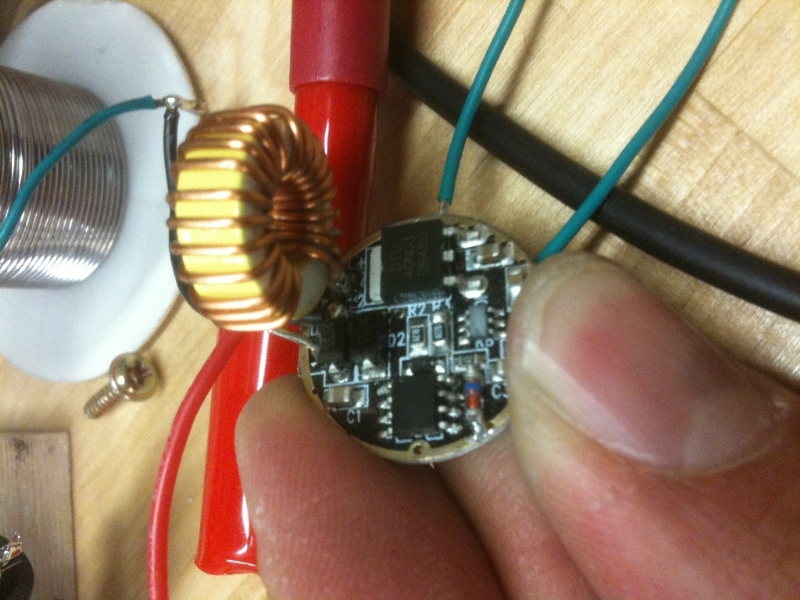
So either I was going to need to get something kaidomain or really go high quality and shoot for Taskled driver (who is always out of stock!
 ). With limited options and both about a month away from actually getting a part I decided to replace the diodes with ones that had a much lower voltage drop and could be mounted else where to dissipate their heat directly into the body of the light. I got it all wired up and sure enough they work great!!! I even get amazingly great efficiencies after everything is said and done!
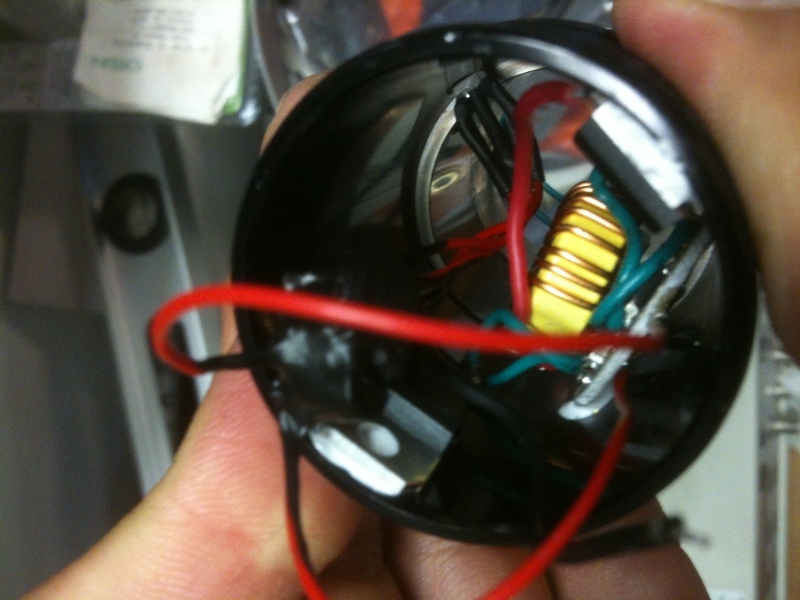
Kind of a messy photo but here are my two diodes mounted inside with driver board center!
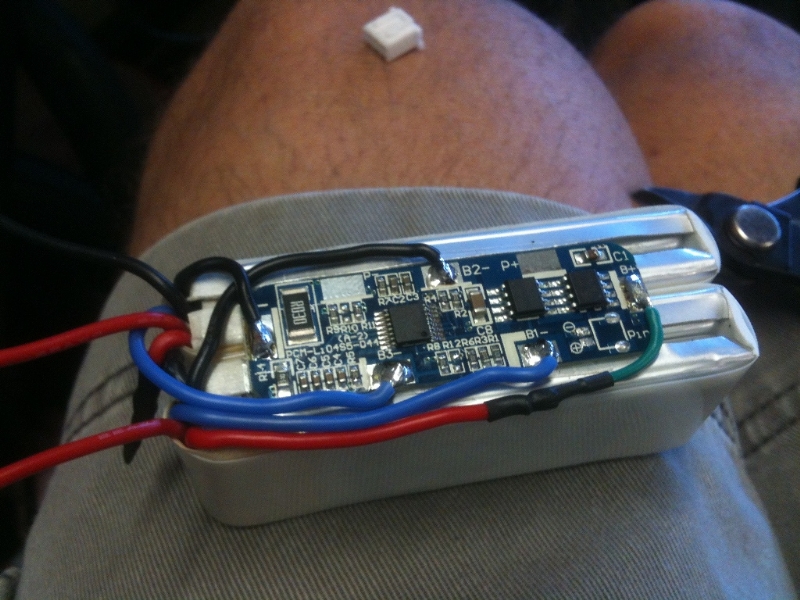
Since I am using a custom battery pack I purchased a 4 series BMS board and go that all wired up:
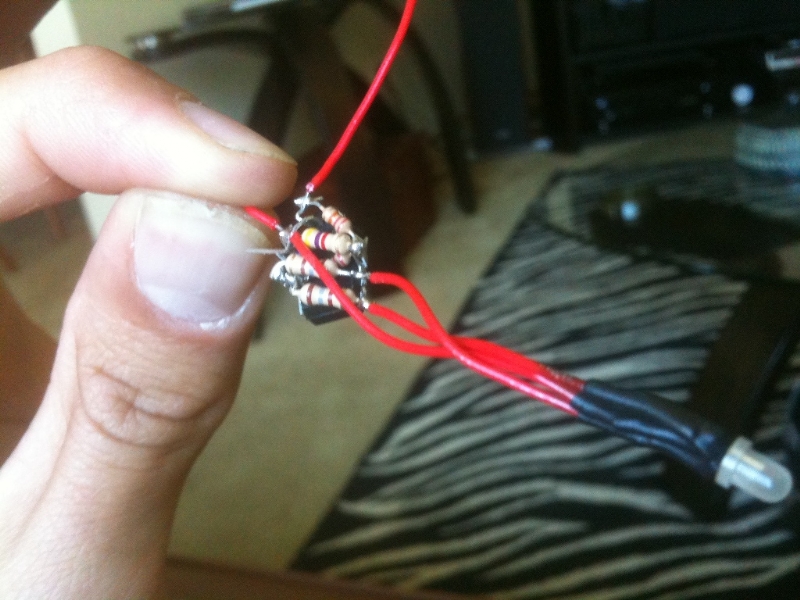
The next piece of electronics I put together for the battery indicator light out of a little micro controller with a voltage regulator and a bicolor led. I wrote some code that was customized for my particular battery discharge curve. The light is green to about 75% then orange to 30% red to about 10% and then flashing red below that.
This is before I potted the circuit. This is the bottom and the top you can see the 8 pin micro controller.
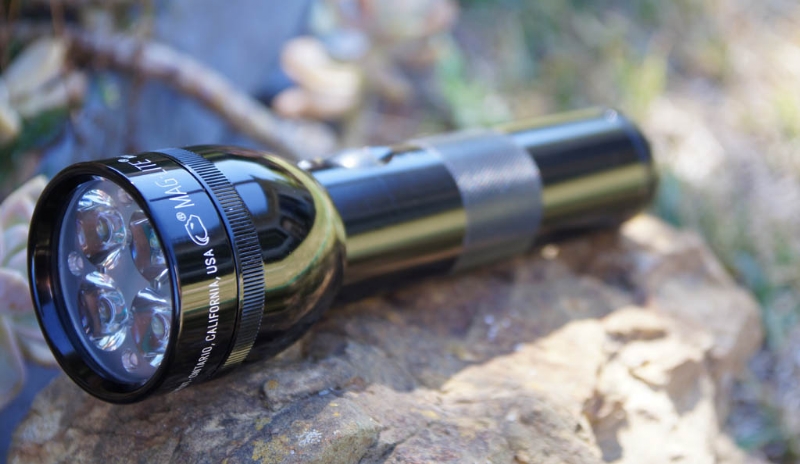
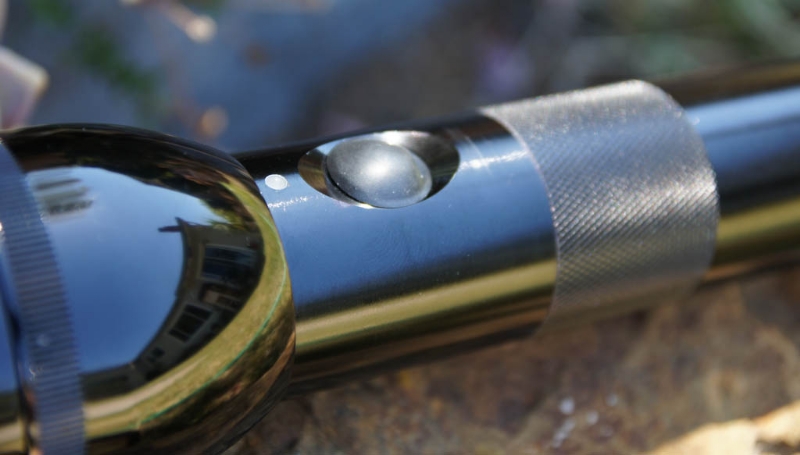
All together:
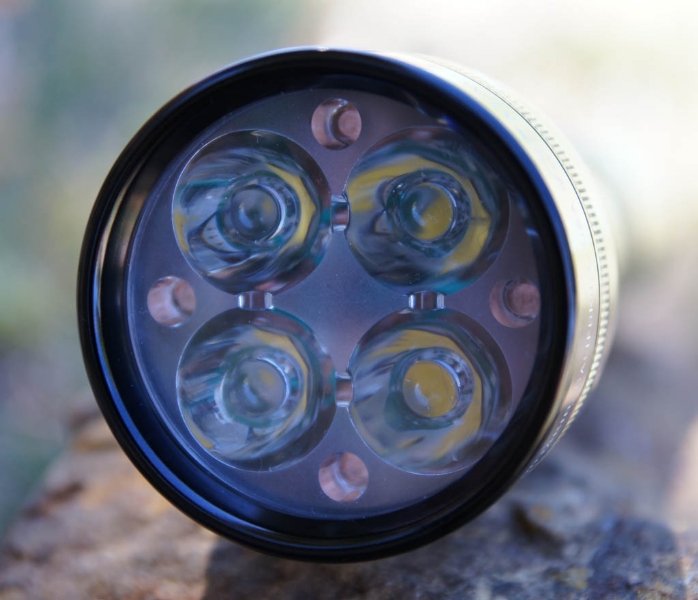
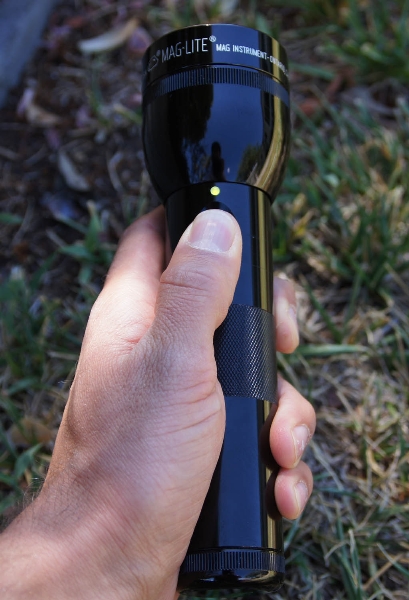
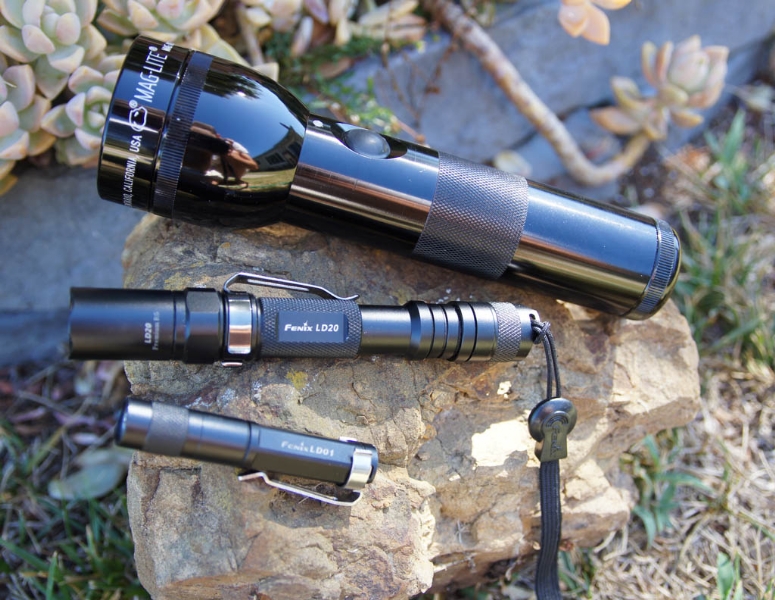
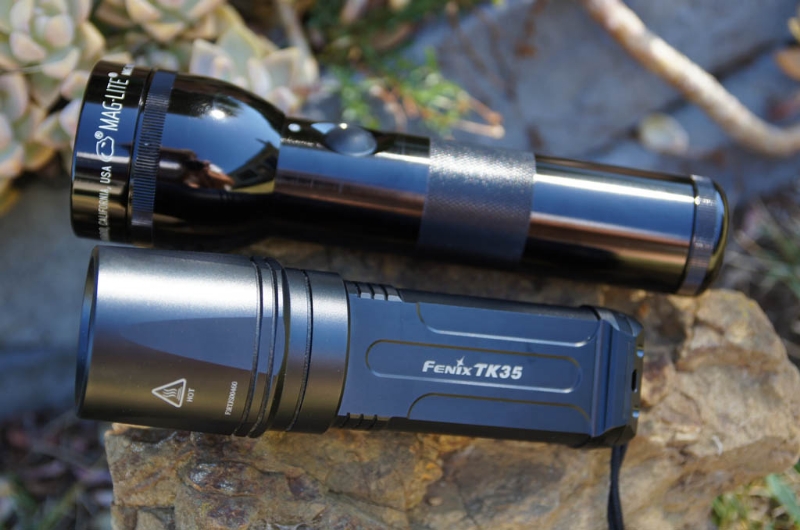
Lastly beam shots:
The first set of photos is shinning the light toward a tree on the edge of our property which is 165ft away. The two streetlights right above that tree are 375FT away.
Control:
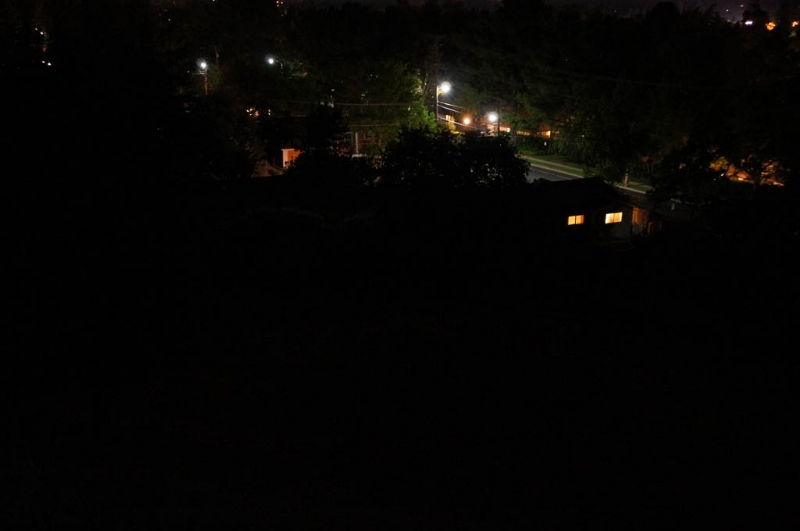
Fenix LD01:
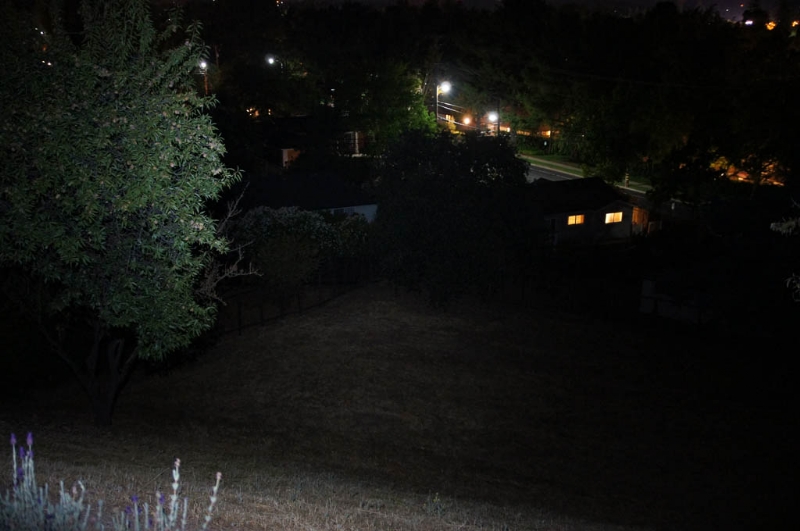
Fenix LD20:
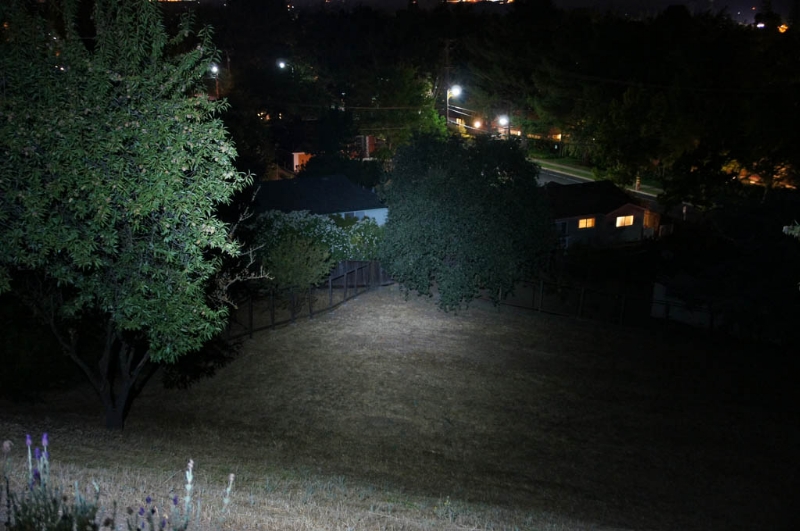
Trustfire FR-803:
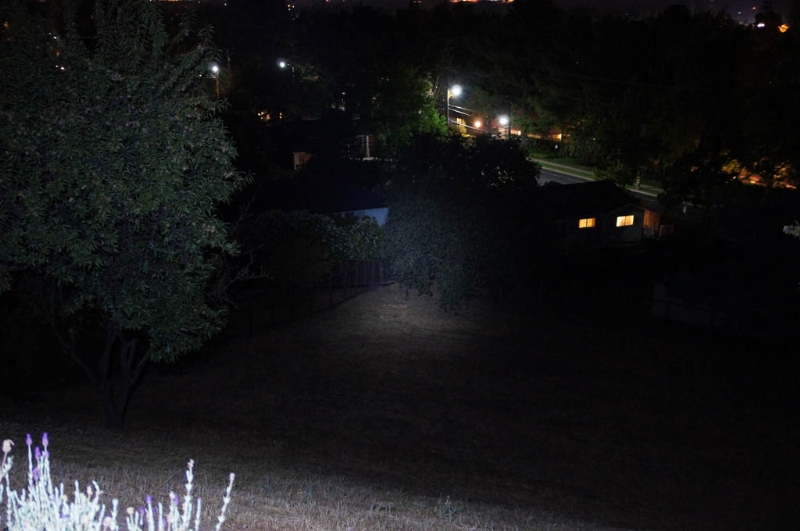
Fenix TK35:
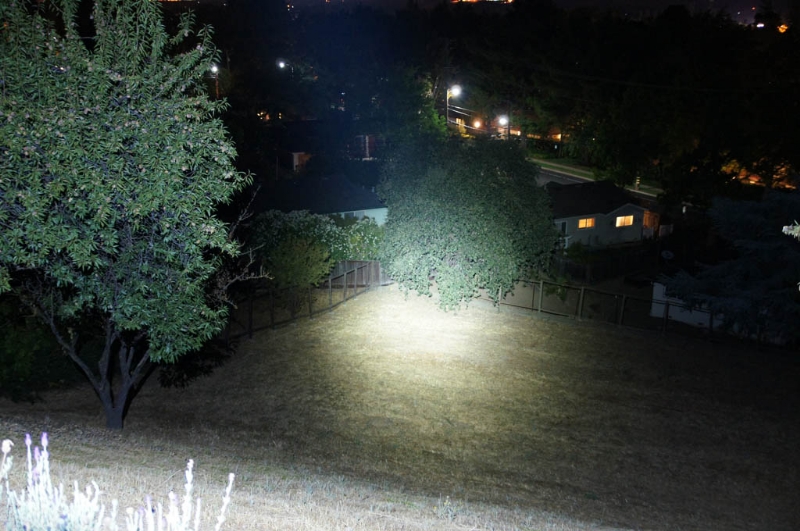
MagMod 4x XMLs:
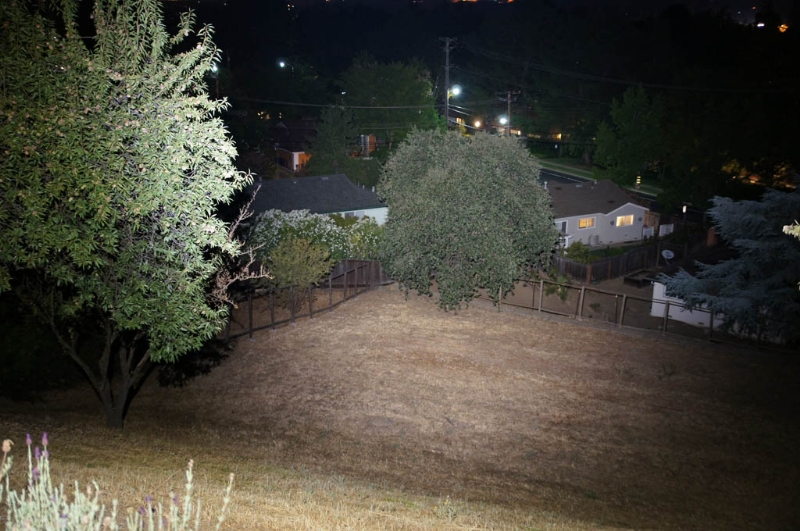
And of course the GIF:
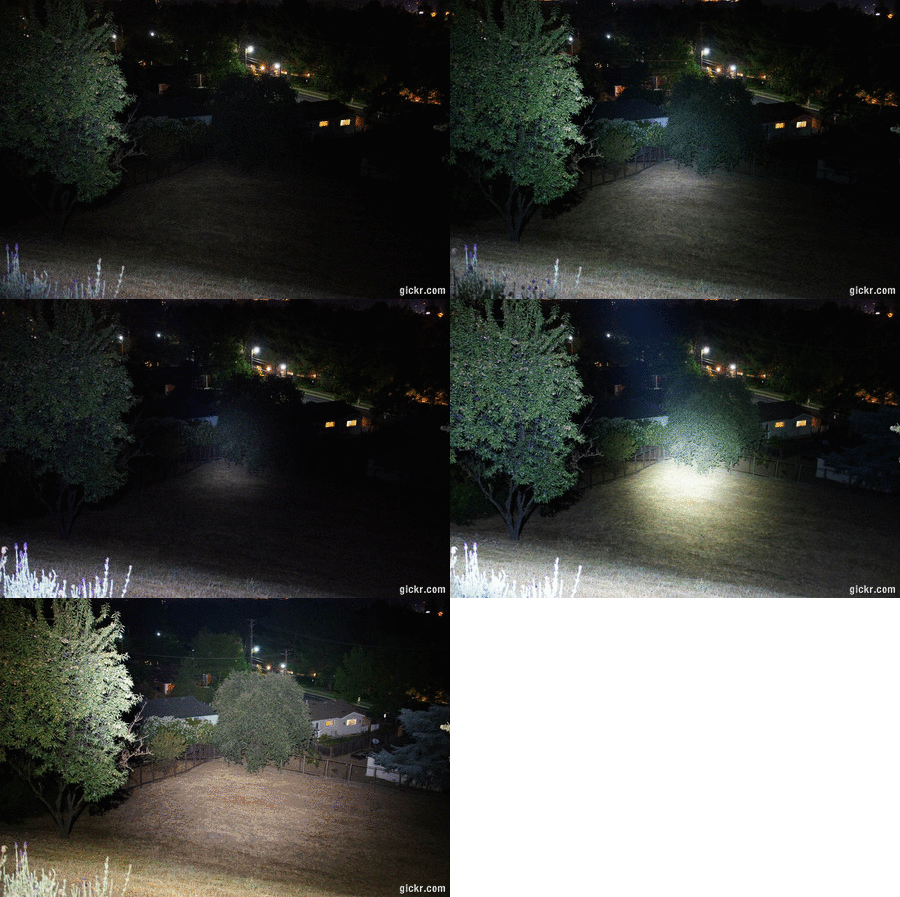
Indoors all lights, white wall, high shutter speed, all lights same distance:
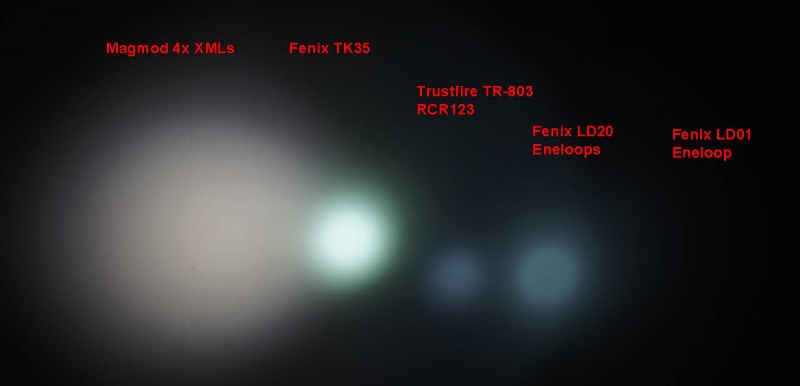
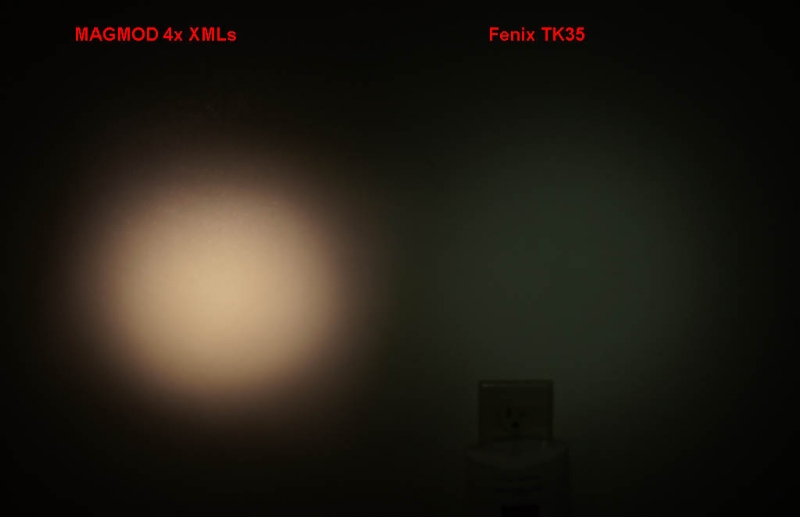
My light and TK35 with different distances to make light spot size equal on both on high:
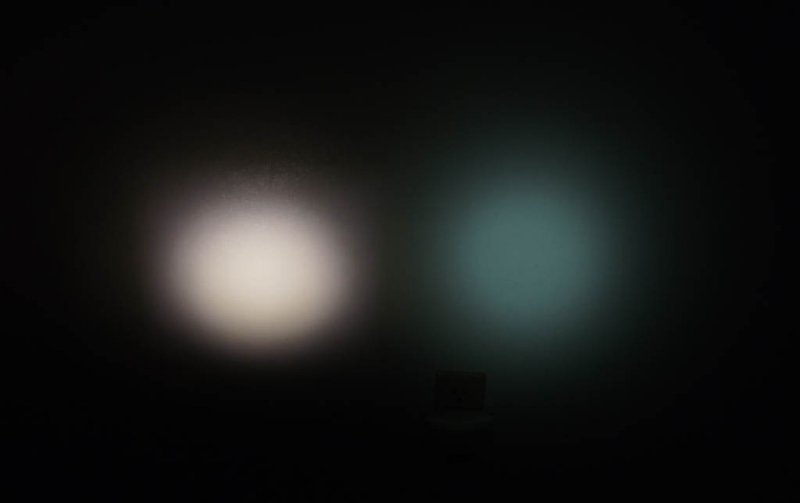
My light on low and TK35 on high, different distances to give same size spot:
Some fun notes:
Battery on high will only last about 23 minutes.
Battery on low will last around 2 hours!
Flashlight on high gets hot and I shut if off after about 7 minutes due to discomfort.
Lights up a room with ceiling bounce better than the room's actual light!
I love the light's neutral white color, creates much more usable light.
Got to run off to work I see if I left anything out when I get home tonight.
Quite a few years ago I made a little Mag mod stubby that I always loved and was impressively bright. It ran on 4x lithium 14430 and those powered 3 cree XPG emitters. Many years have passed and I felt it was time to make something really fun using the newer XML emitters. With some new machines skills and access to a CNC mill and a lathe, I was sure this next mod had a lot of potential.
The Build:
First off I needed to get to the shop to create my led mount and heat spreader. I decided to use .125in thick copper to ensure the heat would be spread perfectly to the edges and then dissipated into the body of the flashlight head.

Next I knew I wanted to shorten the body of the flashlight so I cut out around 1.5in of body tube. Sadly I didn't take a photo while I was doing anything on the Lathe! I then bored out the inside of battery tube to fit my higher powered lithium cells and then created a pressure fit overlapping area for the two bodies to be pressed back together and look fairly seamless.

Once all the machining was done now I got to play with the electronics that had come in from deal extreme. I ordered a Deal Extreme 57779 which had not been tried yet with 4x XMLs. I put my leds on the copper puck proceeded to test them out. Sadly with in about 20 seconds I knew the driver would not work stock! The two diodes with the label D2 were heating up instant burn temps within 8 seconds of running on high.

So either I was going to need to get something kaidomain or really go high quality and shoot for Taskled driver (who is always out of stock!

Kind of a messy photo but here are my two diodes mounted inside with driver board center!

Since I am using a custom battery pack I purchased a 4 series BMS board and go that all wired up:

The next piece of electronics I put together for the battery indicator light out of a little micro controller with a voltage regulator and a bicolor led. I wrote some code that was customized for my particular battery discharge curve. The light is green to about 75% then orange to 30% red to about 10% and then flashing red below that.
This is before I potted the circuit. This is the bottom and the top you can see the 8 pin micro controller.

All together:


Lastly beam shots:
The first set of photos is shinning the light toward a tree on the edge of our property which is 165ft away. The two streetlights right above that tree are 375FT away.
Control:

Fenix LD01:

Fenix LD20:

Trustfire FR-803:

Fenix TK35:

MagMod 4x XMLs:

And of course the GIF:

Indoors all lights, white wall, high shutter speed, all lights same distance:

My light and TK35 with different distances to make light spot size equal on both on high:

My light on low and TK35 on high, different distances to give same size spot:

Some fun notes:
Battery on high will only last about 23 minutes.
Battery on low will last around 2 hours!
Flashlight on high gets hot and I shut if off after about 7 minutes due to discomfort.
Lights up a room with ceiling bounce better than the room's actual light!
I love the light's neutral white color, creates much more usable light.
Got to run off to work I see if I left anything out when I get home tonight.
Last edited:


