KDOG3: Really easy once you've made a few false starts.
Tools: You'll need some basic tools; Heat gun, thin leather or cotton gloves, small piece of flat alloy bar, Drill and various size bits,hacksaw, files, sand paper and belt sander(or in my case a hand held electric sander as I dont a have a belt sander) A small piece of smooth laminated formica board (not essential but helps) and some acetone. A metal tube or wood dowel of the right diameter for the light you want to make the holster for.
Materials: Kydex or concealex. (The thinner sheet is better for this than the heavier and thicker) Black rivets and a small or large Tek-Lok (to suit your belt size)
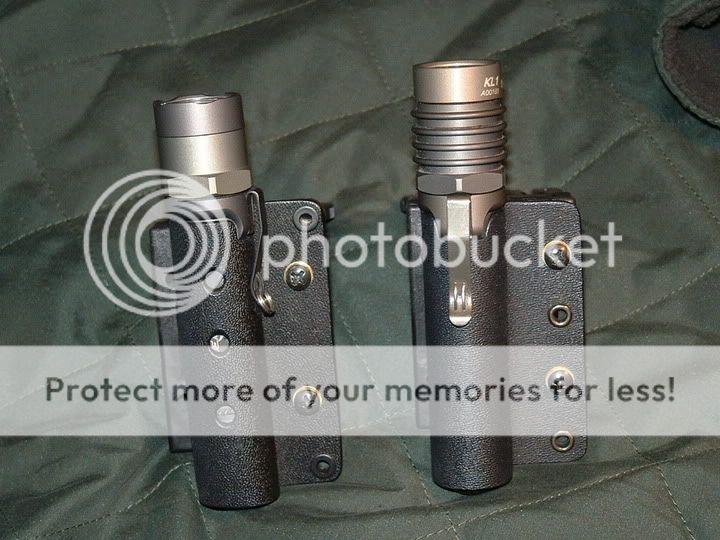
Method: Plan to make the initial holster longer than you are likely to require. (You can always cut some off but cant make it longer!) I have made some longer to cover the switch completely, some are built to end by the switch. (It's your choice depending on the type of light you've got) place the kydex/Concealex sheet onto the formica coverd board and heat using heat gun until the Kydex becomes pliable (too little heat and it wont bend, too much and you'll end up with a piece of burnt Kydex. Place the metal or wood former onto the Kydex and fold the Kydex over the former. Using the flat alloy bar, press one edge into the folded side to increase the fold definition and to make sure the Kydex/Concealex maintains its tightness to the former. Wait a short while until it's cooled and maintains its own shape. Try the intended light into the tube you've just created and make sure it is a comfortable fit. If it is too loose gently heat the kydex at the tail end until you can slightly deform the tube enough to make an interference fit. Once done measure and mark out the tube to the length required and cut off the surplus with a hacksaw. Do the same with the surplus piece of the folded Kydex/Concealex until you have obtained the proportions required. Place a Teklok against the rear of the holster and use it as a template to mark some drill holes. Once these holes are made decide on how many rivets you are going to use and make the holes and rivet the holster together. File the edges to a rough profile and then use a sander to achieve a reasonable edge. Finish by use of fine grade sandpaper. Finally when the holster appears nearly completed dip a lint free piece of cotton cloth in some Acetone and rub vigorously along the holsters edges to obtain a lovely smooth professional finish. Apply Tek-Lok and you are done!
Sounds complicated? It's not and it is really easy the only difficult bit is making sure that you continually refit the light into the holster until the rivets are applied to ensure the right level of tension.
Hope this advice is of some use?
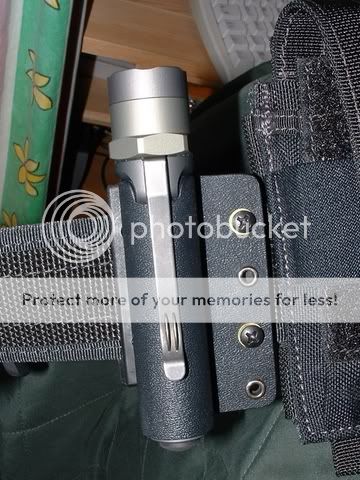
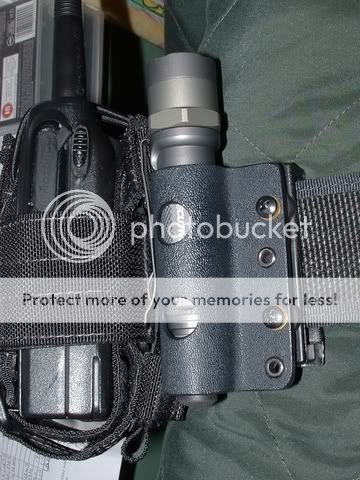
Vontech, Belt width is 50mm and I will post some more views tonight when I get home.
Doug