chesterqw
Flashlight Enthusiast
LOL manbearpig.
You can become a Supporting Member.

 I can put Mr. Whiskers on the head, so he'll be more prominent.
Had you seen the nice small twisty "a friend" of GregW made for him ?ManBearPig said:.... I'd like a single AA for a CREE and whatever electronics will fit it. Doesn't need to be fancy. ...
ManBearPig said:Don't forget to engrave the names of my cats. All 93 of them in alphabetical order. But make Mr. Whiskers name bigger then the rest or he'll get jealous.
PhotonFanatic said:Actually I was thinking of having their pictures laser engraved on the body, just to be different from the usual run of the mill named lights. I can put Mr. Whiskers on the head, so he'll be more prominent.
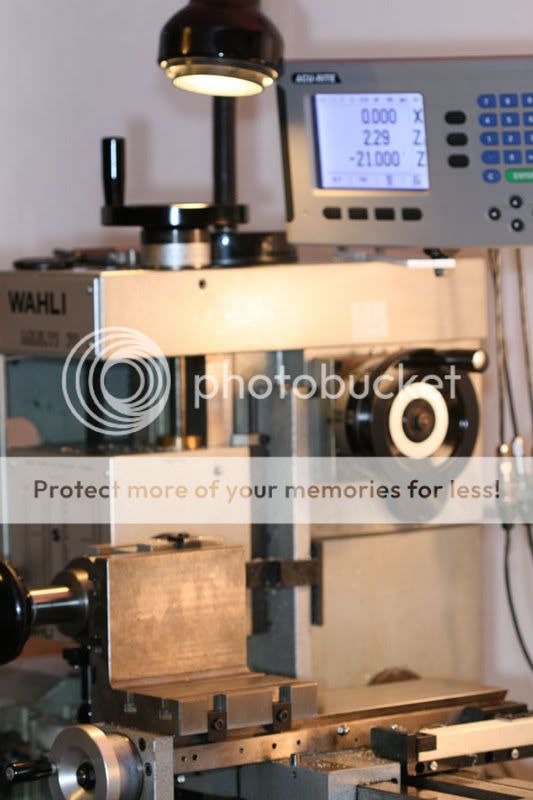
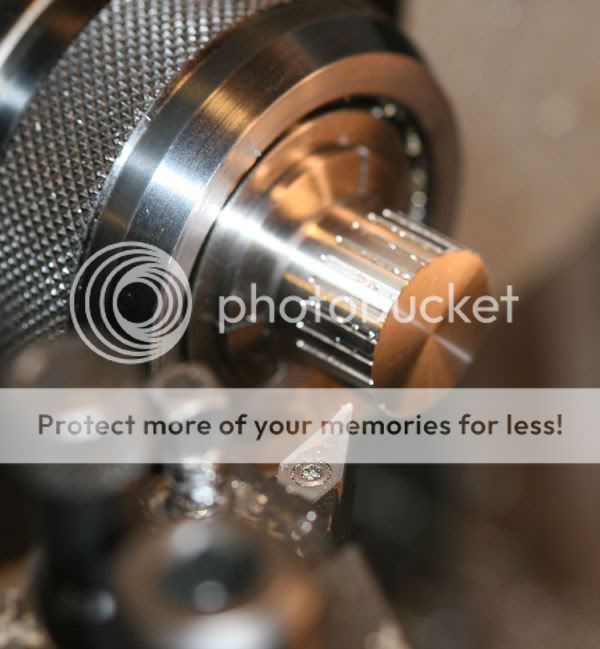
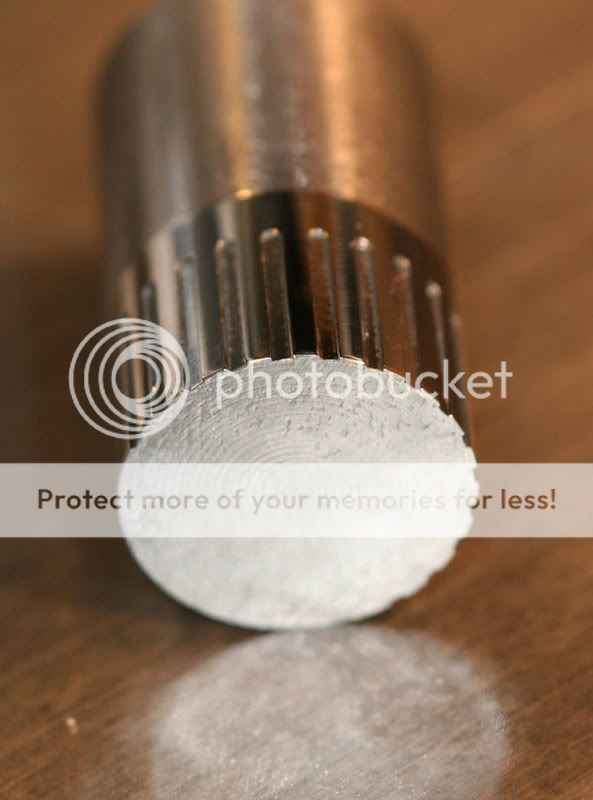
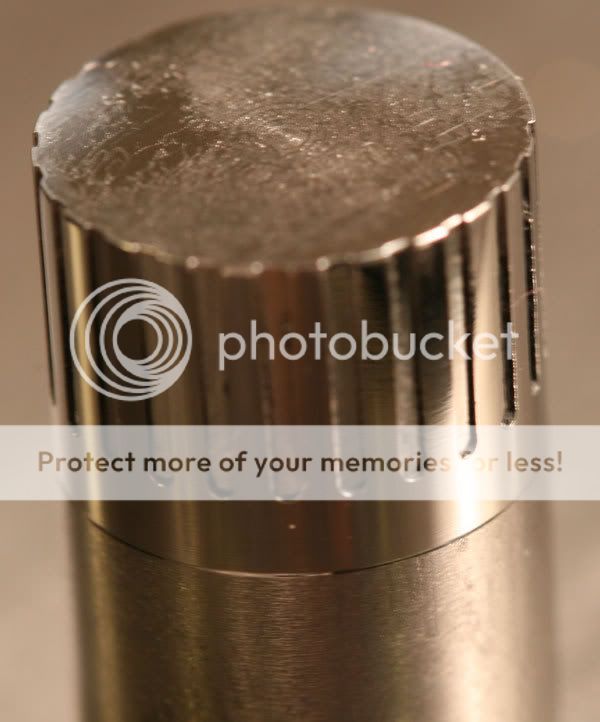
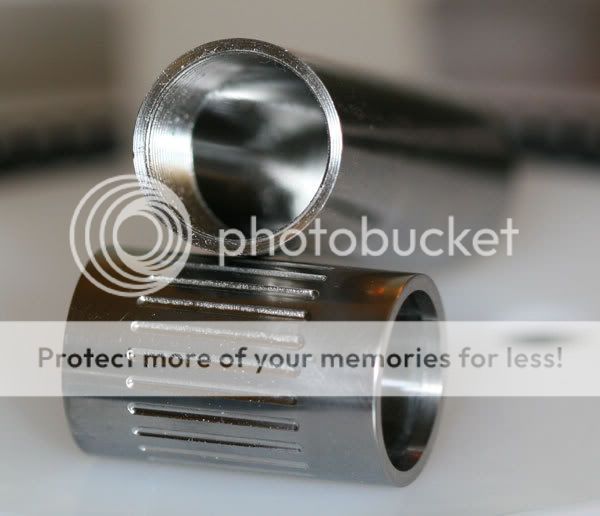
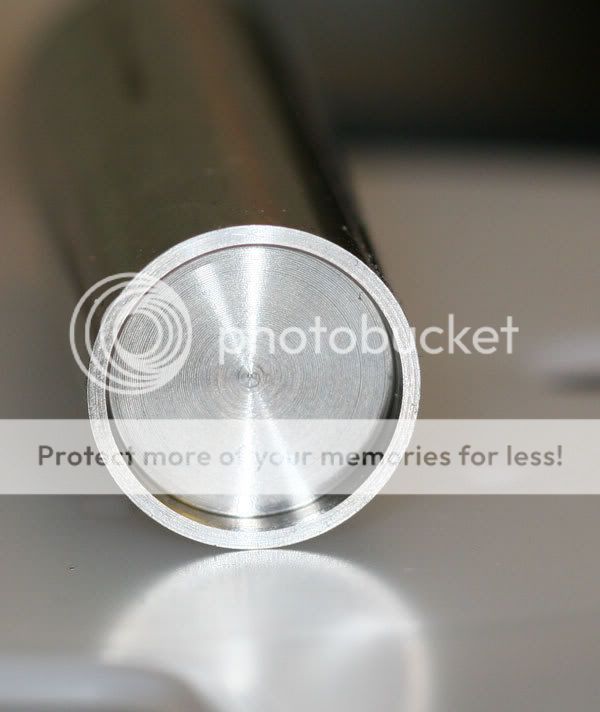
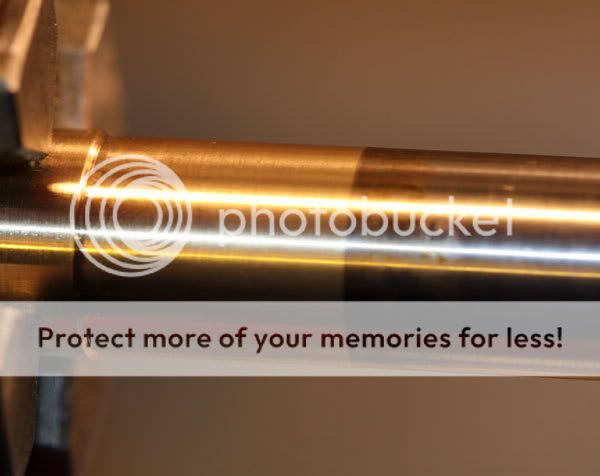
So after milling is done, you turn the part again to cut 0.00? from the dia ?PhotonFanatic said:Time to clean it up, face the end to get rid of that nasty bur, and to turn it down a hair, too...
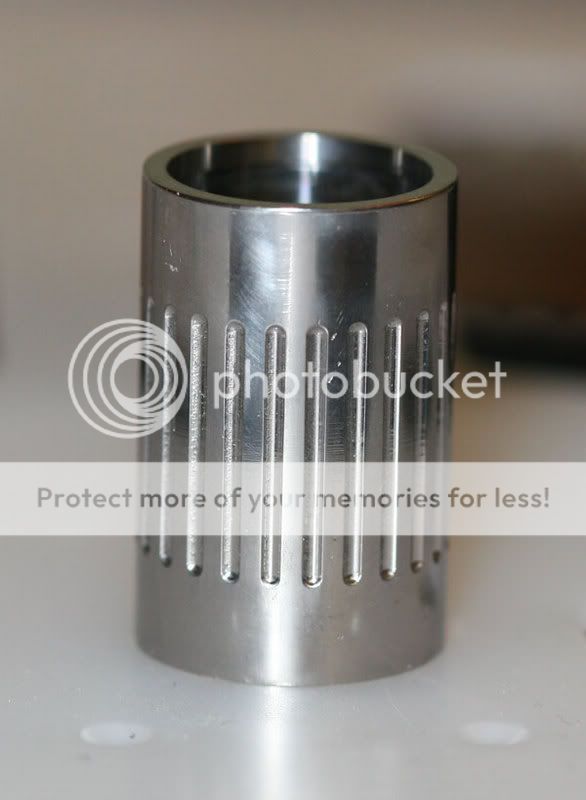
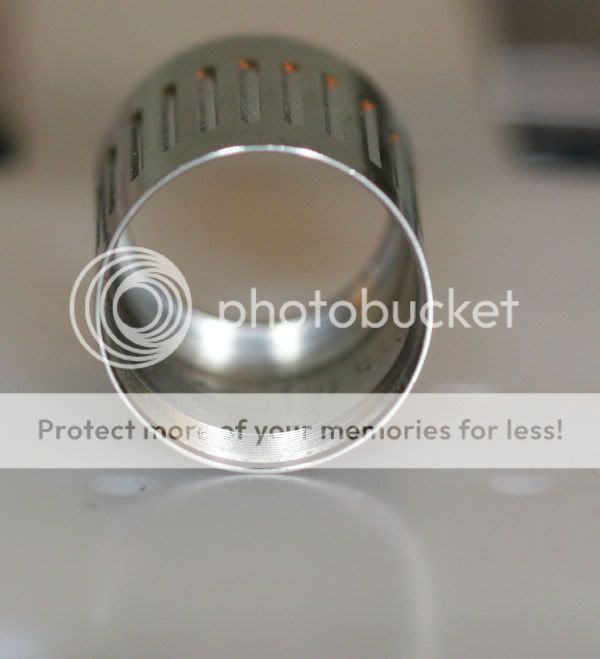
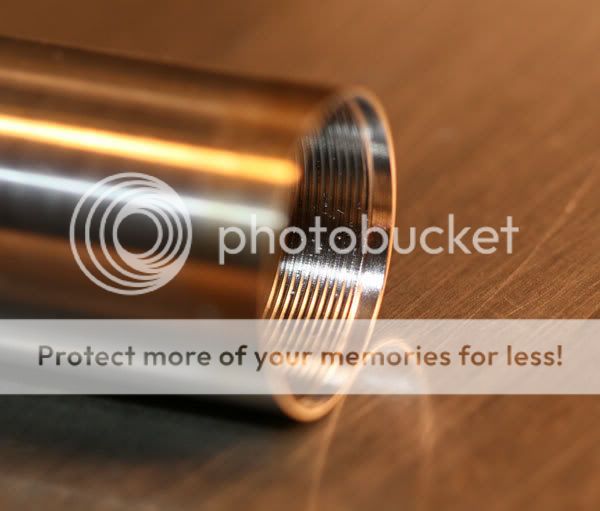
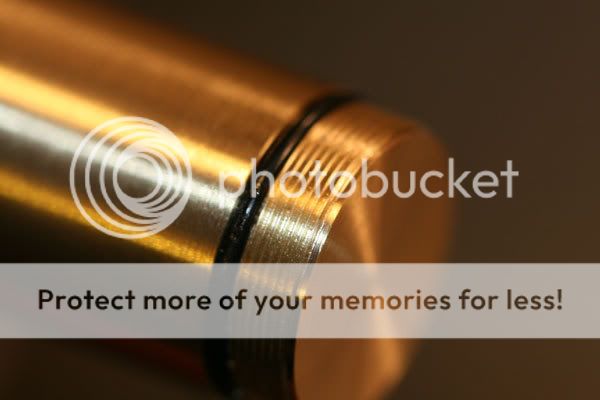
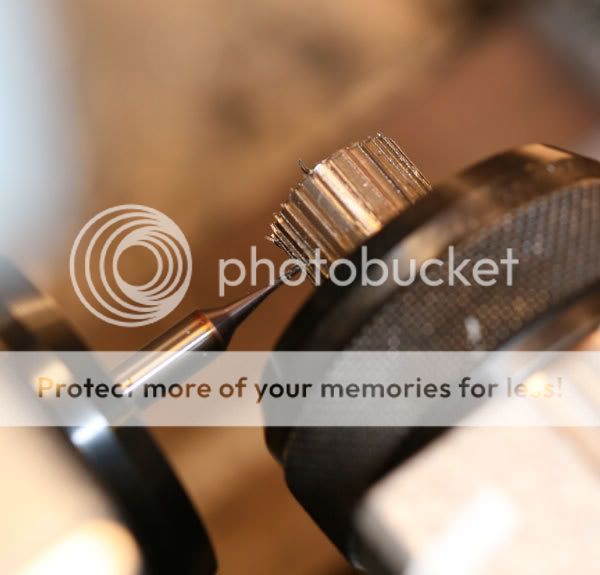
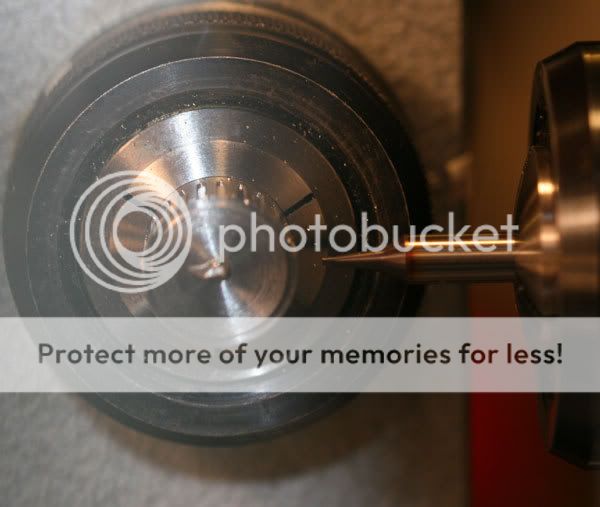
Off to the buffing machine to get rid of the burs in the grooves and to give it a little shine and we get this--1mm wide grooves cut .25mm deep: