HDR imaging and BEAMSHOTS ?

Kiessling

Flashaholic
Joined
Nov 26, 2002
Messages
16,140
Location
Old World
Hi all.

After looking again at the beauty and the interesting feartures of HDR imaging in this thread started by KingSmono:

https://www.candlepowerforums.com/threads/216582

... I asked myself if maybe HDR could be used to finally make some realistic looking beamshots.

I didn't want to pollute the other thread with this tangent, so I started a new one.

Currently, we have the problem that digicams are mostly unable to represent the dynamic range of a typical beamshot that shows the hotspot and the corona, and we get shots like those:
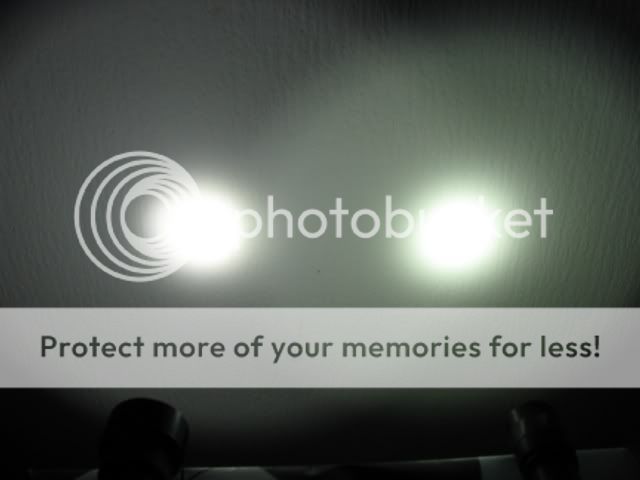

Mc15vsL4.jpg

... well-pictured corona and over-exposed spot.

This can be countered by shooting a second, underexposed pic to represent the spot:

Mc15vsL4underexp.jpg


... but in the end, this is cumbersome and uncool, as it is not what the eyes actually see.

The effect can be less proneunced when shooting "real life" targets, depending on th etarget and the surroundings, but it is always there. I used the above images for a clear demo of what I mean.


Now ... HDR is a fusion of under- and overexposed pics into one frame and could allow for a better representation of a beam. The term "better" would mean "as the eye and brain actually see it" and not "scientifically correct". Because our perception does not care about scientific numbers, we see what we see, and I want to be able to show that to my fellwo flashaholics.

Here's a Wikipedia articel about HDR:
http://de.wikipedia.org/wiki/High_Dynamic_Range_Image


Can anyone who is capable of HDR imaging try this with a beamshot, preferrably outside and maybe white wall, too?

Thanx !!

bernie
 
I'll gladly give it a shot! Good idea! We might be able to get some truly realistic looking beamshots.

The only thing with HDR beamshots is, you'd be processing them (using software such as Photoshop or Photomatix) so that the final HDR image looks like what your eyes saw when you were looking at the beamshot... and each beamshot might have to be processed differently. So it wouldn't be fair to compare two different HDR beamshots directly, because processing is subjective and will definitely vary from person to person, and beamshot to beamshot. (Unlike standard beamshots with fixed exposure settings (shutter speed, aperature, ISO, etc).)
 
Thanx for trying !

So it is not an automated process ... or can it be used as such for a series of beamshots?

bernie
 
Well you have to use software to merge the multiple exposures into one image... when using the software you could conceivably use the same settings for each beamshot, but what looks realisitic for one flashlight's beamshot might not look realistic for another flashlight. I'll play with it though and see what happens!
 
Sure, will do some later. I needed to take beamshots of my new m60wlf anyways :) There's a neat 3 exposure plugin called Exposure Blend for GIMP that's free and pretty easy to use. Just use a camera that auto brackets 3 exposures, and the rest is pretty straightforward.

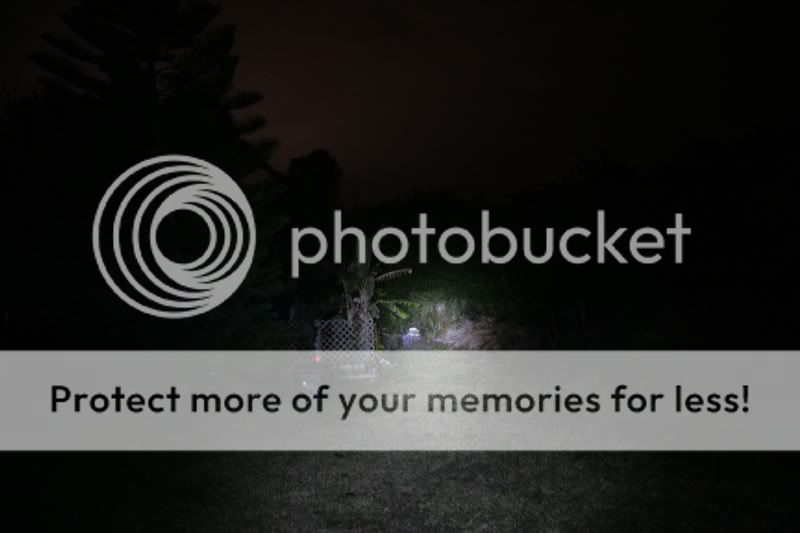
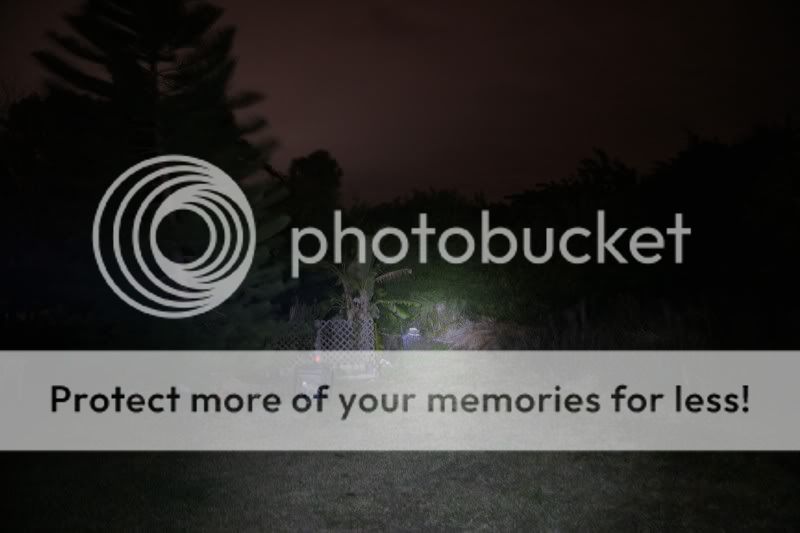
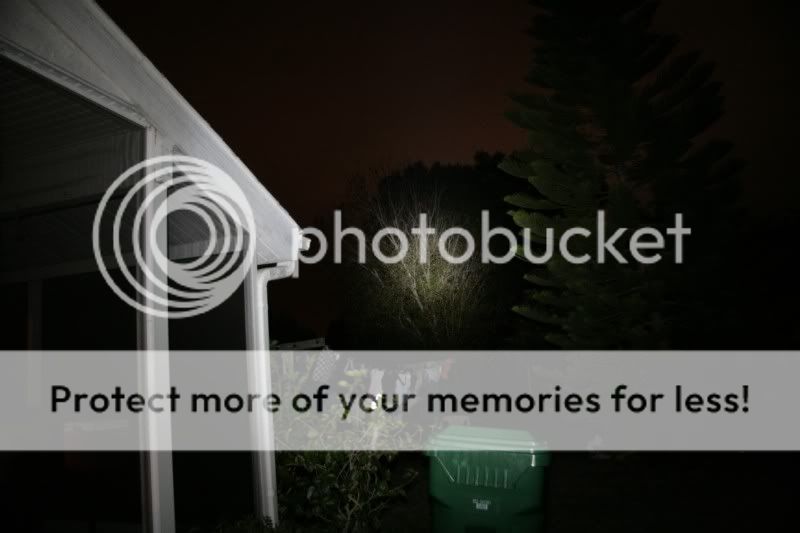
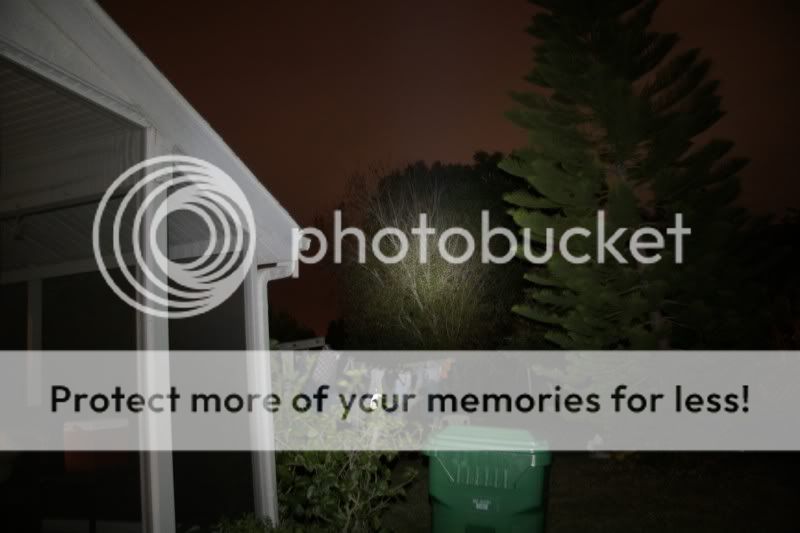
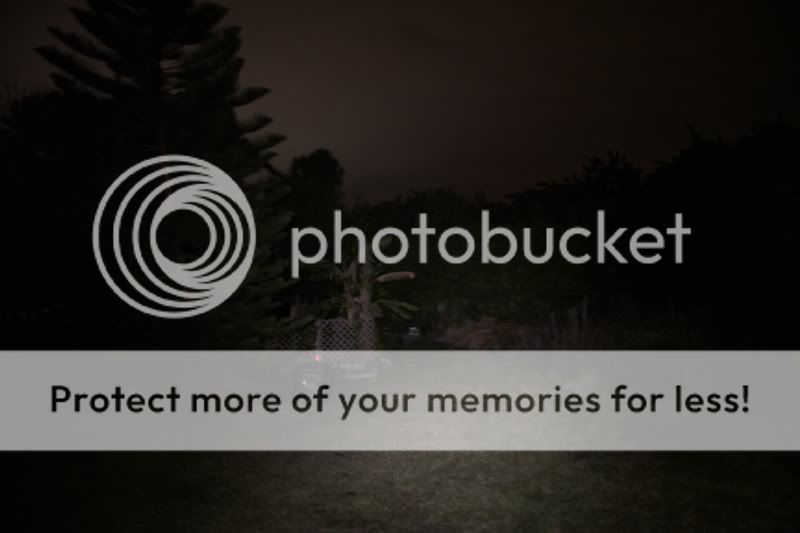
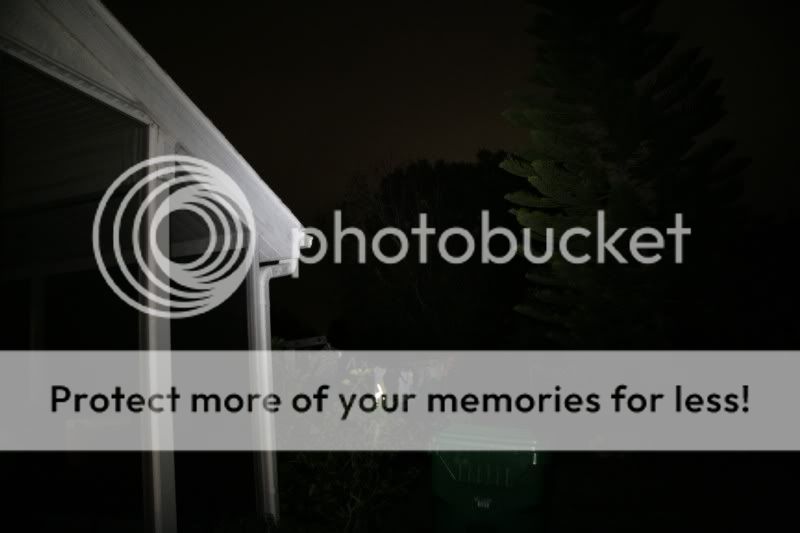
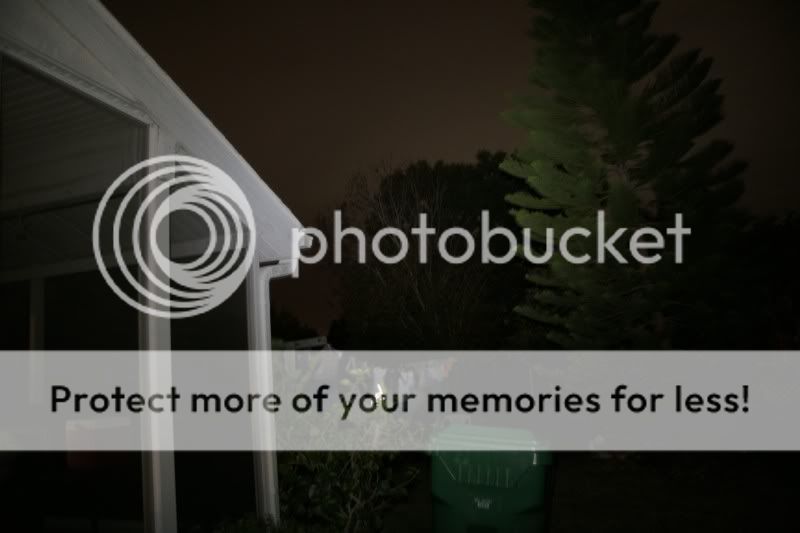
Edit: Okay, here we go. My normal manual exposure used for beamshots with awb, followed by the exposure blended image. The default transparancy for the bright mask made the images all look wierd, so I lowered opacity to 50 % on all shots. The tool has worked great for me in otherwise normally exposed photos, using it for beamshots is a bit tricker. I didn't want to throw too much time into tweaking it, this is pretty much plug and go except for the bright transparancy. It certainly does have some potential, but works much better with images that have a more normal range of brightnesses, with overexposed and underexposed areas that could use detail enhancement. One thing that I was reminded of is that it's essential to use a stable tripod, and preferably a remote shutter release. My tripod is a POS and easy to wiggle around, and no remote shutter, so one of the m60wlf images suffers from some wierd alignment/blur issues.

First up the M60


m60norm.jpg

m60hdr1.jpg


m60norm2.jpg

m60hdr2.jpg


And the M60 wlf

wlfnormal.jpg

wlfhdr.jpg


wlfnorm2.jpg

wlfhdr2.jpg
 
Last edited:
100% better on the WLF pictures, almost true to life, as well as the M60 ones pointed at the tree. It does a really good job exposing the floody part of the beam outside the hotspot. For some reason the M60 looks brighter on the ground beam up to the aimed spot. It's always done that in beamshots, the hotspot and close up spill look brighter in person compared to the midrange. I think with some tweaking of the settings that could be mostly fixed, but as it stands they're very good, and the darker midrange is probaly my eyes playing tricks on me while focused on the hotspot.
 
Could it be that the midrange is really darker and that it is not an artifact?
I mean, the spot is not there and the spill too weak to reach midrange while it can illuminate the close range well ... thus leaving a darker zon at midrange?

Which is why I prefer a tight strong spill and smooth transition to spot to gain a good field of vision midrange where I need it.

bernie
 
Another thing ... the sky looks like dawn now, which can suggest a brighter light pollution than there actually is.
 
Yeah there were some low clouds out that direction, that's light pollution from streetlights and buisness parking lots, the sky color looks correct in the wlf shots. The ground itself was too dark to see, and the treeline was just pitch black nothingness. I think the explanation may just be the contrast. The grass as you can see is a bit dead in that area, and camera sensors are sometimes biased towards certain colors. The combination of lighter grass+ camera sensor, and perhaps stereoscopic vision (more shadows between blades of grass in one eye, where the camera may have been lined up with the least amount of shadow) :duh2: . This demands further review :sigh: When the sun goes down again I suppose, my lithium rechargable stuff should be here today, I can take more time with the beamshots since it won't feel like I'm wasting money with every lumen :p
 
Sorry I haven't replied with amazing HDR beamshots yet... the truth is, I haven't been able to replicate what my eye sees with a set of bracketed exposures. :( No matter how I try to process it, I still get an overexposed hotspot. I think instead of HDR, you'd have to take an image with a properly exposed corona, and an image with a properly exposed hotspot, and then combine them in photoshop using layers or something. :shrug:
 
That's what I feared, but thanx for trying. :thumbsup:

I was hoping for an easy method for the "Average Joe" and Bernie to finally be able to get "good" beamshots like I subjectively see the light.

bernie
 
Try to start off with a spot exposure on the hotspot at -2 or 0 comp, and get that properly exposed. Then the normal and long exposures should help get the corona and spill properly balanced.
 
Here's a review of a book on the subject, written by a friend of mine:

http://www.maxunderground.com/articles/2008/cblochbook_review.html

The book is here:

http://www.amazon.com/dp/1933952059/?tag=cpf0b6-20

Something that I've long believed possible, is that each reviewer could standardize their setup for all of their own beamshots, making it possible to objectively compare output power and beam profiles between different lights.

You do this by first setting up a beamshot using a high quality regulated flashlight -- this is because we want a reliably consistent output. Then, experiment with the manual settings on the digital camera you want to use until you find the exposure settings where the hottest point in the beam is just below saturation (8-bit RGB value just under 255). Once you find out which exposure comes closest to 255 without going over anywhere, you can do very fine adjustments by slightly moving your light or the target closer together, if you desire. If you do that, note the exact distance once you have the exposure results you want.

That is your "base exposure" setting. Now, when you do a beamshot HDR series, be sure to do a range of exposure covering about 12 stops, 6 above and 6 below the base exposure. If the brightest one is solid white and the darkest one solid black, you've pretty much covered the full range. The best way to get this is to leave the aperture and ISO constant, and adjusting the shutter speed (and shoot from a tripod, in case your longest exposure is something like 4 or 8 seconds long). When you have your range of shots, you combine them into an HDR image.

It would also be a good idea to use monochrome versions of the images, to eliminate color as a variable when measuring intensity (different colored lights will clip at different points in each of the three color channels). I suggest using the green channel alone for all lights, as that is the centerpoint of the visible spectrum. (You can use the red or blue channels for red or blue/violet lights, but the green channel is best for most lights since the human eye is most sensitive to green, and it is the most common of the three primary colors in lights.)

So long as your setup is consistent from session to session (ensured by calibrating with your dependably consistent light), you could even roughly determine and compare actual luminous intensity at the reflector surface (which unit measures luminous intensity at a surface point? that one) and even get beam profiles similar to those on The LED Museum by using something called a "slice graph". This amounts to marking off a straight line on the HDR beamshot that runs through the brightest point, and reading off the intensity value every X pixels, and putting that data into a graph. If you use a graticule on your target, it would again make comparisons easier.

Now here's where terminology causes a problem. In the photography world, the term "HDR" has been applied to the technique of shooting multiple exposures and then blending them together in Photoshop, such that the result is a *regular low-dynamic-range .jpeg or tiff* that contains all the detail, instead of blowing them at the high end, or losing them in the dark.

The drawback to that is that what results doesn't look like the original scene; this "photographic" HDR is more of an artistic technique rather than actual high dynamic range imaging.

That is what is being done in the KingSmono thread. That is NOT what I'm talking about, and wouldn't be of much use for beamshots intended to be compared.

Instead, what I am discussing is literal High Dynamic Range images -- that is, single images which contain a far greater range of information than could be displayed on a regular monitor.

There is a ton of information about the topic here; this goes back to well before digital photographers discovered the idea.

The advantage of this "true" HDRI is that with the right viewer, you can "re-expose" beamshot images in real-time, yourself, and use the results to do fairly precise comparisons between lights. Here are a few examples done by the friend who wrote the book I linked:

http://www.blochi.com/PanoGallery/

Since a true HDR image contains far greater range than can be displayed on our monitors (if we "squish" it down, the resulting image is very flat and low contrast), the way to view it is to "re-expose" it. These examples use a sort of "auto-exposure" as you pan around, but that should illustrate what I'm getting at. (If any of you have the latest Half-Life, that game uses the same idea in the "Lost Coast" example, though with hardly more than two stops of range :p)

For our application, we want the ability to adjust the "exposure" manually. Here's an app to try out that allows you to do that:

http://www.debevec.org/FiatLux/hdrview/

That site also has many example HDR images for you to play around with.

I think the professional version of Photoshop can handle HDR images as well as do the combination, but I don't know about the cheaper versions ("Elements"). There is an open source (free) tool called Cinepaint that might be worth looking into.

Another free HDR maker can be found here: http://www.ghacks.net/2008/10/20/high-dynamic-range-image-creator/

I hope this can be helpful; I'd be willing to help out a lot more, but I'm booked for 28 days of work without a break and won't have time to set anything up; I can just answer questions here when the work permits :)
 
Last edited:
Sounds very interesting, thanx for that post.

But that technique requires great knowledge and investment of time and resources to be able to do that.

And ... will it be able to reduce the dynamic range of the hotspot vs spill in a way our eye sees it? Because I thought I'd want a somewhat "compressed" (music effect term) image I think, and I am less interested in changing the exposures afterwards, more interested in that imitation of the physiological compression going on in our brain when seeing a beam.

I had hoped for something simple, of course :D

bernie

EDIT: yoda's pics seem quite interesting in that regard, IMHO. Not perfect, but better than anything I did with single exposures.
 
And ... will it be able to reduce the dynamic range of the hotspot vs spill in a way our eye sees it? Because I thought I'd want a somewhat "compressed" (music effect term) image I think, and I am less interested in changing the exposures afterwards, more interested in that imitation of the physiological compression going on in our brain when seeing a beam.

Hehe, I know that what I wrote is a lot, and I didn't even get into what you are talking about here, which is called "gamma".

Gamma is the adjustment that gives you the "compression" effect you are looking for. Any good HDR viewer should have a gamma adjustment so you can adjust the output to what looks "natural" to your eye, on your screen.

To the extent I can find time, I'll try to investigate the free tools I mentioned, see if they do what I expect. Putting together a demo would be tough though, as I won't hardly see my workbench for a month :(
 
Last edited:
Thanx again!
Ideally, I would do all the gamma-thing and then make a jpg out of it all to present on CPF. I don't sse members diving into HDR just to have a look at my beamshots :D
 
That looks good!
But does it represent what you see? For example ... does the light have a sharp cut-off of the spill like most reflectores lights do, or a fading spill like most optics?

bernie
 
Top