Heat shrink tubing on a D10
Well, we may as well begin with the fact that I am an idiot.
There is no need to mention this in your posts as I am already fully aware of it.
I am also extremely persistent(some call me mule headed stubborn), and tend to pursue a project long after common sense would suggest that I should have abandoned it.
For this project I wanted a Notecore D10 R2(hereinafter referred to as D10) for a key ring light.
I am aware that the D10 might be considered a little(?) large for key ring carry, but I think it's 'real flashlight' aspect far outweighs the slight size/weight penalty when compared to a Photon or AAA light. JMO YMMV.
To prevent the D10 being damaged by, or doing damage to, other items on the key ring I decided to protect it by adding some heat shrink tubing(hereinafter referred to as HST).
Knowing exactly what I wanted to do I ordered 1" double wall adhesive lined HST in both red and black even before I ordered the D10.
Having no heat gun or hair dryer available I tried using a BIC lighter to shrink the tubing. The tubing scorched and distorted before it shrank, probably due to my overzealous application of the flame, but possibly due to the fact that this 1" tubing is quite heavy, thus making it difficult to apply the heat evenly(yeah, that sounds like a good excuse, I'll go with that).
Then I thought of the hot water routine which worked out quite well, in that it applied very consistent heat over a large area, all at once. I won't bore you with all the details of the 'hot water treatment' here. But if you want the details, and a few things I learned about this method of applying HST, just PM me.
I seem to remember hearing somewhere of the concept of destroying something to protect/preserve it.
I have no doubt that many will think that is exactly what I have accomplished here.
While I have not totally destroyed it(it still functions perfectly), I will admit to having seriously tampered with the cosmetics.
In some parts of the country they might say: "Damn! That sure as hell ain't purty!"
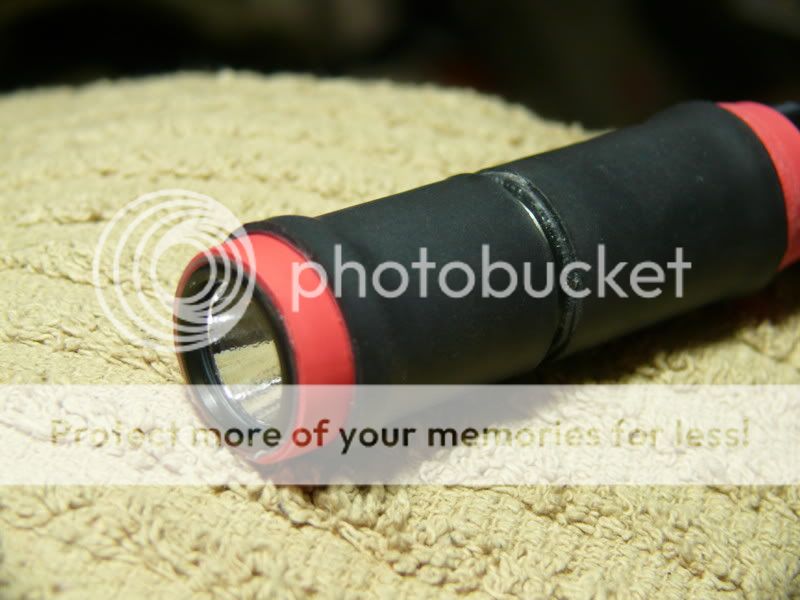
Head. The best view of the finished product. This part really didn't turn out too bad, and is almost exactly as I envisioned it.
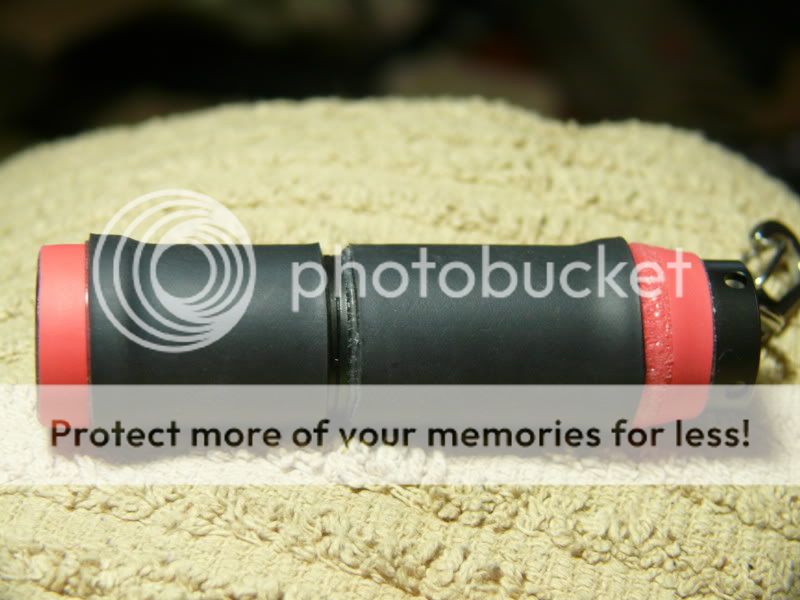
Side. The black HST overlapping the red is intended to form a 'bumper ring' at both ends of the light.
I am now looking for a large diameter O-ring to fill the gap in the HST, providing another grip point and hiding the rough edges.
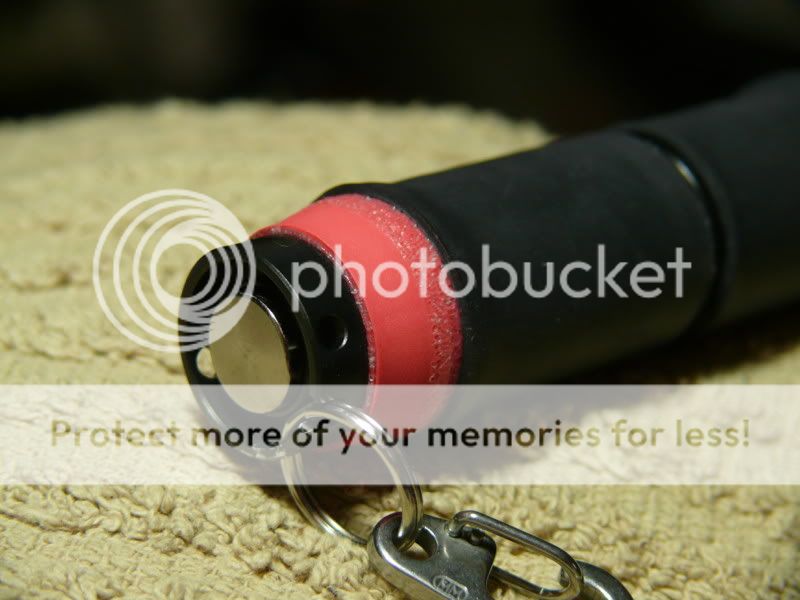
Butt. Here you can see that the adhesive has bled out of the black HST and marred the surface of the red, probably due to the fact that I left this part in the boiling water WAY too long. This did not happen on the head of the light which was immersed in the boiling water for only a few seconds. I think I may redo the HST on the butt. Also, you can see where I've already marred the coating around the key ring hole.
"Oh, mother, tell your children
Not to do what I have done."
-- excerpt from 'House of the Rising Sun'


