jeffosborne
Enlightened
My first post!
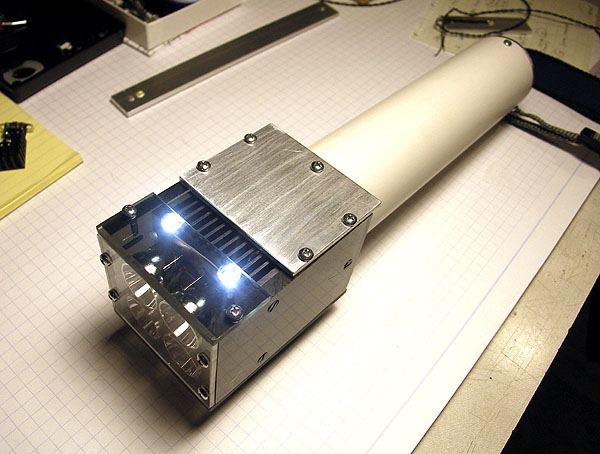
I have been lurking and getting good inspiration from the CP forum and the many homemade lamp builders. My daughter named my light Hydra because it has 6 heads: four -0050 Rebels with 20mm IMS refelctors for the flashlight, and two -0050 Rebels (all in cool white) for the bottom mounted navigation lights. So 450 lumens max out the front, and 200 lumen max as navigational flood light.
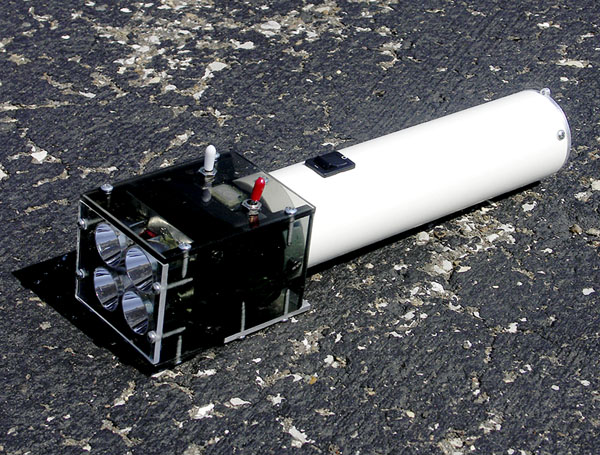
The PVC pipe is 1.5" schedule 40, it holds 6 18650 batteries, the charging jack, a 4 amp 20mm fuse, a thermal cutoff for 168 degrees, and the regulating circuitry with heatsink.
The end plate has a small loop for a shoulder-neck strap. It weighs just under 2 pounds!
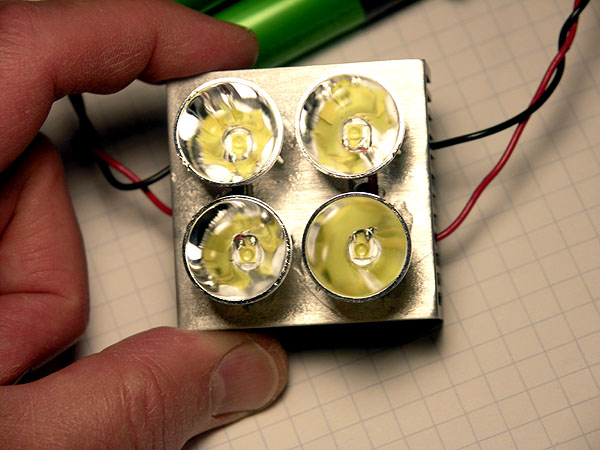
The mostly plexiglass head started as a Pentium-II class heatsink and fan, with the 6 Rebels wired in three pairs. Arctic Alumina was used to adhese them to the heatsink AFTER 2 coats of clear nail polish was applied to the electrical contacts of the bottom, to avoid short circuits.
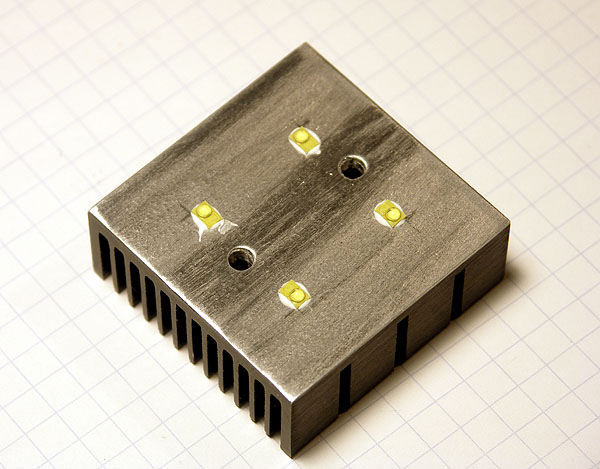
I have used this method of insulating and mounting the Rebel LED on many projects without problem.
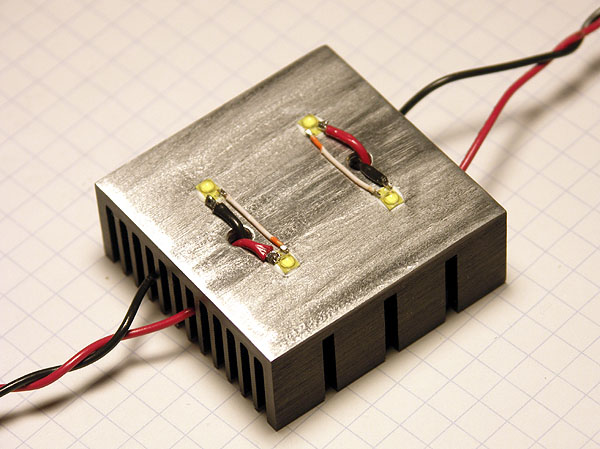
This is 20 gauge wire, but next time I will use something lighter.
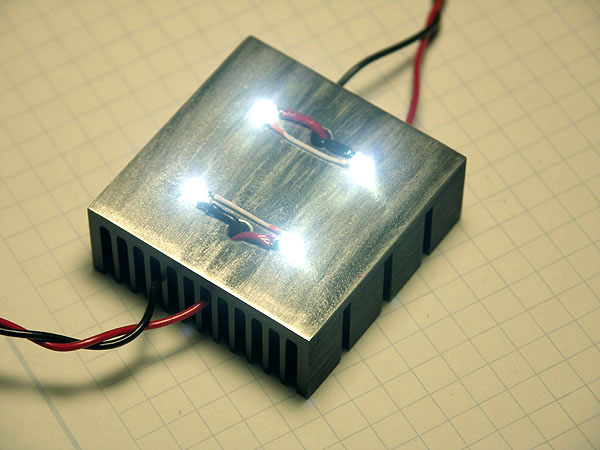
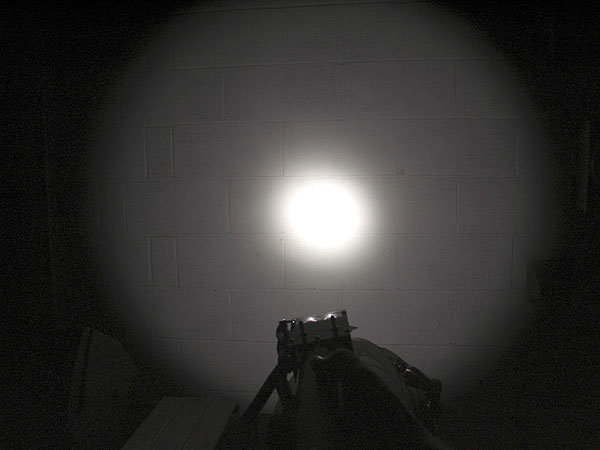
This test of the Rebels was done at 50ma for the photograph. The high switch setting puts 850ma through the LED's.
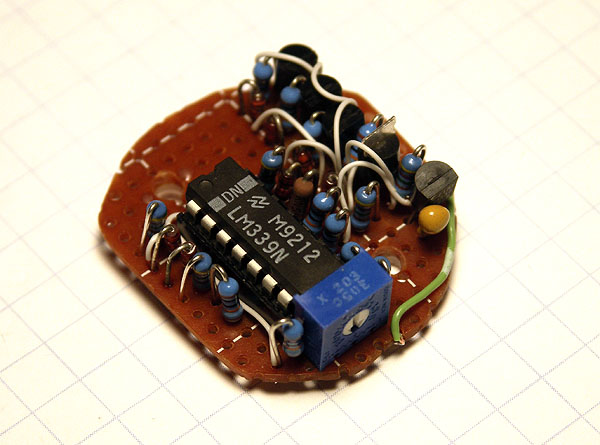
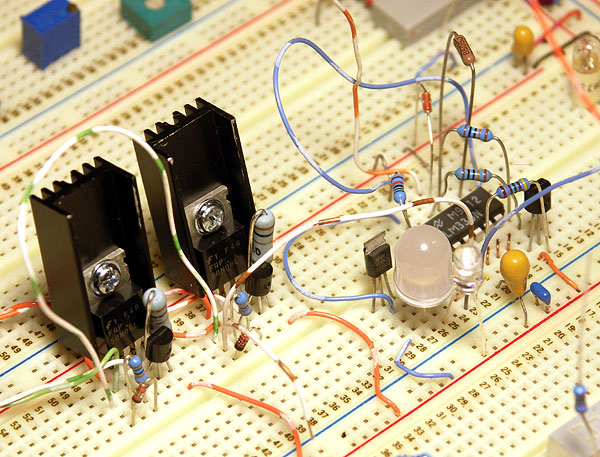
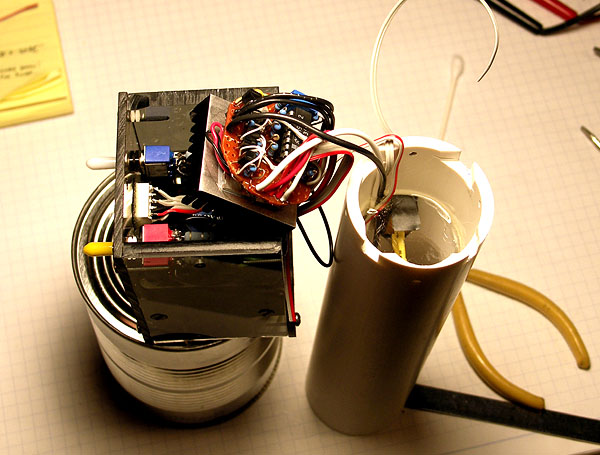
I designed and built this semi-round PCB to mount to a heatsink with 3 MOSFETS. It has a LM339 quad comparator that (1) via a thermistor mounted behind the heatsinks, detects 130 degrees and turns on the fan (2) shuts down all lights and the fan if temp reaches 250 degrees (3) shuts down all lights and the fan if battery temp reaches 140 degrees (4) shuts down all lights and the fan if battery voltage goes below 9 volts

Here's the 3 MOSFETs on their heatsink. I am using 6 unprotected 18650's in 3 pairs, for a nominal 10.8 volt battery pack. Each MOSFET drives a 7 volt series of 2 LEDs.
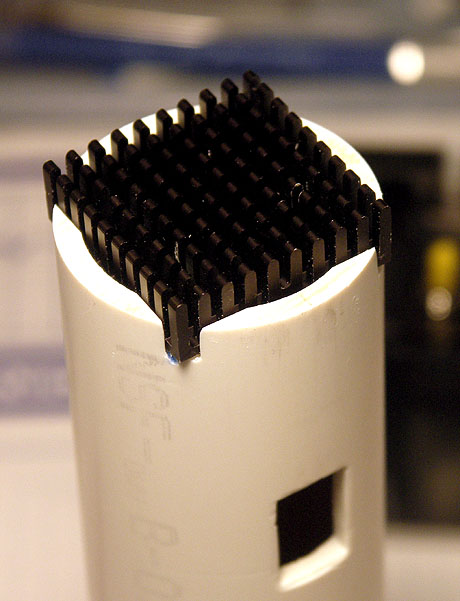
The heatsink lives in a notched area of the PVC pipe, just behind the cooling fan. It gets hot!
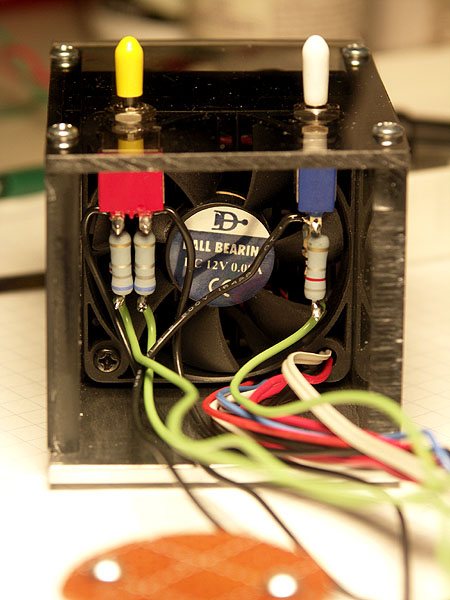
Also behind the fan are the brighness switches, the yellow swich gives 850ma per pair to the 4 flashlight lamps, or 250ma on low, with a center-off position too. The white switch gives 750ma, 250ma, or 50ma to the two bottom-mounted navigation lights on it's 3 positions.
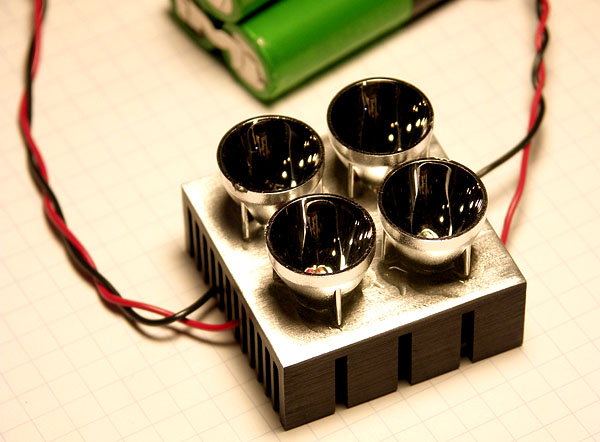
I had to cut the legs off of the IMS refelectors to make them work right with the Rebel - they were made for Luxeon I or III. Standard 5-minute epoxy was used.
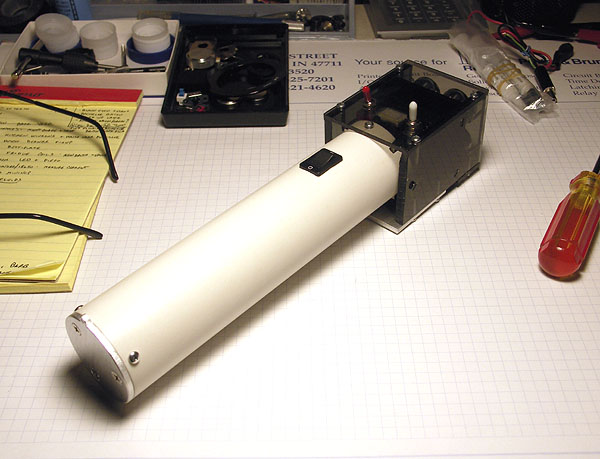
Here the unit is partially assembled. Note the clear plexi wall inside the tube, just this side of the switch. It and the end plate keep the battery area water tight.
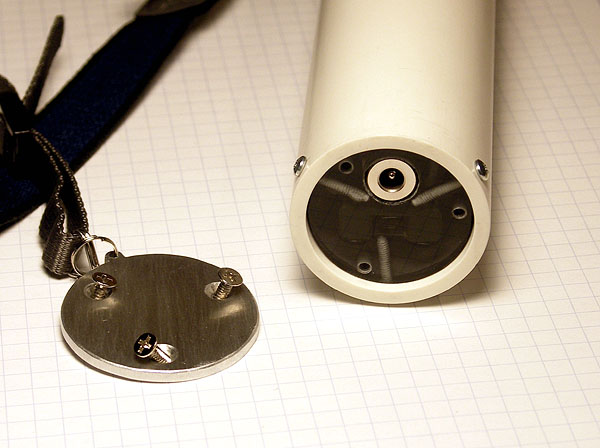
Under the 1/8" aluminum end plate is a 1/4" piece of smoked plexiglass that holds the charging jack for the batttery pack. Just under the jack on the far side of the plexi is the 4 amp fuse.
I'll post a beamshot soon. I am very happy with the light and it's performance, but I gotta say it was excruciating to hear of the 100-lumen Rebels being released on the day I was finishing the wiring. My plan is for a smaller Hydra-2 to take advantage of the newer parts.
Thanks to you all for the inspiration and good examples of light building!
Namaste!
Jeff in Evansville
I have been lurking and getting good inspiration from the CP forum and the many homemade lamp builders. My daughter named my light Hydra because it has 6 heads: four -0050 Rebels with 20mm IMS refelctors for the flashlight, and two -0050 Rebels (all in cool white) for the bottom mounted navigation lights. So 450 lumens max out the front, and 200 lumen max as navigational flood light.
The PVC pipe is 1.5" schedule 40, it holds 6 18650 batteries, the charging jack, a 4 amp 20mm fuse, a thermal cutoff for 168 degrees, and the regulating circuitry with heatsink.
The end plate has a small loop for a shoulder-neck strap. It weighs just under 2 pounds!
The mostly plexiglass head started as a Pentium-II class heatsink and fan, with the 6 Rebels wired in three pairs. Arctic Alumina was used to adhese them to the heatsink AFTER 2 coats of clear nail polish was applied to the electrical contacts of the bottom, to avoid short circuits.
I have used this method of insulating and mounting the Rebel LED on many projects without problem.
This is 20 gauge wire, but next time I will use something lighter.
This test of the Rebels was done at 50ma for the photograph. The high switch setting puts 850ma through the LED's.
I designed and built this semi-round PCB to mount to a heatsink with 3 MOSFETS. It has a LM339 quad comparator that (1) via a thermistor mounted behind the heatsinks, detects 130 degrees and turns on the fan (2) shuts down all lights and the fan if temp reaches 250 degrees (3) shuts down all lights and the fan if battery temp reaches 140 degrees (4) shuts down all lights and the fan if battery voltage goes below 9 volts
Here's the 3 MOSFETs on their heatsink. I am using 6 unprotected 18650's in 3 pairs, for a nominal 10.8 volt battery pack. Each MOSFET drives a 7 volt series of 2 LEDs.
The heatsink lives in a notched area of the PVC pipe, just behind the cooling fan. It gets hot!
Also behind the fan are the brighness switches, the yellow swich gives 850ma per pair to the 4 flashlight lamps, or 250ma on low, with a center-off position too. The white switch gives 750ma, 250ma, or 50ma to the two bottom-mounted navigation lights on it's 3 positions.
I had to cut the legs off of the IMS refelectors to make them work right with the Rebel - they were made for Luxeon I or III. Standard 5-minute epoxy was used.
Here the unit is partially assembled. Note the clear plexi wall inside the tube, just this side of the switch. It and the end plate keep the battery area water tight.
Under the 1/8" aluminum end plate is a 1/4" piece of smoked plexiglass that holds the charging jack for the batttery pack. Just under the jack on the far side of the plexi is the 4 amp fuse.
I'll post a beamshot soon. I am very happy with the light and it's performance, but I gotta say it was excruciating to hear of the 100-lumen Rebels being released on the day I was finishing the wiring. My plan is for a smaller Hydra-2 to take advantage of the newer parts.
Thanks to you all for the inspiration and good examples of light building!
Namaste!
Jeff in Evansville
Last edited:
")