Looking for a mold to repair Pos and Neg terminals on automotive batteries

Lynx_Arc

Flashaholic
Joined
Oct 1, 2004
Messages
11,212
Location
Tulsa,OK
This option may not be possible for multi-battery arrays, as in some Hi-Lows and forklifts.

may have to grind them down to make for the same height and profile if space is at a premium. Sure beats having to swap cables going from a beat up modified battery to a new top post battery so you can have a side terminal cable on one instance and a top terminal cable on another one. The problem with modifying something to allow repaired parts to work is if you decide later to fix it with new parts like a new battery then you have to restore it to original. I tend to go with keeping things as original as possible unless your design change incorporates new parts and you have no intention of ever using the originally designed parts again.
 

Lynx_Arc

Flashaholic
Joined
Oct 1, 2004
Messages
11,212
Location
Tulsa,OK
I just did a search on google.... there are people who do recast battery posts. It requires a mold, a torch with a tight pencil flame and care to do it. I would recommend asking a battery seller locally if someone does them but for automotive purposes the fix I mentioned should be adequate because you don't require the huge currents forklifts and electric driven vehicles need.
http://ecomodder.com/forum/showthread.php/battery-post-repair-5578.html
 

acrosteve

Newly Enlightened
Joined
Jun 28, 2011
Messages
86
Location
Southern Ohio
Good discussion.

I am not sure, but these batteries probably see in the ballpark of 1000 amps. It is over the 600A that my meter will read. Most are in a parallel/series configuration. 4 batteries producing 24v

I agree, in a perfect word that I could replace the batteries and not let it happen again, but we have lots of equipment with these batteries in it, and occasionally our mechanics do not catch a bad connection until it is too late. Thus the results pictured.

Also, changing cable end styles is not an option. These have to remain the tapered top post style.


I have been thinking of fabricating a couple of drill guides. These would index on the round area around the terminals. 1st one would be for a forstner type bit to establish a flat surface.

Then a 2nd guide to drill the pilot hole to tap the threads into. If I keep the surface flat, and the hole perpendicular, a proper contact interface should be assured.

Heck, overall that might be less work than getting out the torches and melting lead and all that.
 

Lynx_Arc

Flashaholic
Joined
Oct 1, 2004
Messages
11,212
Location
Tulsa,OK
Just set up a drill press and it should be easy to get things straight. I have seen many types of screw in posts some even made of metal instead of lead.
 

notrefined

Enlightened
Joined
Sep 4, 2004
Messages
383
Location
Illinois
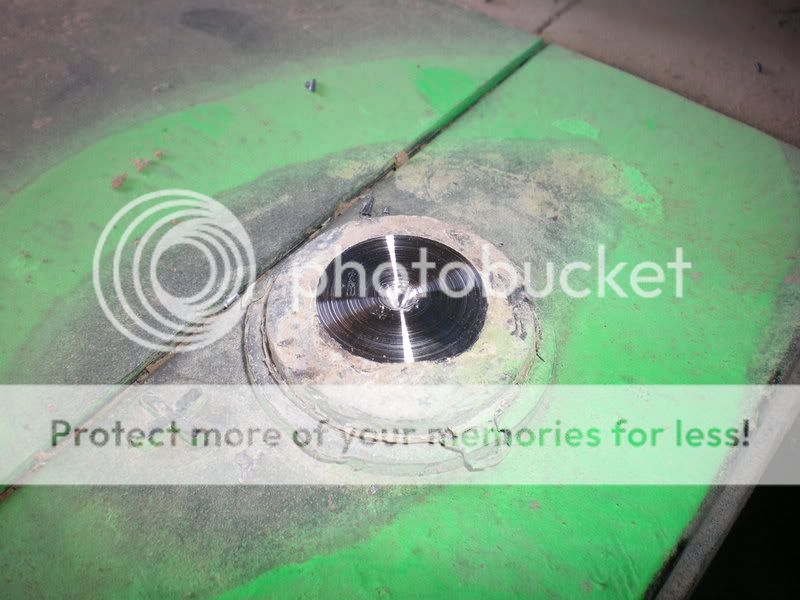
the damage appears to be melted terminals- from a bit too high resistance in a high current connection? I'm certainly not an expert, but that makes me dubious about the durability of any sort of repair short of recasting the post. the second image looks like it shows what happened when someone tried to use a screw to make the repair.
 

acrosteve

Newly Enlightened
Joined
Jun 28, 2011
Messages
86
Location
Southern Ohio
Well, a drill press is not practical for this app. And i would still want a drill guide to ensure the hole is centered.

I think if I make the drill guides, i can also do the repair in the field, without removing the 140lb battery from the machine.
 

Diesel_Bomber

Flashlight Enthusiast
Joined
Feb 19, 2006
Messages
1,772
In my experience, a lead acid battery that's been sitting for six months is probably shot. I would throw such a battery on a charger for a while, monitor voltage, then try and pull some current out of it, and see if they're worth saving at all. Would be a shame to spend time/money on it only to find it's trash anyway. However, these toasted batteries could be perfect sacrificial donors to perfect your battery terminal repair technique on.

As for the terminals themselves, I lean towards drilling + tapping a hole and replacing the terminals w/ screw in side mount conversions. Past that, building a set of mold pliers wouldn't be difficult, including a clamp to hold the pliers closed. I haven't done this before, but my steps would be:

1. Grind off anything that isn't shiney clean lead.
2. I'd clamp the mold over what's left of the terminal.
3. Melt the lead to be poured
4. Use a torch to heat the remains of the terminal so that there is a small pool of liquid lead on the top of the terminal. The clamped-on mold will help keep the heat away from the plastic of the battery.
5. Pour in replacement lead
6. Hope/pray that anything that shouldn't melt doesn't.

I think I'd also make the mold fairly heavy, for heat sinking capabilities. More heat absorbed by the mold + slowly released while the molten lead cools = less heat into the plastic of the battery. I'd pour the lead when it's just a liquid, heated as little as necessary to do the job. And of course test this on batteries that are already trash, to refine technique.

Good luck.

Edit: Insert standard disclaimer here. You are responsible for your own actions. I take no responsibility for any injuries, damages, or losses of any kind whatsoever caused by following my advice.
 
Last edited:

acrosteve

Newly Enlightened
Joined
Jun 28, 2011
Messages
86
Location
Southern Ohio
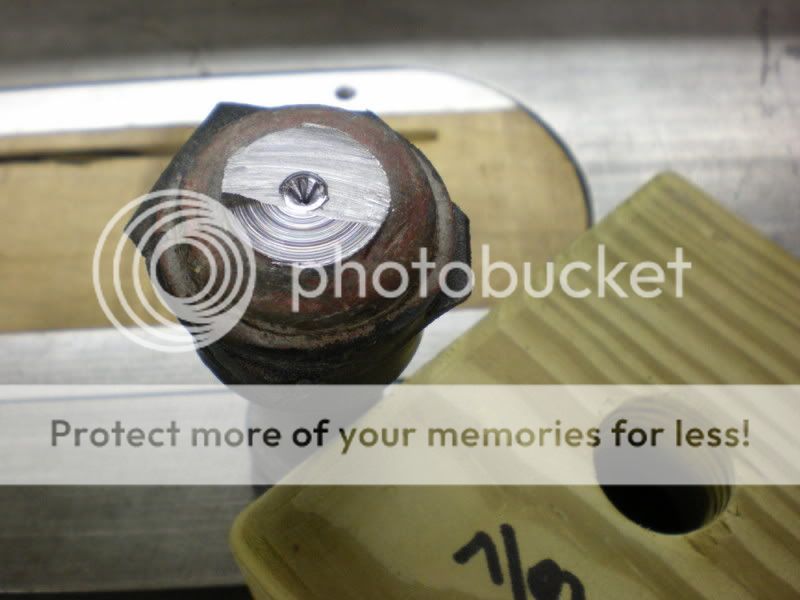
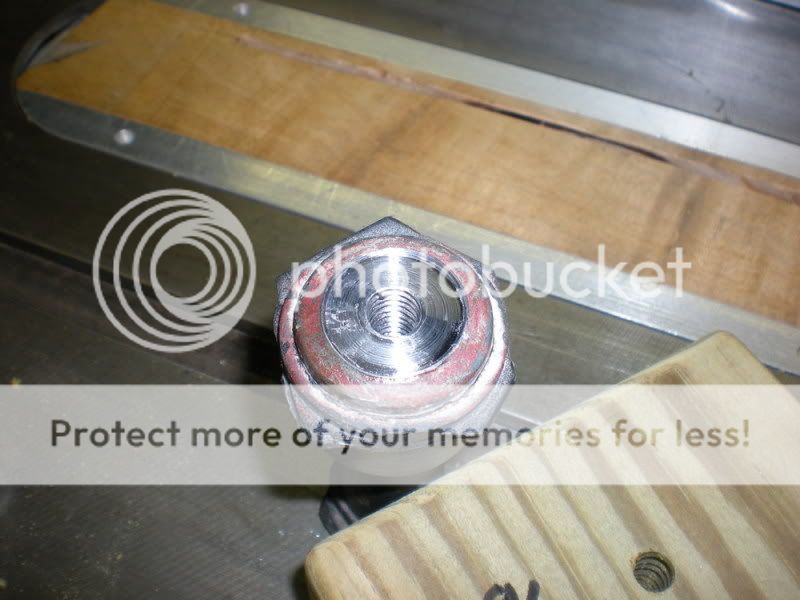
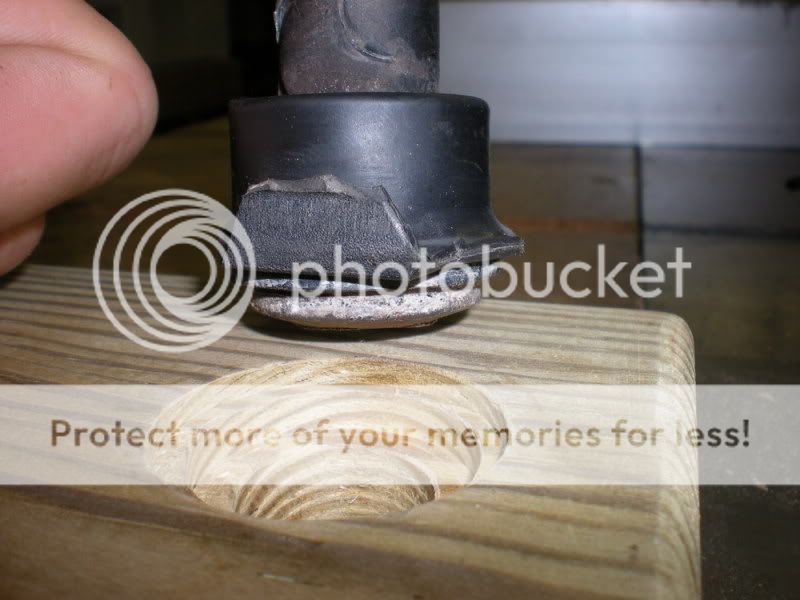
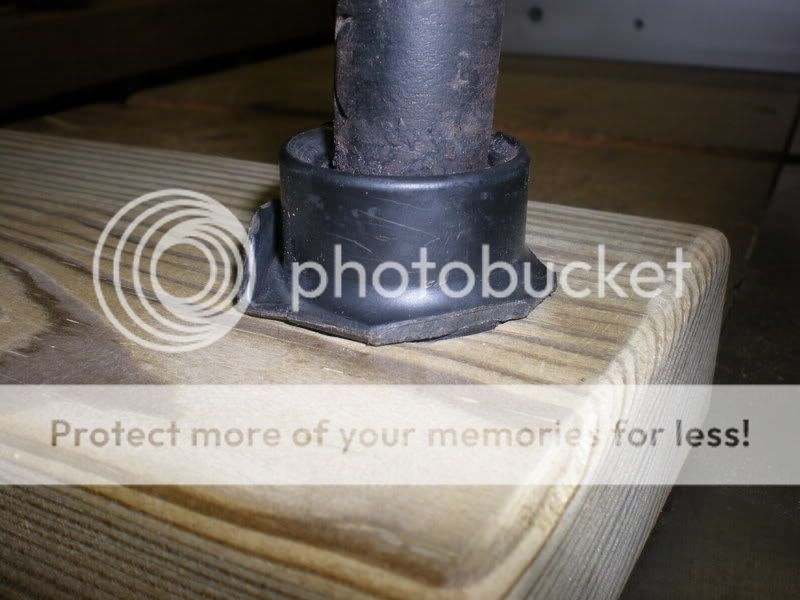
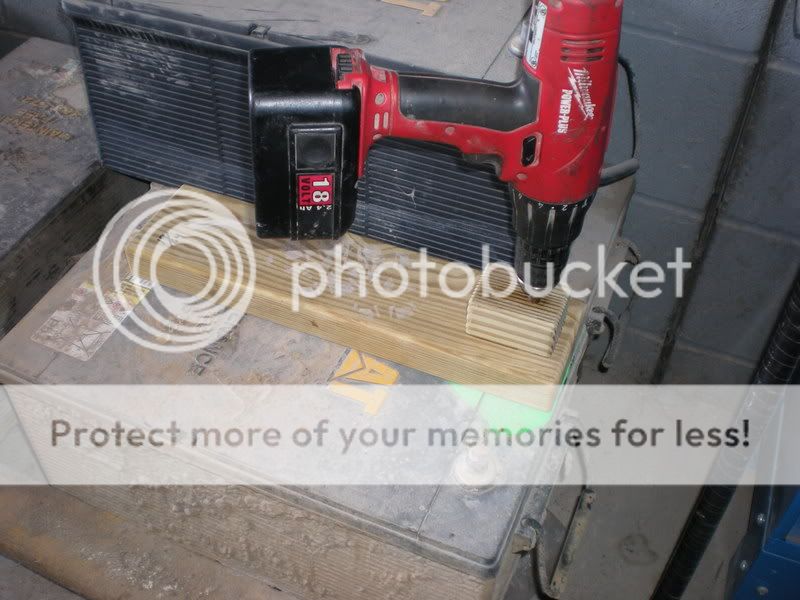
Well, here is my prototype.

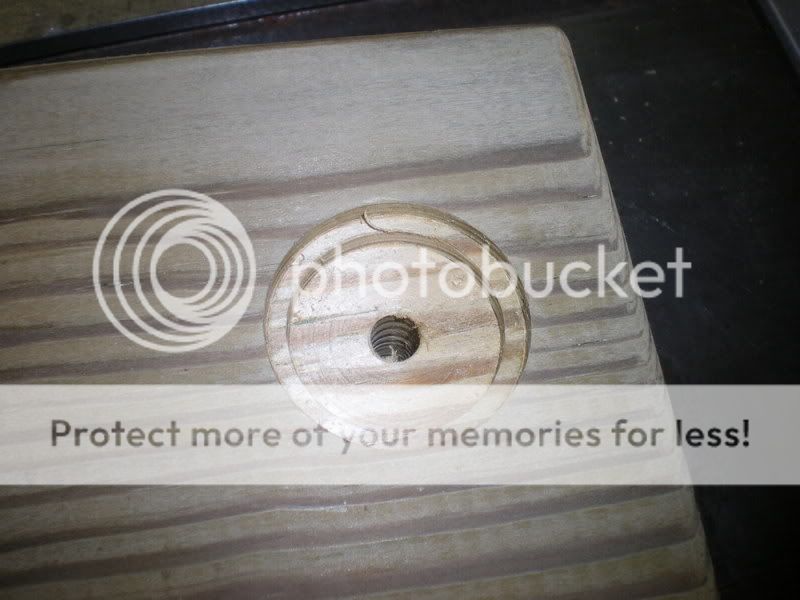
Just a piece of 2x4 I had laying around. And a terminal from a busted battery.

Just a slight amt of drilling after cutting off the term with a cutoff wheel.
DSCN4936.jpg


Finished.
DSCN4944.jpg


This is what will hold it in place.
DSCN4941.jpg


DSCN4940.jpg


My 1st modification will probably be to get a piece of square stock, bore a hole in it and then install it in the wood for a better bushing for the 19/64 drill bit I am using.
DSCN4938.jpg


I did not have any side post adapters yet, but will get some this morning. I wonder what they would torque to into lead? Threads are 3/18-16

I was planning on using some "No-Ox" type of corrosion preventative since I have it already. But what about some sort of JB weld - would any of their products be conductive enough?
 

Lynx_Arc

Flashaholic
Joined
Oct 1, 2004
Messages
11,212
Location
Tulsa,OK
I don't know any good conductive epoxy off hand. If your corrosion preventive isn't a grease I would recommend something like light bulb grease on the threads as it is conductive. Perhaps something like silicone caulking after it is done to seal the seam.
 

Got Lumens?

Flashlight Enthusiast
Joined
Mar 12, 2011
Messages
2,461
Location
Champlain Valley
I would use the JB weld for mechanical only. I feel it is one of the best on the market. Used it to fix a worn out fan clutch, had run for several years without failure.

With the high currents you are using, I would use the tap existing and screw on replacement posts, having checked the batteries prior to doing so as stated by Deiselbomber. Pouring a new post would seem second best fix with the associated risks. There is also the possibility that the lead you melt on to fix, may have slightly different composition, which may lead to the fix expanding and contracting at different rate which could contribute to a high resistance open.

GL
 
Last edited:

beerwax

Enlightened
Joined
Mar 12, 2011
Messages
447
hi acrosteve.

so there is enough meat in the remains of the terminal post to sink bolt deep enough to secure a new teminal ? is that what your pictures are showing?

you do not need to rely on the securing bolt to carry the current. lead is quite soft and so if pressed and held together the lead will deform sufficiently to give a good electrical connection. just clean the lead to shiny immediately before bolting together. if the 2 surfaces arent perfectly alligned the bolt will flex slightly and the lead will deform allowing a perfect join.

on the downside you then have a bolt inside the battery perimeter , and if it heats up and destroys the post inside the battery perimeter this would be bad. and this could happen if the post extension and bolt were to undo slightly so the bolt was thencarrying the current.

looking at you photos can the remains of the old post be pulled out, specially now you have a nice threaded hole there. maybe they are just pressed in. that would allow a manufacturer to supply the same battery with different style posts . and make your job straight forward. cheers
 

acrosteve

Newly Enlightened
Joined
Jun 28, 2011
Messages
86
Location
Southern Ohio
I agree, I want the lead to lead contact to carry the current. I am looking at a couple of different adapters. I will post some pics of them tomorrow. The ones I got today are no good.

This battery does have a very substantial post structure. I could drill and tap a hole over 2" deep if I wanted to. As it is, I just went about 3/4"

I am still looking for a good torque spec, but have not found anything yet.
 

Got Lumens?

Flashlight Enthusiast
Joined
Mar 12, 2011
Messages
2,461
Location
Champlain Valley
I agree, I want the lead to lead contact to carry the current. I am looking at a couple of different adapters. I will post some pics of them tomorrow. The ones I got today are no good.

This battery does have a very substantial post structure. I could drill and tap a hole over 2" deep if I wanted to. As it is, I just went about 3/4"

I am still looking for a good torque spec, but have not found anything yet.
Steve,
I would contact the battery manufacturer and not rely on specs found somewhere else. They would be the ones that could answer that question about torque and the grade of the lead used in thier battery posts. A word of caution, they may decide not to disclose the torque information to you if they feel that it was going to cause any liabilties on thier end.
Look forward to seeing your posts (pun intended).
GL
 

Diesel_Bomber

Flashlight Enthusiast
Joined
Feb 19, 2006
Messages
1,772
You have a sacrificial donor, so torque it down until something strips. Don't torque that far on the good ones. :)
 

acrosteve

Newly Enlightened
Joined
Jun 28, 2011
Messages
86
Location
Southern Ohio
DSCN4945.jpg


DSCN4946.jpg


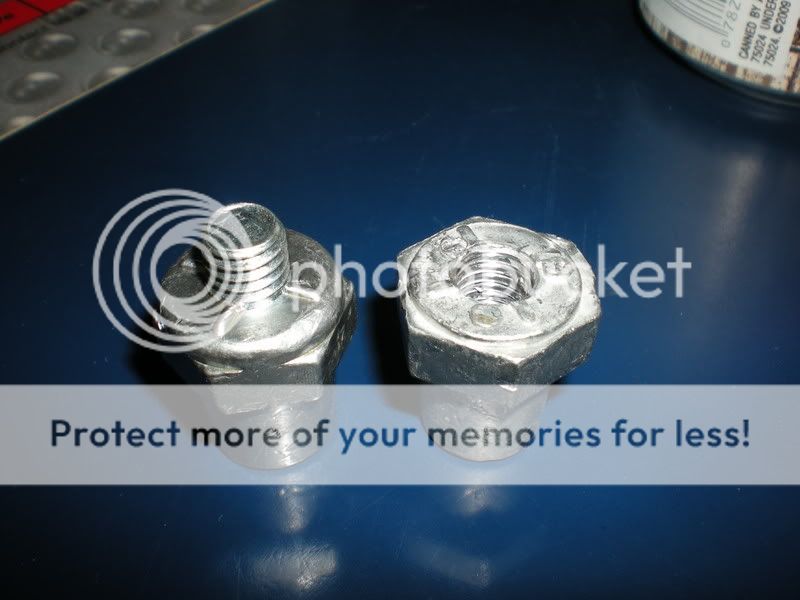
I have two options for terminals. I am a little dissapointed that the ones with the stud are so short. Only about 3/8"
DSCN4947.jpg


They will only take 15 ft lb, which I thought was a little low.


I put a stud in the other one and got 3/4" of thread engagement and got about 23 ft lb. So I think that I am going to go that route as I go forward.
 

Got Lumens?

Flashlight Enthusiast
Joined
Mar 12, 2011
Messages
2,461
Location
Champlain Valley
I have two options for terminals. I am a little dissapointed that the ones with the stud are so short. Only about 3/8"
They will only take 15 ft lb, which I thought was a little low.

I put a stud in the other one and got 3/4" of thread engagement and got about 23 ft lb. So I think that I am going to go that route as I go forward.

The studded one you have are adapters for making side post terminal battery to accept round post cables, but as you have indicated they may not be adequate for your application. A regular automotive starter draws less current than your setup. The one you put the stud in seem like they should work:thumbsup:
Look forward to your followup posts.
GL
 

Diesel_Bomber

Flashlight Enthusiast
Joined
Feb 19, 2006
Messages
1,772
If you have access to a lathe or machine shop of some sort, you could turn your own terminals out of brass or copper. Either run allthread through the middle or, what I'd do is cut threads on a shaft you've left sticking out of the new terminal.

I'd also like to add that 99% of the time, prevention is faster/cheaper than repairs. Having a mechanic walk around and check the battery cables of the equipment and fix any developing problems every week or two wouldn't take much time, compared to repairing broken stuff.
 
Last edited:
Top