PhotonFanatic
Flashlight Enthusiast
This build is actually a continuation of this thread.
Forced myself to try to complete this Tri-Color Mokume Gane Light, which was started a long time ago.
Today I completed the machining, LE build, etc., and was left with the final task--how to finish the surface of this light.
As built, the light looked like this, after buffing, but before any etching:
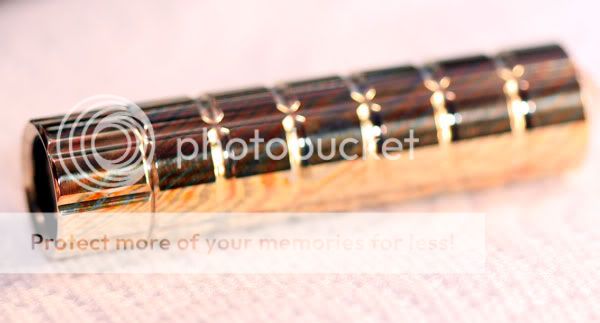
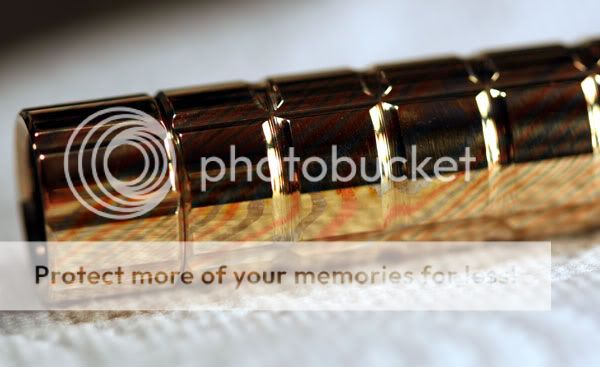
You can clearly see the three different colors of the three metals of the Mokume Gane--copper, brass and nickel silver. While I like highly polished lights, if left in this state, the light would soon show a lot of scratch marks, since these are very soft metals and a highly reflective surface would just make every little scratch clearly visible.
My first completed Mokume Gane light, the Kuukuu Killer, was both etched and patinated, with chemicals. As a learning experience, it came out fairly well, but this time I wanted to try something a bit different, and without using any patina.
So the game plan was to etch, clean, and then etch in a different solution, even deeper. Then clean, buff lightly, clean off the compound and see what it looked like.
Here are some shots after the first etch:
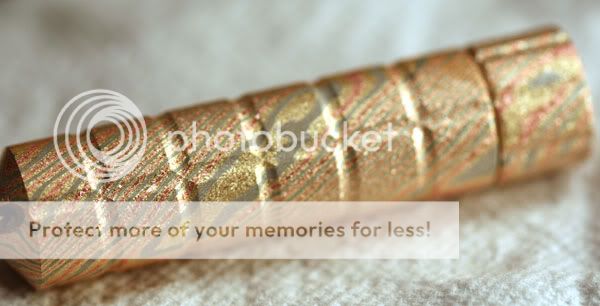
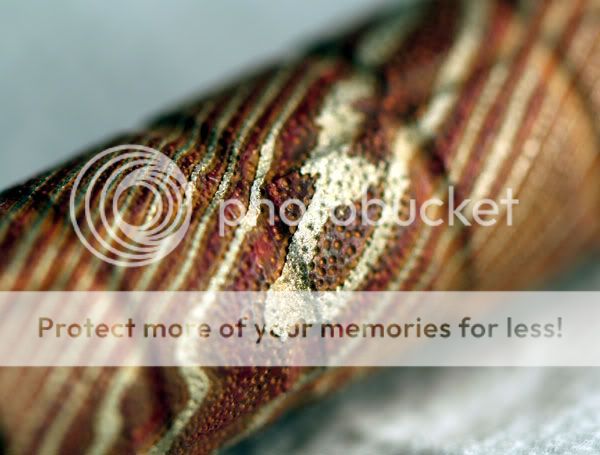

What these photos do not convey very well is that the etch seemed to show the crystaline structure of all three metals extremely clearly--creating a multitude of colored facets. To be honest, it was very nice after the first etch, but not quite deep enough.
So, after a clean-up, it went on to etching solution #2, which was half the time of the previous soak, because this solution was a lot more aggressive. After a quick neutralizing, the light was buffed lightly and then cleaned of the compound. Here is the final result:
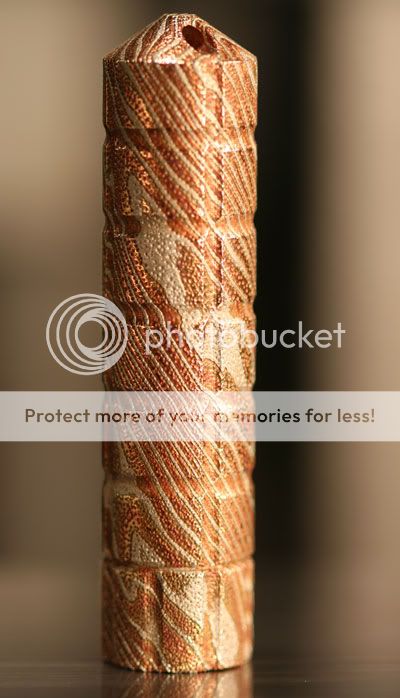

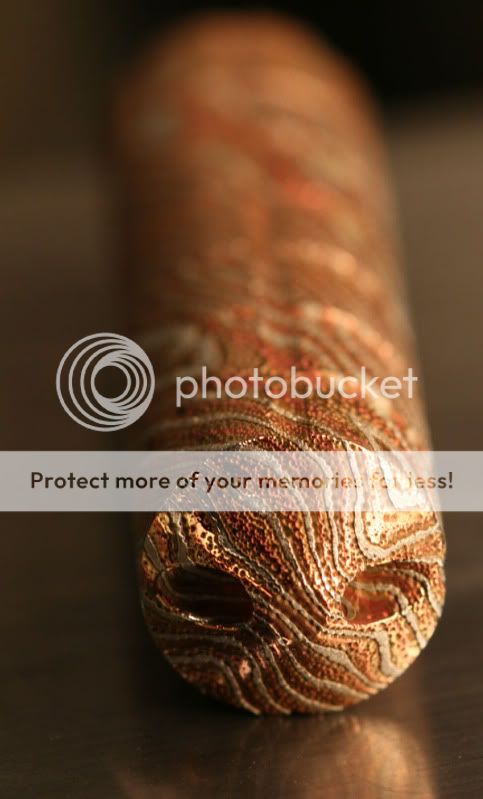
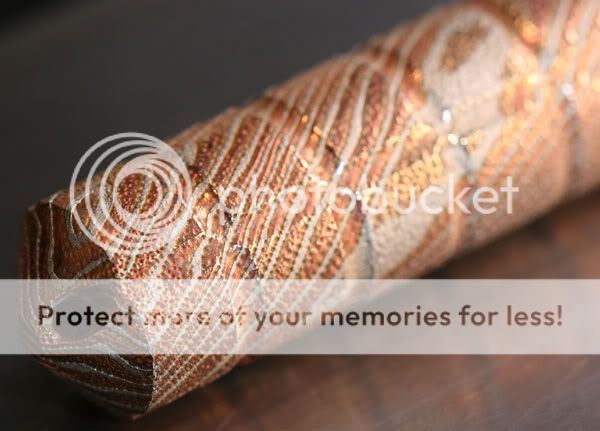
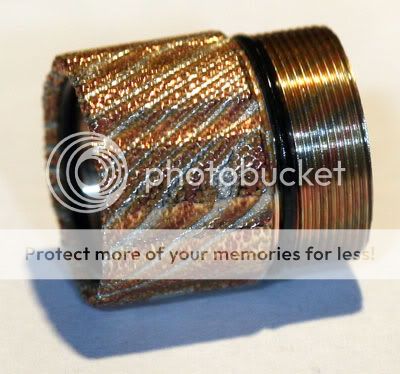
Texture?? Does anyone want some texture?
Even these photos don't do the surface justice--it is actually rather shiny in where the copper layer is on the outermost surface. Very fascinating result, to say the least.
Yeah, for those who might wonder--it will be put up for sale in B/S/T tomorrow, after I have a chance to take some natural daylight photos.
There were all taken on my lathe's crossslide, using Reveal lights, or flash, so the colors aren't really that good.
And, oh, the threads are in perfect condtion--they were not etched:
Forced myself to try to complete this Tri-Color Mokume Gane Light, which was started a long time ago.
Today I completed the machining, LE build, etc., and was left with the final task--how to finish the surface of this light.
As built, the light looked like this, after buffing, but before any etching:


You can clearly see the three different colors of the three metals of the Mokume Gane--copper, brass and nickel silver. While I like highly polished lights, if left in this state, the light would soon show a lot of scratch marks, since these are very soft metals and a highly reflective surface would just make every little scratch clearly visible.
My first completed Mokume Gane light, the Kuukuu Killer, was both etched and patinated, with chemicals. As a learning experience, it came out fairly well, but this time I wanted to try something a bit different, and without using any patina.
So the game plan was to etch, clean, and then etch in a different solution, even deeper. Then clean, buff lightly, clean off the compound and see what it looked like.
Here are some shots after the first etch:


What these photos do not convey very well is that the etch seemed to show the crystaline structure of all three metals extremely clearly--creating a multitude of colored facets. To be honest, it was very nice after the first etch, but not quite deep enough.
So, after a clean-up, it went on to etching solution #2, which was half the time of the previous soak, because this solution was a lot more aggressive. After a quick neutralizing, the light was buffed lightly and then cleaned of the compound. Here is the final result:


Texture?? Does anyone want some texture?

Even these photos don't do the surface justice--it is actually rather shiny in where the copper layer is on the outermost surface. Very fascinating result, to say the least.
Yeah, for those who might wonder--it will be put up for sale in B/S/T tomorrow, after I have a chance to take some natural daylight photos.
There were all taken on my lathe's crossslide, using Reveal lights, or flash, so the colors aren't really that good.
And, oh, the threads are in perfect condtion--they were not etched:

Last edited:


