
So, I saw a few copper flashlights on the forum and had a thought. Why not make a flashlight out of common copper materials one could find in a local hardware store? A quick search online led to a concept design.
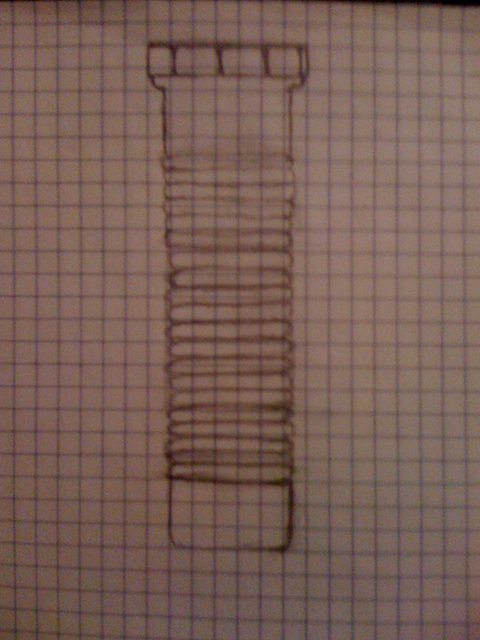
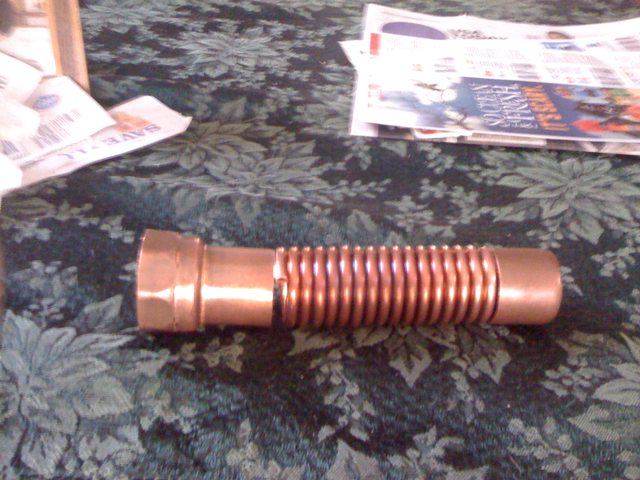
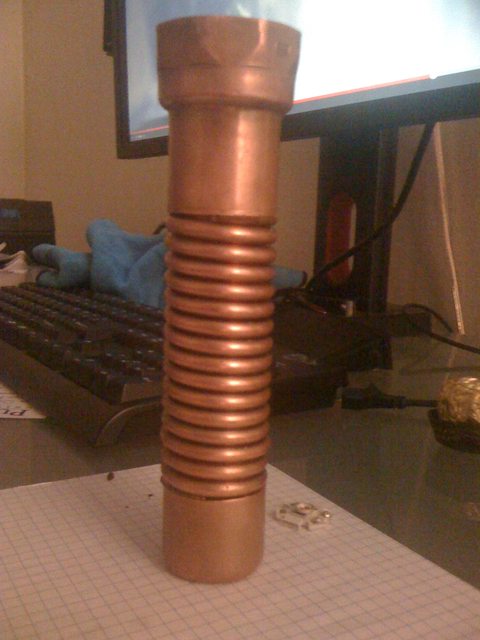
A few days later I went to the hardware store and picked up some copper. I went with 4 gauge wire, a half inch copper pipe, a one inch copper female thread adapter, and a one inch cap. I wound the copper wire around a 3/8ths PVC pipe which had a slightly smaller diameter than the copper tubing. I then cut the copper pipe slightly shorter than the coil I had created.
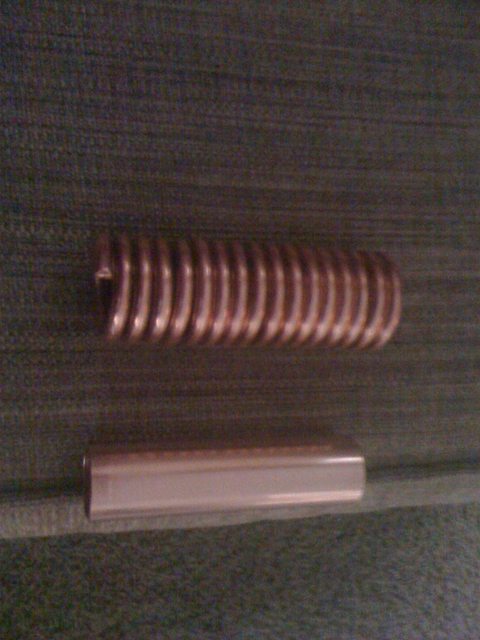
Next, I blasted the copper coil with a heat gun and iced the piece of pipe. Then, with a soft mallet, I hammered the coil onto the pipe.
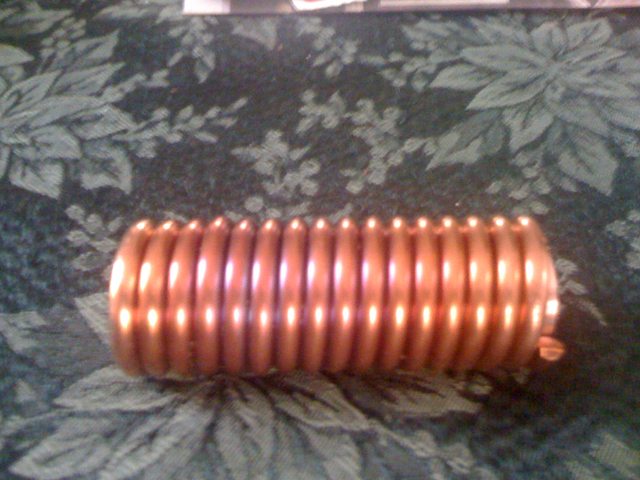
An interesting coloring effect was an added bonus (the photos don't do it justice)
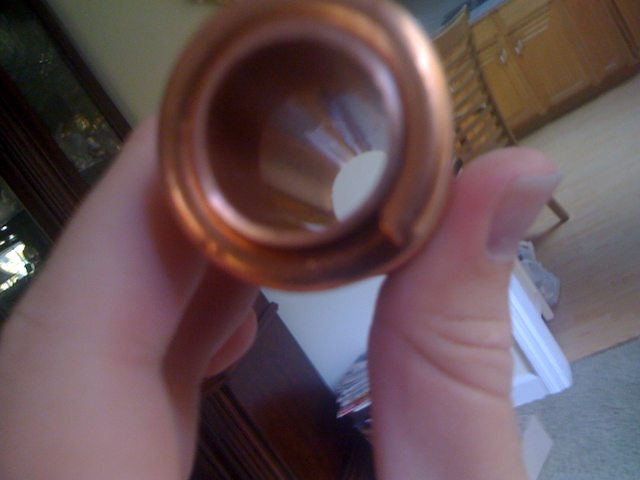
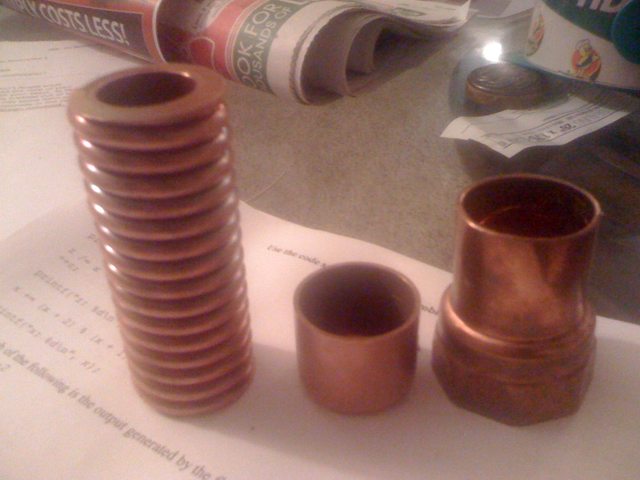
Here is most of the parts arranged together.
I am now trying to cut the edges flat, but copper is annoying to cut. I was told to use a hack saw, but that is a pain. Maybe an angle grinder would do the trick?
I still have many things to figure out, but it's a start. For the actual light I am going with a 3w cool white Cree led powered by two AA's and a lm3405 buck driver. I am currently trying to figure out how to get a sturdy, good looking way of bonding the three pieces together. Also, I need to figure out what I am going to do for a switch, a lens, and a reflector. Finally, I must decide on a way to get to the batteries (possible solutions may be buying a one inch pipe plug or hex bushing to screw into the threaded fitting). Suggestion for design would be awesome. Let me know what you guys think.
Update:
I put off working on this project for a while due to lack of time and resources. I now have access to many tools and will try to work on the light when I have the time.
I have made a few changes to the design and found some solutions to my original problems. I solved the issue of getting a perpendicular cut on all the copper components. The solution was not to cut the copper but to use a belt sander to grind the surface flat. As for joining the pieces together I plan to lathe adapters out of aluminum and braze it all together. Their is not enough material on the copper sleeves to cut threads so I want to make aluminum inserts. In this way I will have more room to cut thicker threads. I have opted for the use of a twisty switch for its simplicity and rigidity. As for the LED I want to go with something more powerful like the xml and I would like to power that with two CR123A's.
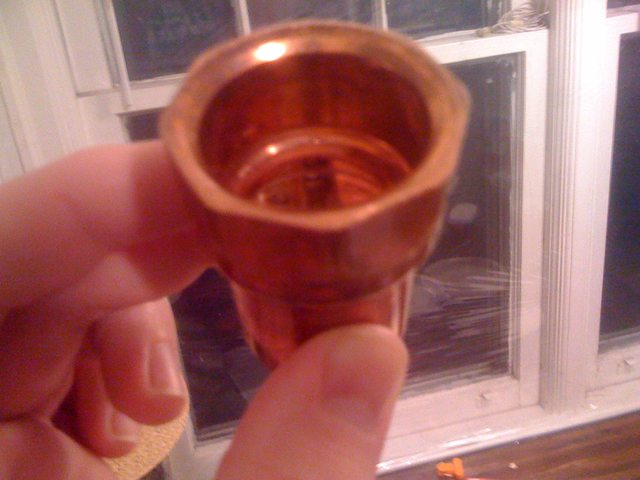
This is the lens I chose for this build. I want to make the lens easy to change which brings me to the reflector. I plan to CNC the reflector and make it a housing for the lens, LED, and driver that will thread into the head of the light. Luckily I found a defective female thread adapter that hadn't had the threads cut into it. Now I can cut any threads I want and no longer have to worry about a tapered thread.
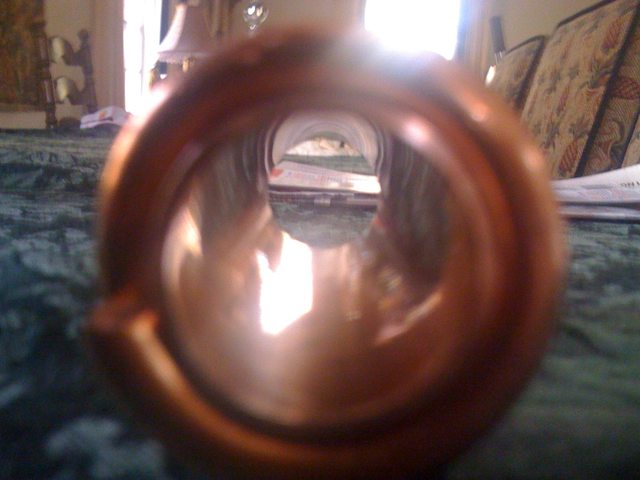
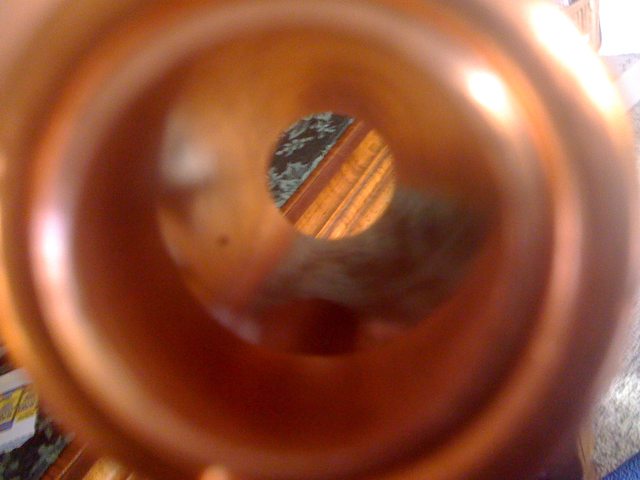
more pics

A few days later I went to the hardware store and picked up some copper. I went with 4 gauge wire, a half inch copper pipe, a one inch copper female thread adapter, and a one inch cap. I wound the copper wire around a 3/8ths PVC pipe which had a slightly smaller diameter than the copper tubing. I then cut the copper pipe slightly shorter than the coil I had created.
Next, I blasted the copper coil with a heat gun and iced the piece of pipe. Then, with a soft mallet, I hammered the coil onto the pipe.
An interesting coloring effect was an added bonus (the photos don't do it justice)
Here is most of the parts arranged together.
I am now trying to cut the edges flat, but copper is annoying to cut. I was told to use a hack saw, but that is a pain. Maybe an angle grinder would do the trick?
I still have many things to figure out, but it's a start. For the actual light I am going with a 3w cool white Cree led powered by two AA's and a lm3405 buck driver. I am currently trying to figure out how to get a sturdy, good looking way of bonding the three pieces together. Also, I need to figure out what I am going to do for a switch, a lens, and a reflector. Finally, I must decide on a way to get to the batteries (possible solutions may be buying a one inch pipe plug or hex bushing to screw into the threaded fitting). Suggestion for design would be awesome. Let me know what you guys think.
Update:
I put off working on this project for a while due to lack of time and resources. I now have access to many tools and will try to work on the light when I have the time.
I have made a few changes to the design and found some solutions to my original problems. I solved the issue of getting a perpendicular cut on all the copper components. The solution was not to cut the copper but to use a belt sander to grind the surface flat. As for joining the pieces together I plan to lathe adapters out of aluminum and braze it all together. Their is not enough material on the copper sleeves to cut threads so I want to make aluminum inserts. In this way I will have more room to cut thicker threads. I have opted for the use of a twisty switch for its simplicity and rigidity. As for the LED I want to go with something more powerful like the xml and I would like to power that with two CR123A's.
This is the lens I chose for this build. I want to make the lens easy to change which brings me to the reflector. I plan to CNC the reflector and make it a housing for the lens, LED, and driver that will thread into the head of the light. Luckily I found a defective female thread adapter that hadn't had the threads cut into it. Now I can cut any threads I want and no longer have to worry about a tapered thread.
more pics
Last edited:
