Old-Lumens
Newly Enlightened
Well, this is what I do for fun. Modding (mangling) lights.
I try not to do it the easy way, since it's all about using up time instead of paying for therapy.
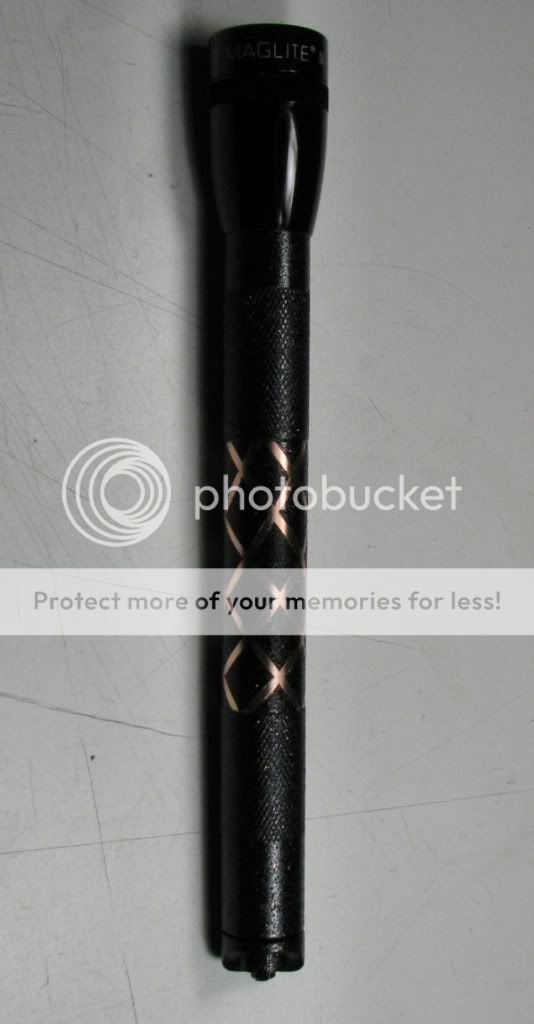
This was a 2AA incan Maglite, now I don't know what it is. I figured I would put up a few photos of how not to mod a 2AA.
First I start off with the essentials:
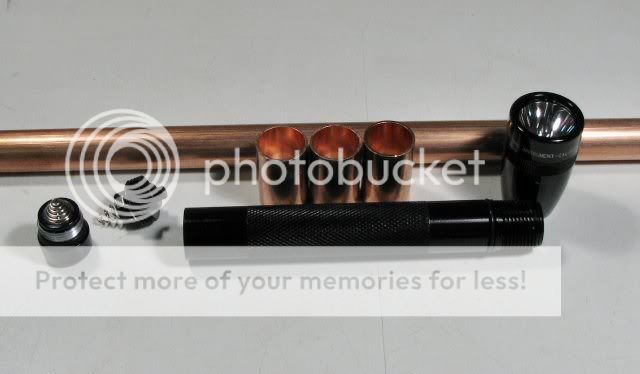
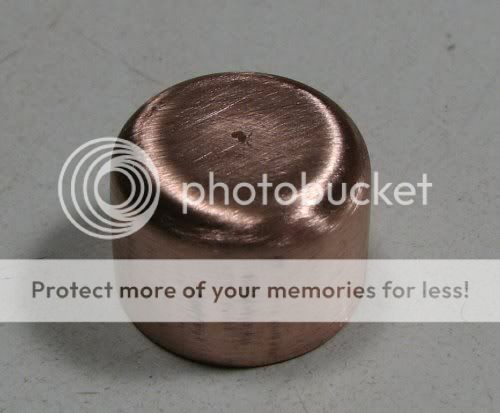
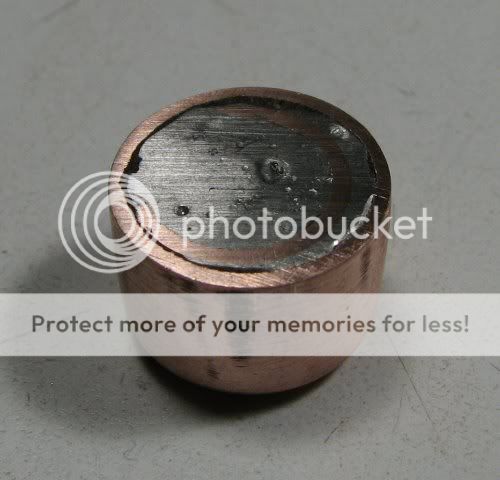
Got to have a little copper in it and that switch turned out to be the one I am Not using...
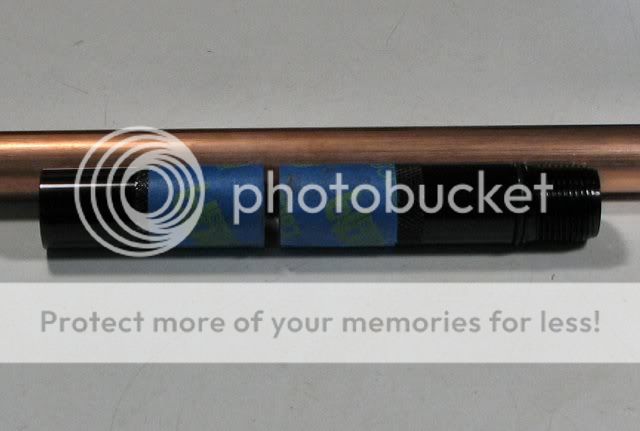
First step is to mangle the barrel, so I cut it with a hacksaw
Now I am going to do my rendition of the "Human Lathe" I want to use a piece of copper tube as the extension for 3AA.
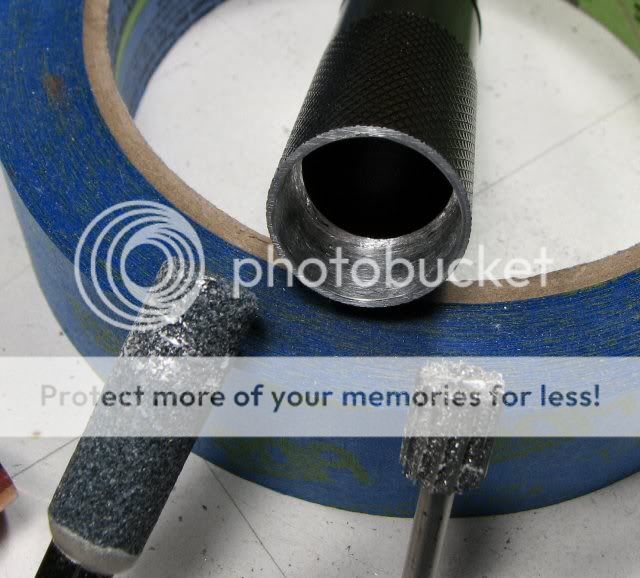
The cutter is a Dremel cutter and the stone is a waste. Stones do not work well with Aluminum, but I had to try. The cutter worked very well. I used it in my variable speed drill with a very low setting. I held the pieces in a vise and worked the cutter around inside the barrel. I used a small washer between the back end of the cutter and the chuck of the drill, as a backstop, to keep the depth even. Now I feel more confident about tackling the 2D.
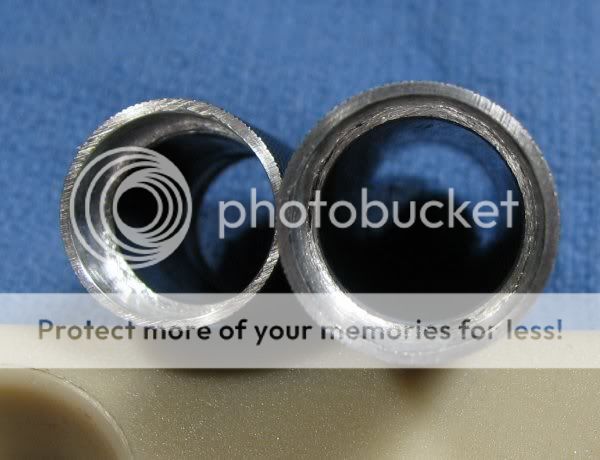
This is really practice for a cut down 2D that I am going to do, so I wanted to learn how to open the ID and this was a fun way to try it.
Next is the copper sleeve

The tube is 1/2" Type M copper. Type L will not work due to the ID being too small to allow for an AA battery to fit. The outer sleeve is two 1/2" couplings soldered together. Looks ugly doesn't it?
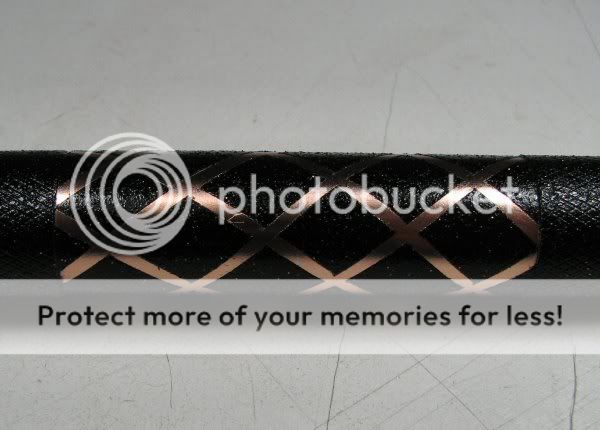
Looks better now...
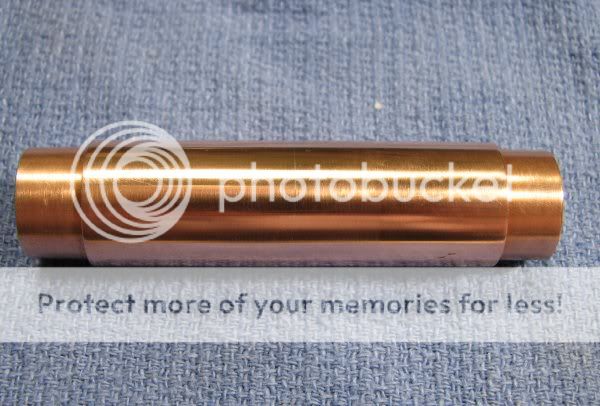
I think I will leave it with the "brushed look"
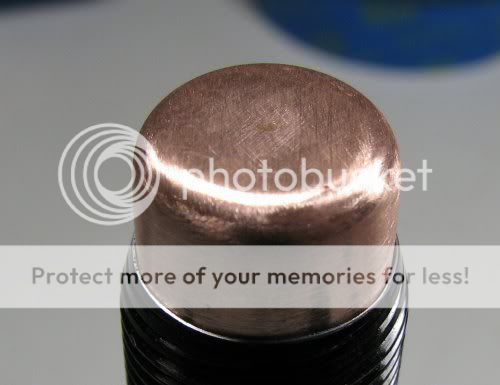
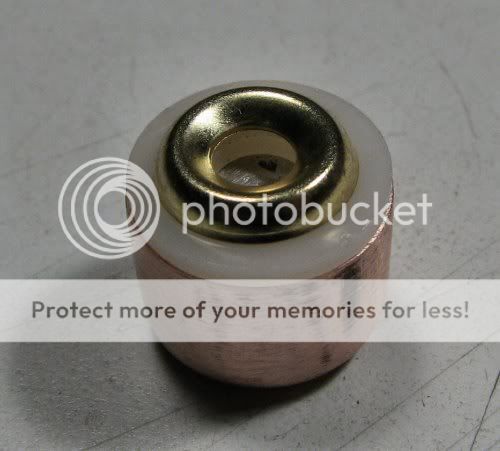
I jump around a lot, so I decided to work on the end cap and add a clicky switch. I ended up using a Romsen forward clicky and I cut/groung off the threads to make a smooth switch that would fit in the enlarged ID of the stock tailcap.
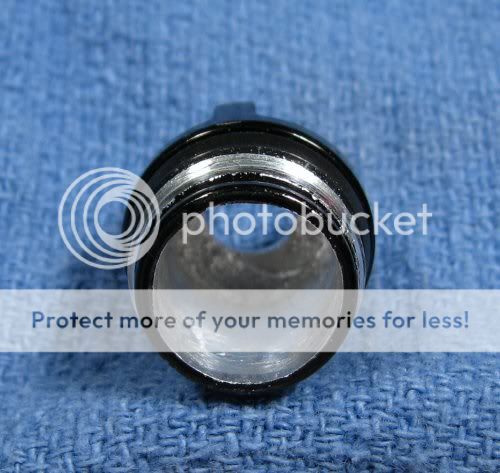
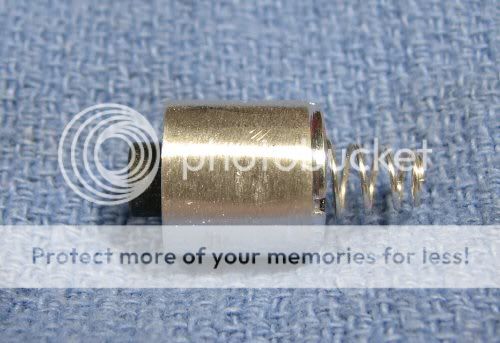
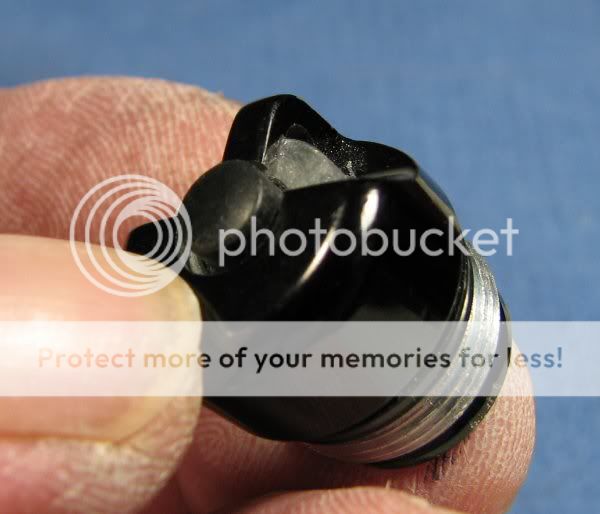
I will use a two part epoxy (stick form) and fill in the inside edges of the tail and then fit the switch in. Once it hardens it will stay very secure.
That's all for now, stay tuned for more later........
:wave:
----------------------------------------------------------------------------------------
I try not to do it the easy way, since it's all about using up time instead of paying for therapy.
This was a 2AA incan Maglite, now I don't know what it is. I figured I would put up a few photos of how not to mod a 2AA.
First I start off with the essentials:
Got to have a little copper in it and that switch turned out to be the one I am Not using...
First step is to mangle the barrel, so I cut it with a hacksaw
Now I am going to do my rendition of the "Human Lathe" I want to use a piece of copper tube as the extension for 3AA.
The cutter is a Dremel cutter and the stone is a waste. Stones do not work well with Aluminum, but I had to try. The cutter worked very well. I used it in my variable speed drill with a very low setting. I held the pieces in a vise and worked the cutter around inside the barrel. I used a small washer between the back end of the cutter and the chuck of the drill, as a backstop, to keep the depth even. Now I feel more confident about tackling the 2D.
This is really practice for a cut down 2D that I am going to do, so I wanted to learn how to open the ID and this was a fun way to try it.
Next is the copper sleeve
The tube is 1/2" Type M copper. Type L will not work due to the ID being too small to allow for an AA battery to fit. The outer sleeve is two 1/2" couplings soldered together. Looks ugly doesn't it?
Looks better now...
I think I will leave it with the "brushed look"
I jump around a lot, so I decided to work on the end cap and add a clicky switch. I ended up using a Romsen forward clicky and I cut/groung off the threads to make a smooth switch that would fit in the enlarged ID of the stock tailcap.
I will use a two part epoxy (stick form) and fill in the inside edges of the tail and then fit the switch in. Once it hardens it will stay very secure.
That's all for now, stay tuned for more later........
:wave:
----------------------------------------------------------------------------------------