I wanted to share with you guys a project I'm working on for my Dad. He sadly suffers from macular degeneration (both wet and dry), and I'm trying to help him out to see better in low light situations. Many of the treatments he has been on has managed to slow, if not halt the progression of this condition, but he is to the point where seeing at dusk and at night is nearly impossible without some kind of illumination. He has been using some cheapy flashlights to help, but the output is either too low, or too tightly focused. So I decided to make him something that will fix both of those issues.
I'm only just getting started on the project, but parts are being ordered, and materials are already showing up. The project will revolve around two flashlights. One will be based on a Mini Mag Pro (2xAA LED) for easy pocketability, and a 3D Maglite for maximum output. Here's the plans for the lights so far:
--Mini Mag Pro
--3D Maglite
I already have the host, and the copper bar stock for the heatsinks. Drivers from Taskled, tail switch, and the voltage monitor are going to be here this week. Still trying to get my hands on the Cree CXA1520 and the Ledil reflector, as they are pretty new, and not readily available. Cells and charger (Xstar WP6 II) will be ordered this week.
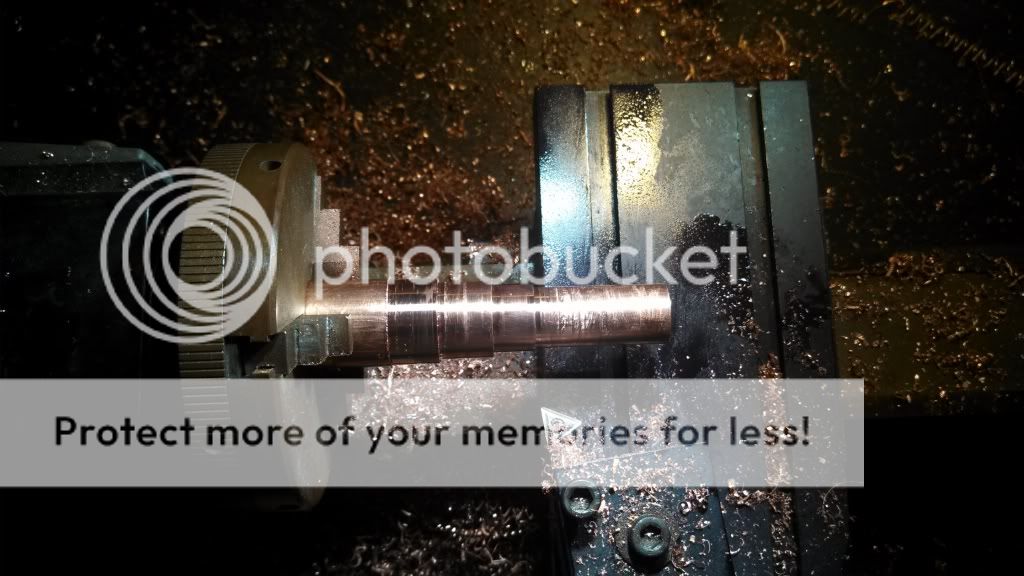
I was hoping to get some time on the lathe this weekend to start on the heatsinks, but my work schedule is telling me otherwise.
The custom boost driver for the Mini Mag will be based off of the Linear LT3478-1 boost driver chip. It's not the newest, or the most efficient (from what I've read), but it requires the least amount of support components to get it working, which means smaller size. I'm going to try and make it dead-bug style rather than making a PCB for it to keep the footprint compact. The back side of the heatsink will be bored out to make room for it to fit, and the thermal pad on the chip will have direct contact with the heatsink itself.
For the LEDs on the Mini Mag, I'm really not sure what to go with. For maximum output, the XP-G2 is the obvious choice, but the CRI suffers horribly at the higher CCTs. The Nichia 219 is an obvious choice when it comes to high CCT and haigh CRI, but the output really lags behind the XP-G2. The Philips Rebel ES ANSI 5000K 85CRI option is looking more appealing now, as they are readily available, and fairly inexpensive. Anyone have any experience with them compared to the Nichia 219? I have MCPCBs to mount all of these options, so that's not an issue.
Obviously, most of you are in it for the pictures, and I will post some once I get started.
Please, feel free to critique anything I have noted above.
I'm only just getting started on the project, but parts are being ordered, and materials are already showing up. The project will revolve around two flashlights. One will be based on a Mini Mag Pro (2xAA LED) for easy pocketability, and a 3D Maglite for maximum output. Here's the plans for the lights so far:
--Mini Mag Pro
- C110 copper heatsink machined by myself
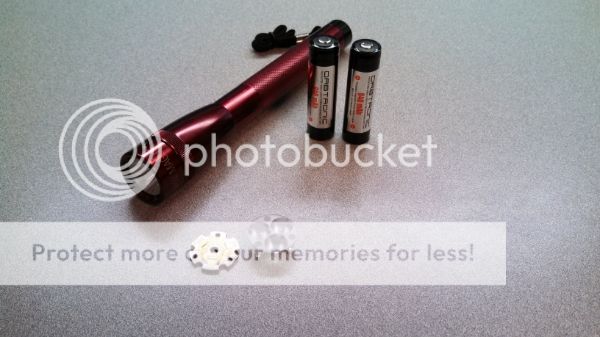
- 2x 14500 protected lithium cells @ 850mA (Orbtronic/Sanyo)
- Terralux TSC-1 tail switch
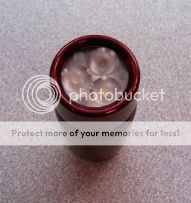
- 3x LEDs in series (haven't decided yet on XP-G or Nichia 219 yet)
- Carclo 20mm triple TIR optic (starting at 45 degrees, but may change depending on his preference)
- Custom boost driver
--3D Maglite
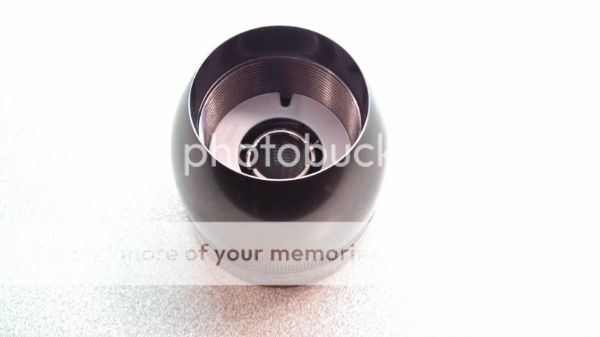
- C110 copper heatsink machined by myself
- 3x 18650 protected lithium cells @ 3400mA (Orbtronic/Panasonic)
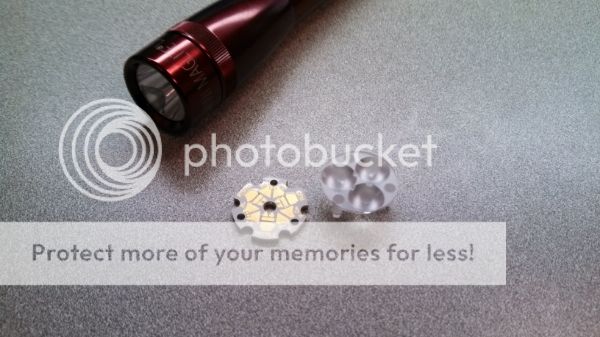
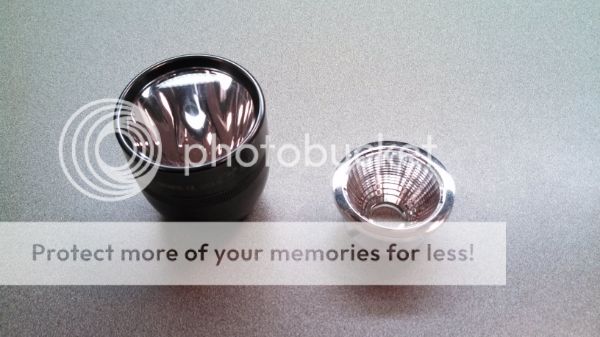
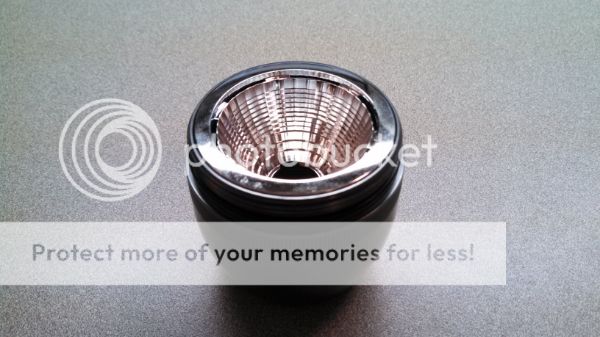
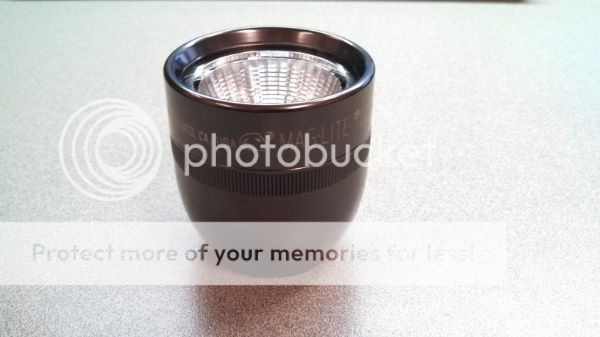
- Cree CXA1520 LED (5000K, 95 CRI, ~2000lm)
- Ledil MIRELLA reflector (~41 degrees, but may change depending on his preference)
- Taskled maxFlex6 boost driver
- Western Robotics lithium voltage monitor (indicator LED will be visible just below the main switch)
I already have the host, and the copper bar stock for the heatsinks. Drivers from Taskled, tail switch, and the voltage monitor are going to be here this week. Still trying to get my hands on the Cree CXA1520 and the Ledil reflector, as they are pretty new, and not readily available. Cells and charger (Xstar WP6 II) will be ordered this week.
I was hoping to get some time on the lathe this weekend to start on the heatsinks, but my work schedule is telling me otherwise.
The custom boost driver for the Mini Mag will be based off of the Linear LT3478-1 boost driver chip. It's not the newest, or the most efficient (from what I've read), but it requires the least amount of support components to get it working, which means smaller size. I'm going to try and make it dead-bug style rather than making a PCB for it to keep the footprint compact. The back side of the heatsink will be bored out to make room for it to fit, and the thermal pad on the chip will have direct contact with the heatsink itself.
For the LEDs on the Mini Mag, I'm really not sure what to go with. For maximum output, the XP-G2 is the obvious choice, but the CRI suffers horribly at the higher CCTs. The Nichia 219 is an obvious choice when it comes to high CCT and haigh CRI, but the output really lags behind the XP-G2. The Philips Rebel ES ANSI 5000K 85CRI option is looking more appealing now, as they are readily available, and fairly inexpensive. Anyone have any experience with them compared to the Nichia 219? I have MCPCBs to mount all of these options, so that's not an issue.
Obviously, most of you are in it for the pictures, and I will post some once I get started.
Please, feel free to critique anything I have noted above.
")