Hello,
I had a couple people ask "Exactly how do I use a Rocker switch in a Mag "D" switch body?". So I thought it would be nice to show everyone how I do it, with details and photos.
The idea is to use an economical and readily available switch (15A-30A) to replace the Stock Mag switch. Something easy, that only takes a few simple hand tools and not a lot of electronics (for dummies like me). Also to use a switch that still maintained the stock placement and stock rubber cover.
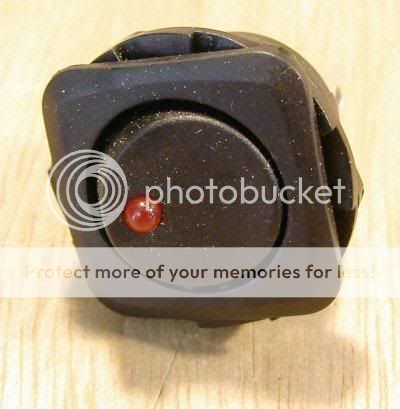
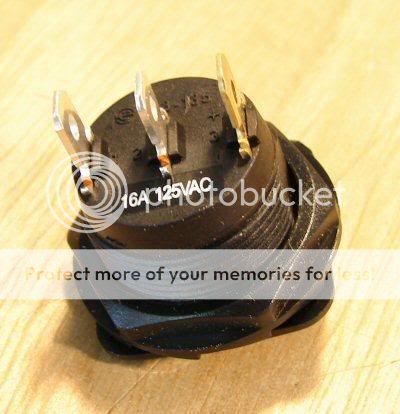
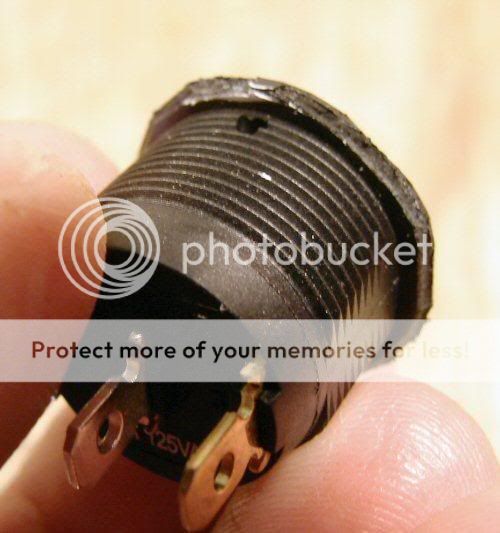
Well, I found that rocker switches from Radio Shack, or the local Auto Parts Store, would work for this purpose. The one I am using is a 16A 125V switch from radio shack. I have seen 20A and 30A in Auto parts stores.
I will go thru the whole replacement, step by step. I know some of this may be redundant.
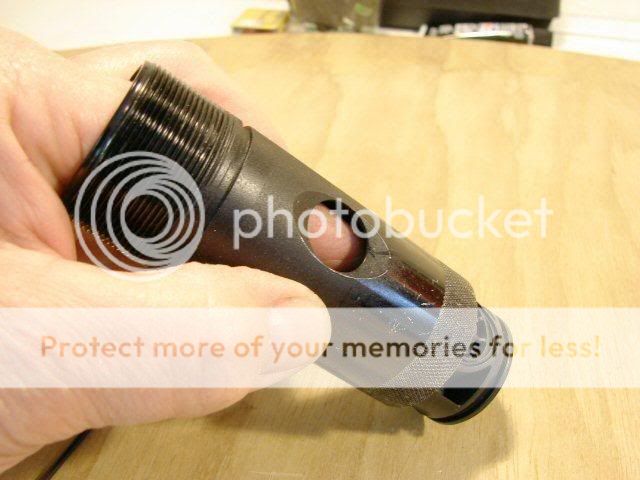
First I am using an old cut off "D" body, that's all I had lying around.
Here's the switch


I just use two fingers and pinch the rubber cover, to take it out.

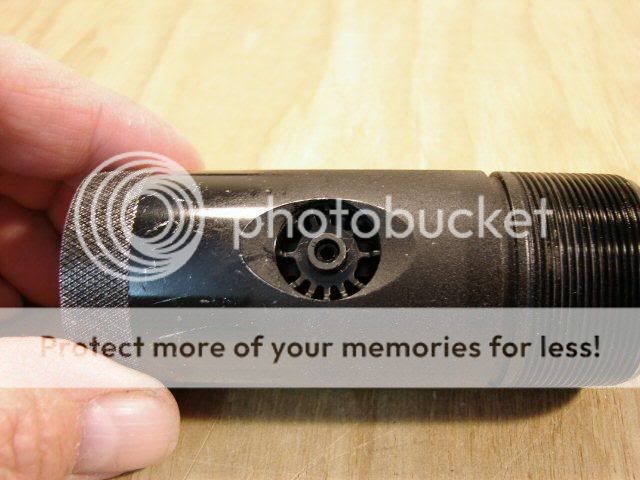
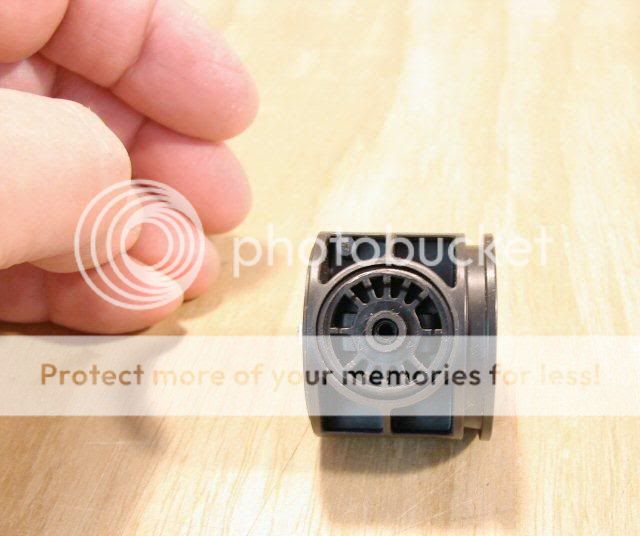
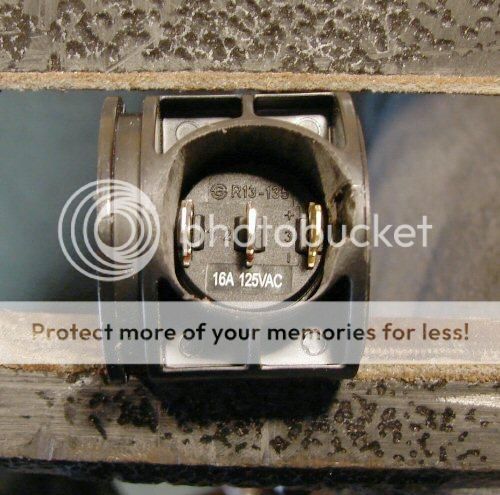
The exposed switch.

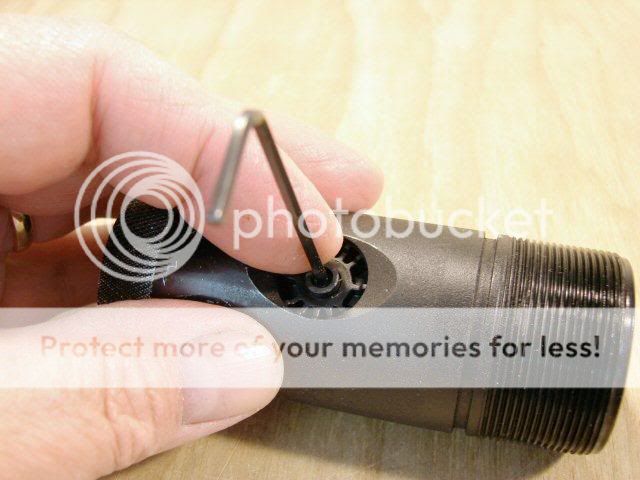
5/32" Allen wrench inside the switch, I loosen the set screw it about 6 turns.

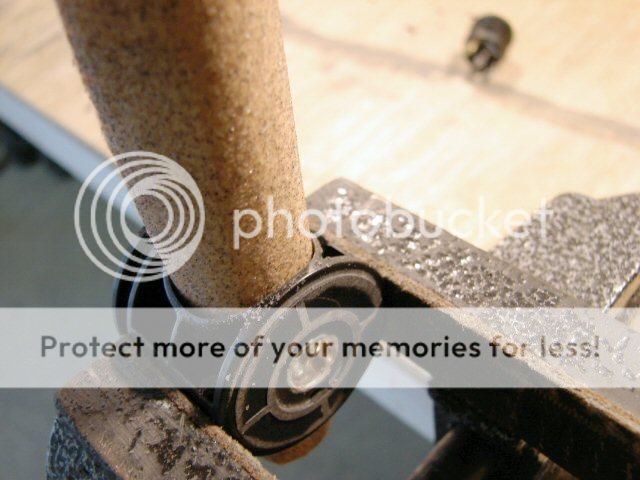
Pushing out the switch. It should slide out easy after you push it out a little ways.

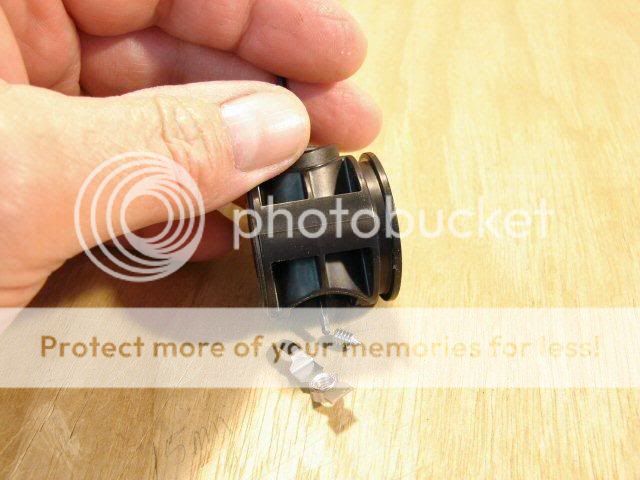
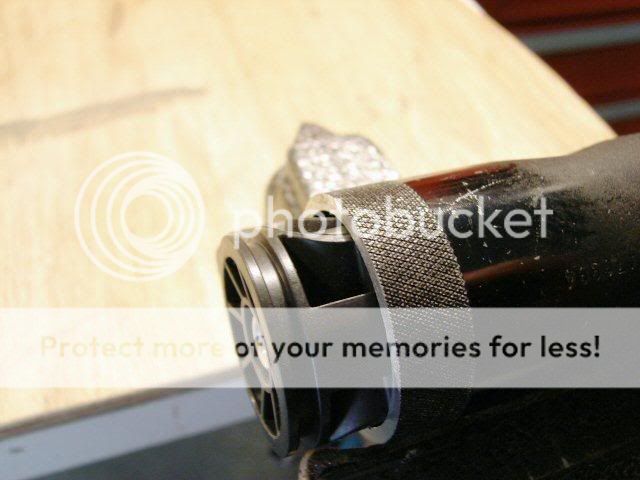
This is an old switch that I cut the bulb tower off of. If you need to cut the tower off, just use a hacksaw.

I use the same allen wrench to push out the set screw and the negative terminal.

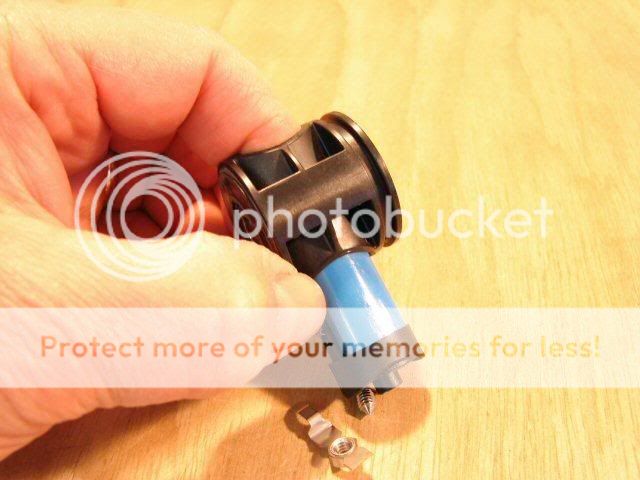
Push out the switch, from the bottom side of the housing.

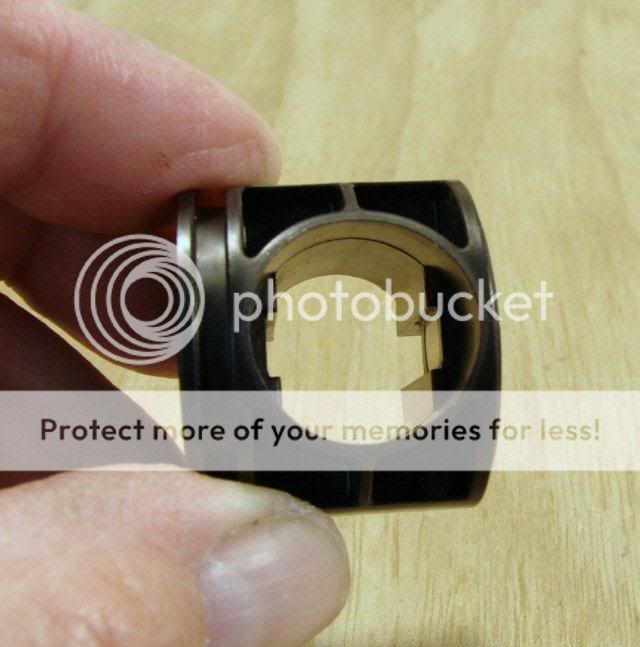
The four flat areas that need to be removed, inside the housing.

The reason wht they need to be removed. The new switch won't clear.

I dabbed white out on the areas to be removed.

My fancy tools. 3 round files.

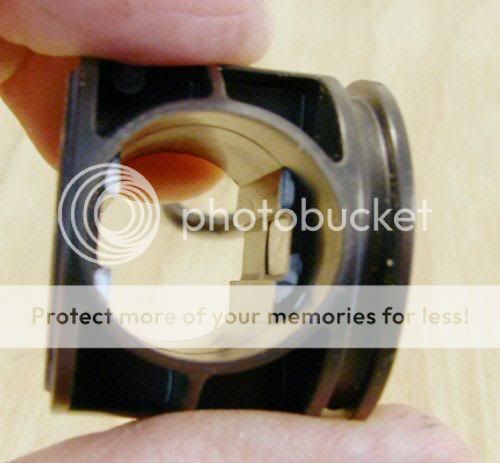
I start with the larger coarse file. An even larger one would work well. I just want to make the housing completely round.

Pretty much done roughing it out. The metal contact plate does not come out, just the plastic surrounding. The rocker switch has 2 flat spots on it and they slide over the metal plate.

Now I modify the rocker switch. I need to remove the square edges and get it round. I use a pair of cutters at first, but I just cut a little at a time, or the plastic splits instead of cutting.

After using the cutters. I get fairly close that way.

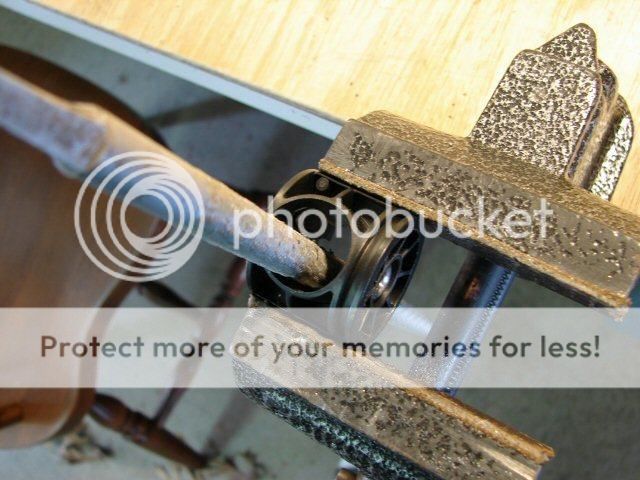
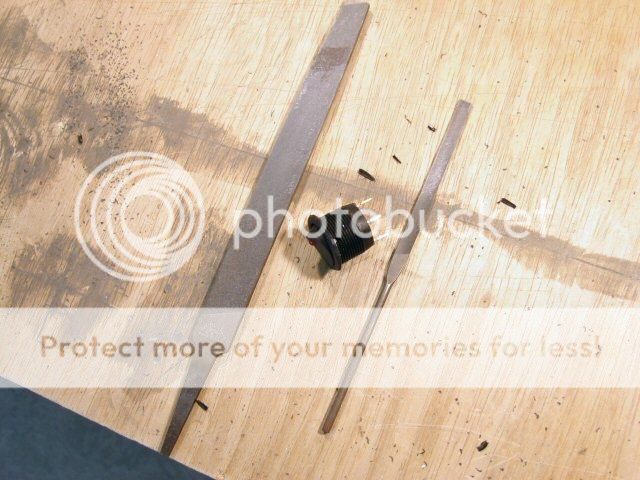
More special tools, a couple flat files.

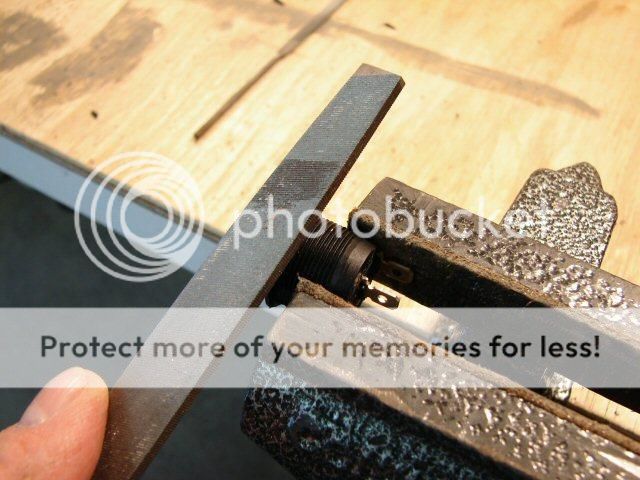
I finish removing the material and round it off using the files like this. Not much pressure on the vise or you break the switch.

Final touch is with a sanding block.

That's about finished. I just need to clean off the burrs.

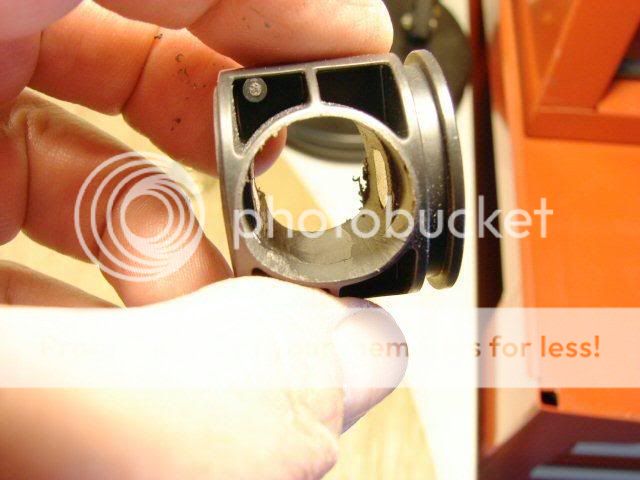
Now the rocker fits in the housing fairly well. It's still just a bit too tight.

I can use sandpaper to take a little more out of the housing, just a fine adjustment or two.

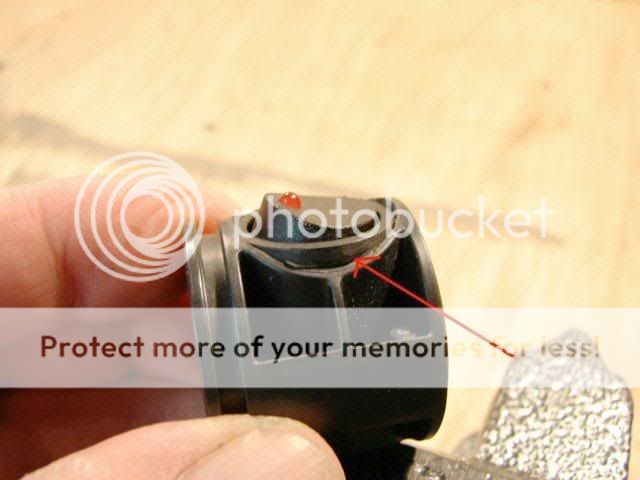
I don't want that little raised red light, so I file it off flush.

Now I am seeing how it goes into the body and I will need to do some angle trimming here.

Making sure the rocker is down flush with the housing edge.

Now I use my small flat file to take off the edges and conform to the housing angle.

Just a shot of the underside. I can just drill a hole in the ends of the housing for wires to go thru and solder them on.

Nice fit! Slides right in. Put the toggle in the "on" position, so it slides in and if you take it out, put it in the "off" position to slide it back out.

The housing is in place. Now I usually hold it in place by putting a little JB Weld on the top of the housing, where it touches the "C" ring inside the body. That will be enough to hold it, when it sets up.

Rubber cover is back in place and it looks stock once again.

EDIT: Use a bit of 5 minute 2 part epoxy in a couple of spots on the underside, just to keep the switch from moving around. You can break free "just a dab" if need be, to remove the switch again. Also do the same thing with the whole housing, to the "C" ring, with just a couple dabs of epoxy.
I hope this helps someone out in their search for mods.
I had a couple people ask "Exactly how do I use a Rocker switch in a Mag "D" switch body?". So I thought it would be nice to show everyone how I do it, with details and photos.
The idea is to use an economical and readily available switch (15A-30A) to replace the Stock Mag switch. Something easy, that only takes a few simple hand tools and not a lot of electronics (for dummies like me). Also to use a switch that still maintained the stock placement and stock rubber cover.
Well, I found that rocker switches from Radio Shack, or the local Auto Parts Store, would work for this purpose. The one I am using is a 16A 125V switch from radio shack. I have seen 20A and 30A in Auto parts stores.
I will go thru the whole replacement, step by step. I know some of this may be redundant.
First I am using an old cut off "D" body, that's all I had lying around.
Here's the switch
I just use two fingers and pinch the rubber cover, to take it out.
The exposed switch.
5/32" Allen wrench inside the switch, I loosen the set screw it about 6 turns.
Pushing out the switch. It should slide out easy after you push it out a little ways.
This is an old switch that I cut the bulb tower off of. If you need to cut the tower off, just use a hacksaw.
I use the same allen wrench to push out the set screw and the negative terminal.
Push out the switch, from the bottom side of the housing.
The four flat areas that need to be removed, inside the housing.
The reason wht they need to be removed. The new switch won't clear.
I dabbed white out on the areas to be removed.
My fancy tools. 3 round files.
I start with the larger coarse file. An even larger one would work well. I just want to make the housing completely round.
Pretty much done roughing it out. The metal contact plate does not come out, just the plastic surrounding. The rocker switch has 2 flat spots on it and they slide over the metal plate.
Now I modify the rocker switch. I need to remove the square edges and get it round. I use a pair of cutters at first, but I just cut a little at a time, or the plastic splits instead of cutting.
After using the cutters. I get fairly close that way.
More special tools, a couple flat files.
I finish removing the material and round it off using the files like this. Not much pressure on the vise or you break the switch.
Final touch is with a sanding block.
That's about finished. I just need to clean off the burrs.
Now the rocker fits in the housing fairly well. It's still just a bit too tight.
I can use sandpaper to take a little more out of the housing, just a fine adjustment or two.
I don't want that little raised red light, so I file it off flush.
Now I am seeing how it goes into the body and I will need to do some angle trimming here.
Making sure the rocker is down flush with the housing edge.
Now I use my small flat file to take off the edges and conform to the housing angle.
Just a shot of the underside. I can just drill a hole in the ends of the housing for wires to go thru and solder them on.
Nice fit! Slides right in. Put the toggle in the "on" position, so it slides in and if you take it out, put it in the "off" position to slide it back out.
The housing is in place. Now I usually hold it in place by putting a little JB Weld on the top of the housing, where it touches the "C" ring inside the body. That will be enough to hold it, when it sets up.
Rubber cover is back in place and it looks stock once again.
EDIT: Use a bit of 5 minute 2 part epoxy in a couple of spots on the underside, just to keep the switch from moving around. You can break free "just a dab" if need be, to remove the switch again. Also do the same thing with the whole housing, to the "C" ring, with just a couple dabs of epoxy.
I hope this helps someone out in their search for mods.
Last edited: