PhotonFanatic
Flashlight Enthusiast
Not sure why I take these projects on--it seems that something that should really be simple, such as replacing an emitter, can turn into a multi-day modding project. 
The owner of the Aleph LE, a NG750, just wanted the emitter upgraded from a Lux III to a Seoul P4. Only problem was that the emitter was epoxied in place. OK, no big deal, just freeze it and knock it off. Not quite--I didn't realize that there was a copper disk under the emitter--and that disk was what separated from the anodized heatsink.
No way did I want to try to reinstall an emitter with a copper disk under it, so I thought, why not just turn down a star and install that instead? Seemed simple enough.
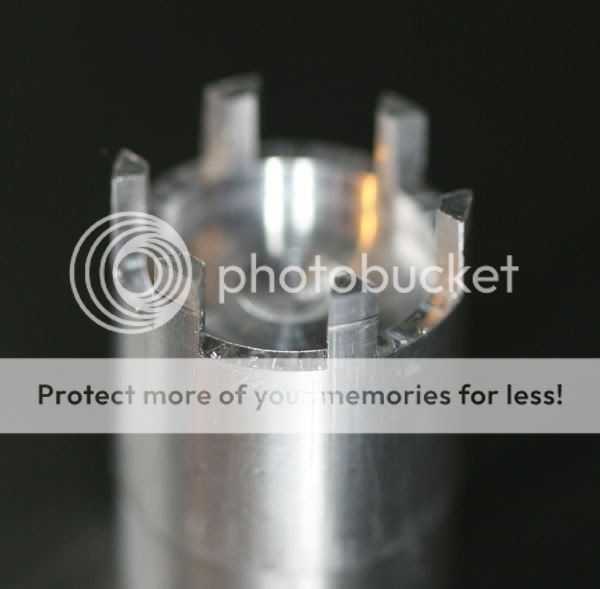
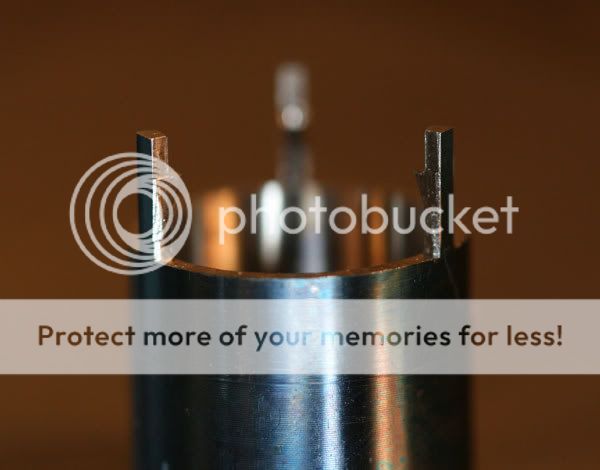
Here's the LE after it was gutted on top:
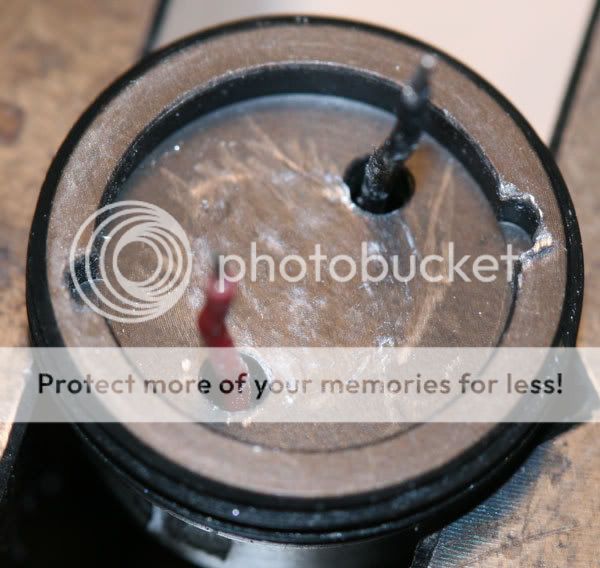
Turning down the star to 15.10mm, the diameter of the LE opening, wasn't as easy as I thought it would be. My first jig designed to hold the star wasn't good enough--not enough grip on the star to be able to turn down the diameter. Onto Jig #2--this time I payed very close attention to the tolerances and I chose to make it out of Ti, too.
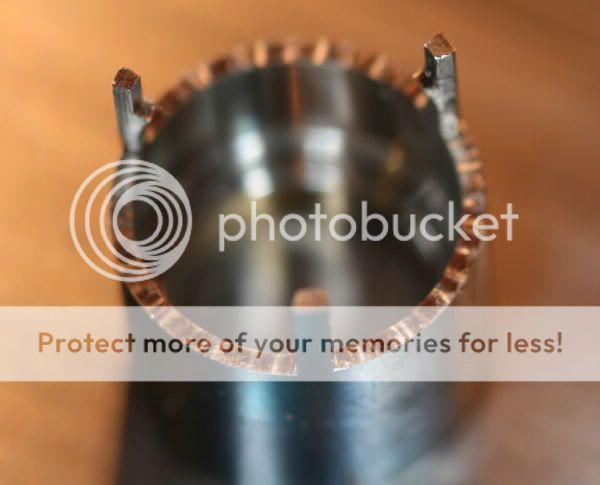
That worked fine, not only allowing me to turn down the star, but to also install the holes for the leads--which perfectly matched the holes in the LE top.
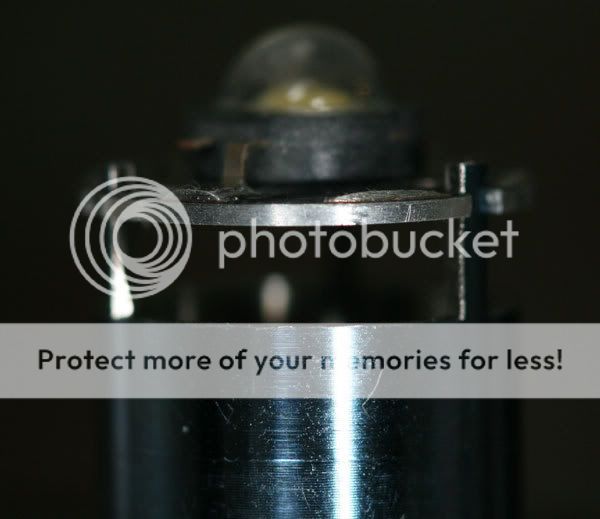
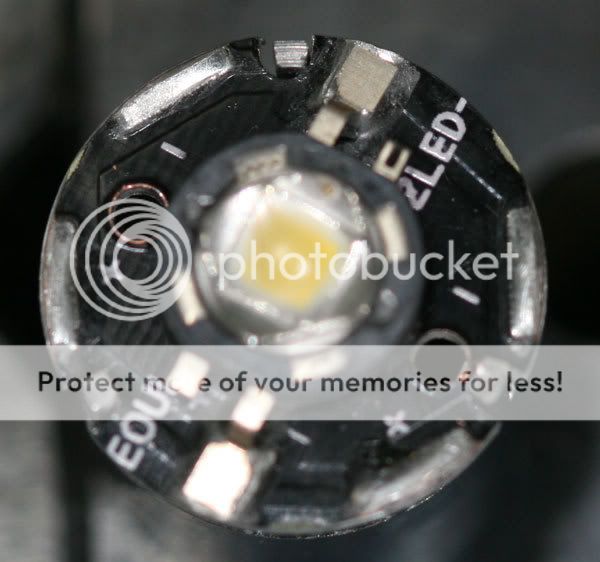
Here is the result, before the final tweaking and soldering. I plan to use thermal compound, not epoxy to hold the star in place. The edges of the star will be coated with nail polish to provide some isolation, although it shouldn't be needed. But I did notice that there were a couple of bare AL spots showing, so better safe than sorry.

I think this mod will actually increase the thermal transfer from the LED to the body of the light--there is no a lot more surface area in contact with the LE than there was with just the copper disk in place.
The owner of the Aleph LE, a NG750, just wanted the emitter upgraded from a Lux III to a Seoul P4. Only problem was that the emitter was epoxied in place. OK, no big deal, just freeze it and knock it off. Not quite--I didn't realize that there was a copper disk under the emitter--and that disk was what separated from the anodized heatsink.
No way did I want to try to reinstall an emitter with a copper disk under it, so I thought, why not just turn down a star and install that instead? Seemed simple enough.
Here's the LE after it was gutted on top:
Turning down the star to 15.10mm, the diameter of the LE opening, wasn't as easy as I thought it would be. My first jig designed to hold the star wasn't good enough--not enough grip on the star to be able to turn down the diameter. Onto Jig #2--this time I payed very close attention to the tolerances and I chose to make it out of Ti, too.
That worked fine, not only allowing me to turn down the star, but to also install the holes for the leads--which perfectly matched the holes in the LE top.
Here is the result, before the final tweaking and soldering. I plan to use thermal compound, not epoxy to hold the star in place. The edges of the star will be coated with nail polish to provide some isolation, although it shouldn't be needed. But I did notice that there were a couple of bare AL spots showing, so better safe than sorry.
I think this mod will actually increase the thermal transfer from the LED to the body of the light--there is no a lot more surface area in contact with the LE than there was with just the copper disk in place.
Last edited: