
Here is the newest M@g custom to join the ranks. This build was designed to drive the XP-G @ 1.4A using the M@g rebel "deep" reflector. It's overall output is significantly lower than several previous builds, but what it lacks in total ouput it more than makes up for it in throw. In fact, compared next to by quad XP-G, it has the "appearance" of being brighter due to the pencil like beam.
Thanks to ma_sha for his tutorial on m@g cutdowns from the tail which preserves the head focusing function. The size (1.5C) is a perfect fit in my hand and accepts all sizes of "larger" li-ion cells (26650, 26500, 18650). All maching done by hand with basic tools (hacksaw, dremel, file) pictured below.
Thanks to those that came up with the M@g C switch bounce fix (especially Aircraft800) that help solve that annoying level jumping with the multimode drivers.
Estimated ouput driven @ 1.4A is ~450 lumens compared by ceiling bounce next to my other lights.
1.5C XP-G R5 specs
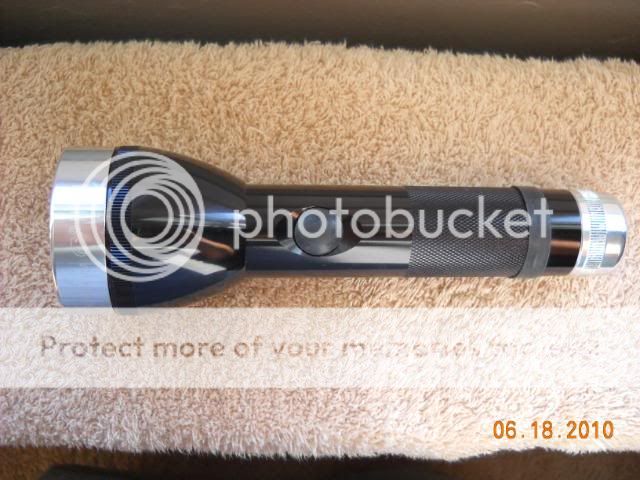
M@g 1.5C
Custom heatsink
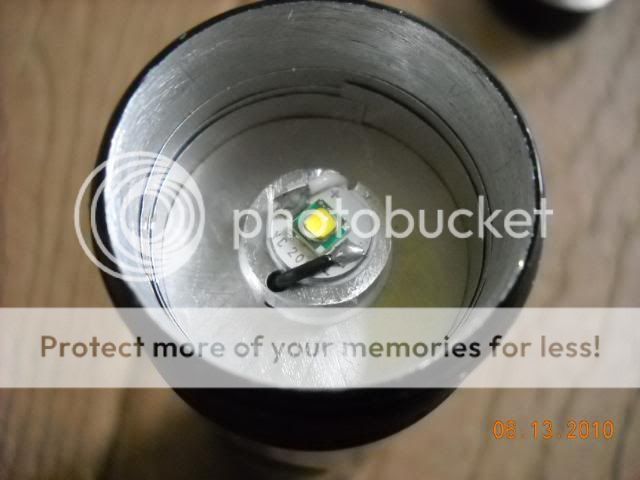
Neutral white XP-G reflowed onto 8 mm MCPCB
1.4A driver (Shiningbeam, 3 speed)
24g teflon wire
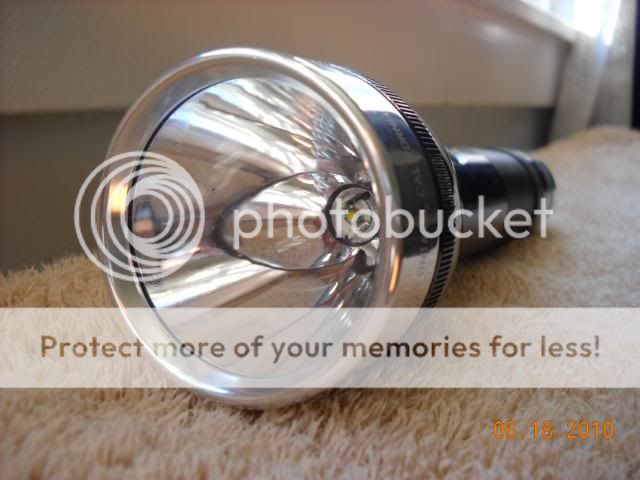
Rebel reflector
26650, 25500, or 18650 compatible
The process in reverse order of build
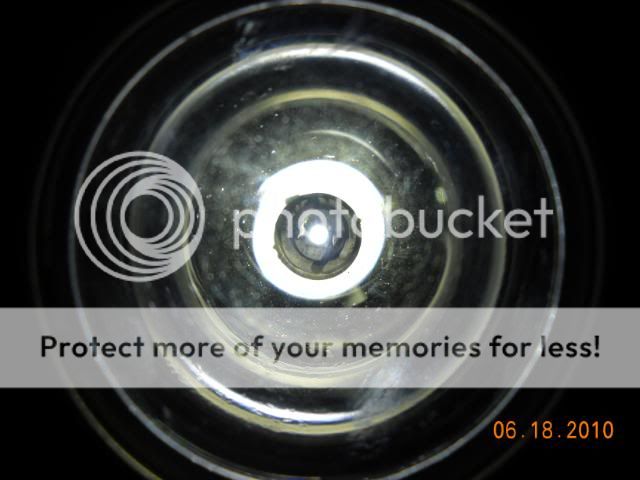
XP-G on lowest setting
White wall shot @ ~ 1 meter. Nice neutral tint.

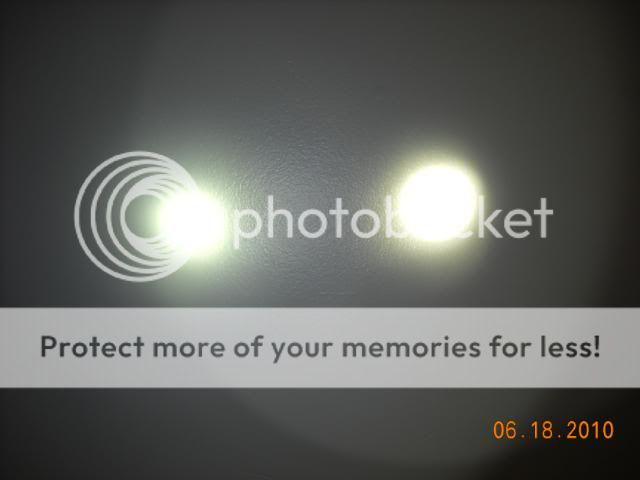
Wall shot comparing M@g1C sst-50 (on left) vs [email protected] XP-G (right)
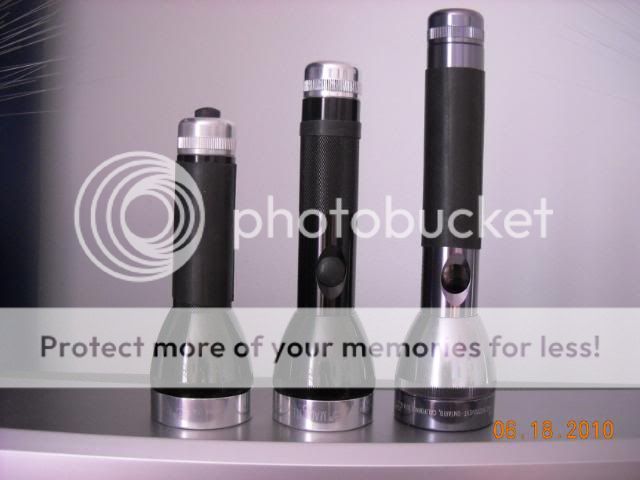
Size comparisons (left to right) M@g 1C, 1.5C, 2C (stock)
How it looks in the hand (same order as above)


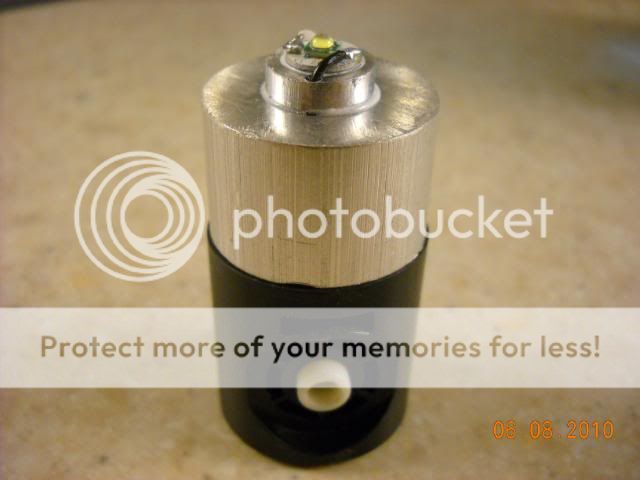
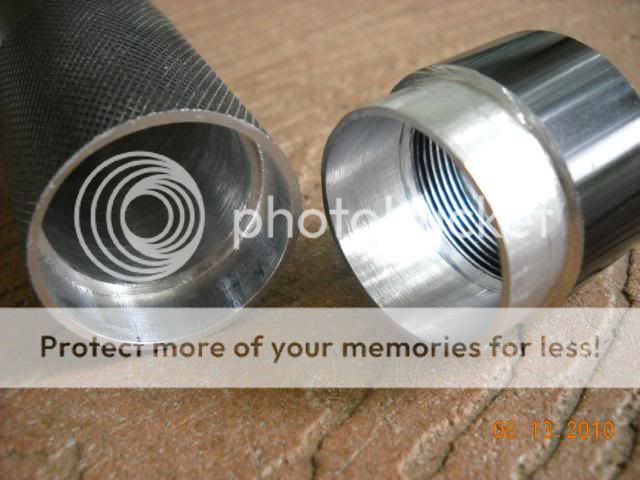
Head removed. The heatsink diameter was a bit to small so the gap was filled with aluminum strips cut from a soda can
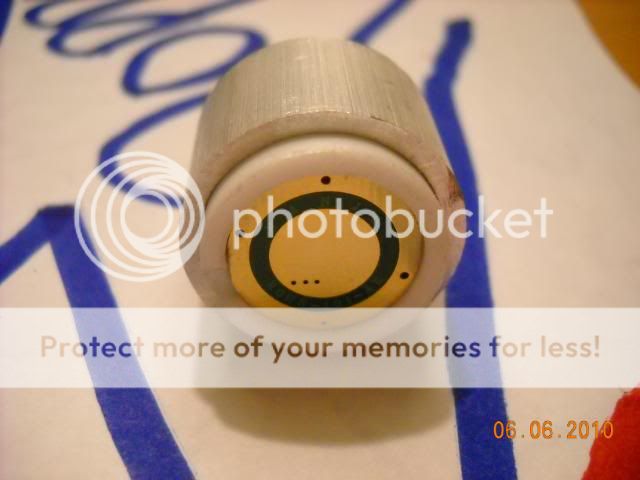
Completed light engine mounted to switch
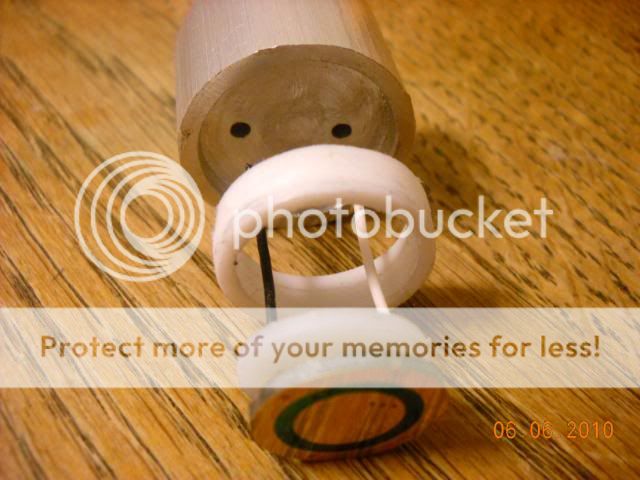
The very short wires meant partially disassembly of the switch to solder the (+) contact to the driver
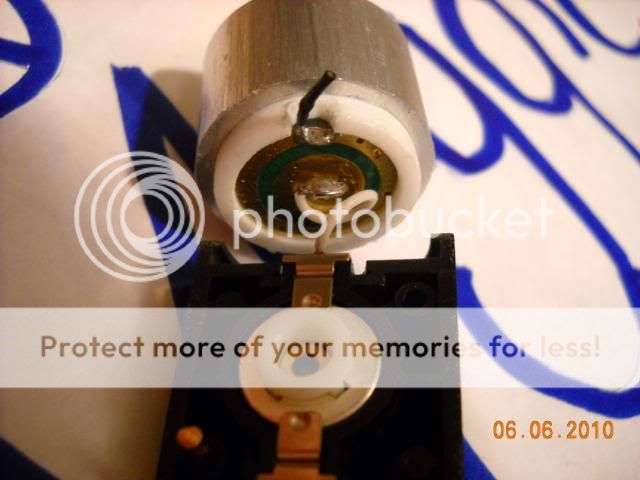
View of driver mounted to heatsink
Assembly of heatsink, driver, and spacers
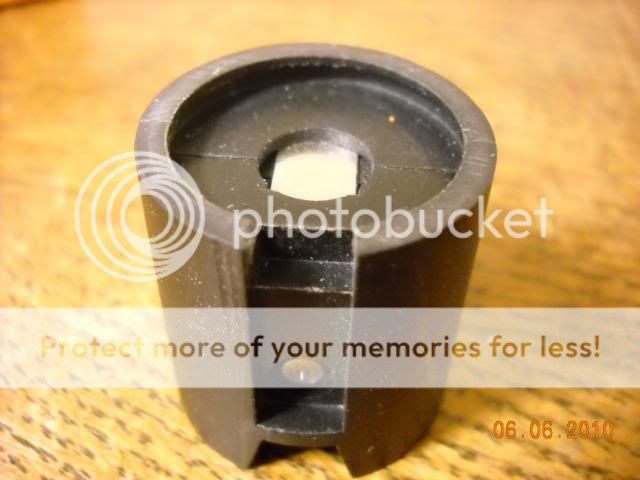
Cutdown switch
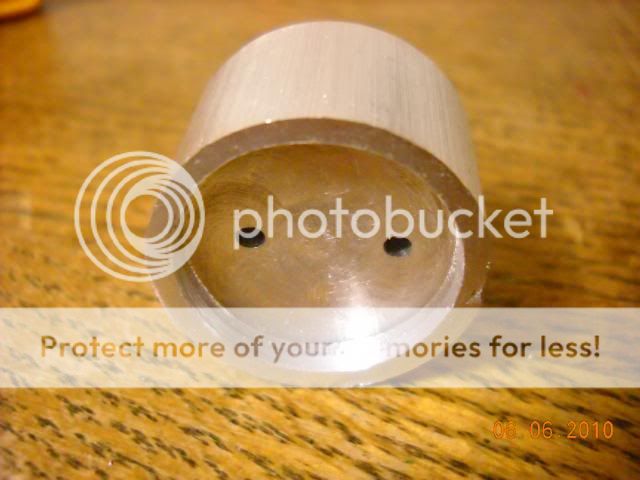
Heatsink (underside) showing driver slot
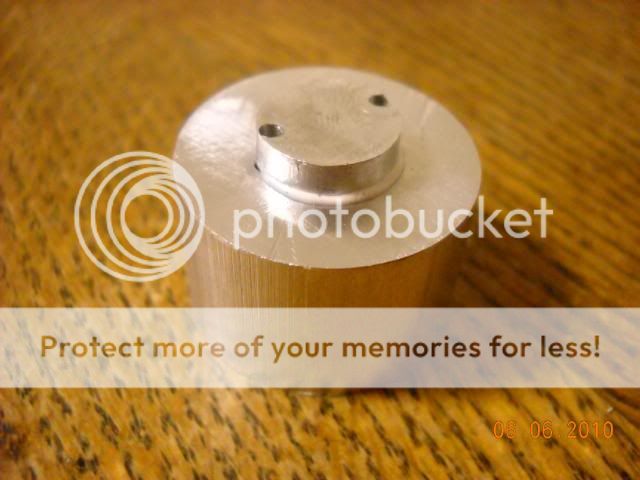
Heatsink (emitter side)
Machining of tail end to join the cut sections. This was the most difficult, but came out pretty good. I will JB weld the ends to keep them permanently connected.
Cutdown of stock m@g 2C. The 3rd section from the right was removed

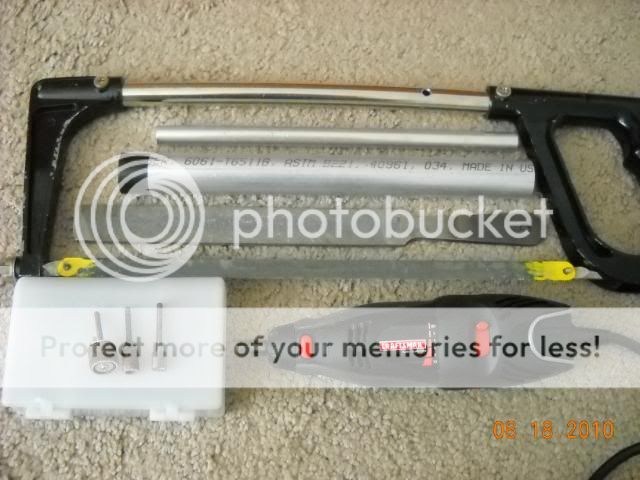
Tools and aluminum bar stock used for machining
Thanks for looking. Comments always welcome :thumbsup:!
Hill
Thanks to ma_sha for his tutorial on m@g cutdowns from the tail which preserves the head focusing function. The size (1.5C) is a perfect fit in my hand and accepts all sizes of "larger" li-ion cells (26650, 26500, 18650). All maching done by hand with basic tools (hacksaw, dremel, file) pictured below.
Thanks to those that came up with the M@g C switch bounce fix (especially Aircraft800) that help solve that annoying level jumping with the multimode drivers.
Estimated ouput driven @ 1.4A is ~450 lumens compared by ceiling bounce next to my other lights.
1.5C XP-G R5 specs
M@g 1.5C
Custom heatsink
Neutral white XP-G reflowed onto 8 mm MCPCB
1.4A driver (Shiningbeam, 3 speed)
24g teflon wire
Rebel reflector
26650, 25500, or 18650 compatible
The process in reverse order of build
XP-G on lowest setting
White wall shot @ ~ 1 meter. Nice neutral tint.
Wall shot comparing M@g1C sst-50 (on left) vs [email protected] XP-G (right)
Size comparisons (left to right) M@g 1C, 1.5C, 2C (stock)
How it looks in the hand (same order as above)
Head removed. The heatsink diameter was a bit to small so the gap was filled with aluminum strips cut from a soda can
Completed light engine mounted to switch
The very short wires meant partially disassembly of the switch to solder the (+) contact to the driver
View of driver mounted to heatsink
Assembly of heatsink, driver, and spacers
Cutdown switch
Heatsink (underside) showing driver slot
Heatsink (emitter side)
Machining of tail end to join the cut sections. This was the most difficult, but came out pretty good. I will JB weld the ends to keep them permanently connected.
Cutdown of stock m@g 2C. The 3rd section from the right was removed
Tools and aluminum bar stock used for machining
Thanks for looking. Comments always welcome :thumbsup:!
Hill
