adsl_keeki
Newly Enlightened
- Joined
- Dec 8, 2006
- Messages
- 7
My EagleTac M2C4 arrived last week. It's my first EagleTac and I am pretty satisfied with my purchase. Here are some modifications I have done on her to make it the "Perfect M2C4" for me.:devil:
By reading the post by richardcpf, you can tell the light is controlled by remote sensors. I adjusted the second sensor slightly to increase the separation of the turbo mode. I also noticed you can change the mounting position of the circuit board (counter-clockwise from the original position) to reduce the separation of the strobe mode.:tinfoil:
I also put some markings on the light to tell me what level I am currently at. I also did a 30 minutes water-proof test (see below).
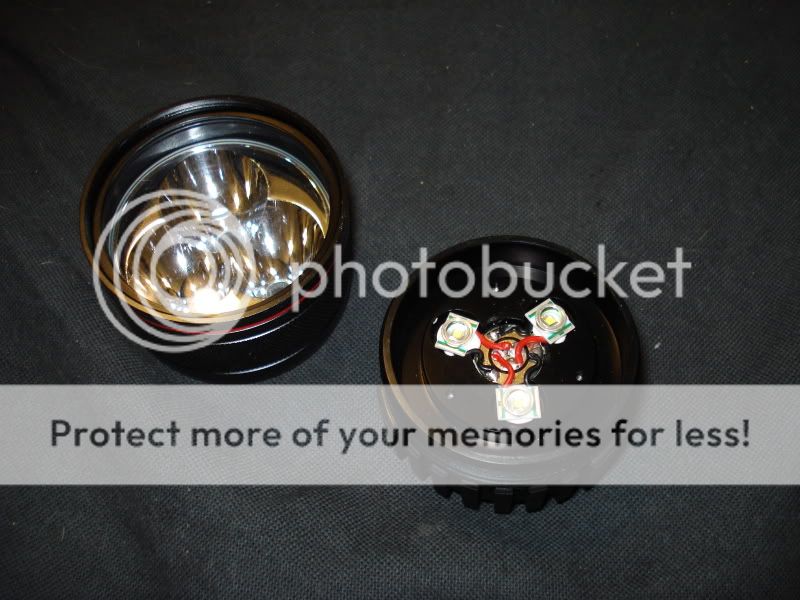
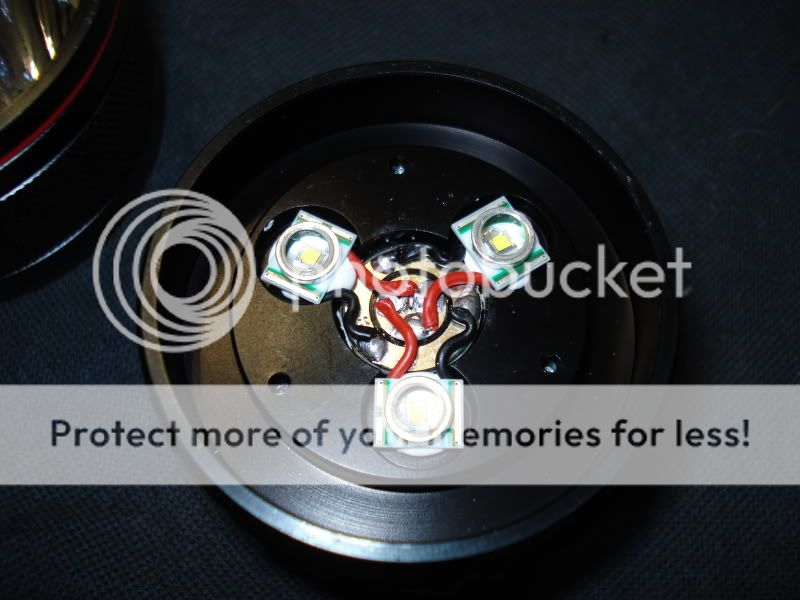
Remove the three screws at the bottom of the head


The circuit
 http://img43.imageshack.us/img43/5135/96798577.jpg
The sensor. I solder the sensor back to its original position (approximately) in this picture
 http://img42.imageshack.us/img42/8963/57851750.jpg
Unsolder it and move it to the center position.
 http://img40.imageshack.us/img40/8866/21814765.jpg
Mount here to reduce the strobe separation. Or doing reverse to increase the separation
 http://img196.imageshack.us/img196/7806/35984038.jpg
Now put everything back together
 http://img38.imageshack.us/img38/9026/83011038.jpg
I did these markings inspired by nakahoshi
Turbo
 http://img36.imageshack.us/img36/4465/96996917.jpg
High
 http://img35.imageshack.us/img35/2970/39096582.jpg
Med
 http://img188.imageshack.us/img188/6875/32455366.jpg
Low
 http://img51.imageshack.us/img51/8485/73864186.jpg
Here are the some washers that I just got in the mail from EagleTac. It solves the waterproof issue of these lights.
 http://img43.imageshack.us/img43/1483/48027472.jpg
 http://img42.imageshack.us/img42/8859/31870825.jpg
Body tube with the screws and washers. I also tighten the screws at the back of the body tube just to make sure.
 http://img40.imageshack.us/img40/6179/96234419.jpg
Waterproof testing in the washroom
 http://img39.imageshack.us/img39/9272/75245154.jpg
 http://img38.imageshack.us/img38/9176/18529234.jpg
No leakage found after 30 minutes
 http://img36.imageshack.us/img36/559/13797705.jpg

By reading the post by richardcpf, you can tell the light is controlled by remote sensors. I adjusted the second sensor slightly to increase the separation of the turbo mode. I also noticed you can change the mounting position of the circuit board (counter-clockwise from the original position) to reduce the separation of the strobe mode.:tinfoil:
I also put some markings on the light to tell me what level I am currently at. I also did a 30 minutes water-proof test (see below).
Remove the three screws at the bottom of the head


The circuit

The sensor. I solder the sensor back to its original position (approximately) in this picture

Unsolder it and move it to the center position.

Mount here to reduce the strobe separation. Or doing reverse to increase the separation

Now put everything back together

I did these markings inspired by nakahoshi
Turbo

High

Med

Low

Here are the some washers that I just got in the mail from EagleTac. It solves the waterproof issue of these lights.


Body tube with the screws and washers. I also tighten the screws at the back of the body tube just to make sure.

Waterproof testing in the washroom


No leakage found after 30 minutes

Last edited:


