Need expert advice on sputtering!

Roland Gama

Newly Enlightened
Joined
Aug 29, 2008
Messages
83
Can anyone give some detailed info on the sputtering technique?

Taking a 2k clear coat polyurethane paint and a De vilbiss spot repair gun into account does one look forward to a clear even film on the reflector? If so, then would one thin coat be okay or would several coats so a better job?

Secondly, if the spray gun is run at about half the required pressure and a quick single pass with the gun would give a mottled finish. Is this what I should look for?

Thanks in advance.
 
"SUPERMAN - quote"

Buy a can of clear gloss spray paint. Place the reflector facing upwards. This is easy if you have cut the cam off of the reflector, but if you didn't just wedge it between something so that it faces upward. This makes it easy to put an even coat of gloss.

First, you're going to put a very light coat on the reflector. Hold the can high above the reflector, about 1 meter. Spray straight down for only about half a second to a second. You are just want to let the mist fall on the reflector. Let it sit for about 2 minutes. At this point, the reflector will not reflect very well, the texture will probably be rough.

Next, you will put one heavy layer on top of the first layer. Bring the spray can closer to about .3 meter away from the reflector. Give it a good spray about 1-1.5 seconds long. You don't want to put so much as to make the spray pool up, but you don't want it to be so light like the first layer where it makes the reflector dull. Sometimes the spray will look white and cloudy because of the air bubbles, but don't worry, it should disappear once it dries.

Right after you spray the thick layer, pick up the reflector and rotate it from facing up to facing down every few seconds so that the spray does not become thick at any portion of the reflector. It should only take a minute until the spray becomes thick enough not to run. The spray will still be soft for about an hour, so don't touch it. In fact, don't ever touch it. Spray is far less scratch resistant than a metal reflector.

You may let it dry naturally, or do what I did and place it facing downward on a warm surface such as on top of a TV or computer monitor, or a desk lamp that is not too hot as to melt it.

It took a couple of tries to get it just right, so hopefully you have some extra reflectors to practice on. If not, start on the light side as far as how thick the coats are.

Good luck!

Iztok
 
Thanks for the definitive reply Iztok.
Theory and manuals apart, spray painting takes a lot of skill and practice so I will have to practice your technique first until confident to undertake the job.

Thank you again.
Roland.
 
I used NC based clear coat and tried it on an old CD first.
Setting the spray gun to a fine mist I sprayed the reflector from far to get an even frosty and dull finish. Waited a couple of minutes before giving a heavier and even coating until the shine returned.
The beam is perfect and very happy with my first try.

However I have two questions:
First, will a second coat improve things up?
Secondly, using a 2k clear coat (i.e. base and hardener system) will it be okay to apply the first frosty coat and wait for 24 hours for it to dry then apply the second heavy coat.
Reason for using the 2k system would be its better quality and durability.

Thanks.
Photo-00022.jpg
[/IMG]
Photo-0004.jpg
[/IMG]
 
I was able to sputter using krylon laquer or clear enamal.

I sputtered mag factory reflectors. In all cases sputtered reflectors did not reflect as well, they were dimmer and measurably so with a lux meter, against aluminum Orange Peel and Light Orange Peal reflectors.
They were ok to see how the job would look but since I spent over $100 and some cases some mods cost to build $400 I did not see any problem with spending $20-$30 for a "real" reflector to get the full benefit of the reflected light. Both KD and DX offer a 52 mm OP reflector for the mag mods and those out preform sputtered reflectors and are not very expensive at all, about $6, a sputtered reflector will get you by until they arrive. A can of good paint can cost more than the best reflectors!
The clear coats do absorb some of the light.
Looking at the photo, yes, that is how mine worked out and looked but for my money, it is worth the extra dollars, $6, to get 100% of performance available as opposed to being too frugal and cutting corners that detract from the final product. I have seen mods that were made for resale that were sputtered and sold around the same price as those mods that used good reflectors. I can see the point as the sale netted a better profit. The last two P7 mods I sold I offered a real reflector, a sputtered and a OEM Mag. I could not in good conscious put the sputtered only on them without bring to light the performance loss.
As far as beam pattern goes, sputtering works and you can create different densities of OP with sputtering. If I were modding a light I could not readily get a OP reflector then that is the place I would sputter. There is a place and time for every technique but sputtering cannot compare with aluminum OP reflectors.
 
Last edited:
Thanks for the info Northern Lights.
Agree with you in all aspects.
I have the KD reflectors but it requires some modding on the reflector and the mag to make it work.
That was the reason why I sputtered the stock mag reflector.
Anyway, I did a comparison and the KD reflector outshines the sputtered one even with the naked eye. The only minus point with the KD was a little bigger hot spot than the stock reflector.
 
I did not have to mod the reflectors, they dropped right in, because they have threads at the top rim they do set the bezel up about one and a half turns. If that is a bother, an o ring that size can be put into that space for esthetic purposes. I am interested to know what part of the reflector you had fit problems with. The P7s I used were not on stars and they fit perfectly. I did notice with one particular light I built I had a greater hot spot and the beam was more flood and less focus. It turned out that it did not seat all the way down on the LED although it looked to be down all the way. I ran my dimensions too tight in tolerances and the bell actually sat up off the LED about a thousandth of an inch, too little to see but it made a major focus difference. I raised the heat sync that much, I pin in my syncs so I just gave it another pin anchor hole and raised it and the bell then sat on it correctly then and I got a match to the other five reflectors I had in lights on hand.
Thank you for the feed back.
 
Northern Lights
The KD reflectors are not consistent in their tolerances. Some of them thread in the bezel while others slip through the threads. I dont complain for the price and it can be worked around.
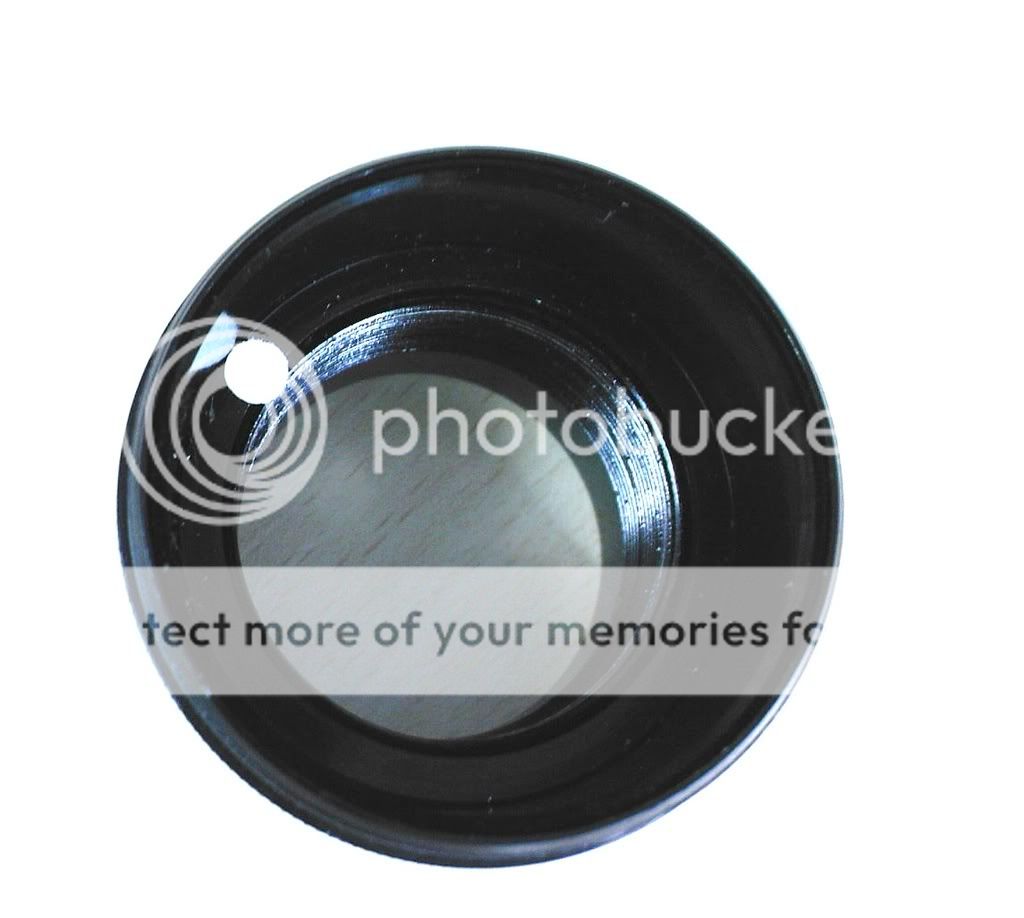
As you see in the pic I carefully machined out about 3 mm or so of the threads on the reflector from the rear side. This makes the reflector go that much in into the mag where it contacts the seat where in I have put a white spot to highlight. That is where you have to machine an equal length off.

Another way to do it would be the get rid of the threads from the front of the reflector thus avoiding to compensate on the mag but that would destroy some of the reflecting surface.
You have a choice. The only concern is while machining the reflector is to very carefully cut side ways along the axis. If you dig into it then the reflective coating is spoilt due to metal flex. I spoilt one.

Hope this helps.
Photo-00011-1.jpg
[/IMG]

Photo-0002-5.jpg
 
Thank, you those look good! I got mine from DX and all worked well. Lucky for me! I like what I see, I may do that to the lights I kept form myself as that does close the bezel.
 
Top