The Strobist method - off-camera lighting

jch79

**Do Not Feed The Vegan**,
Joined
May 2, 2006
Messages
3,663
Location
On the asphalt.
For those of you who own a camera with a flash-mount and want to take the lighting of your flashlight/product/model photography to the next level, you need to read David Hobby's Strobist blog - particularly his Lighting 101 tutorials.

The "Strobist" method is basically shooting stuff (be it flashlights, people, food, rooms, whatever), with camera flashes that are mounted off-camera using wireless triggers (or similar methods). This makes your lighting kit portable, lightweight, and pretty affordable.

And when you've got some photos under your belt, join the Strobist Flickr pool/discussion group, and you'll get some great feedback on one of Flickr's largest discussion groups.

I'm by no means an expert at product photography (I'm an architectural photographer), but I've had a lot of fun experimenting using anywhere between 1-4 flashes off-camera.

20090102251smar2.jpg

This image (of PhotonFanatic's Tasklight I II) was shot with two flashes, one from the left, one from the right.

200803230139mddf3.jpg

This was shot for a blog post of my well-worn Benchmade Mini Grip. Again, I think this was two lights, from either side of me.

20090202322sm.jpg

This is Dave's SPY007 with the GP Block, mounted onto a tiny tripod. I think I used 3 flashes for this one.

I've only owned flashes for a year or so, so I've not shot a lot of flashlights with this method, but any new lights will certainly get the Strobist treatment when it comes to taking their portrait. :D

Anyways, read the Strobist blog and pick up some flashes (cheap Strobist kits are available from Midwest Photo Exchange, who worked with David to get a good starter kit), and have fun!

:thumbsup: john
 
Lux,

There's certainly merit to shooting with tents/domes, but the level of control is somewhat constrained. Also, your choice of background and backdrops is limited, due to it being an enclosure.. With off-camera flashes, you have more control over how you "shape" the light.

I use umbrellas on all of my photos, to soften the light, which creates nice, soft shadows.

:thumbsup: john
 
Cool topic!! Most of my time is spent shooting outside and no time for setting up or enhancing the lighting. But when you can control the lighting, it clearly makes a difference!! The only real off camera lighting experience I have had is with a pair of strobes under water. Backscatter can require off camera light sources if you have any hope of getting a decent shot. I would guess that some of the UW strobes with slave feature could come in handy for above surface photos in environments that are less than ideal; you can't hurt them with dust, dirt or water.
 
Lighting is always a topic you can never know enough about. I'm constantly reading up on, experimenting with and tweaking different techniques to see what kind of results I can get. Recently I've been experimenting with minimal lighting techniques like ambient and single source lighting. This has been mostly what I've been using while shooting macro photography as of late.
 
I'm no studio photographer, so this does the job for pics to post on CPF.
No need for expensive equipment.
lighting1.jpg


You can easily move around the lights (even hold them in your hand) to get it to the preferred angle,
remove flare, or unwanted shadows.

The new fluorescent bulbs emit less heat so taping a piece of white paper to diffuse
the light works nicely too.
imglighting2.jpg
 
No need for expensive equipment.

:thinking: Whatcha doin' on CPF then? :laughing:

IMHO, "need" is a subjective term, depending on the desired outcome. :D I'm glad you've found a setup that you're happy with, and that you don't need anything more. :)

While fluorescent lights certainly are useful (and less expensive), using flashes and/or strobes gives you complete control of your lighting. You can get really well-priced flashes & eBay triggers, that won't break your bankbook.

My goal here wasn't to say that it's necessary, but rather expose (pun) my fellow CPF'rs of an economical (compared to studio strobes) and fun way to take control of your photographs.

That said, Nekomane - can you share the photo you took with that lighting setup? Using the paper to diffuse the light is a great idea.

:thumbsup: john
 
:thinking: Whatcha doin' on CPF then? :laughing:
:D :D

john,
I don't mean flashes are unnecessary nor expensive (compared to studio lights), but as an alternative, the cheap
lampshades do a good job for small objects and may be easier for people without more experience.
I only started taking more pics of tiny parts and inanimate objects after joining CPF myself.

What I find very useful with a continuous, artificial light source is how you can see lighting change
in real time on a P&S digital camera's LCD while moving it around.
Changing the angle, pulling it closer/away, diffusing, changing the balance between 2 or more sources, etc.

........That said, Nekomane - can you share the photo you took with that lighting setup? Using the paper to diffuse the light is a great idea.
Here is a pic of my late EDC. It was taken maybe 2 years ago with the same $10 lampshades (though with 2 incan lightbulbs)
and a sheet of paper for diffusing.
Camera was probably a Ricoh GX.
A commercial photographer might cringe but I'm pretty happy with the results.
12gu4.jpg


These more recent posts and many others have pics where an effort was made to show what was being
discussed, not 'artsy' or pretty. I don't remember bothering with paper on some of them.
Camera is a Canon G7.
Nitecore SR3 post# 134-144
Jetbeam Raptor RRT-2 post# 91, 107, 126

I have bookmarked the link in your first post. So much to learn, so little time!
Another book I have heard about was this one. The Hot Shoe Diaries: Big Light from Small Flashes
Have you or anyone read it?
 
Love the photo! :) And you're right - continuous light is certainly helpful in modeling your photo.

The Hot Shoe Diaries is a new book that people really love! I should get it... although I don't learn well from reading. Joe McNally is a very well-respected photographer, and a friend of David Hobby's (owner of Strobist).

David did a Strobist DVD, available here, for $140 (eek!), but you can learn everything you need to know on the web.

:thumbsup: john
 
I took this one last night of one of Fred's rainbow PVD Killer's.

img0025asmj.jpg


Three lights:
1) right over it, bounced into a white umbrella
2) camera left, and slightly above shot through a translucent umbrella
3) camera right, just about level, shot through a translucent umbrella

Shot at f14 (still handheld, since I cranked up the flash power), to battle my macro lens' crazy depth of field. 1/80 of a second or so.

Still maybe a little too dark at the bezel - I should've just turned the freakin' light on! :shrug:


:thumbsup: john
 
Re: The Strobist method - off-camera lighting - PHOTO HEAVY

The DC area is experiencing record snow fall this winter. Schools closed - recommendations that everyone stay at home.
It's just getting started
IMG_3201.JPG

We are supposed to get up to 30 inches over the next 2 days...
IMG_3200.JPG


What is one to do when caught up on chores? Ahhh - experiment with two of one's favorite things - flashlights and cameras!:laughing:

Much inspiration has come from reading the varied threads on photography and varied lighting methods - and although John created this thread for demonstrating off camera flash lighting, it seemed like the right place for demonstrating off camera FLASHLIGHT LIGHTING!

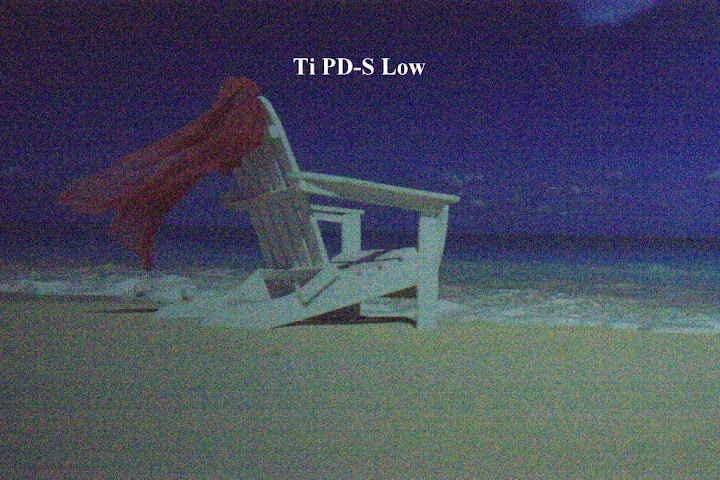
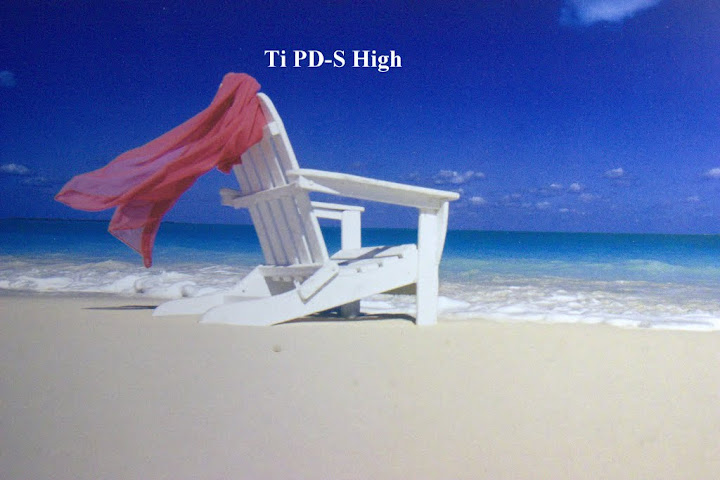
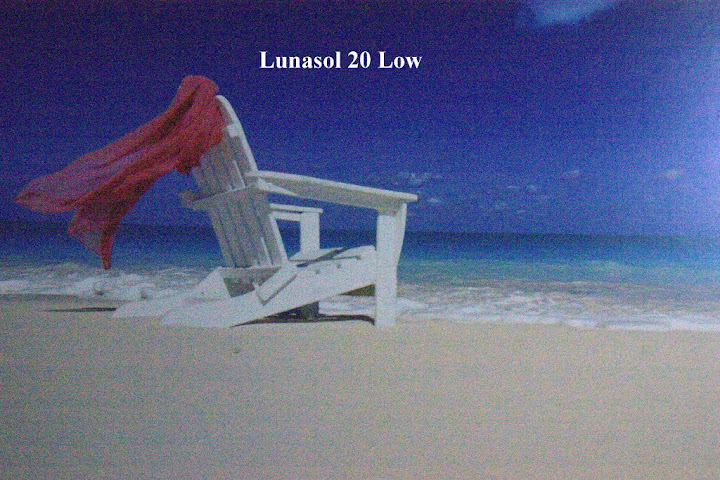
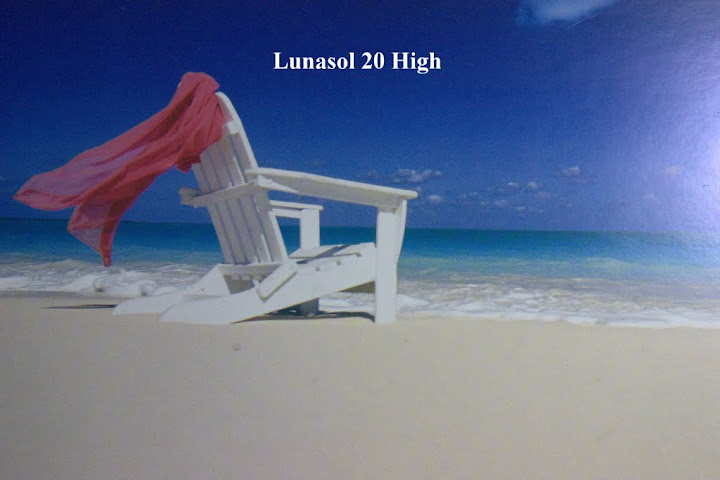
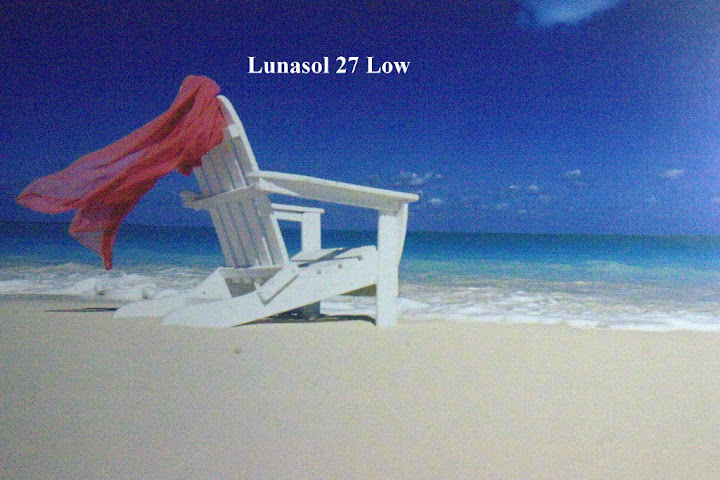
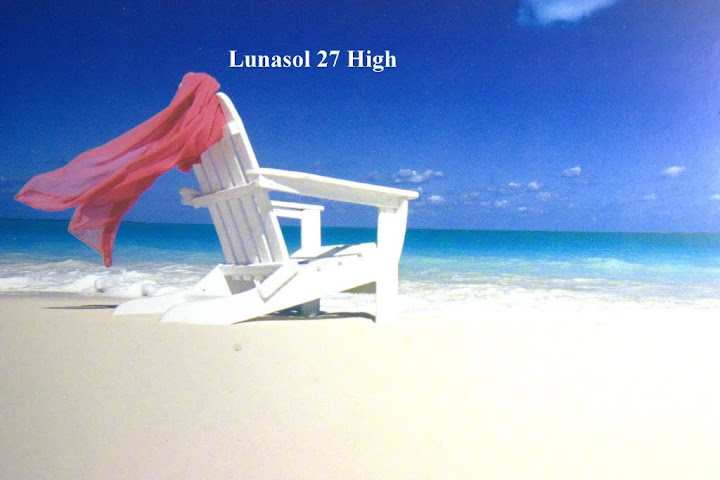
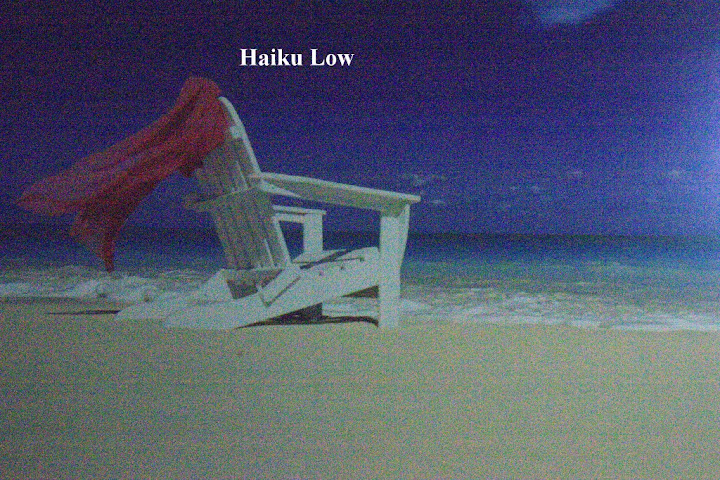
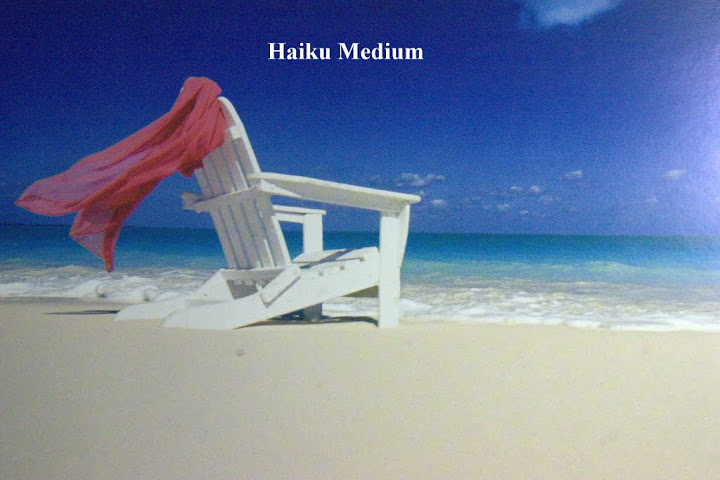
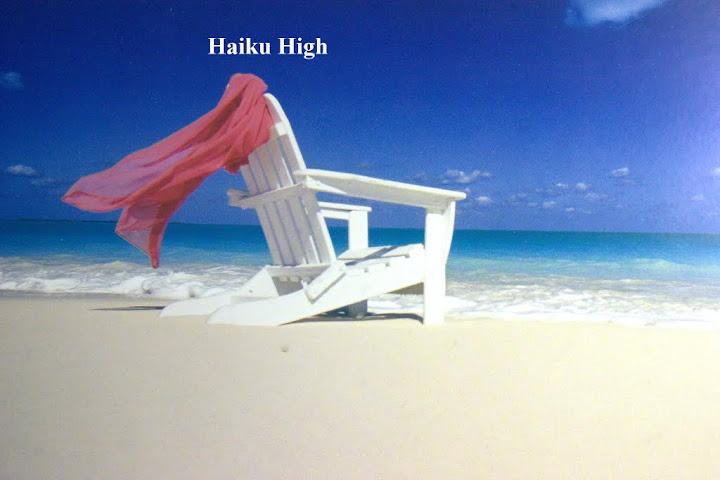
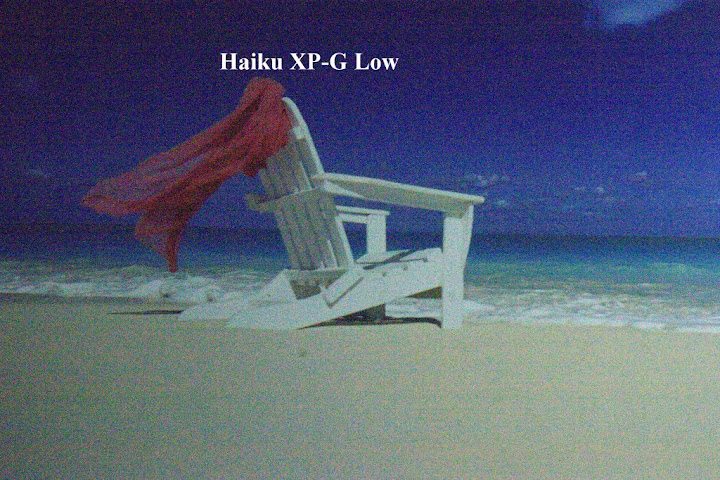
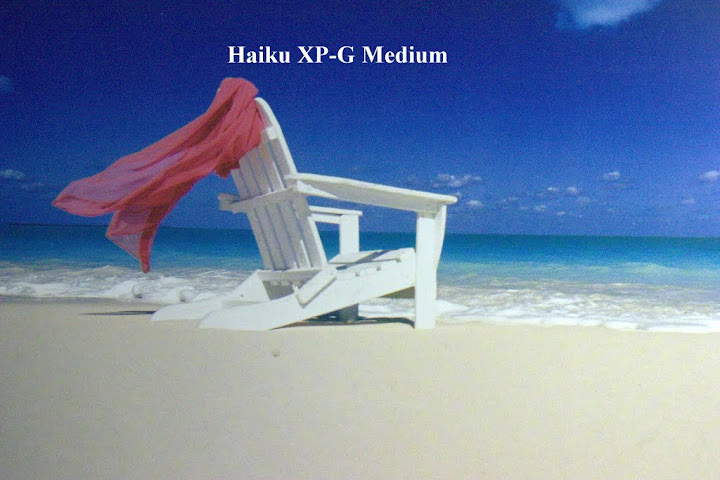
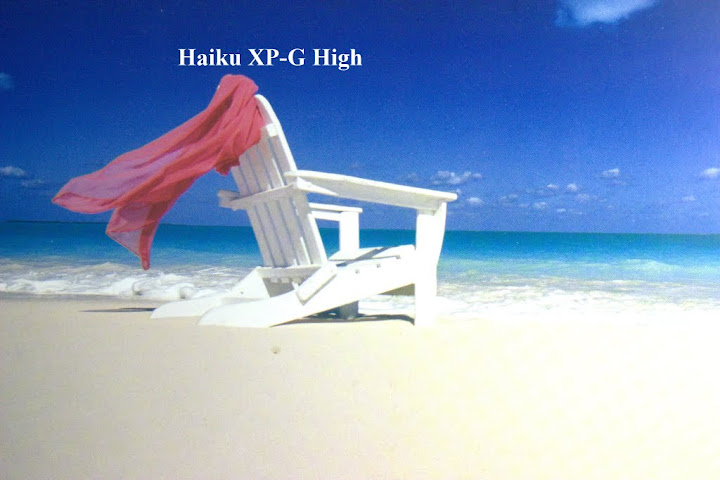
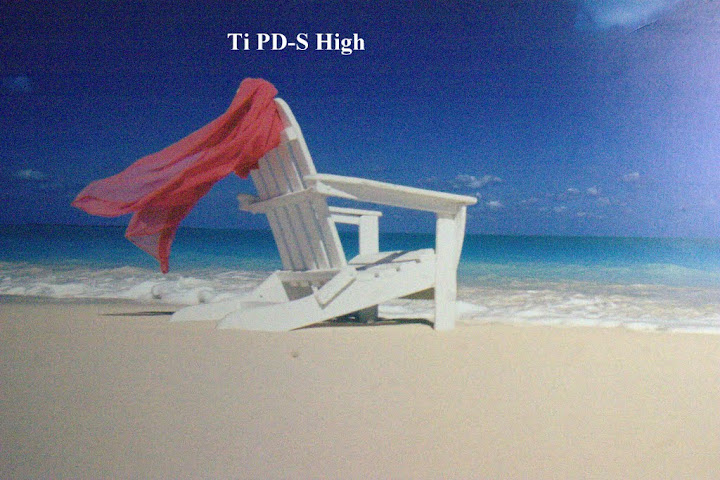
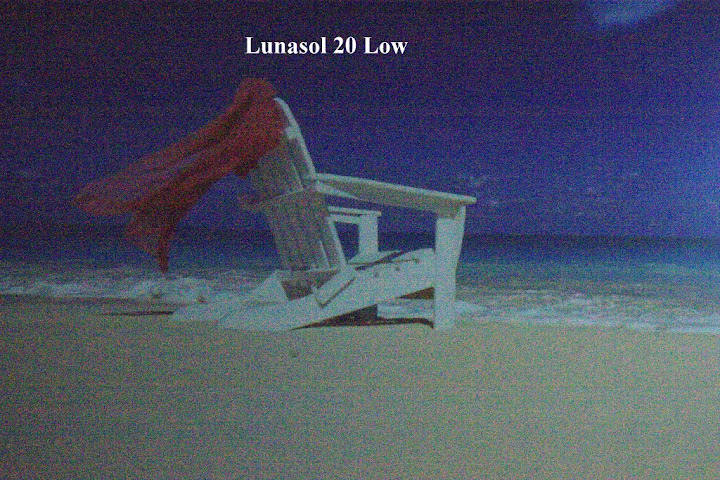
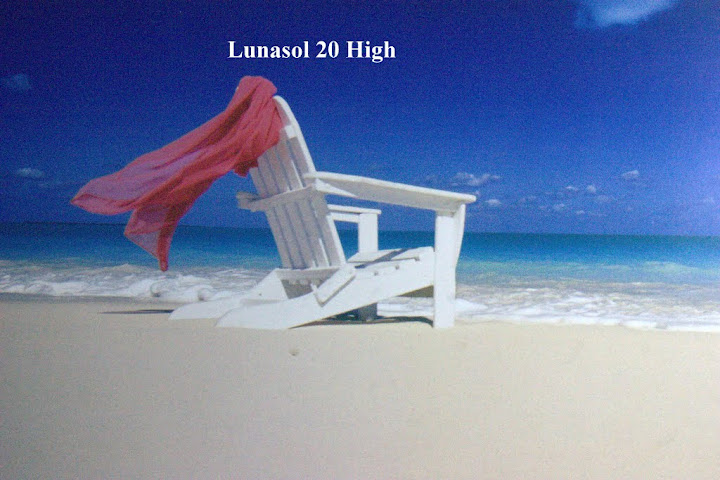
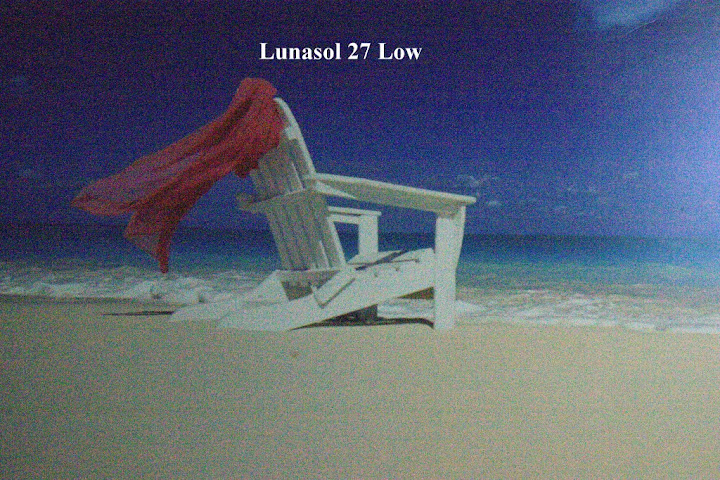
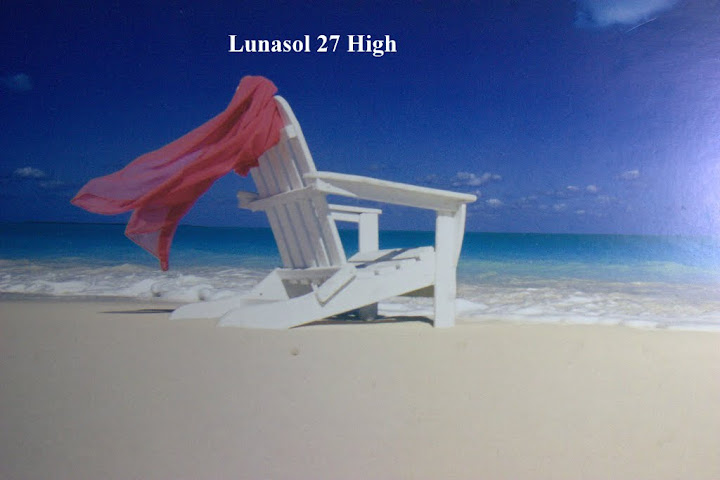
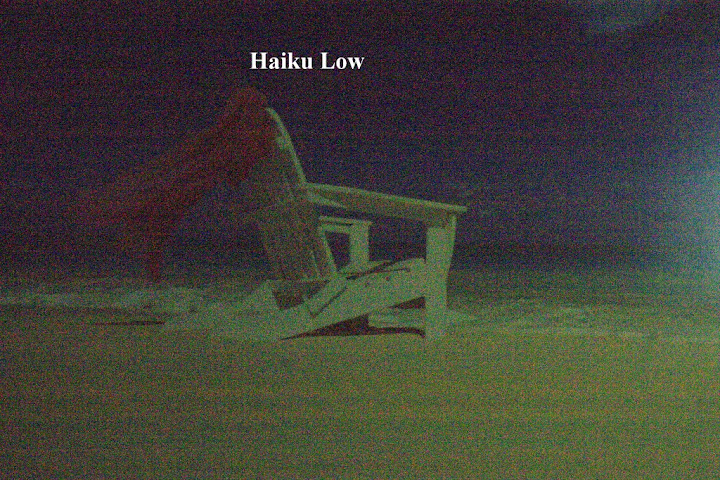
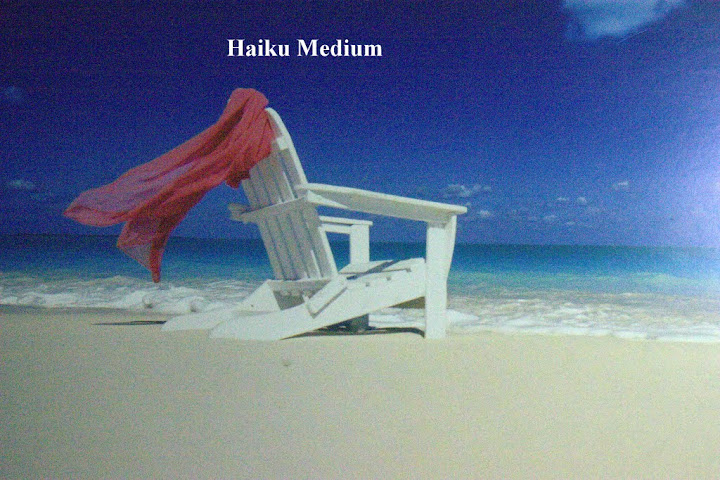
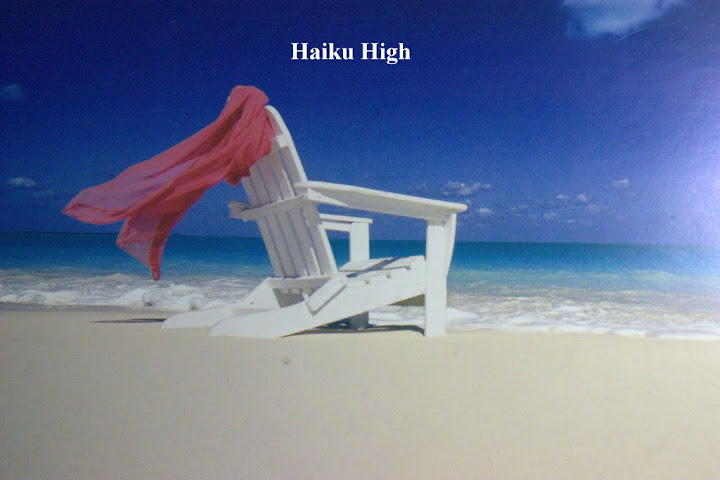
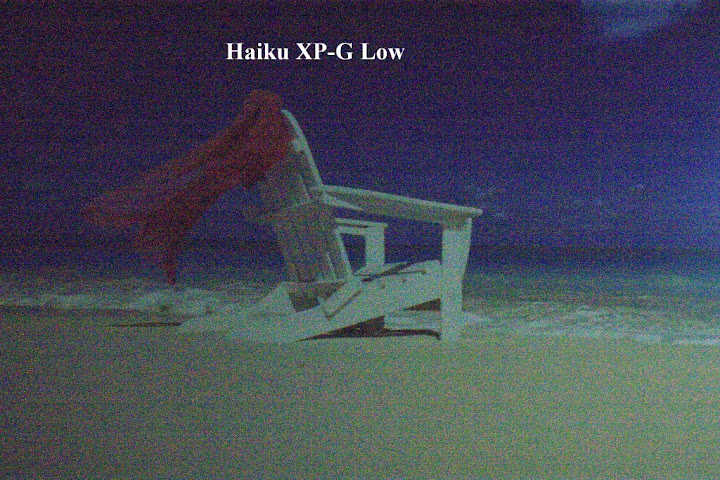
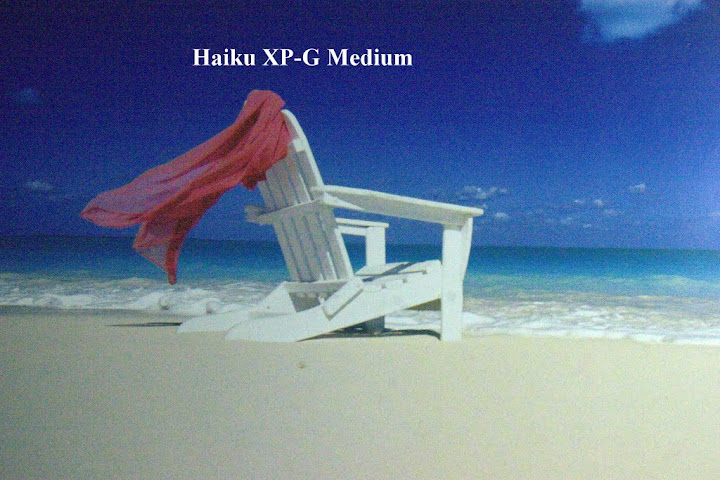
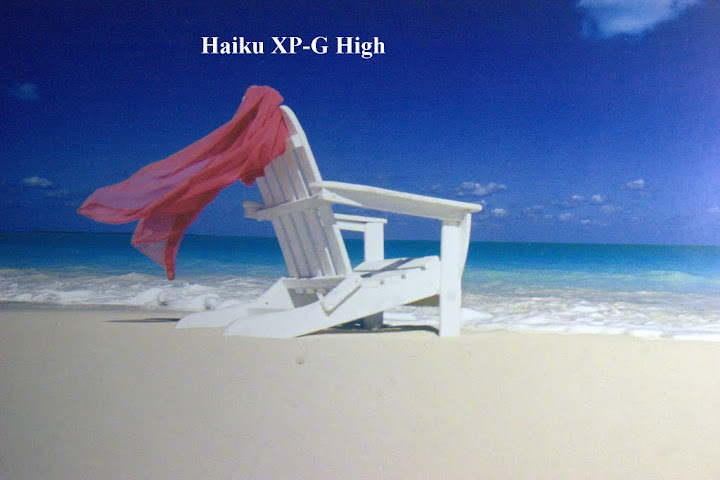
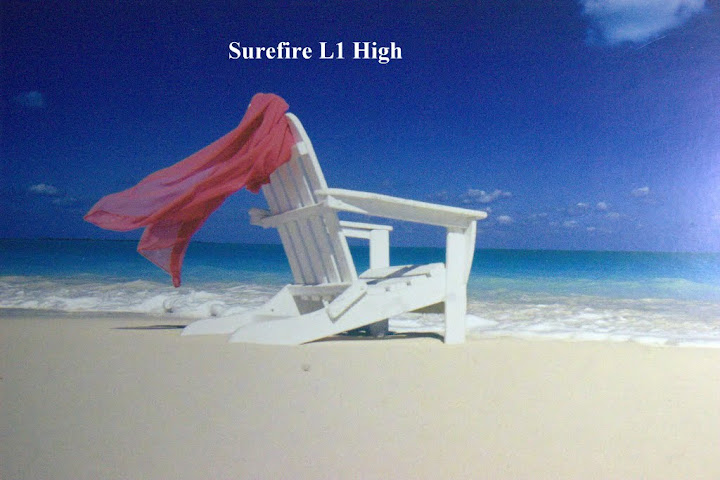
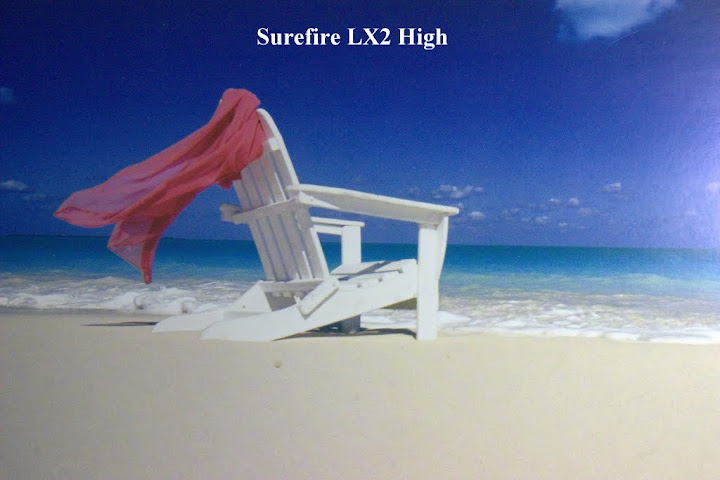
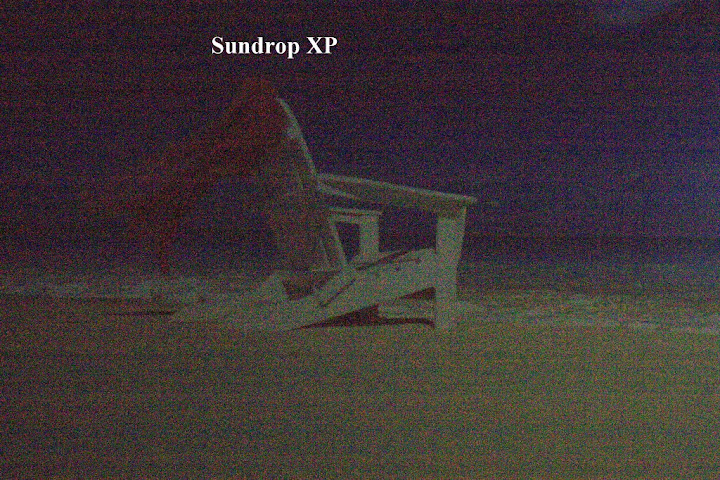
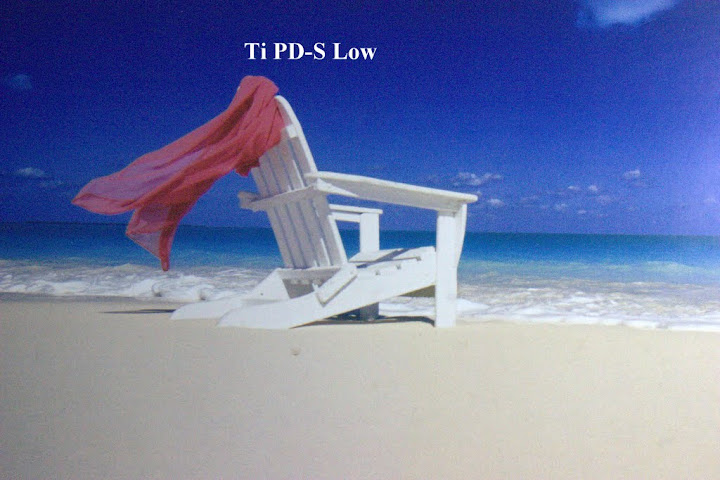
If you can't be at the beach, perhaps we can 'pretend' by taking photos of a calming beach print...so based on advise from jch79 and magicmatt, I set up to take the following photos. Made some changes to my normal set up. First, I manually white balanced the camera using the lighting in my room, then I set up the photo to use ONE flashlight bouncing off of a white card. The card is clipped to a microphone stand and each individual light is being held in the microphone holder. Behind the photo is a plastic box with a matte finish that seems to disperse of stray light.

Please forgive the cluttered laundry room - it's the only room in the house with no windows that I can make 'dark.'

Here's the setup:

IMG_2622.JPG

IMG_2623.JPG

IMG_2625.JPG

IMG_2626.JPG


The white card that the light is bouncing off of has a photo inside - the flashlight is so strong that you can see the photo right through the card stock!
IMG_2627.JPG


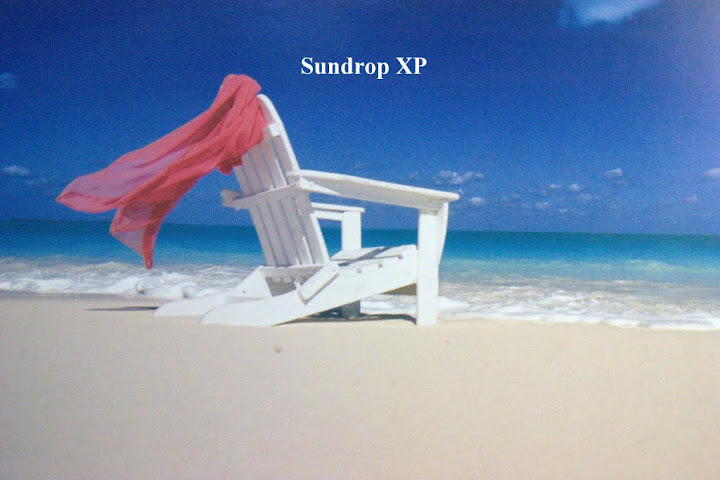
These next two photos were shot on full auto 1/60 shutter, f/4.0 ISO100 - they are individually labeled with the type of lighting used.

IMG_3158.JPG

IMG_3159.JPG


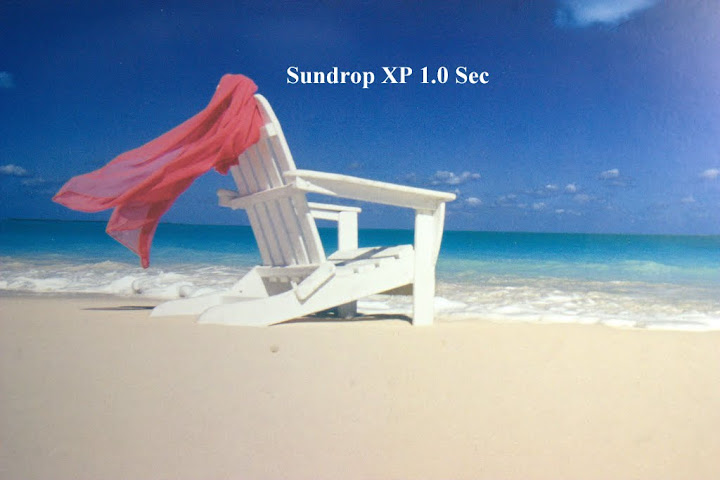
This is meant to be somewhat of a reference - this photo was shot f/14, 1 second exposure, ISO1600 with a Sundrop XP
CRW_3162.jpg


This next series of photos are all shot at 1/4 Second exposure, f/14 and the ISO pushed at 1600

CRW_3163.jpg


CRW_3166.jpg

CRW_3167.jpg

CRW_3168.jpg

CRW_3169.jpg

CRW_3170.jpg

CRW_3171.jpg

CRW_3172.jpg

CRW_3173.jpg

CRW_3174.jpg

CRW_3175.jpg

CRW_3176.jpg

CRW_3177.jpg


This next set shares all the same settings except for the shutter - some of the previous shots were overwhelmed by the brightness - in these the shutter is increased to 1/8 second

CRW_3182.jpg

CRW_3183.jpg

I mis-aimed the light on this one
CRW_3181.jpg

CRW_3184.jpg

CRW_3185.jpg

CRW_3187.jpg

CRW_3188.jpg

CRW_3189.jpg

CRW_3190.jpg

CRW_3191.jpg

CRW_3192.jpg

CRW_3193.jpg

CRW_3194.jpg


Couldn't resist - put a couple of Surefires in the mix...

CRW_3195.jpg

CRW_3197.jpg


So there you go - lots of photos - but another demonstration of the utility of these great tools.
 
When using lower ISO values it seemed as if the colors were being thrown off too much. magicmatt suggested I bump to 400IS0 since that is the equivalent of 100 on a film camera. Being one to often 'over do', I though I'd just give it a shot full bore at 1600. The results were pretty good - granted, there is some grain, but I also had grain with what appeared to be color inaccuracy using 100ISO (what I saw versus what the resulting photo looked like)...in these 1600 ISO photos the colors are closer to what the naked eye was seeing.

So, just for the sake of experimentation I did it this way, and it turned out pretty good. This was totally dark room and the ONLY thing lighting these photos were the various lights, and that was indirect off the card.

Believe me, I know that I am a pure amateur, but it's fun to experiment.

:whistle: :thinking:
 
I am also a pure amateur, so that is why I was asking. Experimenting with different options is definitely a great idea :twothumbs
 
Cool! Glad you are aboard - you've been around far longer than I am I'm sure you have some great ideas.

Forgive me for going off thread (just for a moment) but I see that your PM is not available - I know you do mods - have you ever put a high CRI emitter in a dumb mule head? I'd really like to turn my L1 into a high CRI mule - I have one of Don's mules on the way. According to Don I shouldn't put one of the Nichias in the mule head due to the mA output being too high on the L1..
Looking for an option other than investing in another Sundrop - although I am tempted.
This bounce method using 2 Sundrops (or a Sundrop and another high CRI light) looks like it might be the perfect solution...

If you'd like to email me, my email address is in my contact info

Thanks - Dan

:wave: :twothumbs
 
Very interesting experiments, run4jc! :twothumbs

I remember learning how to photograph flat artwork in school, with a 4x5 camera... it is quite the art form in itself! :laughing:

A lot of the good/clean pics are very similar looking - and I suspect that, in a dark room, the color tint of the LED, be it a "CRI" or a cool/neutral white LED, can be easily offset by manually setting the white balance (which is why in my line of photography, the most important thing for WB is that the color temp of your light sources all ideally match eachother).

Chicago was spared of any major snow - you guys are really getting dumped on. Glad you're able to be safe and warm in your house! :) And excited to see what else you come up with!

:thumbsup: john
 
Since you're spending all this time with your tripod learning how to photograph flashlights, why did you choose a picture as your test subject?

Also, have you been practicing with moving the flashlight around during your long exposures? That's another creative method.
 
Since you're spending all this time with your tripod learning how to photograph flashlights, why did you choose a picture as your test subject?
Just wanted to shoot something with a bit of color...

Also, have you been practicing with moving the flashlight around during your long exposures? That's another creative method.

Actually, that is what got me started. This last post was a 'new' thing.

Check here and here and here and here and here and here

jch79 really got me into photographing flashlights with flashlight 'painting' a while back - just trying to branch out into something new, you know? But thanks for the tip!

:twothumbs
 
Chicago was spared of any major snow - you guys are really getting dumped on. Glad you're able to be safe and warm in your house! :) And excited to see what else you come up with!

:thumbsup: john
We still have 8 more inches expected - about 18 inches greeted me this morning!

IMG_2635.JPG
 
Top