csshih
Flashlight Enthusiast
Hey all,I thought this little tutorial might be useful for some of you out there
Disclaimer: Please note that you are taking apart battery packs in this tutorial which is expressly discouraged by the manufacturer as this is potentially a very hazardous process. I cannot be held responsible for any loss of property, damage, or loss of life if it comes to that. This tutorial was written for the highly educated users of rechargeable lithium ion technology, please do not attempt this if you are hesitant or unknowledgeable about these risks. Stay Safe.
Please read all the tips these CPF members have given! :
http://www.candlepowerforums.com/vb/showpost.php?p=3138913&postcount=7
http://www.candlepowerforums.com/vb/showpost.php?p=3138924&postcount=8
Here's a little tutorial on how to harvest those 18650s on whatever old laptop battery pack you might be tossing out. Most of the time, laptop battery packs go bad when just a few cells in the pack are dead. the protection circuit cuts out the entire pack as a necessary protective measure for the user. There are still a few good cells though.
Please check which batteries are good though checking how well the cell can discharge(as most old ones develop high interenal resistance), and how long the cell can keep its charge.
note: the cells you extract are not button top.
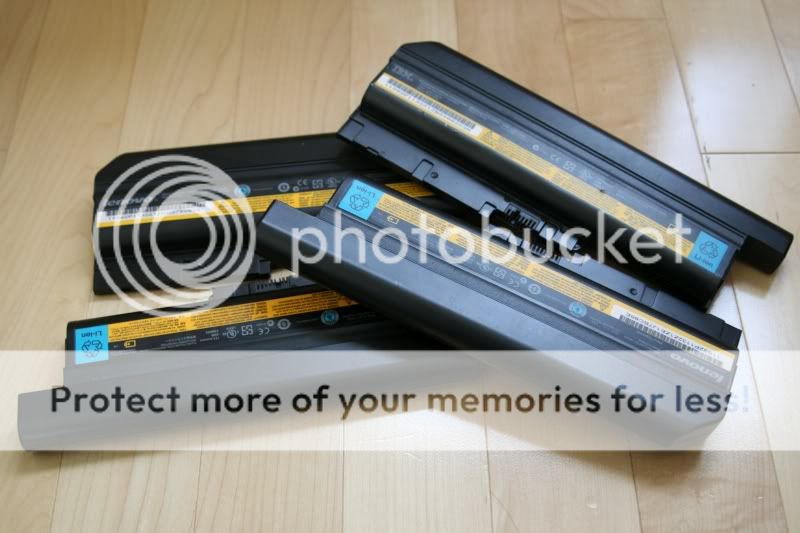
We start out with 4 innocent looking extended life lenovo/IBM battery packs

find the weak spot somewhere along the seams, and pry until the pack pops open. the packs are usually ultrasonic welded along the seams, with added double sided tape.

continue prying.. these cells are held together with some sort of adhesive and snap-on tabs, too.
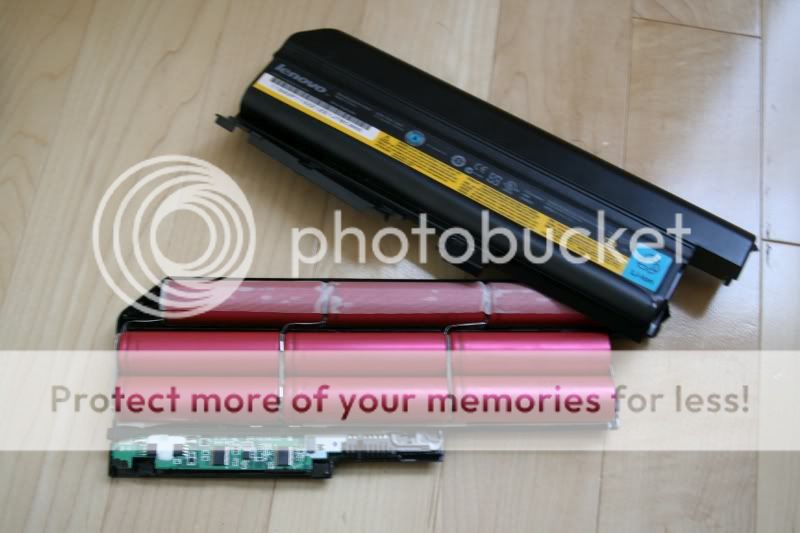
here is a single pack open.
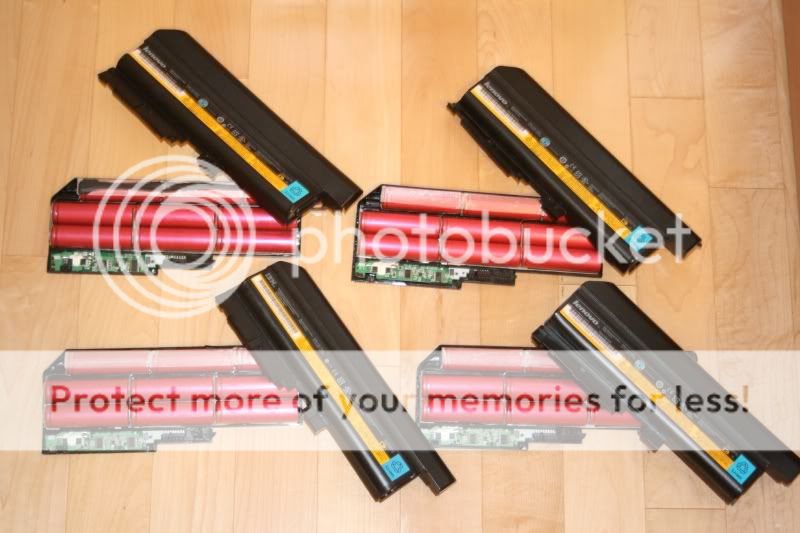
repeat.

pull the cell assembly out of the pack.. they are normally held in by double sided tape.
Be very careful when removing the cell assembly.. try not to bend the tabs as they could meet and short, resulting in a fire or explosion. (if left shorted)
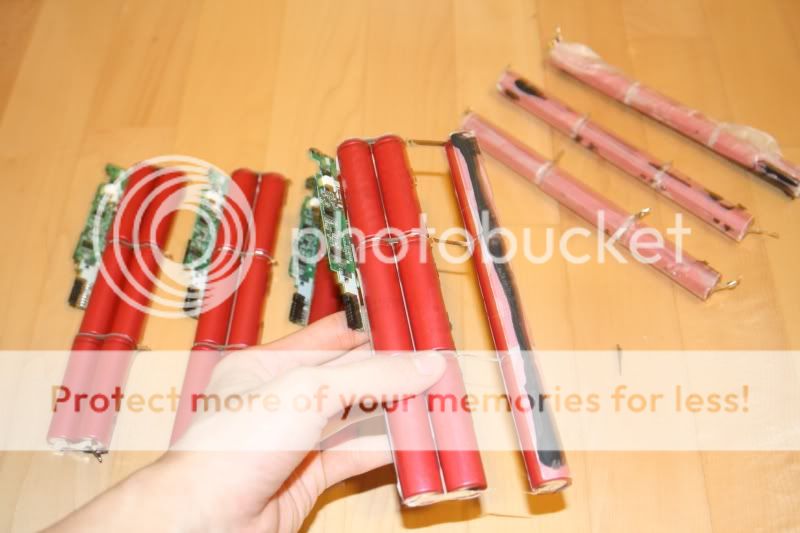
cut the weakest link, and separate the cells carefully.
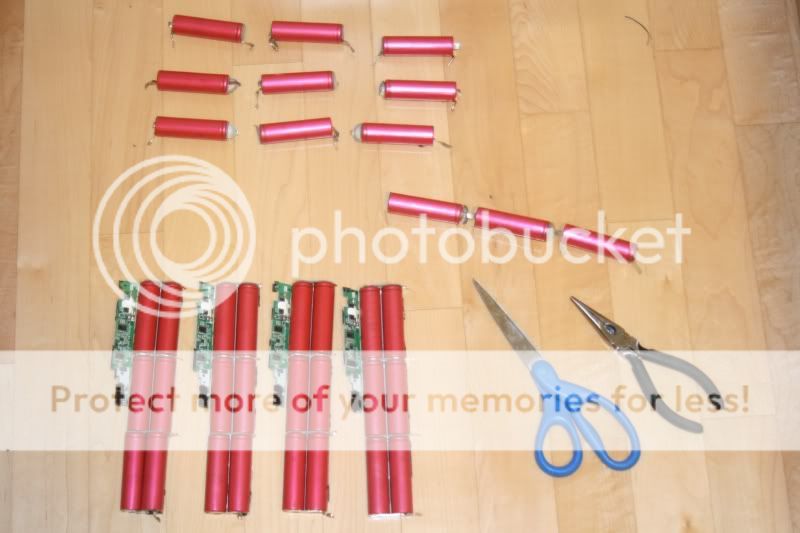
remove the protection circuit, being very careful not to short out anything.. avoid contacting 2 separate metal pieces if you are unsure about polarity.
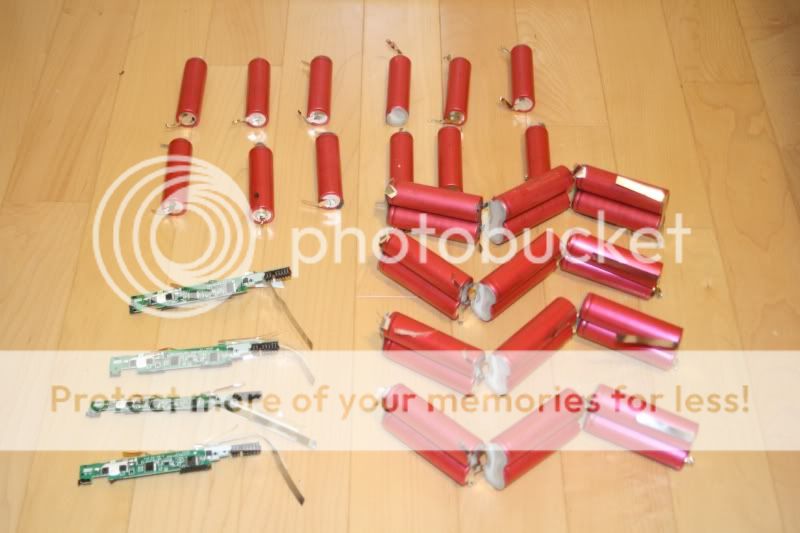
keep all the tabs separate. While doing this I accidentally touched 2 tabs onto another tab, giving me a big ol' spark and heatup of those cells.
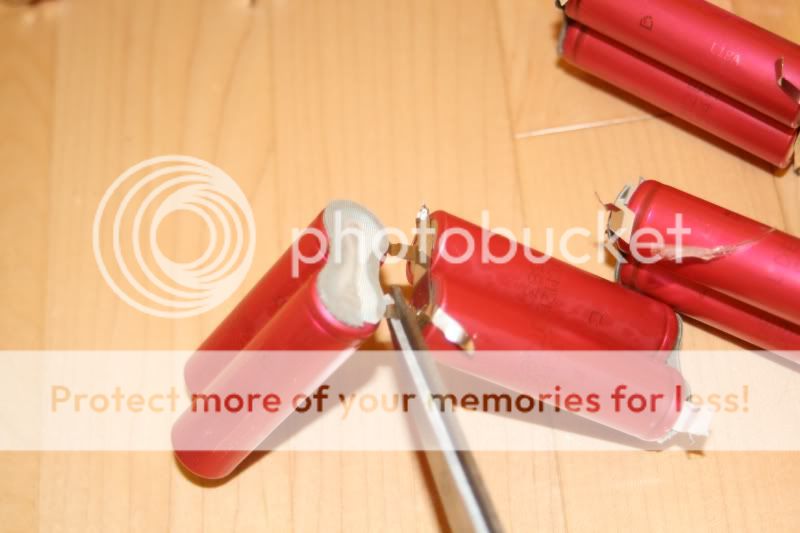
separate the cells from each other.
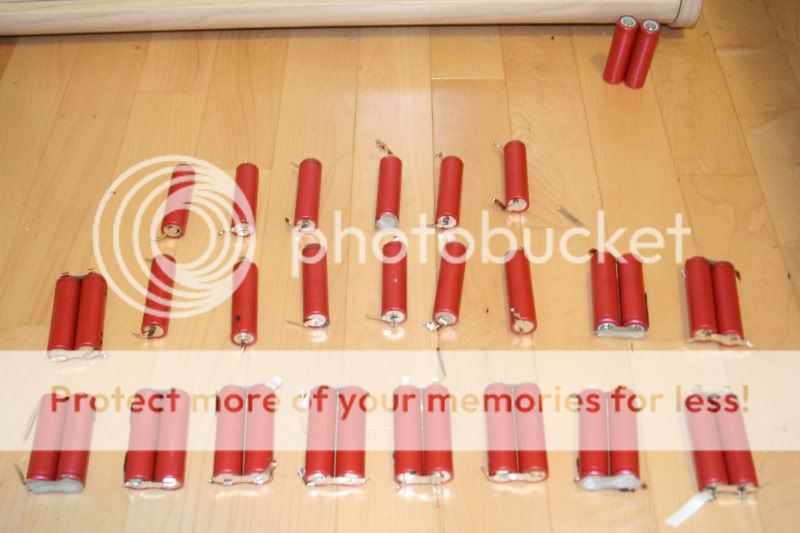
repeat.

separate the cell pairs.. first remove the bottom tabs, then work on the top

be very careful at the top.. shorting out the pack can be caused by just punching through the thin shrink wrap.
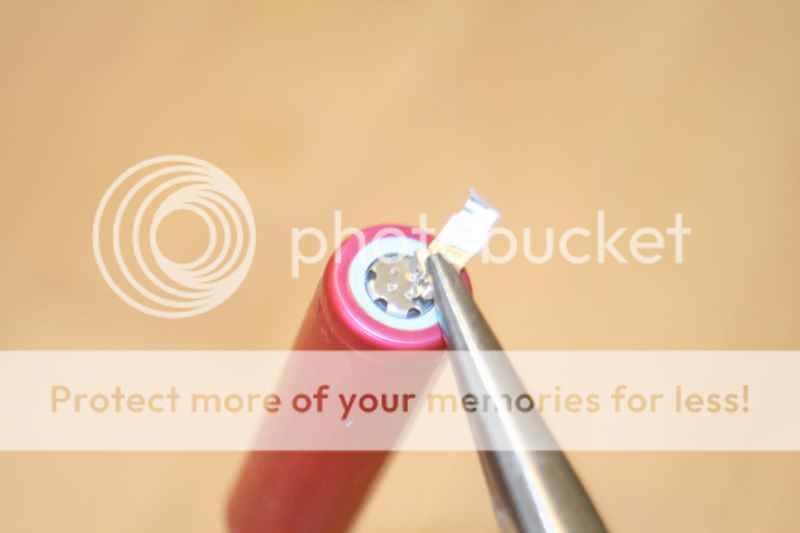
twist the solder tabs off with pliers.



and there you have it, a mass collection of 18650s!
Disclaimer: Please note that you are taking apart battery packs in this tutorial which is expressly discouraged by the manufacturer as this is potentially a very hazardous process. I cannot be held responsible for any loss of property, damage, or loss of life if it comes to that. This tutorial was written for the highly educated users of rechargeable lithium ion technology, please do not attempt this if you are hesitant or unknowledgeable about these risks. Stay Safe.
Please read all the tips these CPF members have given! :
http://www.candlepowerforums.com/vb/showpost.php?p=3138913&postcount=7
http://www.candlepowerforums.com/vb/showpost.php?p=3138924&postcount=8
Here's a little tutorial on how to harvest those 18650s on whatever old laptop battery pack you might be tossing out. Most of the time, laptop battery packs go bad when just a few cells in the pack are dead. the protection circuit cuts out the entire pack as a necessary protective measure for the user. There are still a few good cells though.
Please check which batteries are good though checking how well the cell can discharge(as most old ones develop high interenal resistance), and how long the cell can keep its charge.
note: the cells you extract are not button top.

We start out with 4 innocent looking extended life lenovo/IBM battery packs

find the weak spot somewhere along the seams, and pry until the pack pops open. the packs are usually ultrasonic welded along the seams, with added double sided tape.

continue prying.. these cells are held together with some sort of adhesive and snap-on tabs, too.

here is a single pack open.

repeat.

pull the cell assembly out of the pack.. they are normally held in by double sided tape.
Be very careful when removing the cell assembly.. try not to bend the tabs as they could meet and short, resulting in a fire or explosion. (if left shorted)

cut the weakest link, and separate the cells carefully.

remove the protection circuit, being very careful not to short out anything.. avoid contacting 2 separate metal pieces if you are unsure about polarity.

keep all the tabs separate. While doing this I accidentally touched 2 tabs onto another tab, giving me a big ol' spark and heatup of those cells.

separate the cells from each other.

repeat.

separate the cell pairs.. first remove the bottom tabs, then work on the top

be very careful at the top.. shorting out the pack can be caused by just punching through the thin shrink wrap.

twist the solder tabs off with pliers.


and there you have it, a mass collection of 18650s!
Last edited:


