Nereus
Enlightened
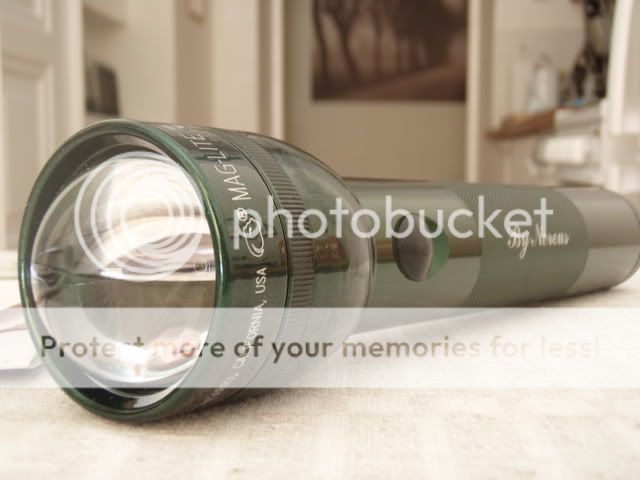
I built Aspherical Mag with the following specs:
- Bored out 2D Mag
- Flashlight head and tailcap painted with transaparent metal flake paint
- Aspherical lense, 52 mm diameter, 37 mm focal length (from Surplus Shed)
- 2D-to-8AA battery adapter
- Downboy 1500 converter
- Anodised Hotlips D heatsink
- Cree XR-E led, bin Q5
- Runtime is some 4 hours
The modding starts in a very conventional way: first, buy a 2D Maglite and disassembly and bore it out following the guidance in this tutorial.
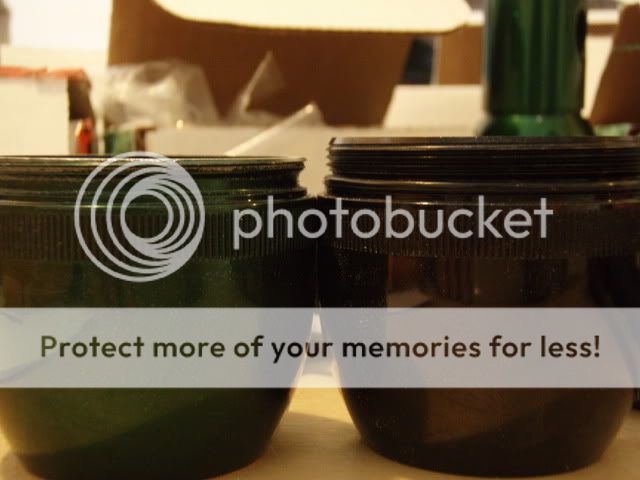
Next, shorten the flashlight head by some 3 mm (intact flashlight head on the right for comparison):
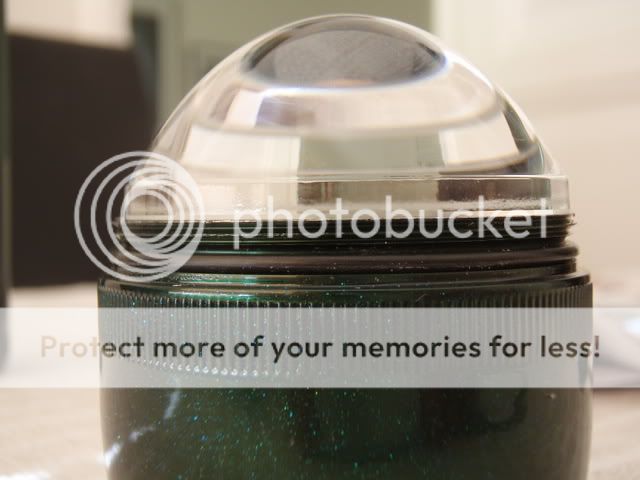
This is how the lense sits on the flashlight head:
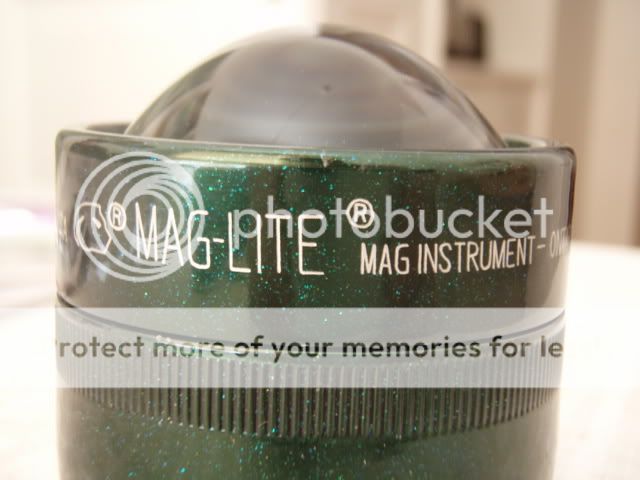
Here is the bezel installed. You can also see the metal flakes:
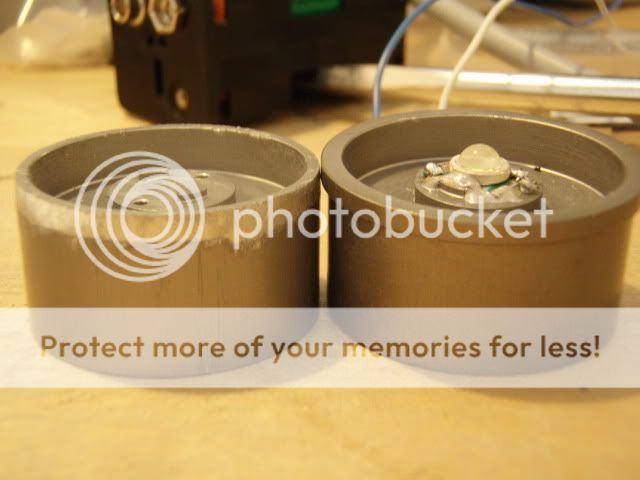
Remove the "lip" of the heatsink (intact heatsink on the right for comparison):
Use Arctic Silver epoxy to glue the emitter:
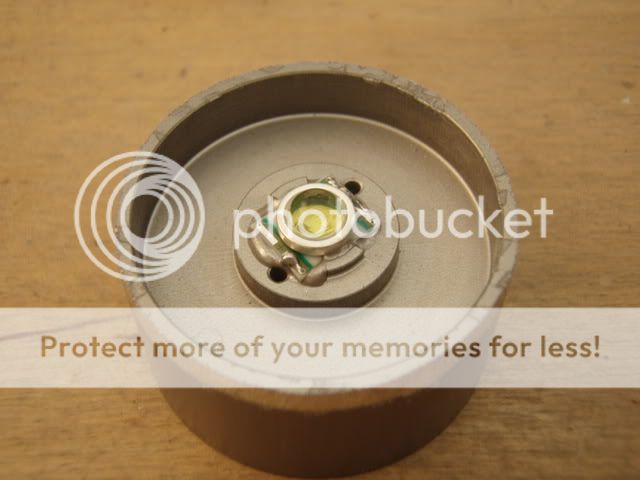
Mix clear epoxy with glow powder and apply around the emitter:
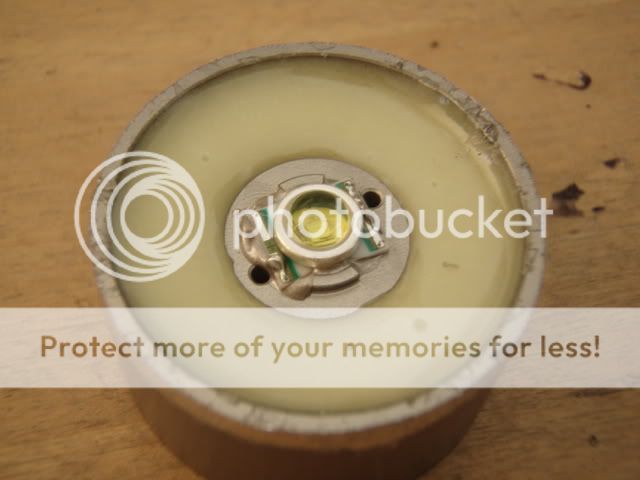
I used a hex screw to prevent the heatsink from moving:
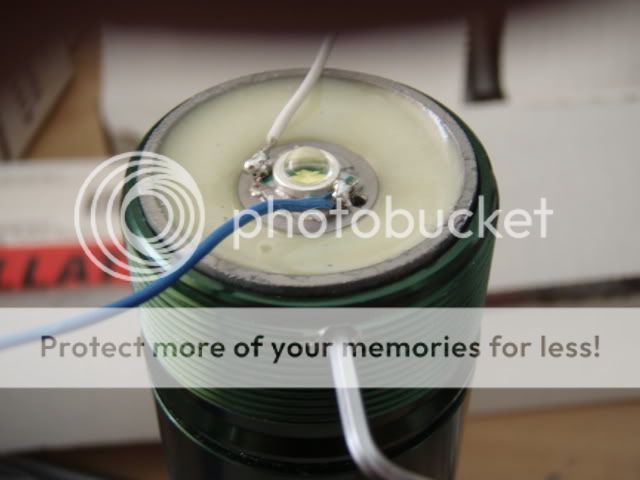
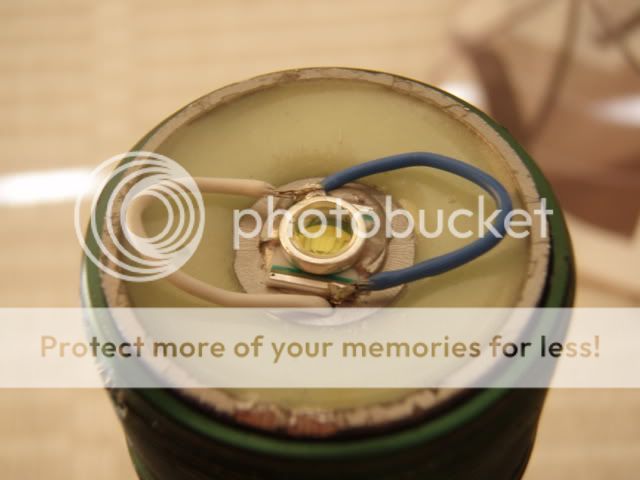
Install the converter to the back side of the heatsink and connect it to the emitter and the Maglite switch. I left also some extra length to the wires in case I want to upgrade the emitter:
This is what the finished mod looks like:
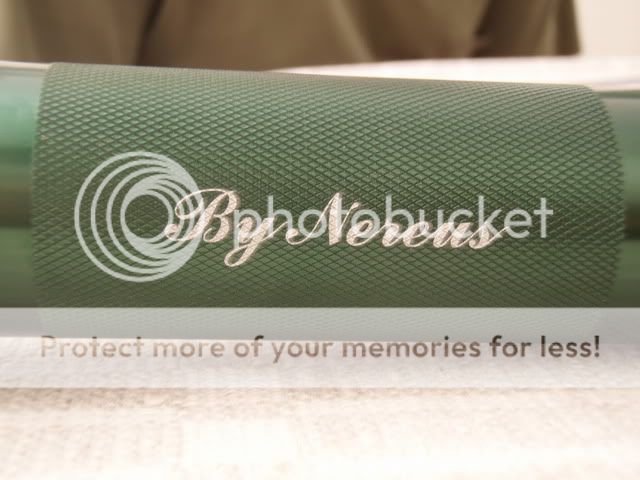
Nice signature, isn't it?
The beam can be fully adjusted from a very tight hotspot to a wide, even flood. Here is the beam at its widest. At the distance of 1 m the flood area has some 50 cm diameter:

Here is the beam at its narrowest: At the distance of 1 m the hotspot has some 5 cm diameter:

I'll provide you with outdoor beamshots when I get to the countryside...
This is what the after glow looks like:
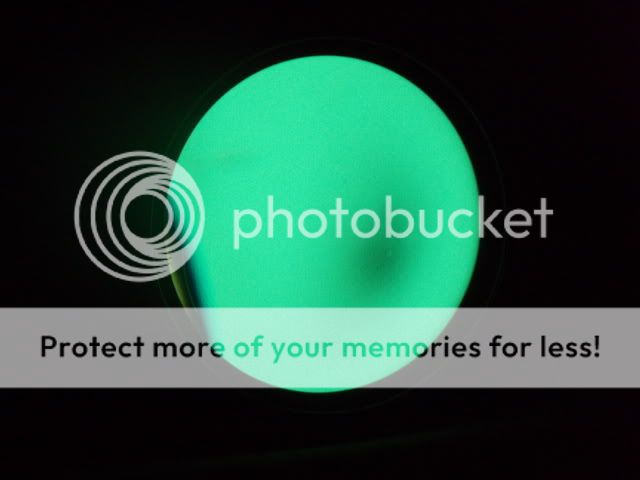
A bit different angle. Here you can see the magnification of the emitter and the wires:

Thanks for looking!
-N
- Bored out 2D Mag
- Flashlight head and tailcap painted with transaparent metal flake paint
- Aspherical lense, 52 mm diameter, 37 mm focal length (from Surplus Shed)
- 2D-to-8AA battery adapter
- Downboy 1500 converter
- Anodised Hotlips D heatsink
- Cree XR-E led, bin Q5
- Runtime is some 4 hours
The modding starts in a very conventional way: first, buy a 2D Maglite and disassembly and bore it out following the guidance in this tutorial.
Next, shorten the flashlight head by some 3 mm (intact flashlight head on the right for comparison):

This is how the lense sits on the flashlight head:

Here is the bezel installed. You can also see the metal flakes:

Remove the "lip" of the heatsink (intact heatsink on the right for comparison):

Use Arctic Silver epoxy to glue the emitter:

Mix clear epoxy with glow powder and apply around the emitter:

I used a hex screw to prevent the heatsink from moving:

Install the converter to the back side of the heatsink and connect it to the emitter and the Maglite switch. I left also some extra length to the wires in case I want to upgrade the emitter:

This is what the finished mod looks like:

Nice signature, isn't it?

The beam can be fully adjusted from a very tight hotspot to a wide, even flood. Here is the beam at its widest. At the distance of 1 m the flood area has some 50 cm diameter:

Here is the beam at its narrowest: At the distance of 1 m the hotspot has some 5 cm diameter:

I'll provide you with outdoor beamshots when I get to the countryside...
This is what the after glow looks like:

A bit different angle. Here you can see the magnification of the emitter and the wires:

Thanks for looking!
-N
Last edited:

