ledaholic
Enlightened
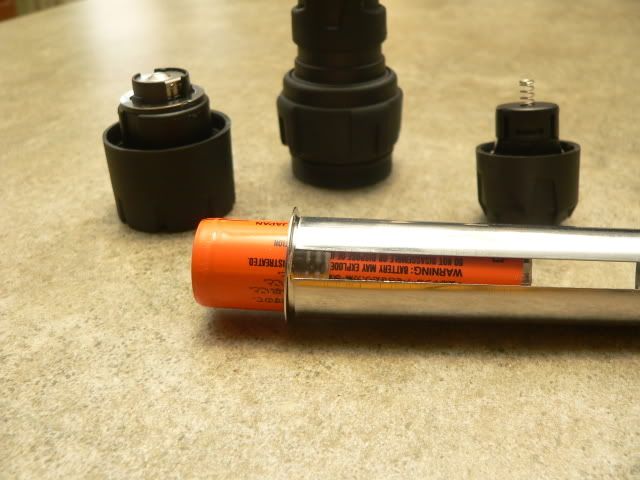
Not sure if this has been covered, but I put a BOG 3W drop in in my Maxfire then replaced the metal battery tube sleeve with a same size piece of .002 brass shim stock. An 18650 unprotected cell fits perfectly and has no apparent loss in output using the eyeball meter. The only problem is you have to load the batt from the top unless you remove the small lip from around the inside of the switch end of tube.
Here are a few pictures to help.
.002 shimstock

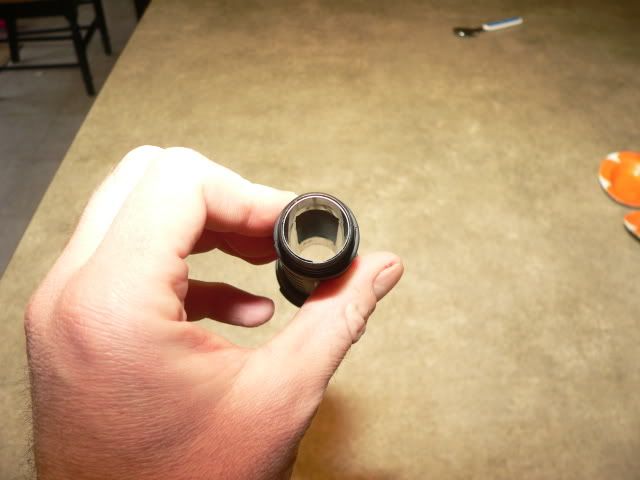
Battery sleeve with ring partially removed

Sleeve removed from light

Ring removed from sleeve

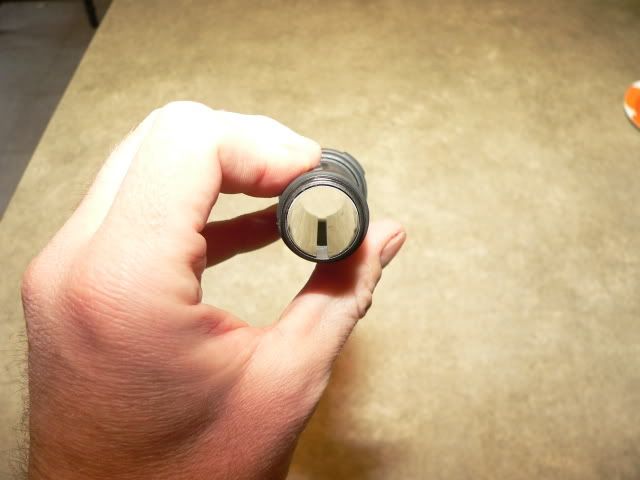
New brass sleeve soldered to ring

Lip on end of light removed so you can insert 18650 from bottom

Here are a few pictures to help.
.002 shimstock
Battery sleeve with ring partially removed
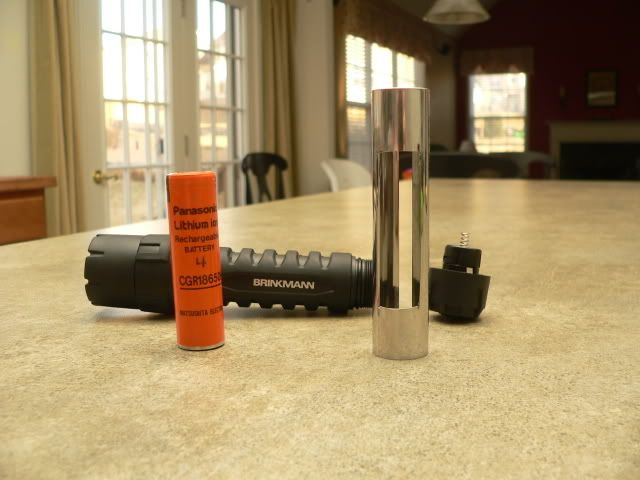
Sleeve removed from light
Ring removed from sleeve
New brass sleeve soldered to ring
Lip on end of light removed so you can insert 18650 from bottom
Last edited:
 more often than not