
Multi MC-E mods have been done by others already so this is nothing groundbreaking. Thought I would share my build anyway ") !
!
Specs
Pewter 2D bored M@g with red bezel and tailcap
3 x MC-E cool white
Multisink from Download
Hipflex driver with custom heatsink
Ledil Boom SS reflectors
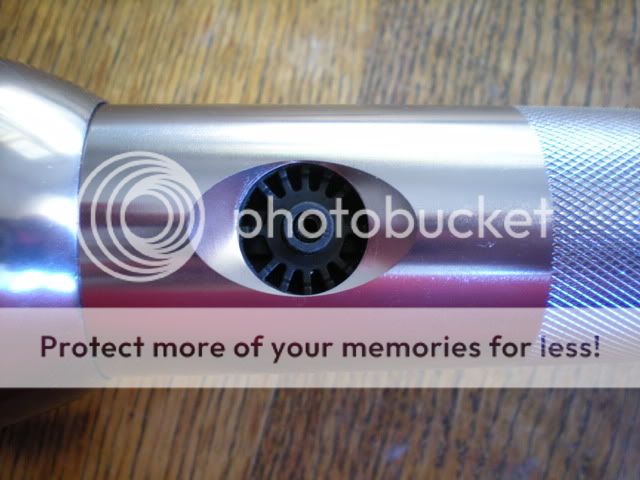
Momentary switch
Pics
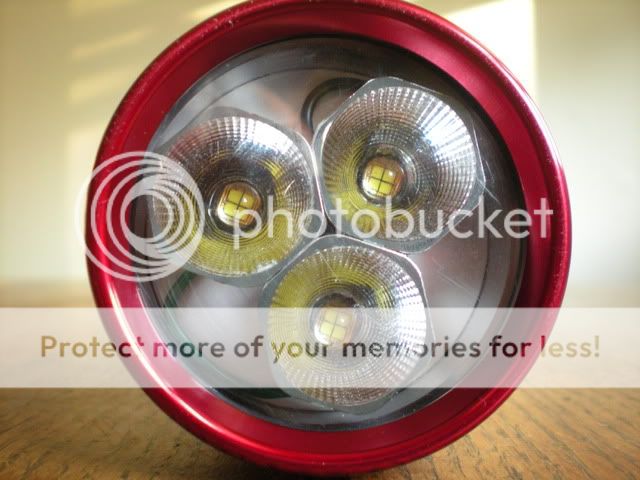
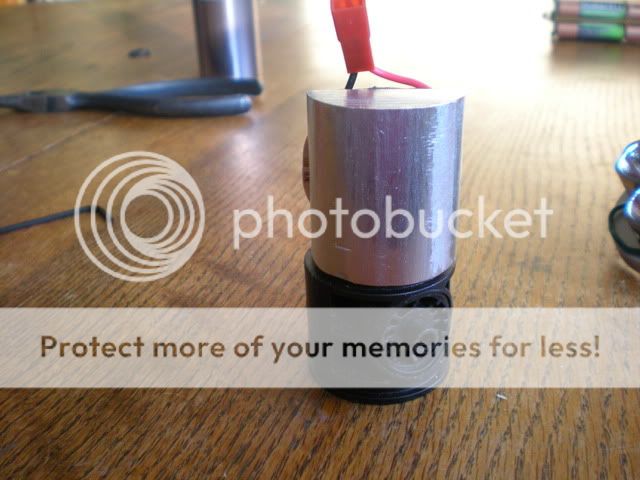
The completed light

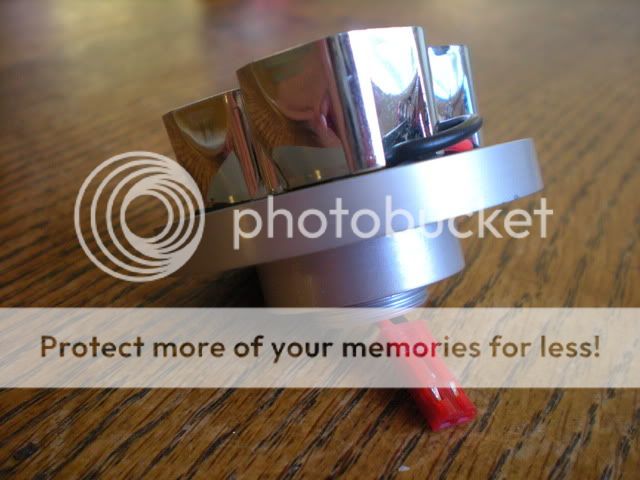
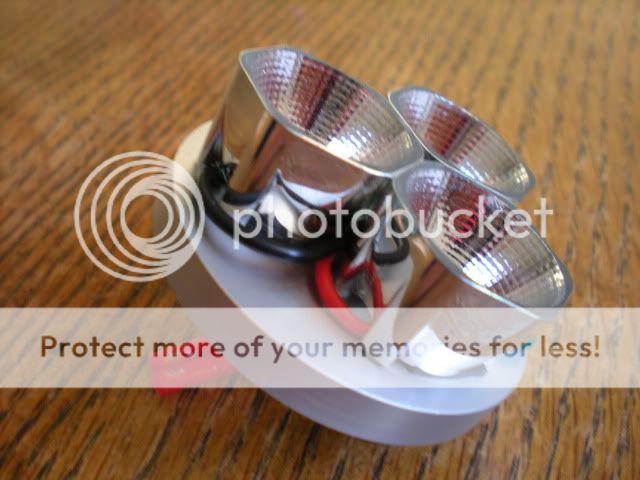
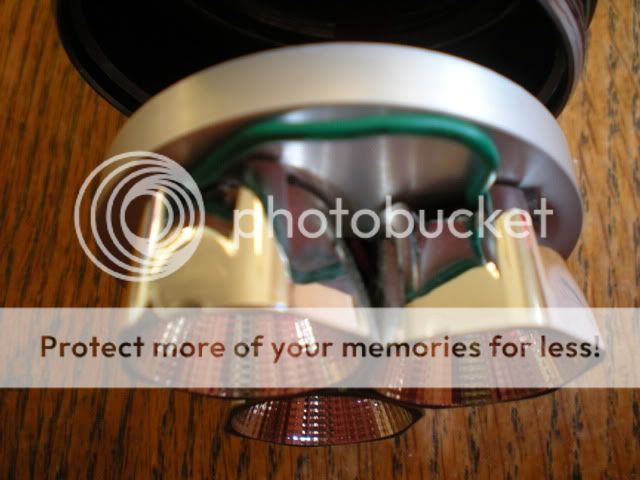
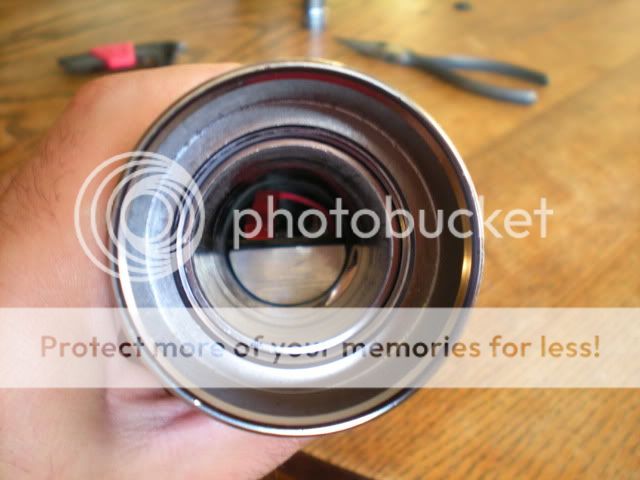
Light engine assembled
MC-E's are wired in series with the die from each emitter wired in parallel. I used one of Download's quick connectors to plug it into the driver. This makes for easy removal. The reflectors were glued together to form one single unit.
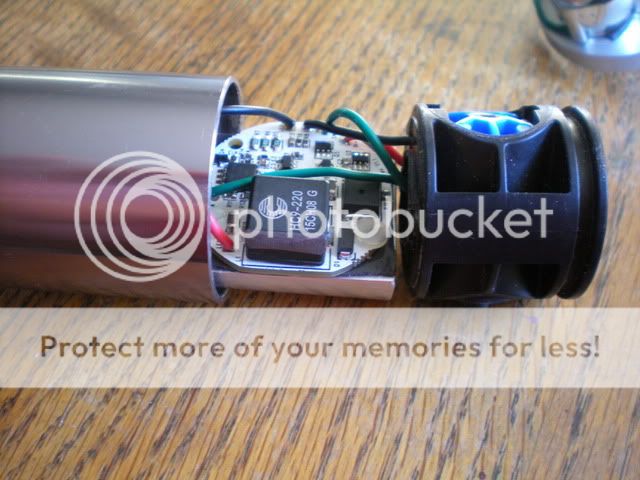
Wired switched and hipflex driver mounted to heatsink. The edges of the hipflex had to be very carefully sanded down to allow it to fit into the tube. I also had to sand the edge of that large component you can see in the pics. George provided thermal padding for heat transfer. This was used between the heatsink and hipflex. The components were attached by tapping two screw holes and securing with nylon screws to prevent accidental shorting.
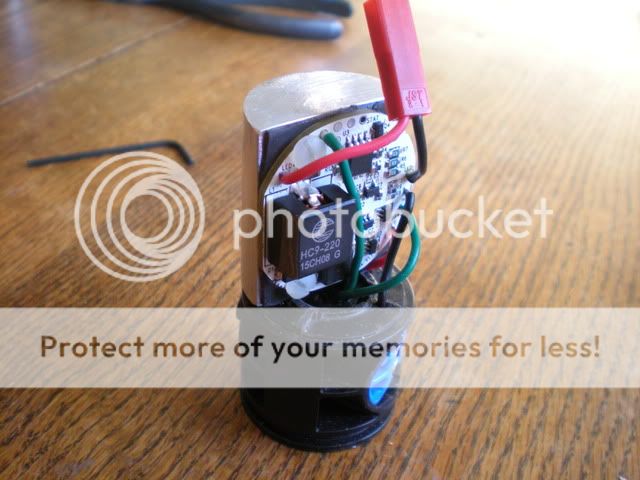


To get this to fit, I removed the retaining ring in the body, then slid the switch and driver up from the bottom.

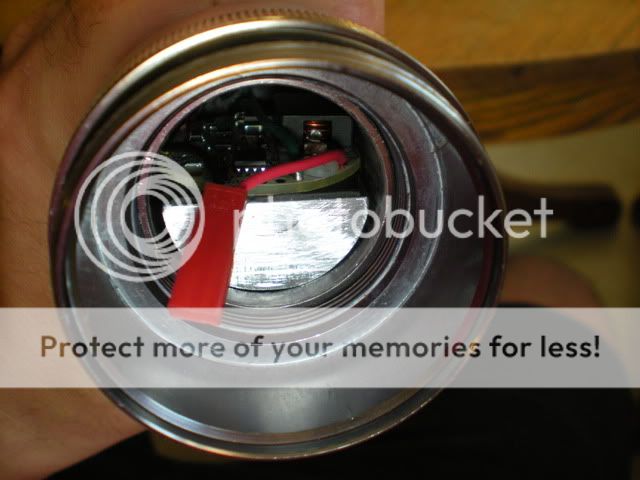
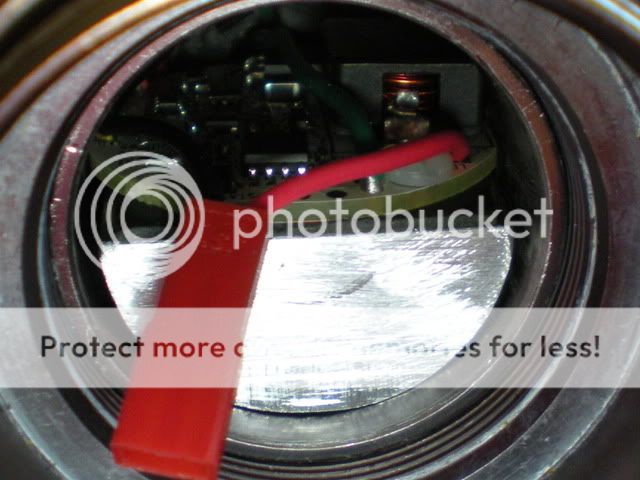
The switch was placed just off center which gave me enough head room above hipflex to screw the mag head down. Once on, the multisink contacts the top of the hipflex sink. All components are nice and snug with no rattling.
Hipflex UI allows for several customized output levels and settings. The torch is powered by 8AA NiMh cells which provide ~1.5A on high. I have also used 6 x 14500 Lion which gives significantly higher output and close to the 2.8A max rated. I measured >2000 lux on ceiling bounce test which is twice the output of my 6*Cree M@G or P7 M@g.
So far, overheating of hipflex on high has not been a problem, however, the head does get quite hot after ~5 minutes on high. The light produced is mostly flood. I would prefer to have more of a thrower, but I don't think it's possible with small reflectors.
Thanks for looking!
Hill
!Specs
Pewter 2D bored M@g with red bezel and tailcap
3 x MC-E cool white
Multisink from Download
Hipflex driver with custom heatsink
Ledil Boom SS reflectors
Momentary switch
Pics
The completed light
Light engine assembled
MC-E's are wired in series with the die from each emitter wired in parallel. I used one of Download's quick connectors to plug it into the driver. This makes for easy removal. The reflectors were glued together to form one single unit.
Wired switched and hipflex driver mounted to heatsink. The edges of the hipflex had to be very carefully sanded down to allow it to fit into the tube. I also had to sand the edge of that large component you can see in the pics. George provided thermal padding for heat transfer. This was used between the heatsink and hipflex. The components were attached by tapping two screw holes and securing with nylon screws to prevent accidental shorting.
To get this to fit, I removed the retaining ring in the body, then slid the switch and driver up from the bottom.
The switch was placed just off center which gave me enough head room above hipflex to screw the mag head down. Once on, the multisink contacts the top of the hipflex sink. All components are nice and snug with no rattling.
Hipflex UI allows for several customized output levels and settings. The torch is powered by 8AA NiMh cells which provide ~1.5A on high. I have also used 6 x 14500 Lion which gives significantly higher output and close to the 2.8A max rated. I measured >2000 lux on ceiling bounce test which is twice the output of my 6*Cree M@G or P7 M@g.
So far, overheating of hipflex on high has not been a problem, however, the head does get quite hot after ~5 minutes on high. The light produced is mostly flood. I would prefer to have more of a thrower, but I don't think it's possible with small reflectors.
Thanks for looking!
Hill
Last edited: