PCC
Flashlight Enthusiast
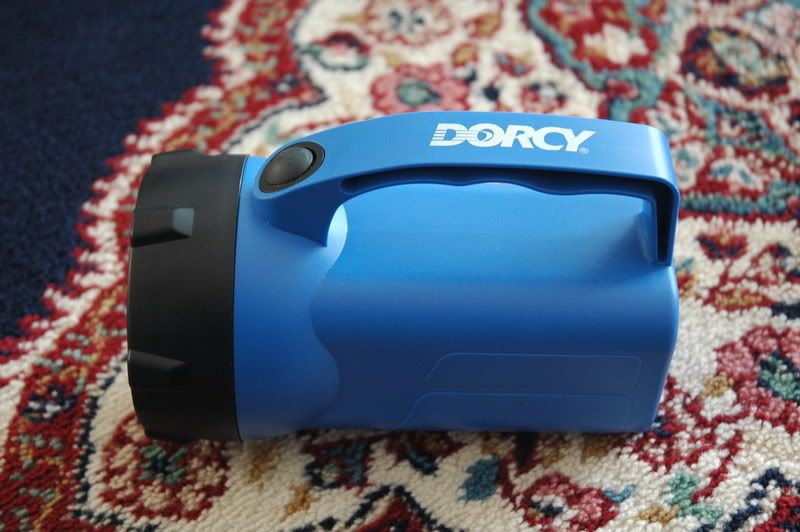
Here's a little project that I've started and hope to finish in the next day or so. It's an inexpensive Dorcy spotlight that runs on a 6V lantern battery. The PR flange bulb that is in it is terrible. It's not very bright even with a fresh 6V lantern battery. I changed it to the halogen bulb from my Mag 3D and it was both brighter and the light is whiter, but, being incandescent, it'll drain the battery faster than I want so I decided to convert it to LED with a low budget. How low? Try $0! The LED itself is a Luxeon that I pulled out of my 2D MagLED module when I upgraded the emitter to a SSC P4. I'm going to hook up a small potentiometer that I already had inside the case set to a value that doesn't max out the emitter to extend the life of the battery and to minimize heat build-up from the LED for use during power outages.
Here is the gallery for the pictures. There are a few more pictures than shown here.
Here are a few pictures of the spotlight as it came from the store.


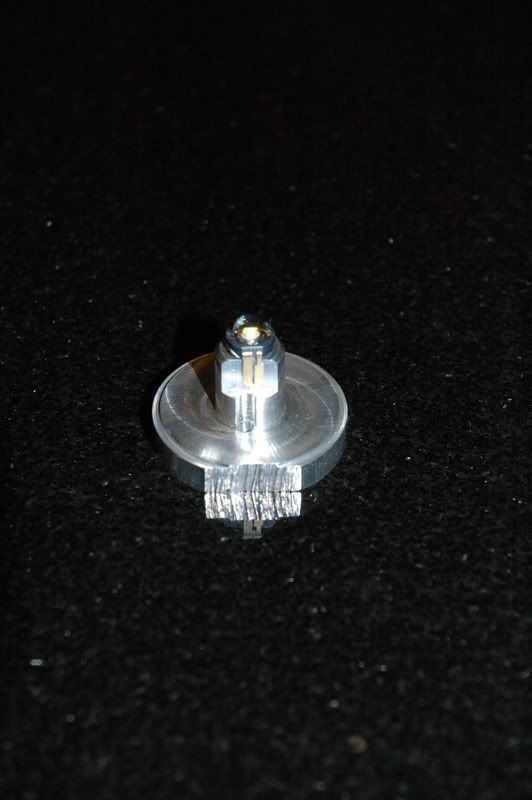
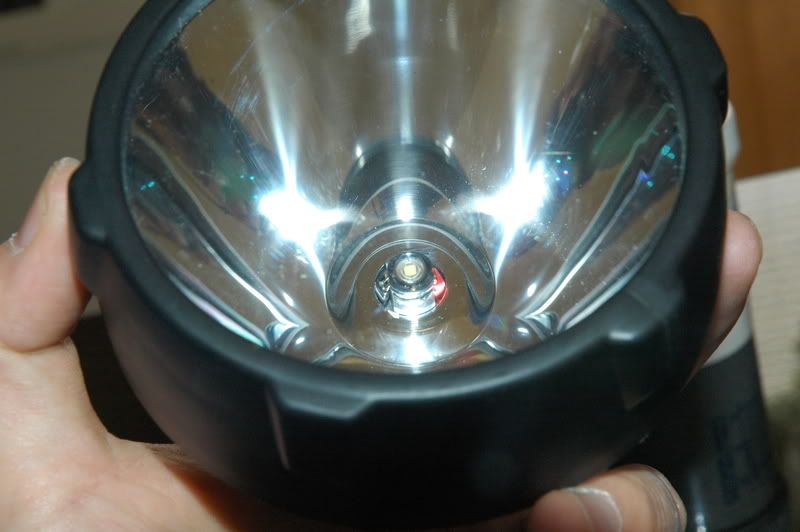
I started by milling a heatsink and mount for the LED out of a piece of scrap 6061 aluminum that I found in the garage. Here are a few pictures of it after the milling operation and test fitting the LED on it with the reflector assembly. Sorry that it is a little rough but it'll be inside the light and no one will see it so it's not a big deal.


I need to mount the emitter to the heatsink and figure out how to do the wiring without shorting the thing out I'll work on that tomorrow and post more pictures and updates after I some more progress on this. Stay tuned!
Here is the gallery for the pictures. There are a few more pictures than shown here.
Here are a few pictures of the spotlight as it came from the store.


I started by milling a heatsink and mount for the LED out of a piece of scrap 6061 aluminum that I found in the garage. Here are a few pictures of it after the milling operation and test fitting the LED on it with the reflector assembly. Sorry that it is a little rough but it'll be inside the light and no one will see it so it's not a big deal.


I need to mount the emitter to the heatsink and figure out how to do the wiring without shorting the thing out
 I'll work on that tomorrow and post more pictures and updates after I some more progress on this. Stay tuned!

 Took it apart and redid it correctly and the second time it worked out. I then tried to adjust the value on the potentiometer and soon found that it was bad. It was working initially but after a while I was not getting anything past the pot so I replaced it with another one I had. Turns out that one was bad, too (could not be adjusted no matter how much I turned the adjuster). Dug up a 16 ohm resistor I had laying around and put that in instead. Works like a charm! According to the resistor calculator I used this should give me around 200 ma to the Luxeon. I might substitute a resistor with a lower value to increase the current but this isn't bad, so far. I think 8 ohms will do it for 400 ma but run times will suffer. I ran it for a half hour straight and the heatsink didn't even get warm to the touch.


