Well to start I would like to thank a few people for their help in getting this mod done......I have probably annoyed a few people with questions over and over.....but I must say thank to those people.
modamag, milkyspit, Mr_light, HVAC
There are a few suppliers of products that I would like to thank.....and I thank them also.
But now for the mod....
I am an avid diver and could not find a divelight that was cost effective and had enough bang for the buck...so I ran into HVAC....and he put me on to this forum...and from there we got this...
Finished product.....
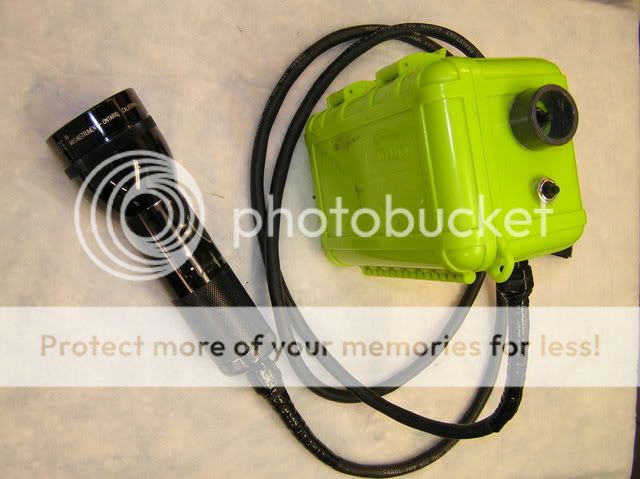
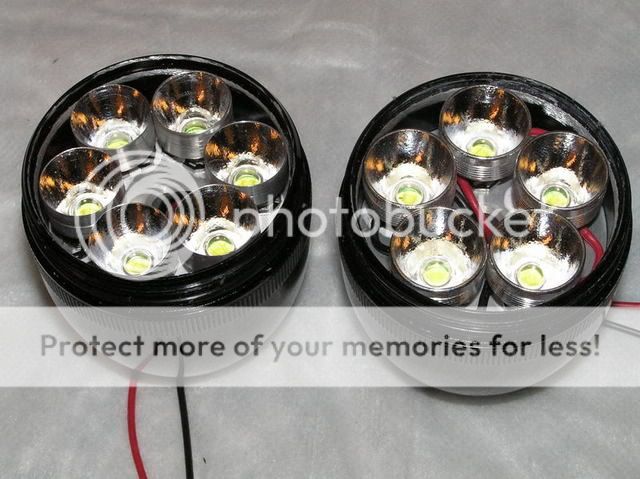
I have built 2 styles....one unit has 5 x Cree5 and the other has 6 x Cree5..
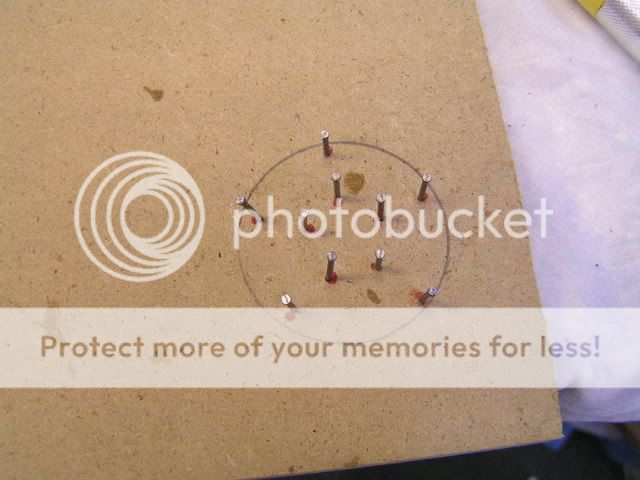
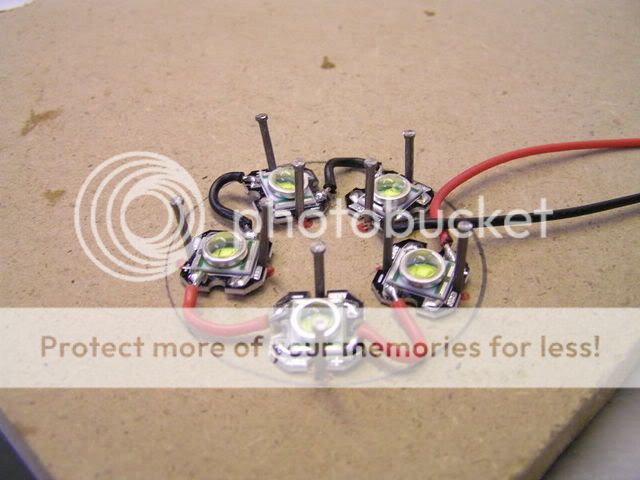
so I went about to solder them together and found that putting nails in a piece of wood allowed me to solder the crees together in the proper format
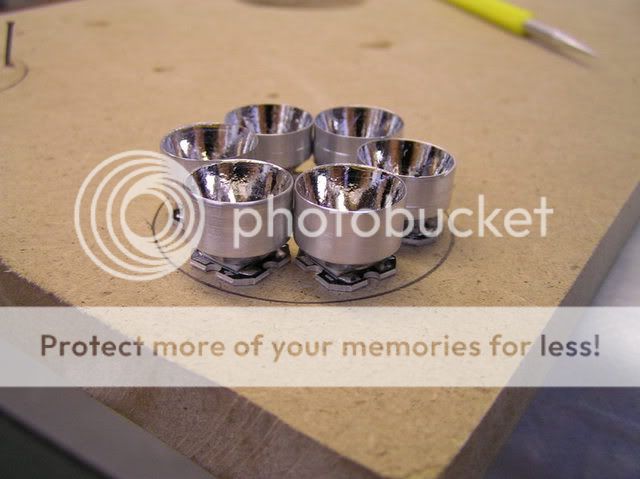
With that done I had to build the bezel assembly. Now this is under water...so special attention is made to sealing the unit.
The rubber ring gasket is used as well as new glass and a home made high density gasket is all assembled using plenty of silicone.
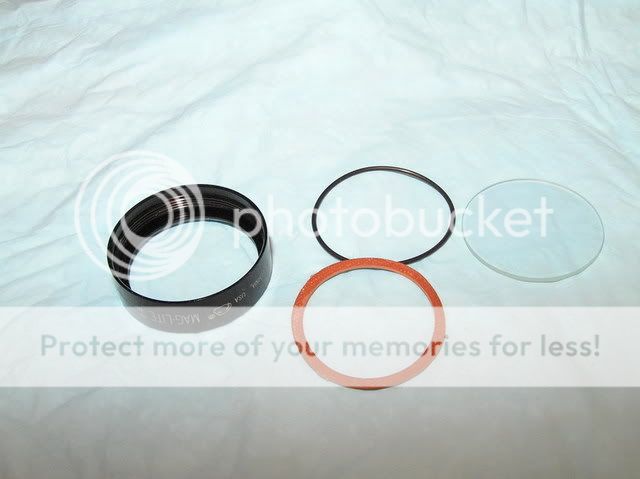
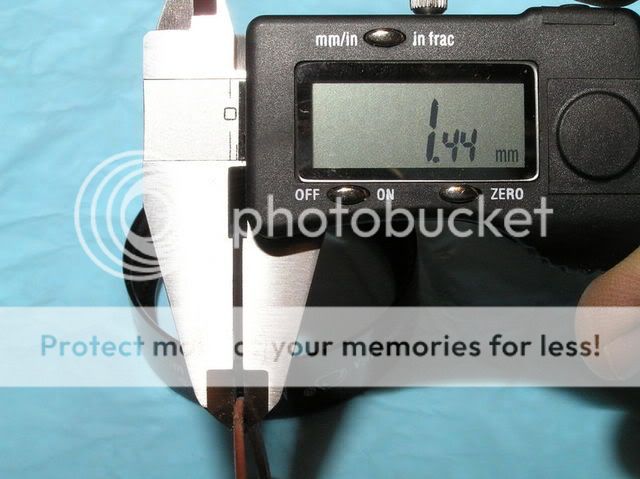
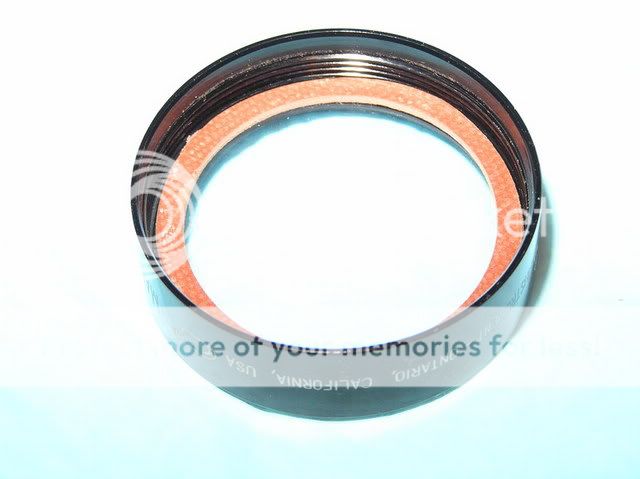
not to ensure that it is all pressed tightly and the silicone dries fixed and solid I use an MR16 bulb...which is a perfect fit..and press it all together.....once cry a super sharp razor blade cleans off the excess silicone...one completed bezel.
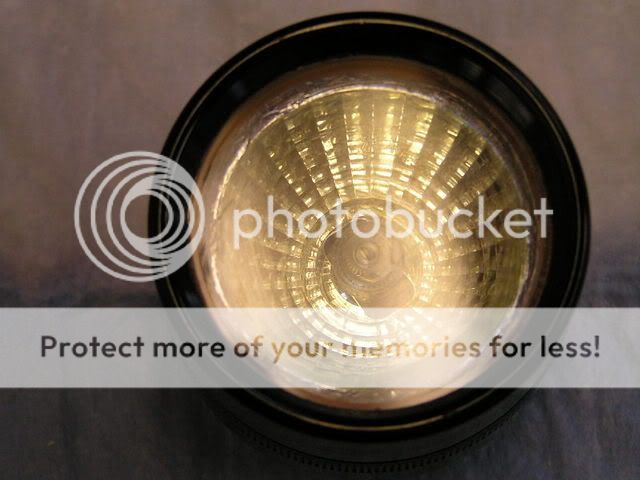
During the dry fit of the LED....reflectors and heatsink I found that the heatsink was to thick to allow my extra glass and gasket to sit properly, and that the uneven height of the reflectors pressed into the bezel......so I ground down the heatsink
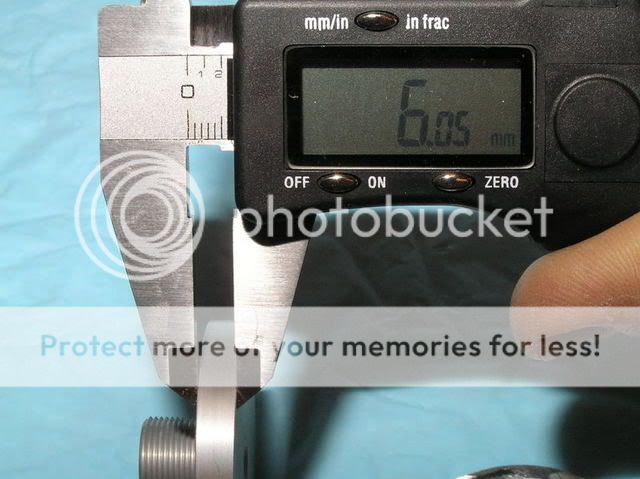
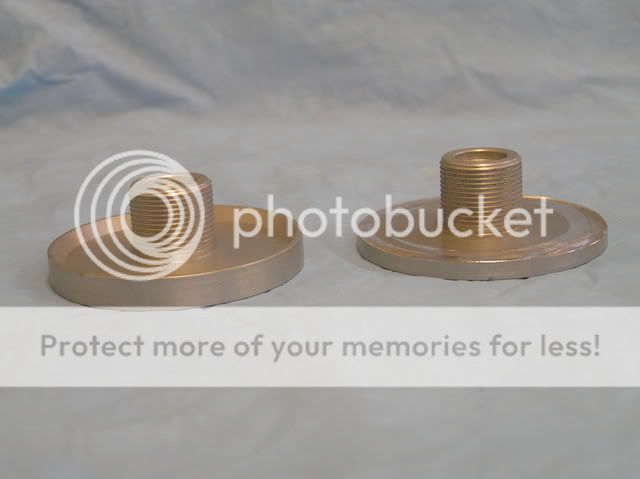
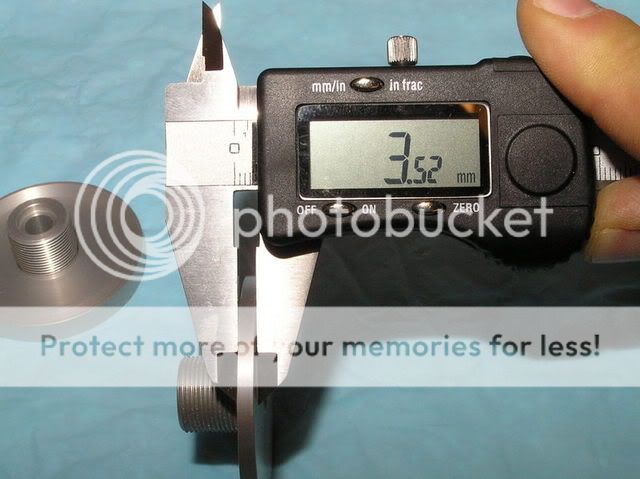
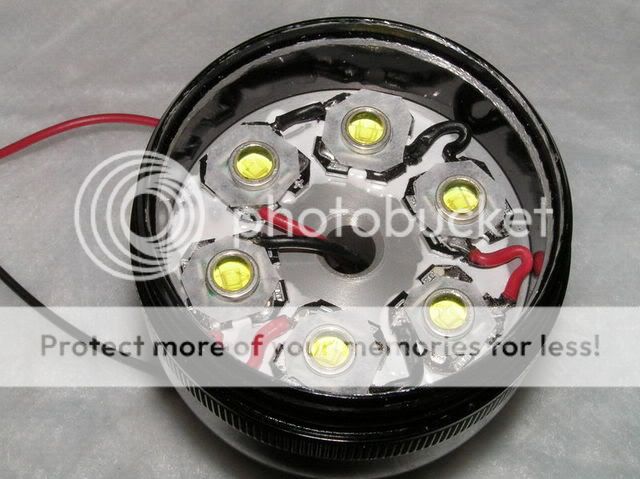
Once the dry fit ensured that it all fit and that there was expansion room and such without having to worry about the glass I epoxied the LED onto the heatsink with the thermo epoxy....remeber I was building a 5 and 6 LED lights...can you guess which one I did first.....a liitle messy the firat time.
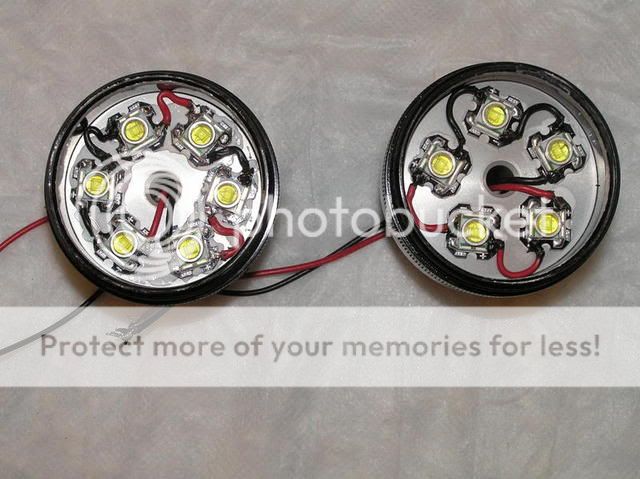
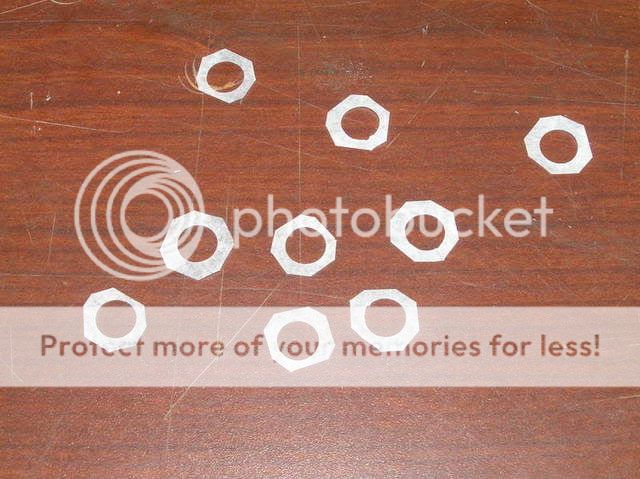
Now I was told to insulate the Cree from the reflector so they would not short out....so with a paper hole punch I cut and trimmed rings out of baking parchment....yes a special wax paper used in baking....good to 500f before it deteriorates......so with those in place it was time to epoxy the bezels to the crees.
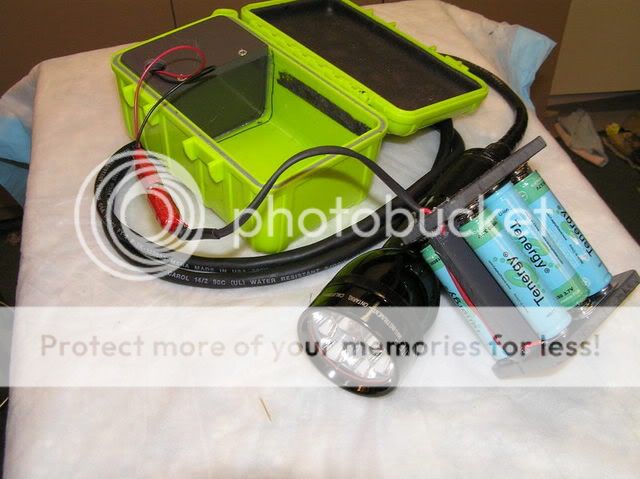
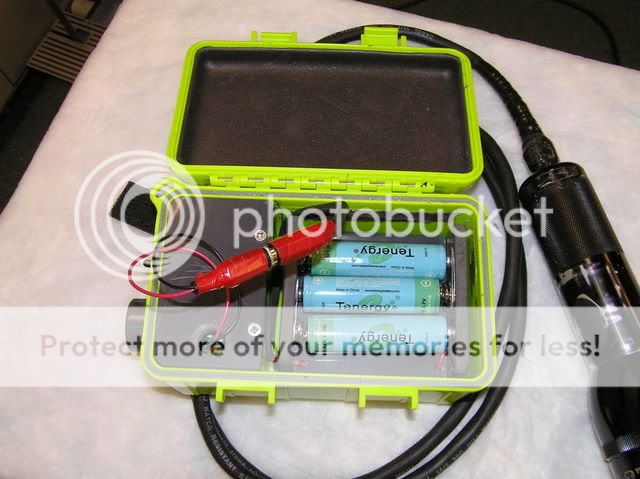
Now for the power........7 x Li-Ion batteries (Li-Ion 18650 3.7V 2600mAh 2600PCB-18650) was the choice for compact and duration of burn time.....but I found that building packs and charging packs was very tricky so I built my own packs that I can take the batteries out of and charge separately in WF-139 chargers.
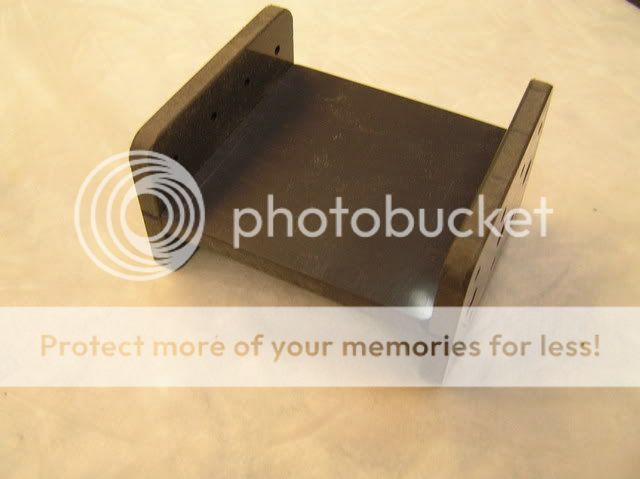
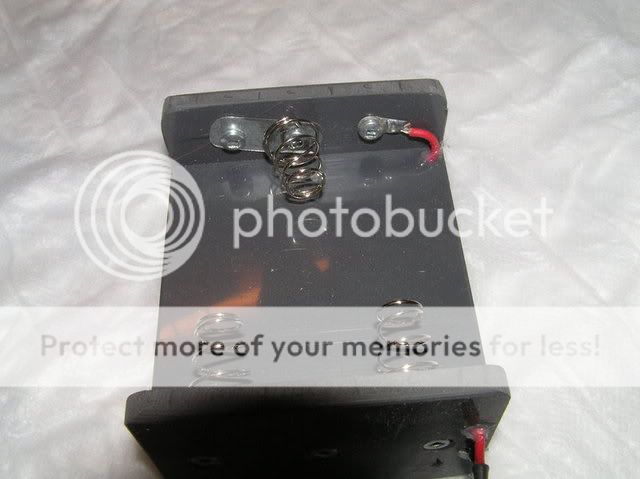
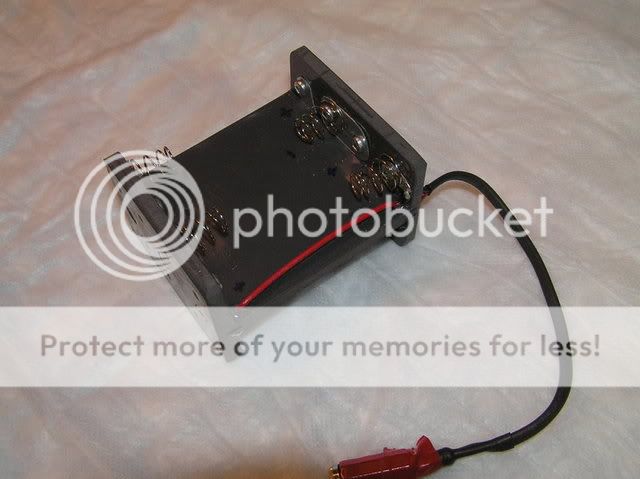
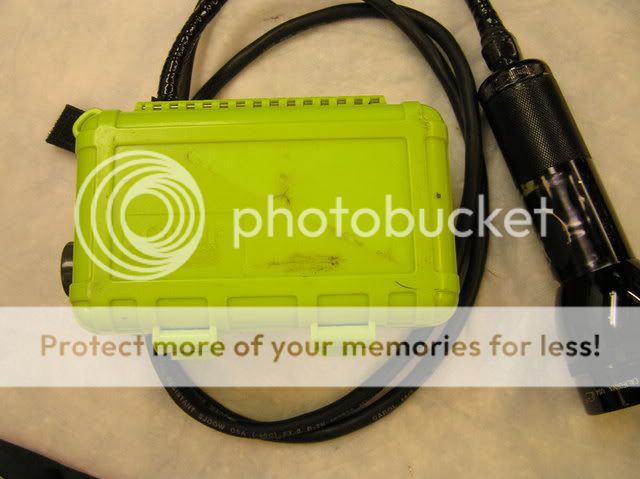
The case is a stanard "otter box" that is water proof to about 160'.....after that they go pop...I know...hehehe....I like to try and test things before I go all the way with them.
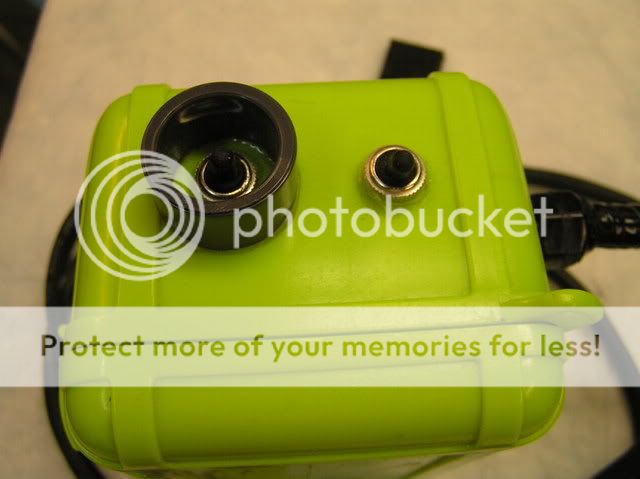
now the holes for switching and power were drilled into the case, and as each switch was installed and partially wired it was surrounded with a PVC ring and filled with epoxy to make it water tight
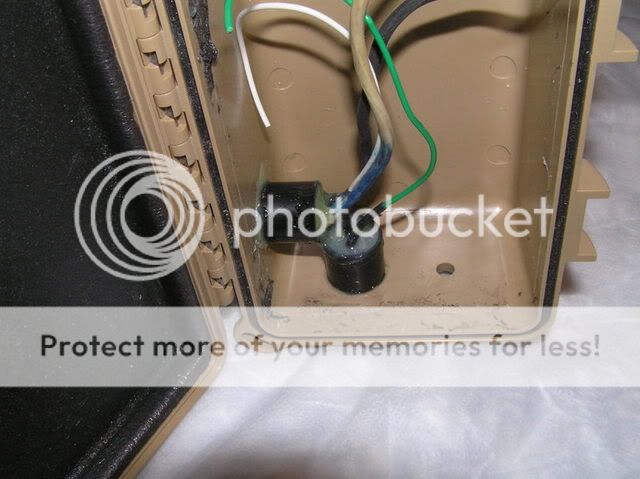
The switches are standard mini toggle switches that have a rubber boot that was siliconed in place to give it protection.
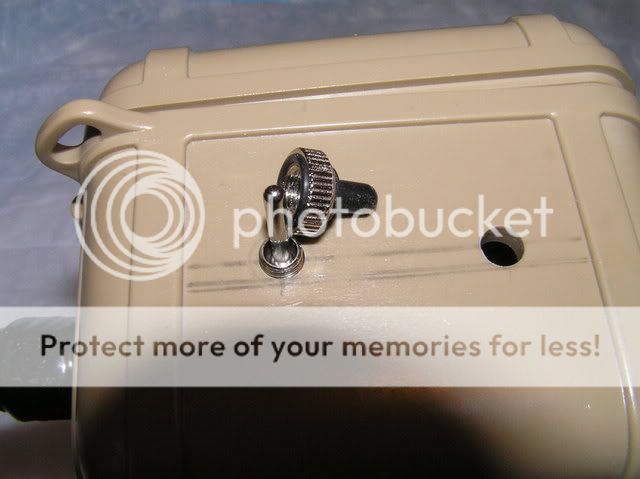
The final assembly called for the NFlex step down chip, this was wired with an off/off toggle as well as the external optional switch for the NFlex. With it all together it looks like this....
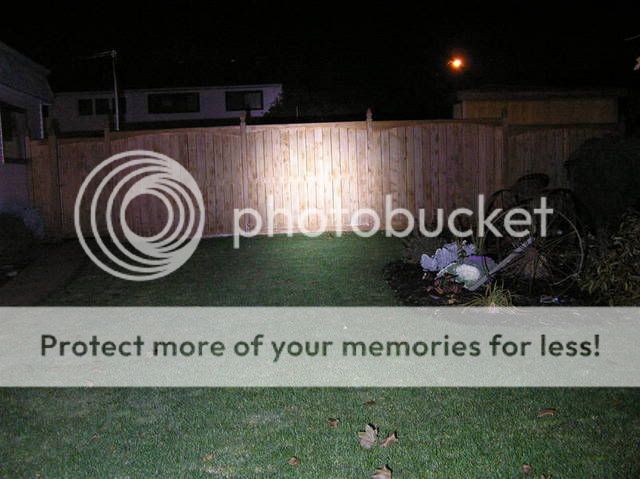
So what does it look like powered up....WOW......now this is a light that is for under water.......
both beam shots are at night....standing 30' away from the fence. one shot is low power the other is high power as set in the basic UIB setting for the nflex.....ma do I like what I see so far.....

I expect burn time to be in the 2 hour range.....
Thanks for all the help...
looking forward to input...
possible advice.....
and comments.
I AM NO LONGER A NOOB!!!!!.......YIPEEEEEE!!!!!:twothumbs
modamag, milkyspit, Mr_light, HVAC
There are a few suppliers of products that I would like to thank.....and I thank them also.
But now for the mod....
I am an avid diver and could not find a divelight that was cost effective and had enough bang for the buck...so I ran into HVAC....and he put me on to this forum...and from there we got this...
Finished product.....

I have built 2 styles....one unit has 5 x Cree5 and the other has 6 x Cree5..
so I went about to solder them together and found that putting nails in a piece of wood allowed me to solder the crees together in the proper format


With that done I had to build the bezel assembly. Now this is under water...so special attention is made to sealing the unit.
The rubber ring gasket is used as well as new glass and a home made high density gasket is all assembled using plenty of silicone.


not to ensure that it is all pressed tightly and the silicone dries fixed and solid I use an MR16 bulb...which is a perfect fit..and press it all together.....once cry a super sharp razor blade cleans off the excess silicone...one completed bezel.

During the dry fit of the LED....reflectors and heatsink I found that the heatsink was to thick to allow my extra glass and gasket to sit properly, and that the uneven height of the reflectors pressed into the bezel......so I ground down the heatsink


Once the dry fit ensured that it all fit and that there was expansion room and such without having to worry about the glass I epoxied the LED onto the heatsink with the thermo epoxy....remeber I was building a 5 and 6 LED lights...can you guess which one I did first.....a liitle messy the firat time.

Now I was told to insulate the Cree from the reflector so they would not short out....so with a paper hole punch I cut and trimmed rings out of baking parchment....yes a special wax paper used in baking....good to 500f before it deteriorates......so with those in place it was time to epoxy the bezels to the crees.


Now for the power........7 x Li-Ion batteries (Li-Ion 18650 3.7V 2600mAh 2600PCB-18650) was the choice for compact and duration of burn time.....but I found that building packs and charging packs was very tricky so I built my own packs that I can take the batteries out of and charge separately in WF-139 chargers.


The case is a stanard "otter box" that is water proof to about 160'.....after that they go pop...I know...hehehe....I like to try and test things before I go all the way with them.
now the holes for switching and power were drilled into the case, and as each switch was installed and partially wired it was surrounded with a PVC ring and filled with epoxy to make it water tight

The switches are standard mini toggle switches that have a rubber boot that was siliconed in place to give it protection.

The final assembly called for the NFlex step down chip, this was wired with an off/off toggle as well as the external optional switch for the NFlex. With it all together it looks like this....


So what does it look like powered up....WOW......now this is a light that is for under water.......
both beam shots are at night....standing 30' away from the fence. one shot is low power the other is high power as set in the basic UIB setting for the nflex.....ma do I like what I see so far.....


I expect burn time to be in the 2 hour range.....
Thanks for all the help...
looking forward to input...
possible advice.....
and comments.
I AM NO LONGER A NOOB!!!!!.......YIPEEEEEE!!!!!:twothumbs


