Thanks Will- looking very professional!
Thank you

Thanks Will- looking very professional!
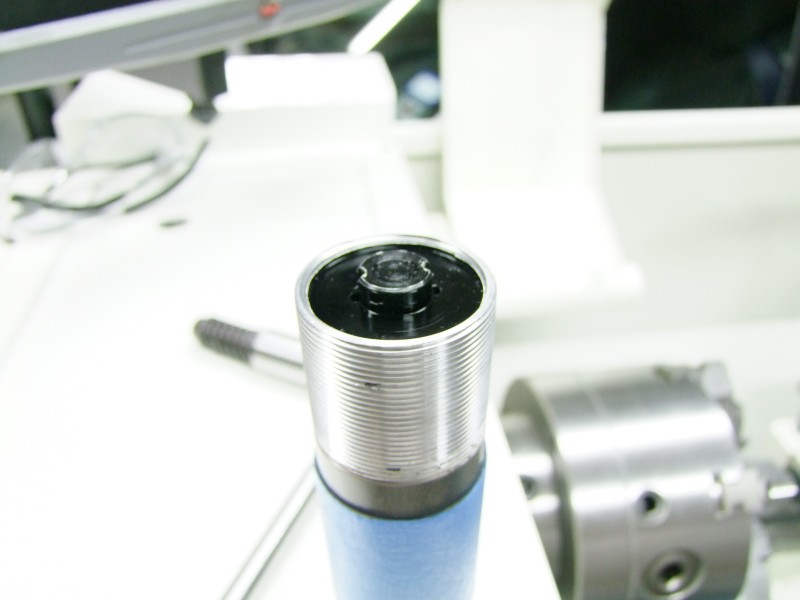
What is the blue tape you use- anything special?
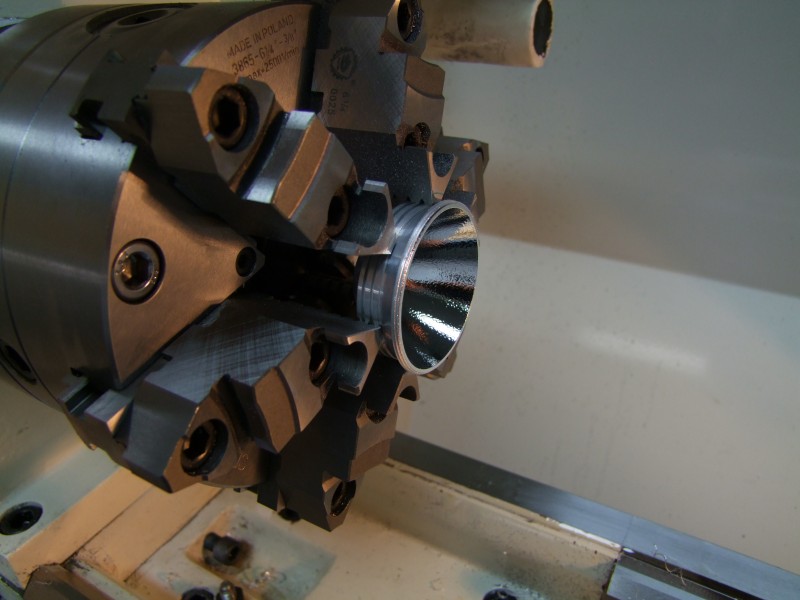
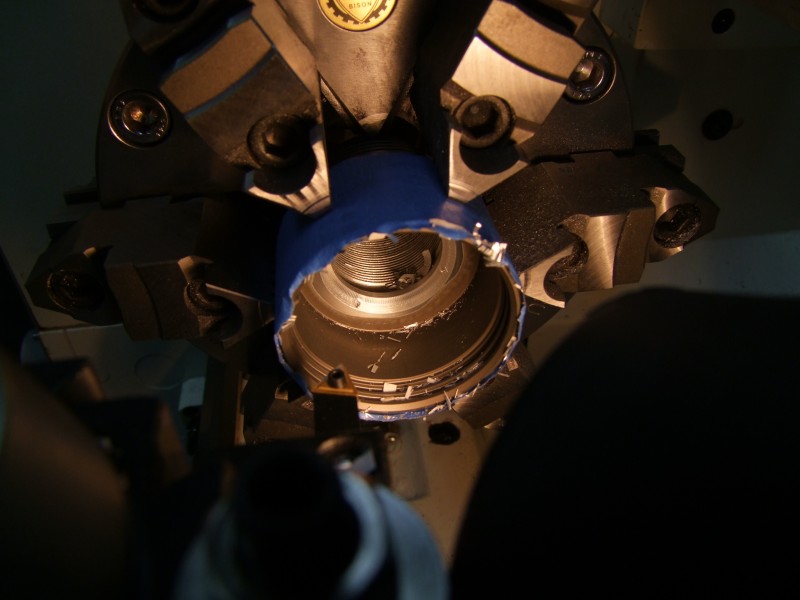
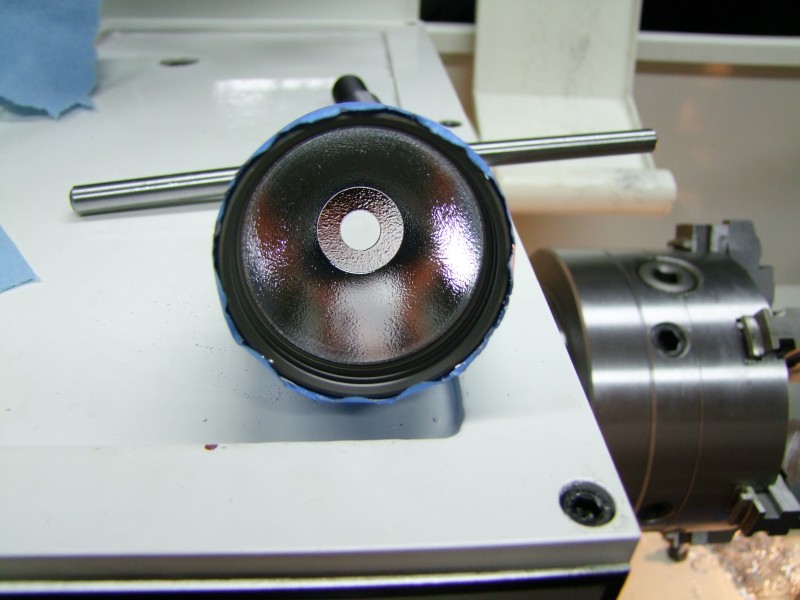
Two layers of 2" wide, Painter's blue tape
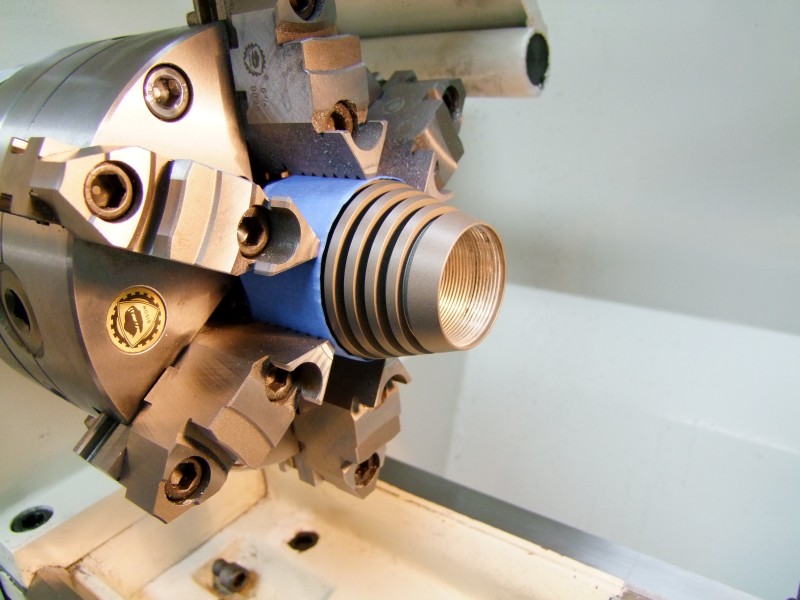
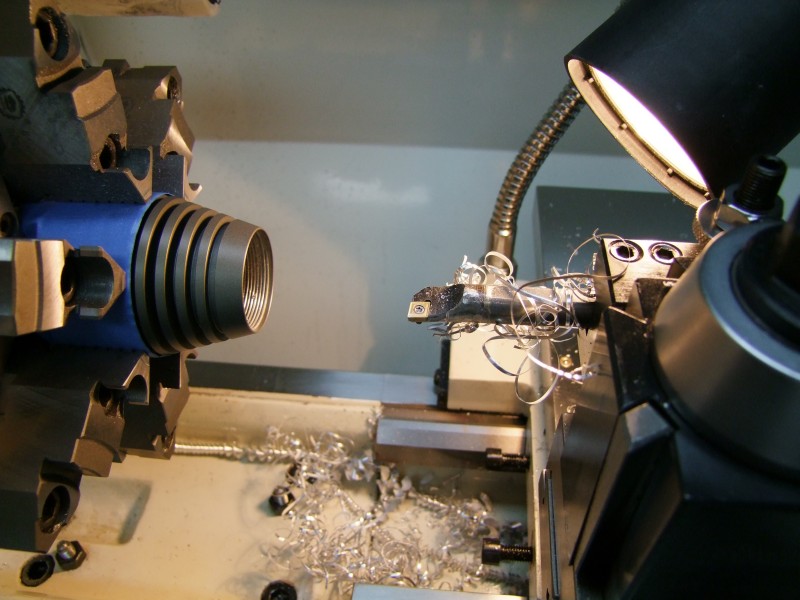
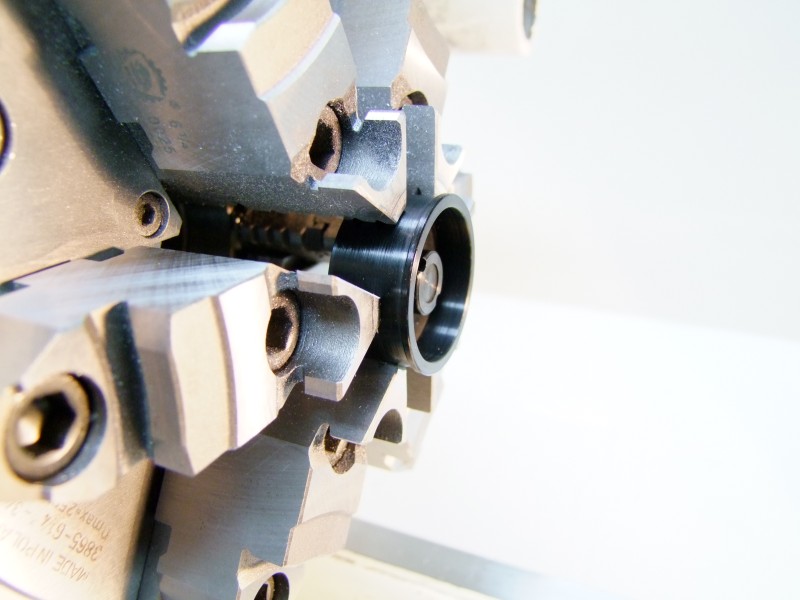
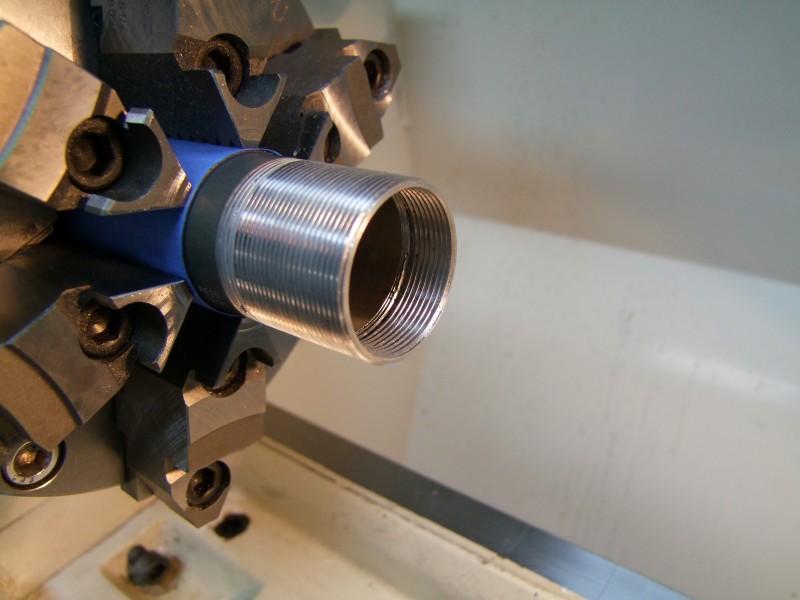
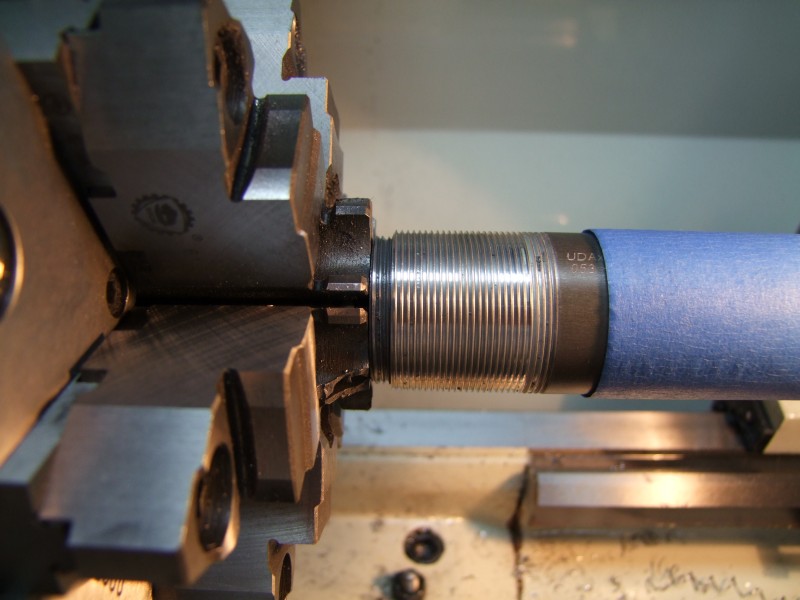
I adore that Bison 6-jaw!
It makes two of us - it makes work on the lathe so much easier :thumbsup:
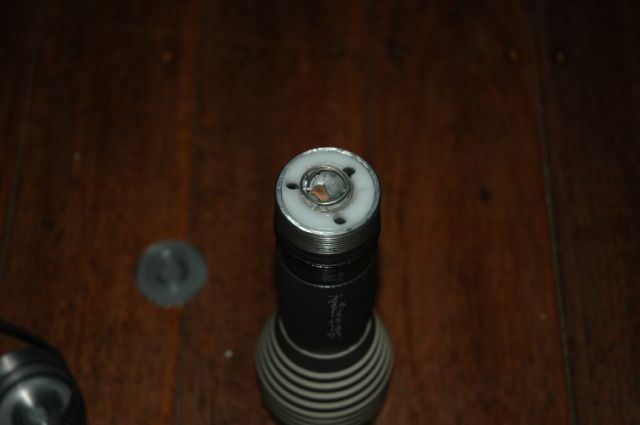
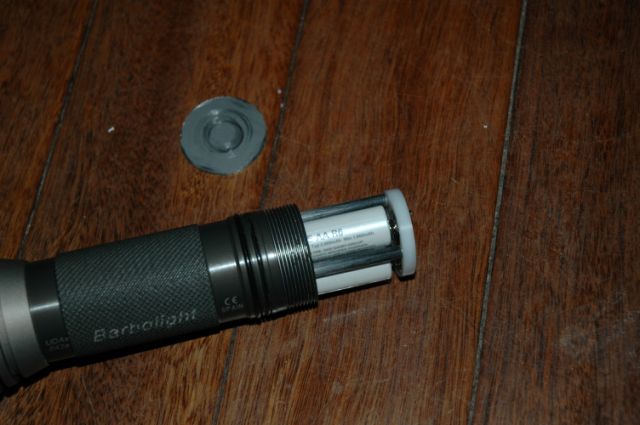
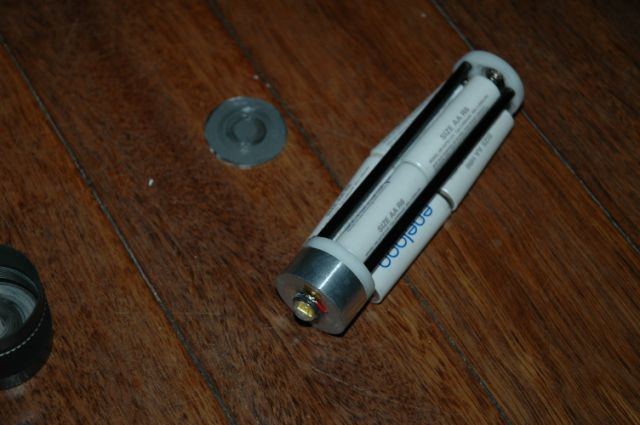
What battery solution are you considering?
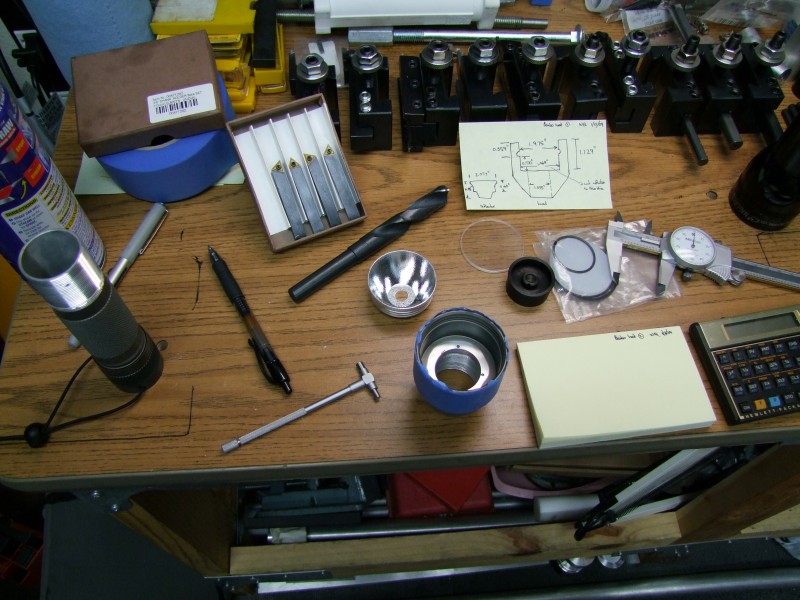
To start with I am considering a DD solution for the P7, using a single LiIon cell. Given the space and the ID of the main tube, with the proper adapter/sleeve, it should work with an A123 cell, 18650, or "C" LiIOn.
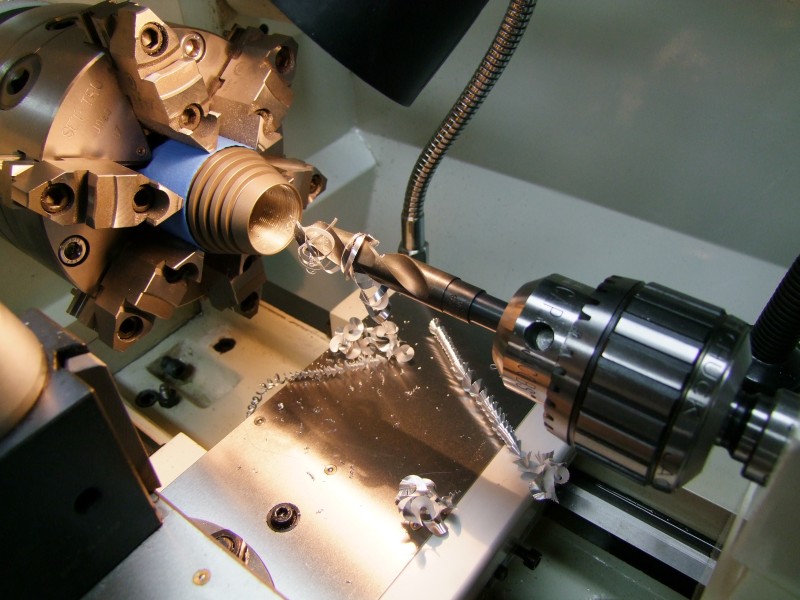
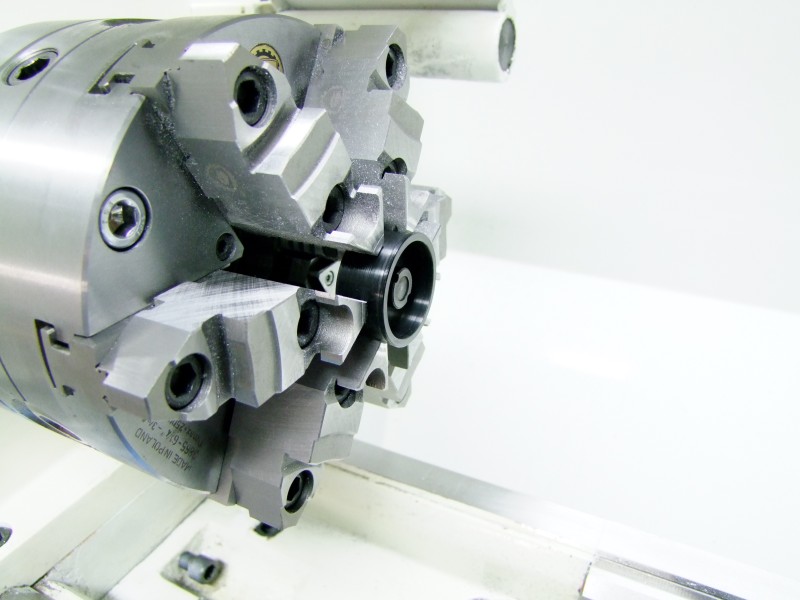
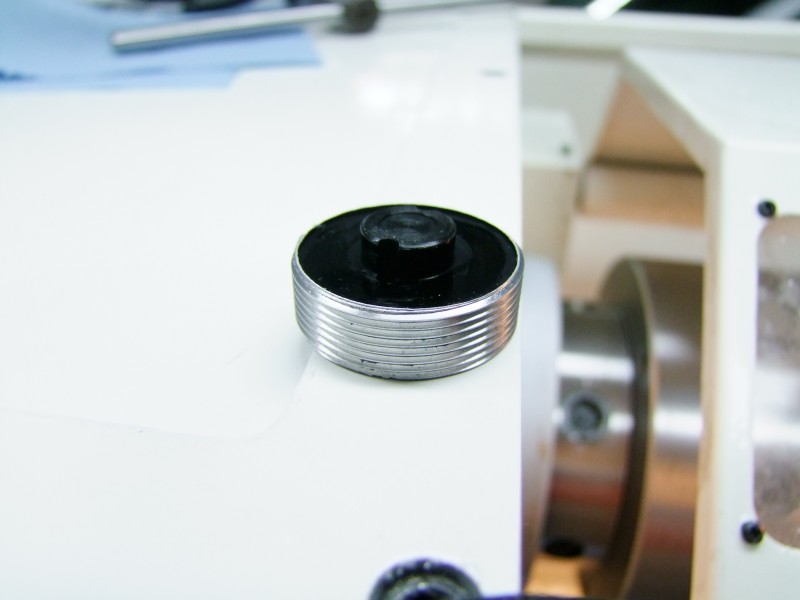
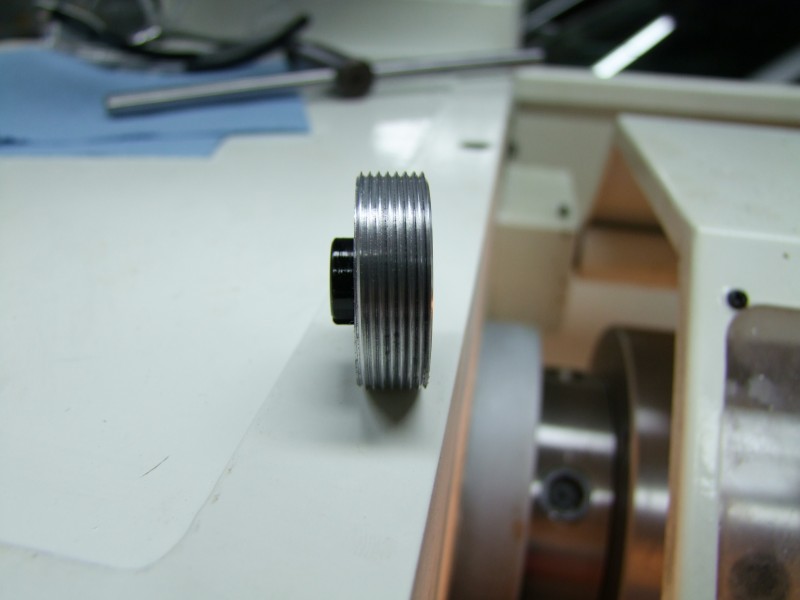
Does your drill have the same taper as your tailstock- I see you use a chuck?
I am using an adapter for the drill chuck that then mates with the MT3 in the tailstock.
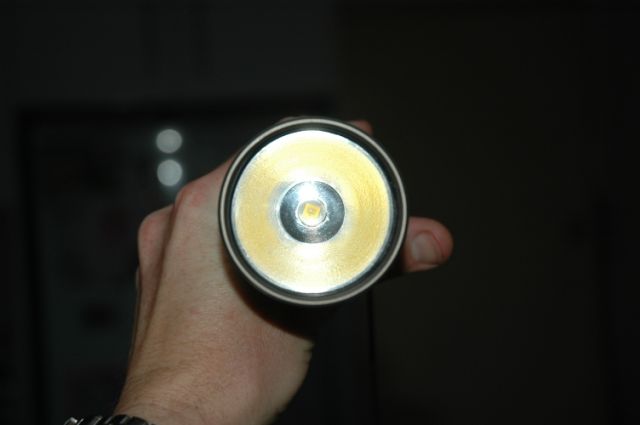
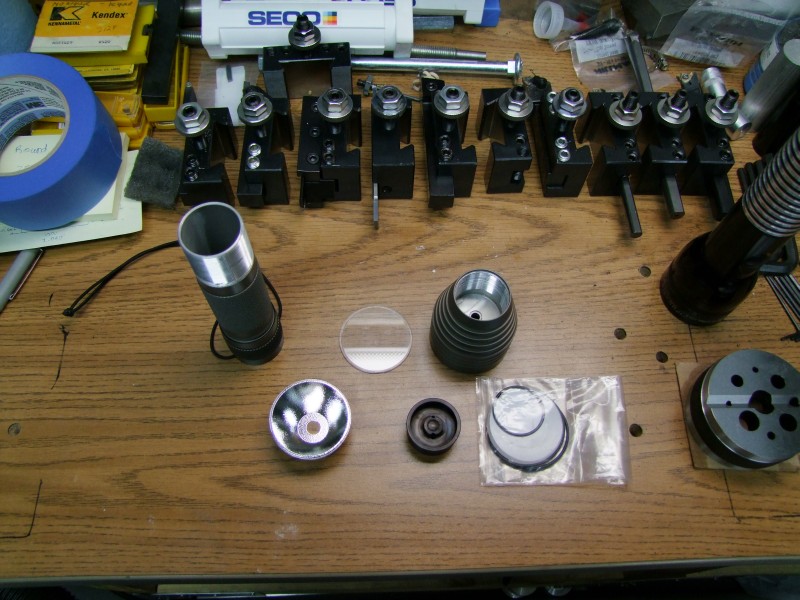
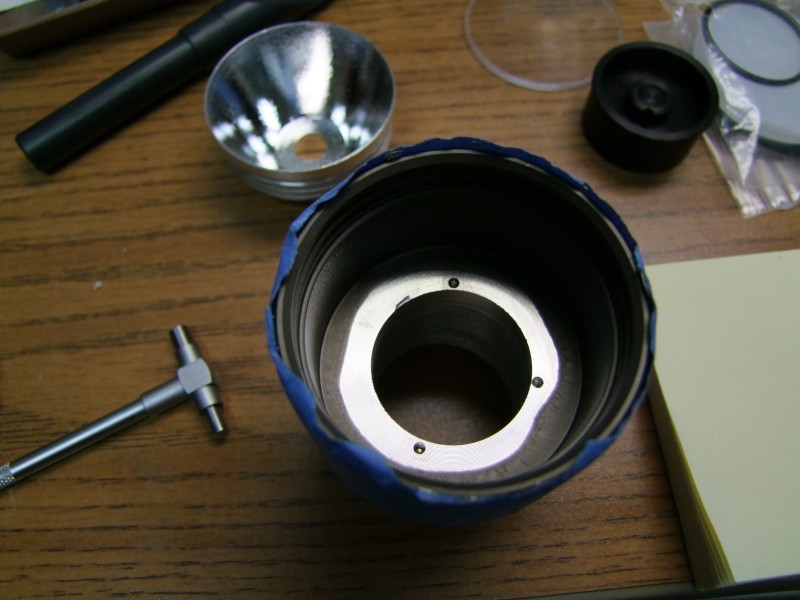
And I look forward to your reflector rattle solution- mine just fits snugly- I hate the torches with lens required to keep the reflector in place.
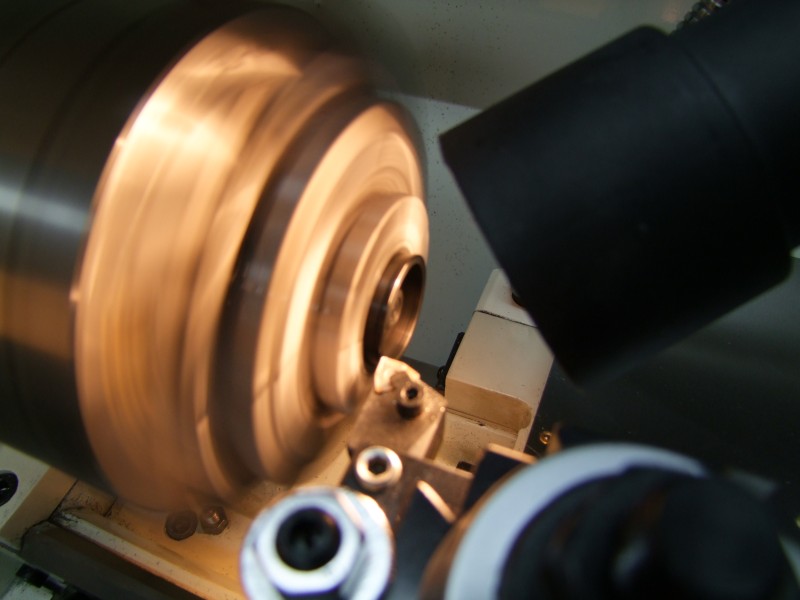
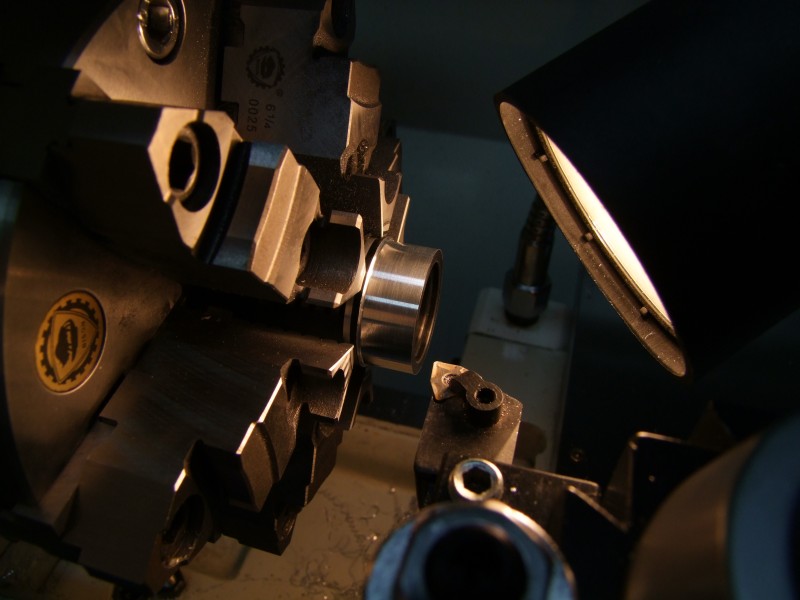
Like most folks who work on projects as a hobby here in the forums, I charge a low/reasonable rate directly proportional to the time it takes me to do the job/projects/etc., so on a project like this I am not only finding how to do the first one, but I am always looking for ways to minimize custom and/or fitted parts (also why I am trying to start with an over-the-counter P7 heatsink, which happens to be a very high quality part to start with).
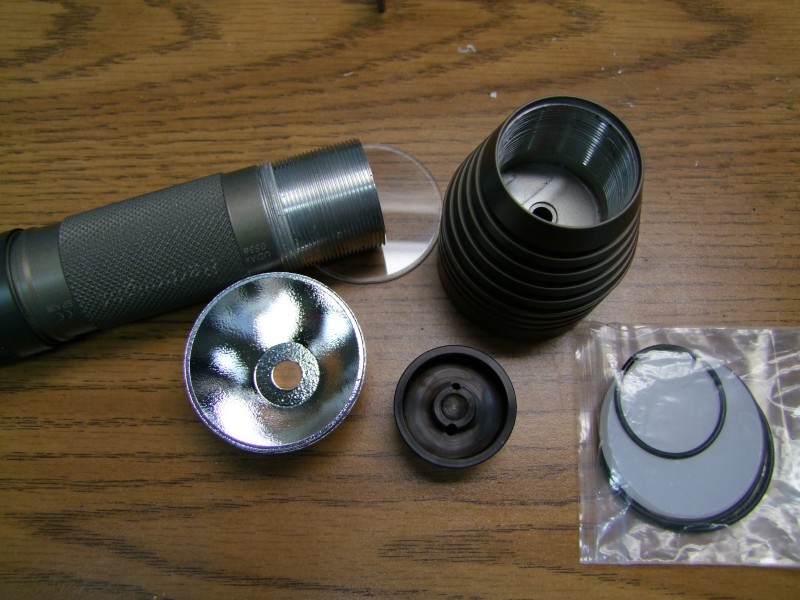
If folks like my implementation, I could end up doing a good number of these, so although I have to fit the OD of the reflector to each head (to ensure concentric alignment with the LED), I am trying to not fit the curved part of the reflector to the small hole in the head that faces the LED. This means that in order to keep dimensional stability I would have to use the back of the lens as the reference plane.
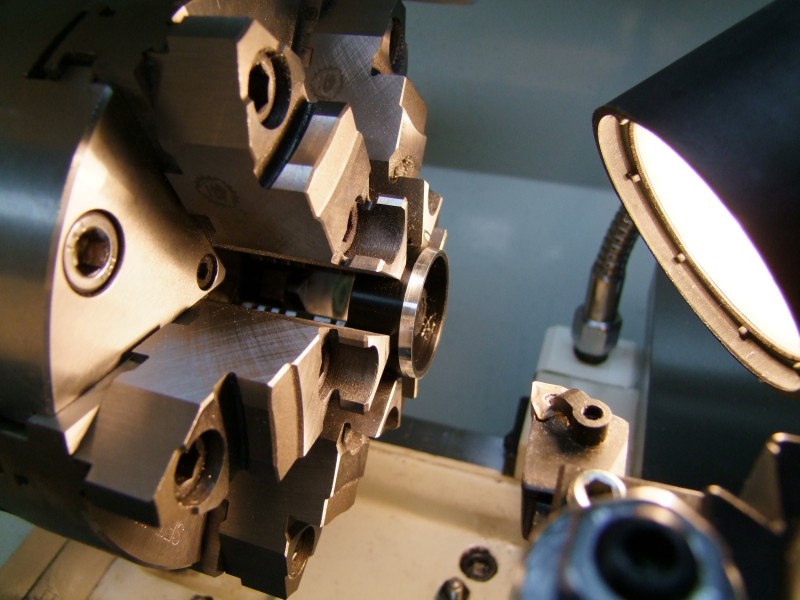
Now, to keep the reflector in place against the lens, I am looking at:
- foam like Surefire uses on the KT4 heads to keep the reflector floating in place to handle recoil) - the lens would keep the reflector in place
- high-temp silicon, used from the back of the head facing the battery, which would keep the reflector in place.
So far I like the high-temp silicon better, as it provides a nice firm fit for the reflector with very little movement, it is not as permanent as using epoxy, and it remains somewhat pliable which is good for this application, although Javier said that the lens under pressure moves very little, so either solution should work well in our application.
If you or other have other ideas or suggestions, please go ahead and post here - I am always looking at other ways to do things
Will