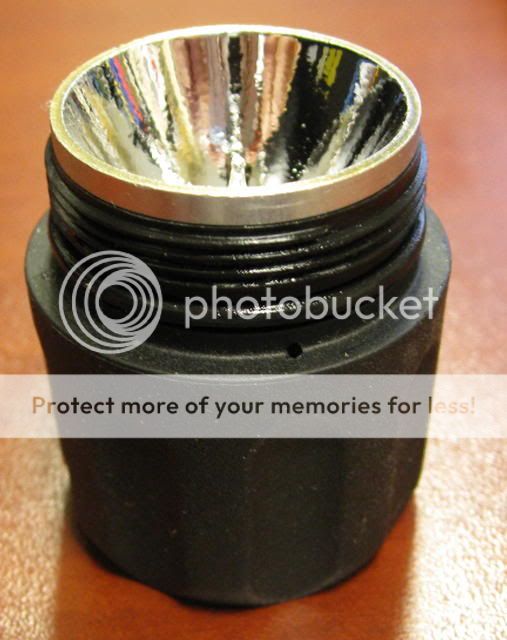
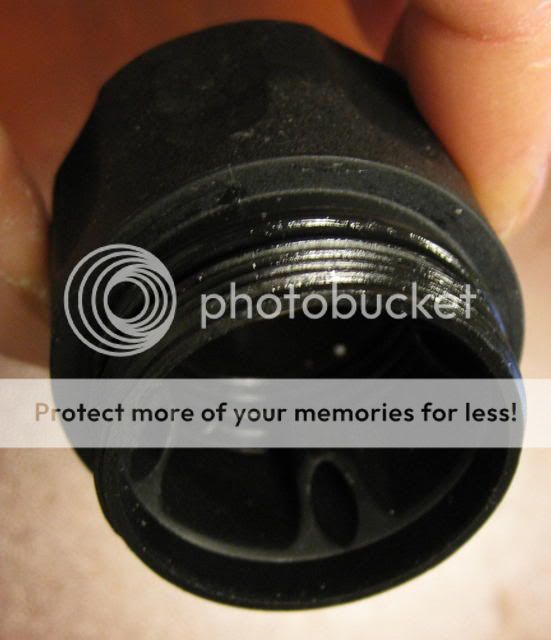
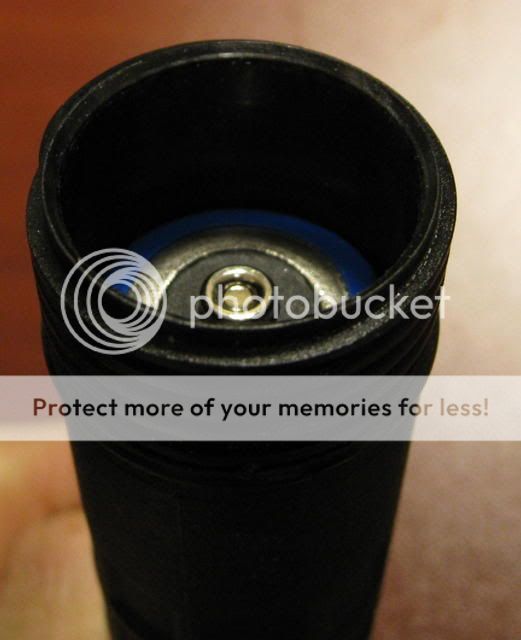
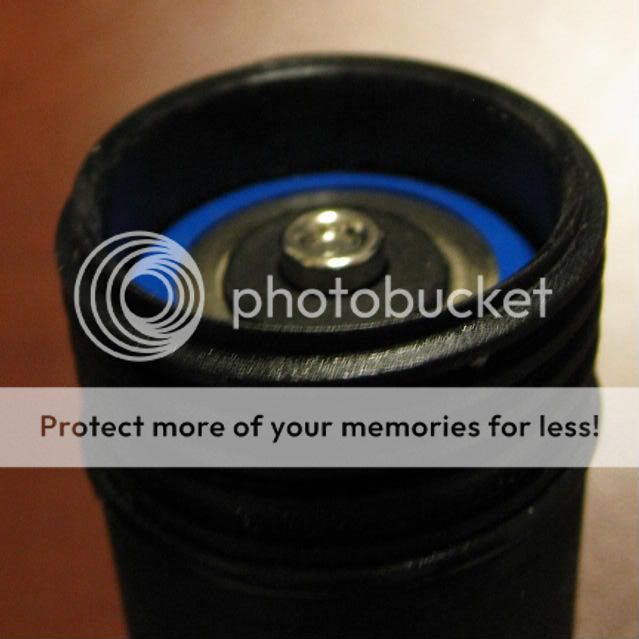
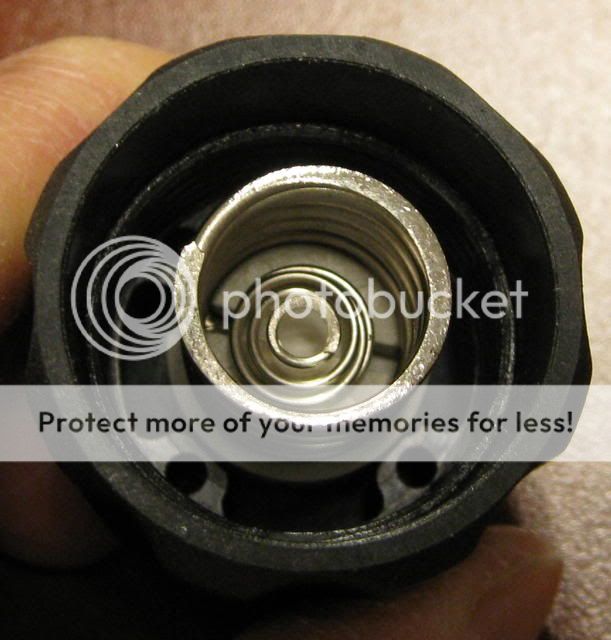
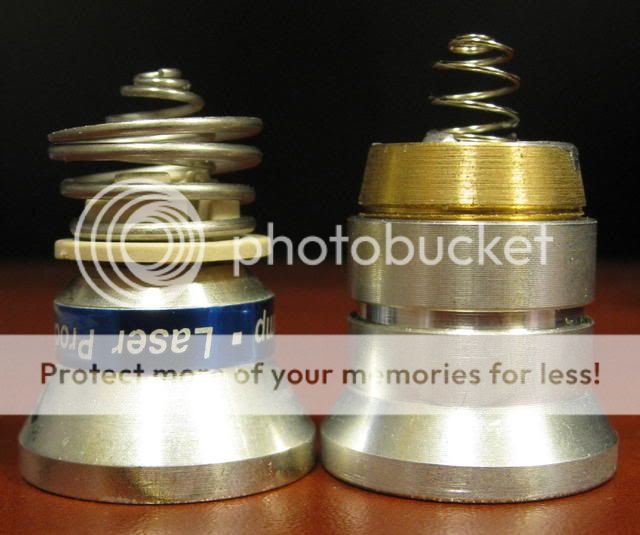
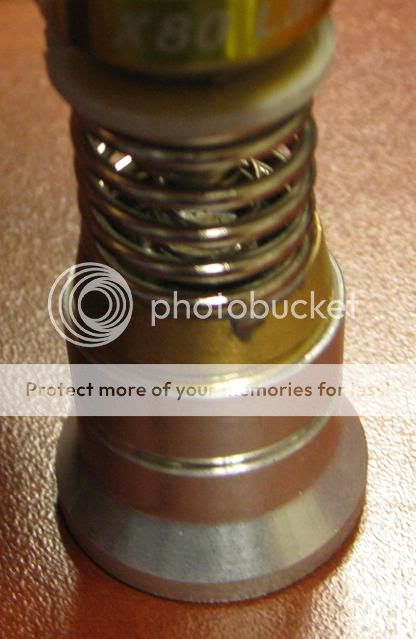
Photo of the "ledge" at the top of the 8NX bezel, on which the top rim of the X80 lamp contacts.
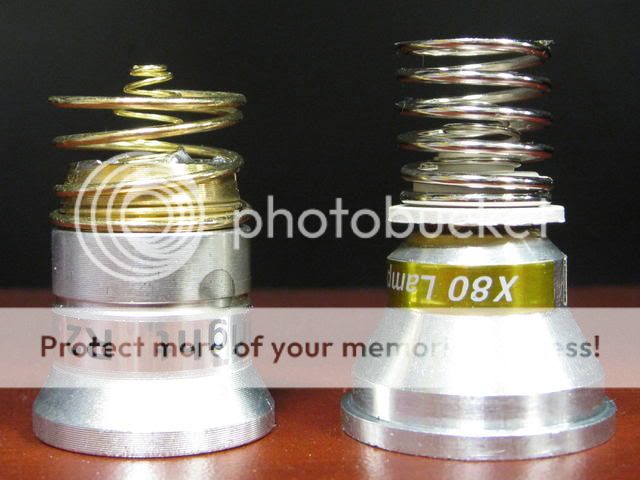
This is the top of the X80 rim that contacts the ledge shown in the previous photo.
Here is the X80 lamp sitting in the 8NX collar.
This shows where the X80 lamp contacts the top of the collar.
The overhang shown in the previous photo sits here on the collar.
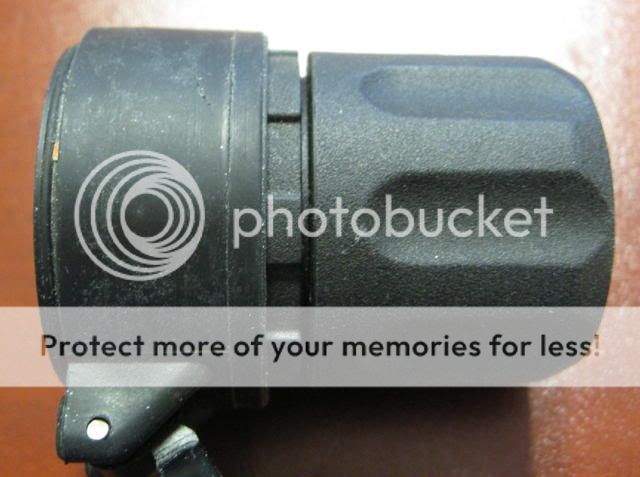
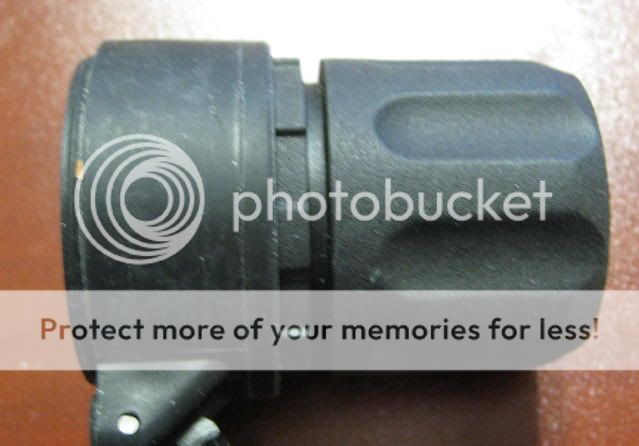
When the collar and the bezel are screwed together completely, they look like this.
When the collar and the bezel are not screwed together completely, they look like this.
Here is a shot of the top rim of the X80 lamp pressed against the 8NX bezel's ledge (also see the first 3 photos above). There is no gap when the collar and bezel are completely screwed together.
Here is a gap between the ledge and the X80 when the collar and bezel aren't completely screwed down tight. Compare to the previous photo. The point here is that the battery stick, which you'll see in photos below, will push up on the outer spring of the X80 lamp assembly and completely take care of this gap. Similarly, the battery stick will push up on our modified 6P LED drop-in (discussion to follow) so that there is no gap and no rattling.
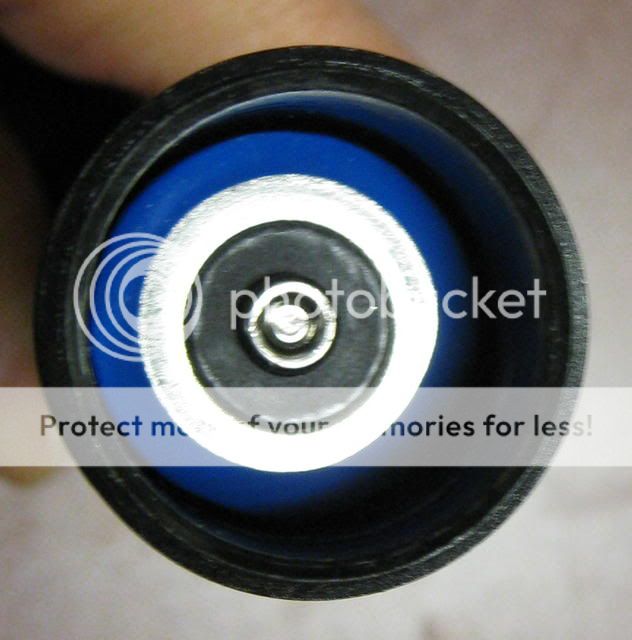
This is the B90 battery stick in the "off" position (tailcap button not pressed). Note the position of the battery within the 8NX's body tube.
Here is the battery with the tailcap button pressed fully ("on" position). Note how the battery has been pushed upwards.
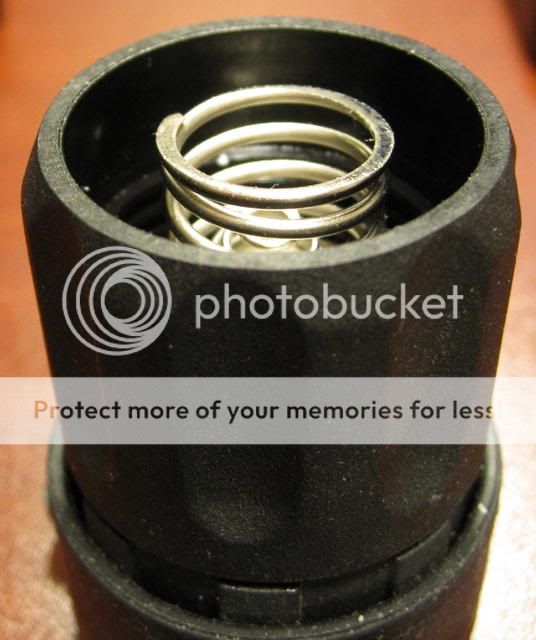
This is the relative position of the X80 lamp vs B90 battery stick in the 8NX. The outer spring contacts the negative terminal ring at the top of the stick. The center spring does not make contact with the positive nipple when the light is off. When you press the tailcap button, the B90 stick is pushed upwards, compresses the outer spring, and the nipple makes contact with the center spring. This completes the circuit and the light comes on. You can adjust how much the outer spring is compressed by screwing down the collar on the body tube a lot or not so much. This allows you to adjust the tailcap button actuation from a hair trigger to requiring a long travel to turn on the light.
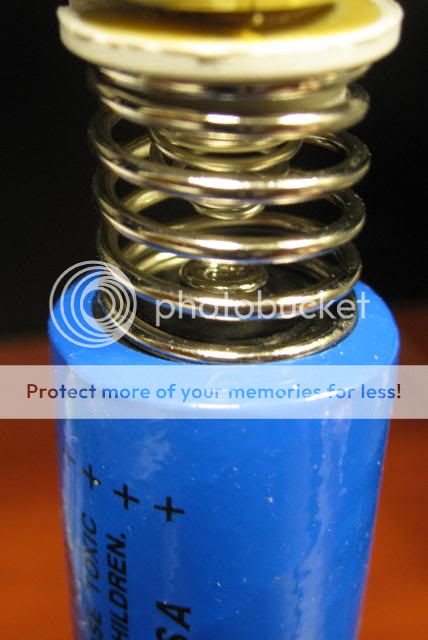
This shows the relative position of the outer spring vs. bottom edge of the collar. They are basically at the same level. When you drop this collar onto the body tube, but don't screw it down, the outer spring already is very close to contacting the negative terminal ring of the B90 battery stick. When you screw down the collar just a little bit onto the 8NX body tube, the outer spring will contact the top negative terminal ring of the battery stick. The more you screw down the collar, the more the outer spring compresses against the battery stick and the closer the center spring of the X80 lamp comes to the center nipple of the B90.
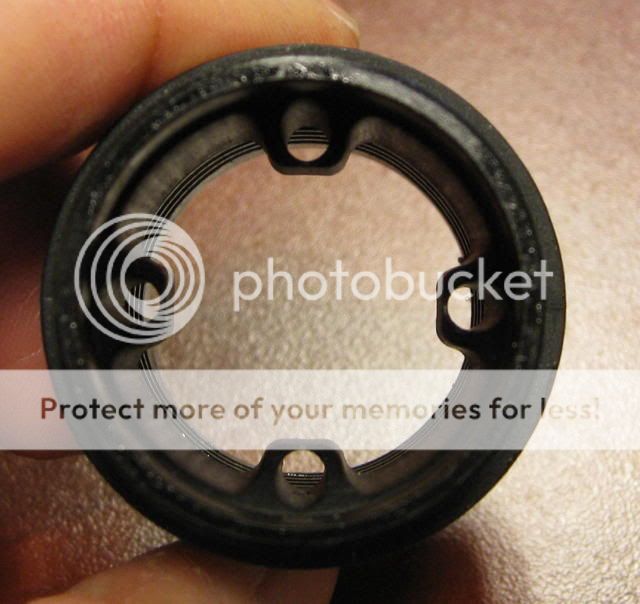
Here is a photo of the X80 in the centering ribs of the collar.
This shows that the reflector body of a 6P drop-in is a little too big to fit between the centering ribs in the 8NX collar. The ribs basically can fit around the brass pill, but not the reflector body.
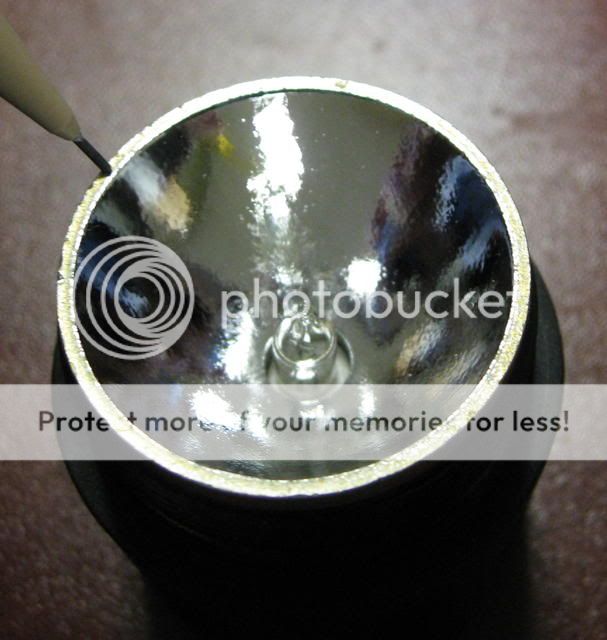
This is what a P60-sized reflector looks like in the 8NX bezel. The P60 is slightly undersized. The top rim of the P60 reflector presses against the glass window since the top rim is too small to sit on the ledge shown in the first photo above.
Here is a comparison of a P60 lamp for a 6P vs a DX6090 LED drop-in. If the drop-in's body were the diameter of the P60's, it would fit between the centering ribs with room to spare.
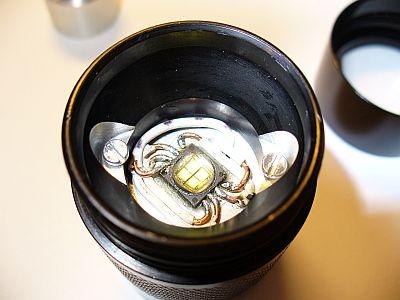
And this is what it would look like. The lamp would sit a little low in the collar. Compare this to the 3rd photo above. Basically, the battery stick has to push up the drop-in by about twice the height of the black rim that you see below for the drop-in to be pressed firmly against the bezel window. That distance is small and there is a lot of thread length on the 8NX body tube (see the photo of the body tube and its threads in post #5) to screw down the collar to push up the drop-in. Plus, you can make the outer spring slightly longer to compensate for this low drop-in position.
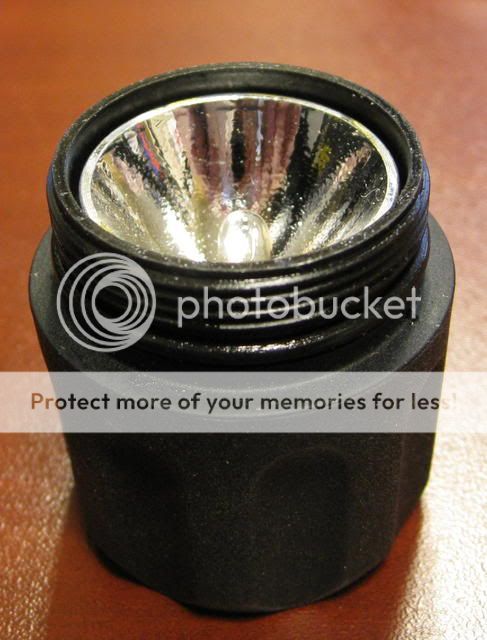
But, if we solder on the X80's outer spring to the ground trace of the DX6090's driver board, the battery stick should push up on the outer spring and thus also push up on the the drop-in so that it contacts the inside surface of the bezel window. Thus, all you need to do to mod a SureFire 8NX to accept a standard 6P LED drop-in is to file the centering ribs a little bit so that the drop-in fits firmly in the ribs, and solder an X80 outer spring to the ground trace of the drop-in's driver board. This mod seems fairly straightforward. Cost could be as low as $10 for a 6P drop-in plus a free outer spring from a dead X80. If you had to buy an X80, add $34, for a total of $44. But as the 6P drop-ins improve in performance, all you have to do is move the outer spring to the new drop-in and your 8NX stays current with LED technology.


