fletch31
Newly Enlightened
- Joined
- Jun 16, 2006
- Messages
- 87
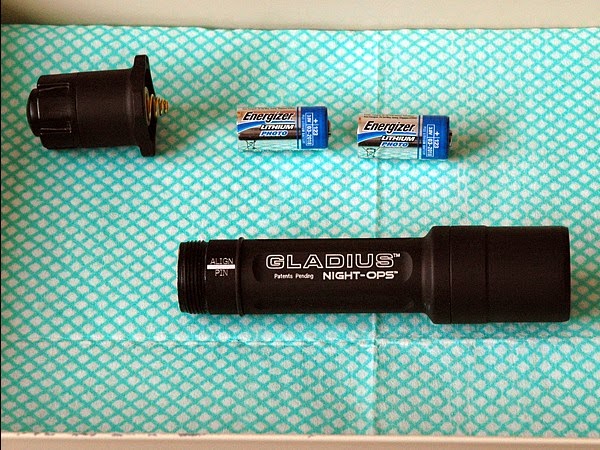
This is a very easy LED swap so I feel a bit embarrassed posting it here among the innovative greats but I thought I would share as I guess it is a mod.
So I have modded two of these Gladius lights now with A0 bin XP-G R5 LEDs and I am just thrilled with the ease of the job and increased output. Previously I have modded these with U2 bin Seoul P4's and was happy with the output I got back then. Now I have a 50% even greater lumen output OTF with a very similar beam smooth beam pattern. The hot spot is just a bit bigger but its noticably brighter over the P4 and the spill is brighter as well. Best part is my low setting is still Loooow. The stock IMS27 reflector focuses this LED perfectly with no donuts and a nice even hot spot. I love these dang lights. Best UI made IMHO.
This time I used the XP-G's premounted on a 20mm stars (from Cutter) so this mod ended up being easier than my old P4 mods. When I did those, I had to make a copper shim under the P4 for focus and electrically isolate it using the old 80 lumen luxeon star mount because I could only source unmounted U2 bin LEDs then.
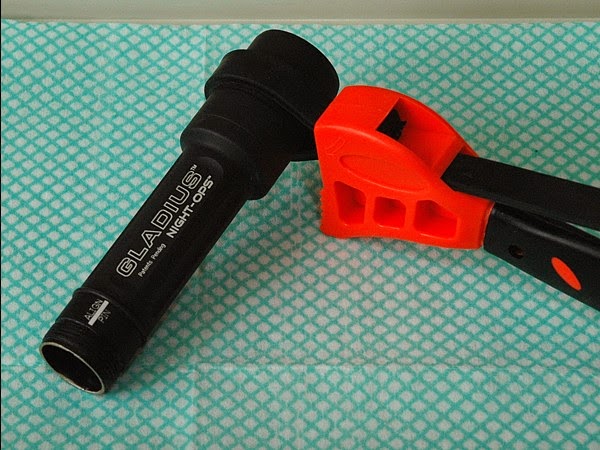
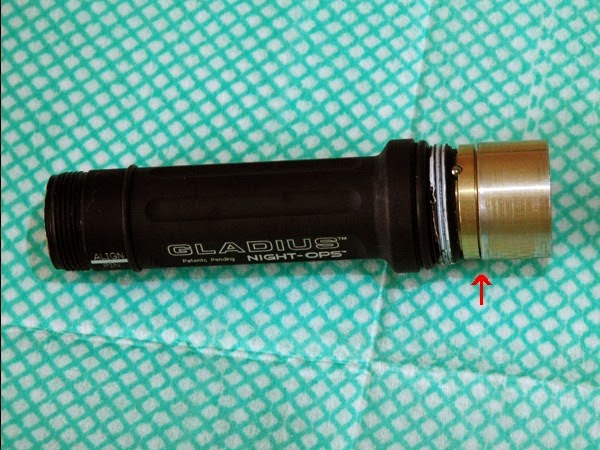
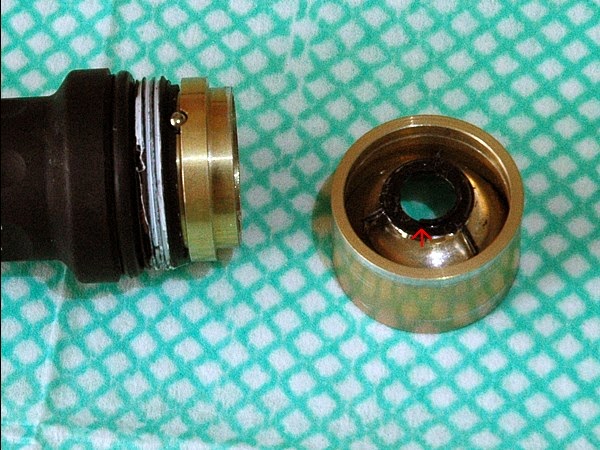
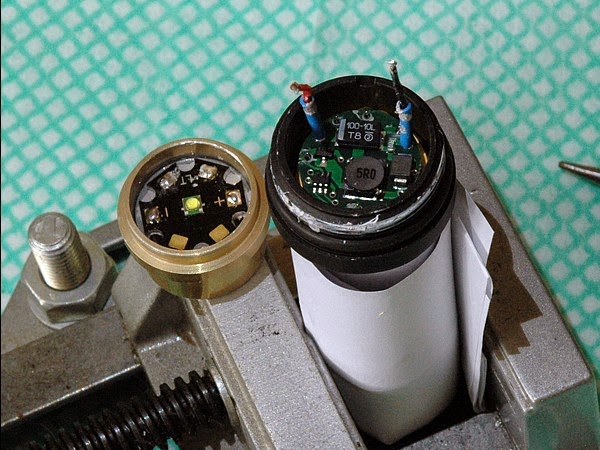
This mod is very easy. Just unsolder the two leads, pop the old star off with a small screw driver and lap the old thermal compound off.
Trim off the two small half moon shaped plastic risers built into the bottom of the reflector to get the correct donut free focused beam.
Put down a thin layer of Arctic Silver 5 thermal compound and lay your new star down centered the best you can and resolder your leads.
This next part, you need to move kind of fast as it involves centering the LED. I mix some 5 min epoxy to put around one edge of the LED star to hold it in place. Its pretty easy to get in the ball park by moving the star equadistant from the edges of the heat sink platform. I take the reflector and circular shield that surrounds it out of the bezel and set it on top of the light and look down in to eyeball it for center, sliding the LED star around with some tweezers while the epoxy is still curing. Then reassemble the light and check the beam pattern on a wall. If there is any V shaped ring flair to the beam around the hotspot its not centered. Remove the head and repeat before the epoxy cures until you get the desired results. You should be able to get it with no problem in 5 minutes. I move the oring from below the reflecter shield to the top for centering purposes to get good downward pressure on the LED star as I tighten the head to center it. You will find that as you tighten the head, it will move out of center and back into center. Once you have the beam you are happy with, let the light sit upright while it cures. You will find you will have more than 5 mins because a bit of thermal compound likely will have mixed in with the epoxy at the leading edge of the star, giving you a bit more time before it hardens completely. Just keep track of that dang ball bearing that keeps the driver from tearing off the traces each time you dissassemble, and put it back in each time you reassemble the light for testing.
After the epoxy has cured, remove the head again and epoxy the other side of the star to make sure everything is good to go. Reassemble and enjoy your newly relevant Gladius. :naughty:
Fletch31
Last edited:


