
Hornet
Newly Enlightened
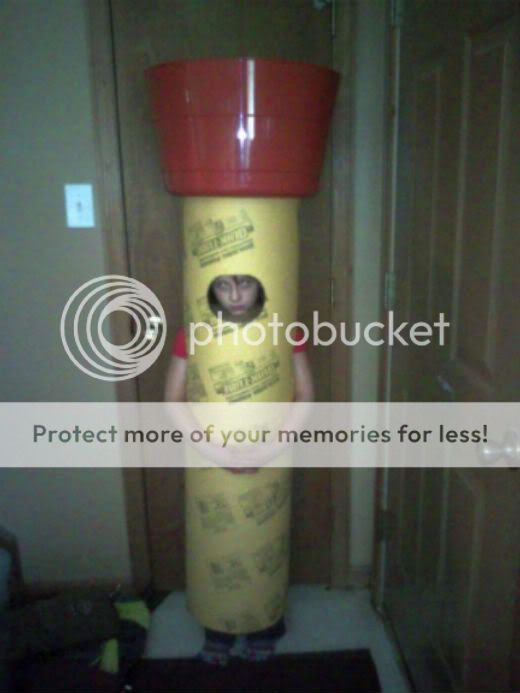
Well my son wanted to be a flashlight for Halloween but then his friend changed his mind. I already had the parts so I decided to make it anyways to see how it turns out well my daughter was helping and decided that she now wants to be the flashlight.
12" cement tube as the body
Plastic tub as the head
2 sheets of poster board and aluminum foil for reflector
Spray paint
One of my lights
Remote presser switch
First I cut arm holes and a face hole in the tube leaving about 6" from the top of the tube to her head so she won't be hitting the light with her head. I then cut the top 4" or so off the top of the tub to reduce weight. I then drilled a 1" hole in the middle of the tub for a light. To attach the tub to the tube I cut 5 notches around the bottom of the tub even with the inside of the tube. I then used real good duct tape and feed it down the slots and then pressed it against the tube the in the tub I pulled it tight and pressed it down firm. After it was connected threw each hole I then went inside the tube threw the face hole and used the duct tape all around the tube and tub to add more support. I then connected a Cabelas 1" light threw the hole I drilled then to hold it in place I pushed a 1" scope ring against the tub and tightened it down. As soon as I get the remote switch in I will decide what light I will use for sure.
I still need to paint it make the reflector and decide what to use as a lens. I might use the plastic floor runner it has the poky little plastic things on the bottom and is frosted but because the flashlight has less flood than is needed to fill the light I think it will make it look brighter in the end.
Oh. I also need to pick up another drop in from nailbender it will be my third in the last couple weeks because she would like it to have orange light I think I can find a use for a amber light latter.
I will post a finished light in a week or 2 we need some dry weather to get the painting don before I can move on.
She didn't want her photo taken but I talked her into it
