
PCC
Flashlight Enthusiast
This is a light that I built for bigchelis. He supplied the host, batteries, emitters, and lenses. I supplied the heatsink and assembled it.

Blue 2C MagLite host
Stainless steel tailcap with shorty spring and lanyard ring/spacer
2 X Luxeon K2 TFFC emitters (forgot the tint)
2 X IMR 25500 batteries
2 X 3 degree lenses (I forgot which ones they are - bigchelis?)
This is my Sherline miniature mill. I've set it up for use as a lathe and it works pretty well in this role. It has its limitations but I've learned to work around most of them. To give you an idea of the size of this thing, the red dial on the right is about 1.25" in diameter.

I started off with a piece of 1.75" 6061 aluminum round bar. I don't have a band saw or chop saw so I got some exercise by cutting it with a hacksaw. Yes, that is my foot on the left of the picture trying to stabilize the aluminum bar.

I mount this roughly 2" long slug in the 4-jaw chuck and started to square up one side of it. This is the emitter side.


You can see the chips flying in the middle picture.
Flip it over and cut the other side to fit inside the MagLite body.

I didn't take pictures of some of the intermediate steps but you get the idea. Here's a picture of the mostly completed heatsink next to one of the reflectors and the blue 2C host that it's going into.

Test fitting the heatsink and lenses.


With the bezel and UCL in place. Yes, it's a tight fit and, yes, the bezel blocks part of the lenses. I don't know how many lumens are lost due to this but bigchelis should be able to test it this weekend and report back his findings.

I decided to drill holes underneath the contacts to run the wires through the heatsink instead of through a central hole. This increases the thermal mass of the heatsink as there isn't a large hole running through the middle of it but I had to mill a slot down one side of the narrower section to run the wires. The emitters are attached to the heatsink using Arctic Alumina thermal adhesive then the wires run and soldered to them. I cut out tiny patches of electrical tape and stuck them between the wires and the bare aluminum of the heatsink, just in case. I used thermal paste between the body of the light and the thinner section of the heatsink.

Then the lenses were installed and the bezel with the UCL.

The two holes were drilled to mount the heatsink directly to the bezel but I only used one screw. Both the heatsink and the bezel were tapped and a set screw was used so you don't see the screw head. Also, I drilled a small hole into the host through the threads for the head and stuck a short pin into it to prevent the head from turning, which would pull all the wires out. The heatsink prevents this pin from coming out.
All told I spent about 8 hours working on this light but the results are worth it. I've measured 1560mA draw at the tail cap and the batteries measured 3.85V. It puts out roughly 450-500 lumens. The spot was not as small as I thought it would be for a 3 degree optic but it's not bad. The beam has a distinct hotspot surrounded by a bright corona which is surrounded by a square (blue tint!) secondary corona. This comes from the optics and is not noticable when used outdoors. There is very little spill outside of this square box. Interestingly, the light emits some heat in the beam. Are these high CRI LEDs? My P7 MagLite does not produce any detectable heat in the beam at 500 OTF lumens.
Beamshots:
White balance set to "sunlight", manual exposure mode, mint green painted wall at 6 feet:
1/500 sec @ f/29:
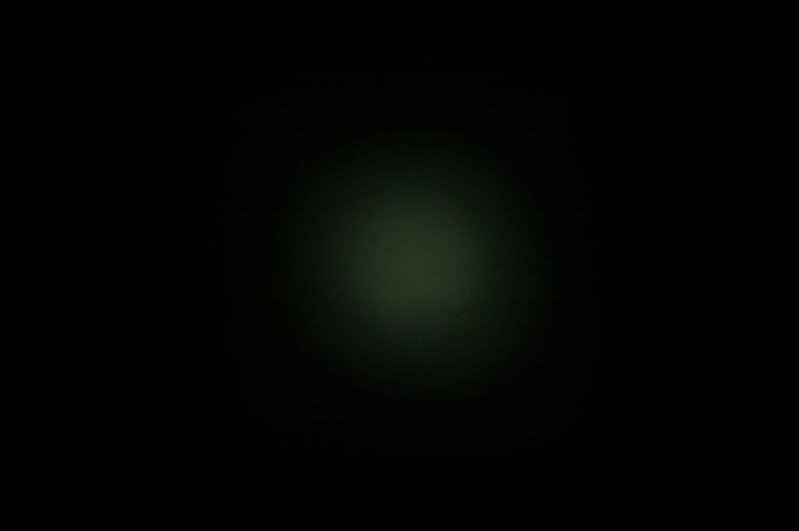
This shows the hotspot.
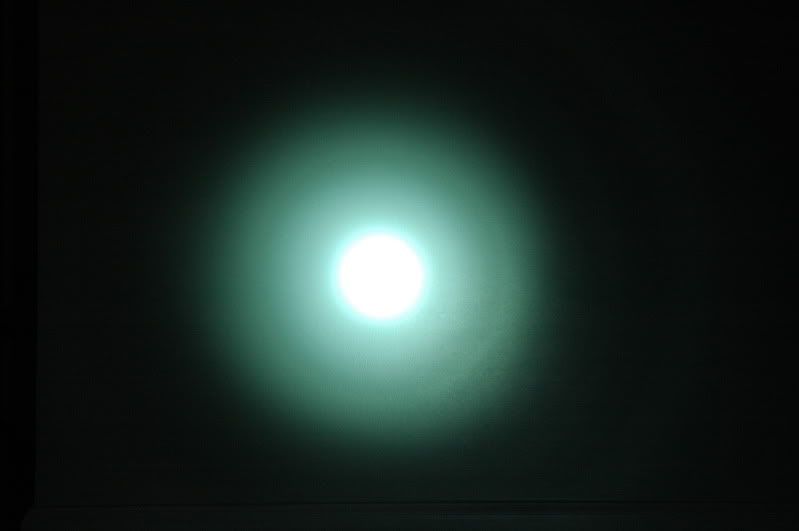
1/500 sec @ f/5.6:
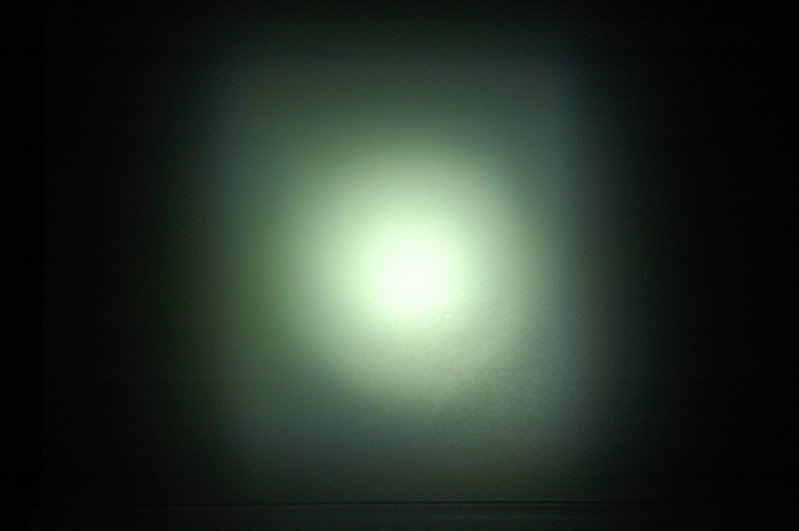
You can see the corona and the square secondary corona around it.
1/250 sec @ f/5.6:
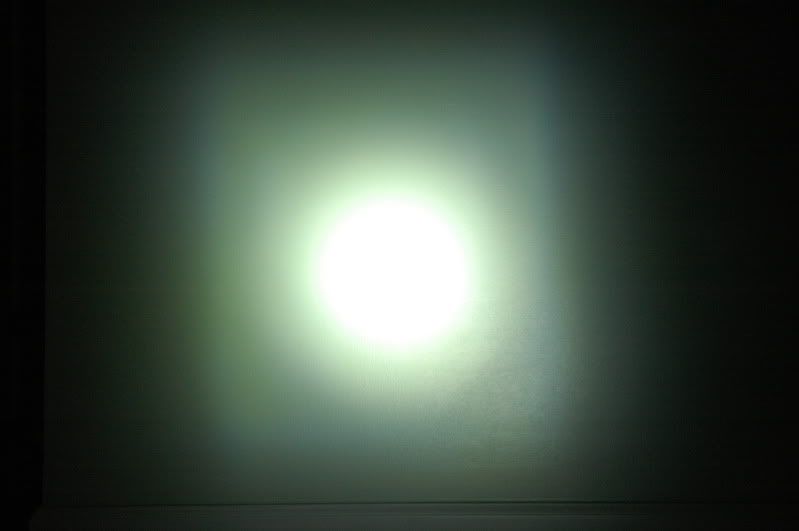
This is what it looks like to my eyes.
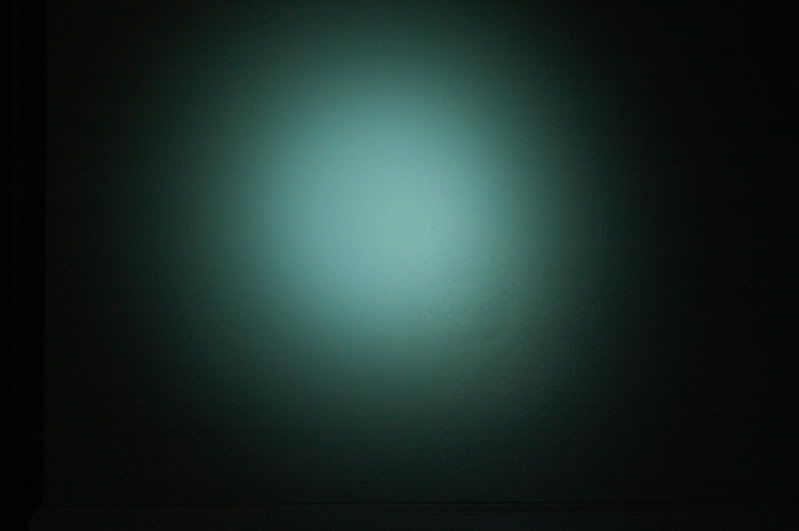
For comparison, this is my Surefire G2 with a drop-in rated at 210 OTF lumens as measured by bigchelis (ThruNite reflector, TLS TX-3 pill with XP-G) - 1/250 sec @ f/5.6:
My Surefire 9N with TLS TX-3 head and ThruNite 3-mode XP-G pill - 1/250 sec @ f/5.6:
All in all it was a very satisfying build. It'll be difficult for me to give this one to its owner...")
Blue 2C MagLite host
Stainless steel tailcap with shorty spring and lanyard ring/spacer
2 X Luxeon K2 TFFC emitters (forgot the tint)
2 X IMR 25500 batteries
2 X 3 degree lenses (I forgot which ones they are - bigchelis?)
This is my Sherline miniature mill. I've set it up for use as a lathe and it works pretty well in this role. It has its limitations but I've learned to work around most of them. To give you an idea of the size of this thing, the red dial on the right is about 1.25" in diameter.
I started off with a piece of 1.75" 6061 aluminum round bar. I don't have a band saw or chop saw so I got some exercise by cutting it with a hacksaw. Yes, that is my foot on the left of the picture trying to stabilize the aluminum bar.
I mount this roughly 2" long slug in the 4-jaw chuck and started to square up one side of it. This is the emitter side.
You can see the chips flying in the middle picture.
Flip it over and cut the other side to fit inside the MagLite body.
I didn't take pictures of some of the intermediate steps but you get the idea. Here's a picture of the mostly completed heatsink next to one of the reflectors and the blue 2C host that it's going into.
Test fitting the heatsink and lenses.
With the bezel and UCL in place. Yes, it's a tight fit and, yes, the bezel blocks part of the lenses. I don't know how many lumens are lost due to this but bigchelis should be able to test it this weekend and report back his findings.
I decided to drill holes underneath the contacts to run the wires through the heatsink instead of through a central hole. This increases the thermal mass of the heatsink as there isn't a large hole running through the middle of it but I had to mill a slot down one side of the narrower section to run the wires. The emitters are attached to the heatsink using Arctic Alumina thermal adhesive then the wires run and soldered to them. I cut out tiny patches of electrical tape and stuck them between the wires and the bare aluminum of the heatsink, just in case. I used thermal paste between the body of the light and the thinner section of the heatsink.
Then the lenses were installed and the bezel with the UCL.
The two holes were drilled to mount the heatsink directly to the bezel but I only used one screw. Both the heatsink and the bezel were tapped and a set screw was used so you don't see the screw head. Also, I drilled a small hole into the host through the threads for the head and stuck a short pin into it to prevent the head from turning, which would pull all the wires out. The heatsink prevents this pin from coming out.
All told I spent about 8 hours working on this light but the results are worth it. I've measured 1560mA draw at the tail cap and the batteries measured 3.85V. It puts out roughly 450-500 lumens. The spot was not as small as I thought it would be for a 3 degree optic but it's not bad. The beam has a distinct hotspot surrounded by a bright corona which is surrounded by a square (blue tint!) secondary corona. This comes from the optics and is not noticable when used outdoors. There is very little spill outside of this square box. Interestingly, the light emits some heat in the beam. Are these high CRI LEDs? My P7 MagLite does not produce any detectable heat in the beam at 500 OTF lumens.
Beamshots:
White balance set to "sunlight", manual exposure mode, mint green painted wall at 6 feet:
1/500 sec @ f/29:
This shows the hotspot.
1/500 sec @ f/5.6:
You can see the corona and the square secondary corona around it.
1/250 sec @ f/5.6:
This is what it looks like to my eyes.
For comparison, this is my Surefire G2 with a drop-in rated at 210 OTF lumens as measured by bigchelis (ThruNite reflector, TLS TX-3 pill with XP-G) - 1/250 sec @ f/5.6:
My Surefire 9N with TLS TX-3 head and ThruNite 3-mode XP-G pill - 1/250 sec @ f/5.6:
All in all it was a very satisfying build. It'll be difficult for me to give this one to its owner...

