My first AA flashlight mod

johnny13oi

Enlightened
Joined
Feb 18, 2007
Messages
642
Hey guys, I just modded my first flashlight and it is a normal AA flashlight from Dealextreme for about $5.

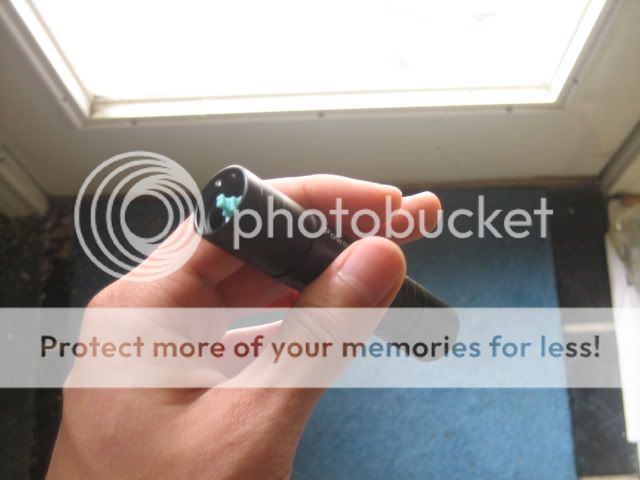
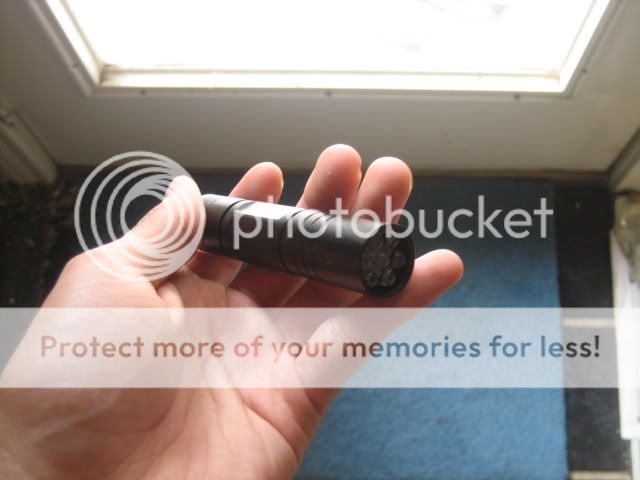
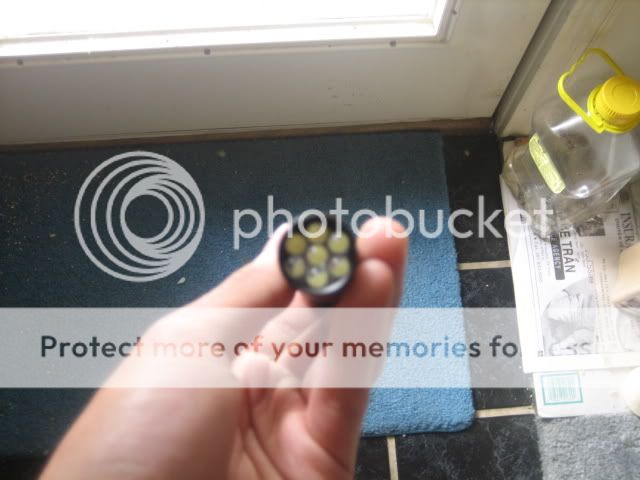
The flashlight used to have some cheap 1W emitter and is now replaced by 7 5mm led's. The output is about doubled to tripled based on what I see and the circuit was replaced by one from one of their Elly flashlights. When putting it back together I had to use a copper wire to extend the negative contact to the tube but in turn it touched the positive terminal as well and burned out the switch. I then replaced the switch with one from one of my electronic devices and now the flashlight has a momentary switch as well as constant on. I haven't finished the switch yet in that I need to put back its rubber switch cover but it wouldn't fit. I'll probably just cut the switch down and see if that works. Well here are pictures of the flashlight itself, I know its nowhere near as good as any of the mods here but its the best based on my supplies.
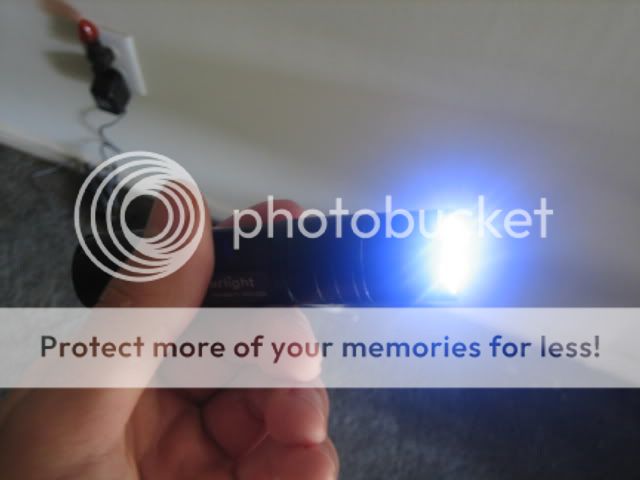
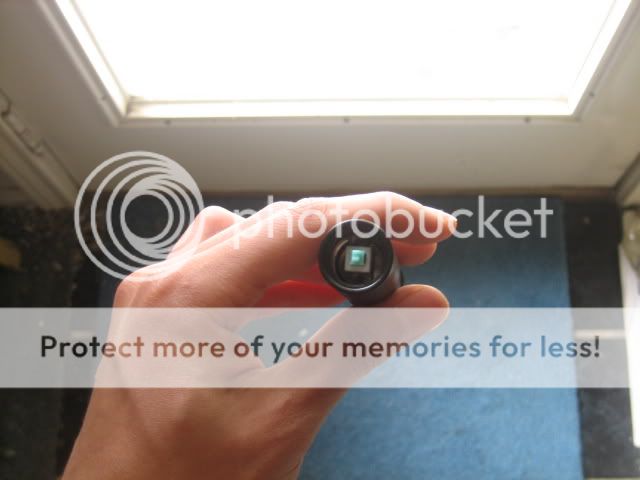
IMG_0331.jpg

IMG_0328.jpg

IMG_0327.jpg

IMG_0326.jpg

IMG_0325.jpg
 
Interesting mod! Finishing the tailcap fitting would really bring this light home, though.

Just wondering, but what kind of 5mm LEDs did you use and what current are you running them at?

I've got two 8+ 5mm LED lights and they are two of my favs - great floody beam and fantastic runtime.

From a physics standpoint, taking advantage of the high efficiency of slightly underdriven LEDs by using more individual LEDs is a smart and practical approach to maximizing the inherent advantages of LEDs and minimizing their inherent disadvantages! :thinking:

This makes more sense when compared to another medium, say incandescent halogen bulbs. As you may know, halogen bulbs actually increase in efficiency and can produce a whiter light when slightly overdriven. So, it follows that you need fewer halogen bulbs, but you drive them harder. "Soft start" electronics help to prevent "instaflash"
when overdriving... :ohgeez:

It looks like you did a very nice job aligning the LEDs. I believe at this time it is customary to ask for beamshots. Congrats on your first mod!
 
Yeah I plan on finishing the tailcap fitting possibly by the end of the day, just been caught up with other things and the switch at the tail alone took about 3 hours to figure out how to put it in and everything. Just took some beamshots as requested for you and the LED's were kinda blueish tinted to begin with and the makers of the LED are unknown but I took them from a headlamp that I had extras of. And I am not sure what they are being driven at but they suck about .80 amps from a fully charged AA at about 1.3V measured with a really crappy multimeter.

Here are the beamshots:

This one is really close to the wall to show the star-ish shape that only appears when it's really up close.

IMG_0333.jpg


Here it is from much farther away:

IMG_0334.jpg


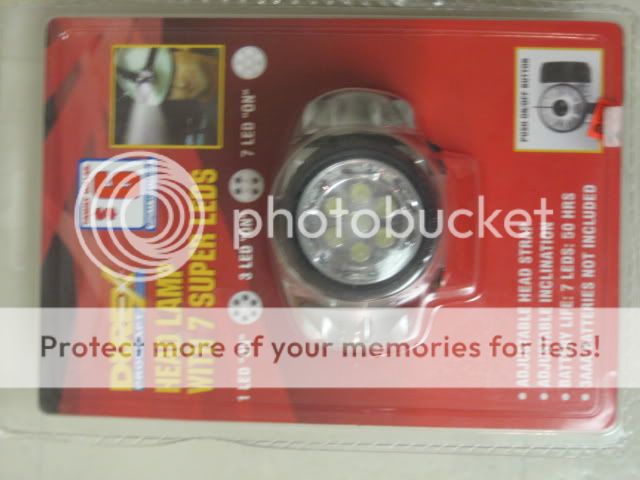
Here is the LED headlamp that the LED's were taken from:

IMG_0340.jpg
 
Nice. Now put a Cree into the headlamp. (The exact same job is on my to-do list before this weekend.)
 
Nice. Now put a Cree into the headlamp. (The exact same job is on my to-do list before this weekend.)

Thanks guys. And it would actually be nice considering you could possibly wire different resistors in say a higher value resistor in the mode where 1 led is lit and a lower value for the 3 leds lit mode and then direct drive for the all leds mode lit. I was actually thinking about cutting the board down and using that in possibly some future flashlight for multiple modes.
 
The beam pattern looks really nice, I bet it is a lot better than that headlamp was!

Here is a rough estimation of the forward current of the LEDs if they are in series:

1.3v X 0.80 amps from the battery into the converter circuit equals 1.04 watts. (For DC circuits VOLTS X AMPS = WATTS, which is not technically correct, but serves our purpose)

The drive voltage of a typical white 5mm LED is around 3.4 volts (heh, this is bound to cause some controversy!)

So, with seven white 5mm LEDs in series, you need 23.8 volts at the nominal drive current of 20ma, which is pretty standard for a 5mm LED:

23.8v x 0.02a = 0.476 watts

0.476 watts is less than half the energy being drained from the battery! So what is going on here? :thinking:

There are three main reasons why the current drain is higher (I'm not counting bad soldering, LOL :crackup: ):

1. Converter Losses: using 1xAA requires a voltage boost converter.
2. Voltage Sag in battery (not accounted for in this calculation).
3. "drivetrain" losses, e.g. losses from switches, tailcap springs, dirty threads, etc.

Back calculating with a typical 20ma drive current, we calculate a total loss of 1.04 - 0.476 = 0.564 watts. This seems a bit steep. More than half the energy is being lost someplace! Perhaps it is very inefficient to convert from 1.3 volts to 23.8, but many converters on this forum are 80% or better.

Therefore, let us assume a slightly more efficient converter and "drivetrain", and of course, since they are Super LEDs, as seen on the packaging, they can certainly withstand a higher If:

23.8v x ?a = 0.8 amps (minus 20% for converter and "drivetrain" efficiency) gives us: 0.027 amp (27ma) drive current, which seems reasonable for a Super LED given our "crude" measurements and math. :shrug:
 
I doubt the losses are over 50% .. the driver is probably driving the led's a little harder than spec? I remember testing the LED's individually at 3.5V or so and they all ranged from 70ma to 50ma draw at that voltage. For some reason .. they were either 50, 60, or 70 to be exact.

And yeah I couldn't measure the voltage sag.
 
Last edited:
(For DC circuits VOLTS X AMPS = WATTS, which is not technically correct, but serves our purpose)

The drive voltage of a typical white 5mm LED is around 3.4 volts (heh, this is bound to cause some controversy!)
Technically, P = IV, or power (watts) = current (amps) x voltage (volts). :confused: Which is what you said. Your "Not technically correct" claim sounds more controversial. The LED operating voltage is fine for a back-of-an-envelope calculation.
 
johnny13oi:

Hmm, messed up that final calculation - put in Amps twice and not Watts. Oops. Here is a corrected version:

Assumed Converter Efficiency:--------If:--------------Calculation:
100%--------------------------- 0.0437A = 1.04W / 23.8V
95%---------------------------- 0.0415A = (1.04W*95%) / 23.8V
90%----------------------------0.0393A = (1.04W*90%) / 23.8V
85%----------------------------0.0371A = (1.04W*85%) / 23.8V
80%----------------------------0.035A = (1.04W*80%) / 23.8V

So, from 44ma at theoretical max to 35ma at 80% efficiency If!

Torchboy:

I said "not technically correct" because I am not showing the proper unit dimensions and how they cancel out in my calculation. You'd have points taken off if you were in class, LOL :ohgeez:
 
I said "not technically correct" because I am not showing the proper unit dimensions and how they cancel out in my calculation.

:confused:

1.3v X 0.80 amps from the battery into the converter circuit equals 1.04 watts.

What's wrong with the "unit dimensions" in that? 1.3 x 0.8 = 1.04. Fine. And the units are fine too, except that the symbol for volts is V not v.
 
:confused:

What's wrong with the "unit dimensions" in that? 1.3 x 0.8 = 1.04. Fine. And the units are fine too, except that the symbol for volts is V not v.

Sorry, what I really am talking about is something along the lines of this:
A watt is one Joule of energy per second: J / s = W. The previous equation still does not describe a watt in the most basic units; a watt can also be described as: (N * m) / s = W, or most simply as: (kg * m^2 ) / s^3 = W.

When I said "not technically correct" I was referring to the fact that I left out how the kilograms, meters and seconds were all behaving, as required by dimensional analysis: http://en.wikipedia.org/wiki/Dimensional_analysis.

I didn't mean to cause any strife on this thread, the comment I made was sort of lamenting the fact that I was unwilling to spend the time to explain this calculation more in depth for the benefit of the forum.

Anyway, Sweet mod, and great concept! can't wait to see the pics of the finished product.

With all this multi-LED calculating, I think you may have inspired me to finish the multi 10mm red LED mod I've been working on...lol
 
The amp of course is itself an SI unit, but don't you think it's easier to just type V instead of m^2.kg/(s^3.A) ? And if you mentioned m^2.kg/s^3 most people wouldn't have a clue what (no pun intended) you were talking about.

To summarise, P = IV, or watts = amps x volts is technically correct.

To imply otherwise you'd be playing with yourself, and you wouldn't want to be thought a m/s^3 before you make Flashaholic, you know. ;)

http://en.wikipedia.org/wiki/SI_base_unit
http://en.wikipedia.org/wiki/SI_derived_unit
 
Does anyone know where I can get some really cheap GID paint to paint the tailcap button? Or would this look really cheesy?
 
http://www.glowinc.com/ would be most people's first call. Don't know that it would stick to the rubber well long term. Might look cool if you painted the body in a ring around the button and should last longer.

BTW, I put a Cree in my donor headlamp but using the original driver chip (has the advantage that it has a flashing mode) it only did 110mA with alkalines and 90mA with NiMH. OK, but not very impressive. I guess I should use a different driver or find a donor headlamp with more than 7 LEDs stock (so has a stroppier driver).

I'd be interested in knowing how you get on.
 
I've been messing with the headlight parts and found that it wires in 10ohm resistor to each stage. All the positive connectors were connected together and it controlled how it powered the negative to the leds. Well, I just tried bridging all the negatives and measured the resistance and I was correct. With one click its 10ohms, two its 5 ohms, and 3 it was 4 ohms. Maybe yours is the same and can possibly bridge the negatives. I either plan on using this in another 3AAA host as a multistage setup or putting it inside one of my stick on lights to have multiple levels of light.
 
Interesting. I'll have to do some more investigation, or see if I can remove the black blob over the working electronic bit. But my click 2 is flashing.
 
Top