LightSward
Flashlight Enthusiast
The 24 kw may be hard for most households unless you're an electrician and know how to tap safely into the main buss line and not kill thy self....easy if you know how. This high wattage is really intended for businesses as this wattage is equal to a 75,000 watt Xenon, if they existed. Only 3 of these 24,000 watt H.M.I. lights, equal to 96,000 watts xenon, would slightly exceed the brightness of the Luxor hotel's bright pyramid light in Las Vegas now the brightest with those 40 inefficient 7 kw Xenon light, (each equal to a 7 kw incandescent halogen bulb or 1.75 kw H.M.I. if they existed). total 280,000 watts Xenon, halogen. I'd go ahead and use four of these 24kw (,equal to 96kw xenon), lights to make it brighter, still less wattage, and operating and bulb costs, making one light for each side of the pyramid top.
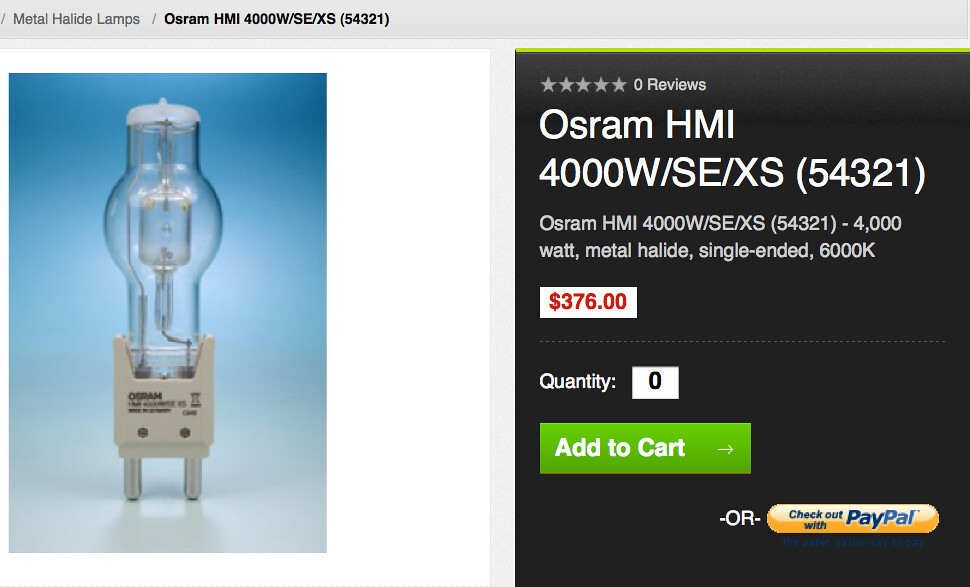
Most household stoves have to have a dedicated 50 amp 240 power circuit, so unplugging the stove and wiring up the pig tale to fit the stove outlet would give you the power needed for the 6,000 or 4,000 watt bulbs, equal to 24,000 or 16,000 watt Xenon or halogen respectively well within the 12 kw available on most home stove wall outlets. The lumen output of these lower wattage bulbs are in the ballpark if not exceeding lumen output of the '''60 inch carbon arc searchlights of WWII'''. This should be much brighter than just about anything out there anyway. The higher watts are just simply insane...
I apologize, but one of my photo hosts has unreliable and unstable links, (Facebook based), and this caused a large amount of my photos to vanish over he last few days. Apologize, but with all the photos I posted I'm not able to update all them do to a variety reasons, mostly time.
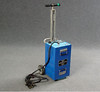
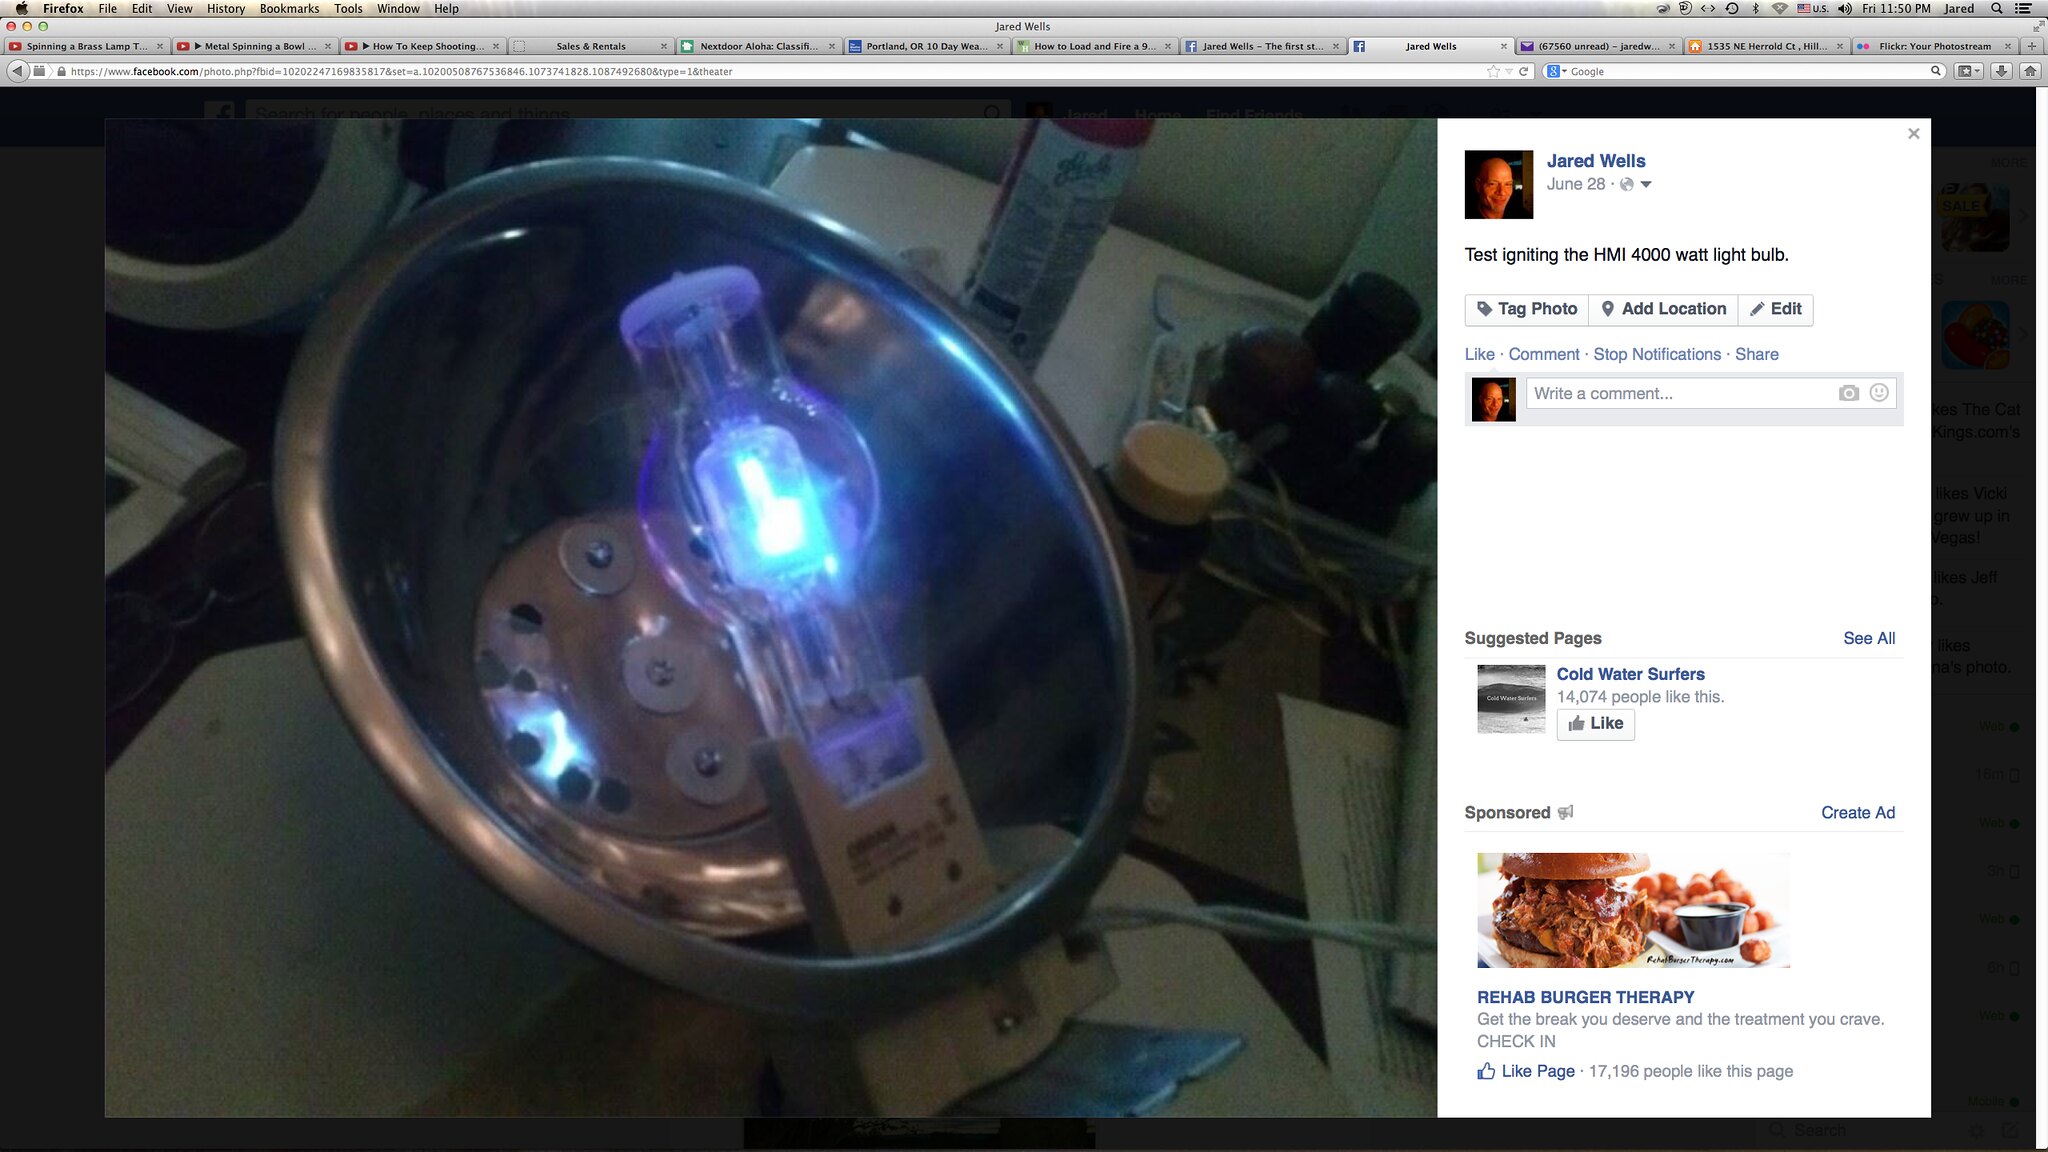
(Sneak Preview) Here is a quick look at the Searchlight when half finished, using only a 100watt HID bulb. Eventually I did Upgrade to a 1200 watt HMI with the help of the IgnITEor.

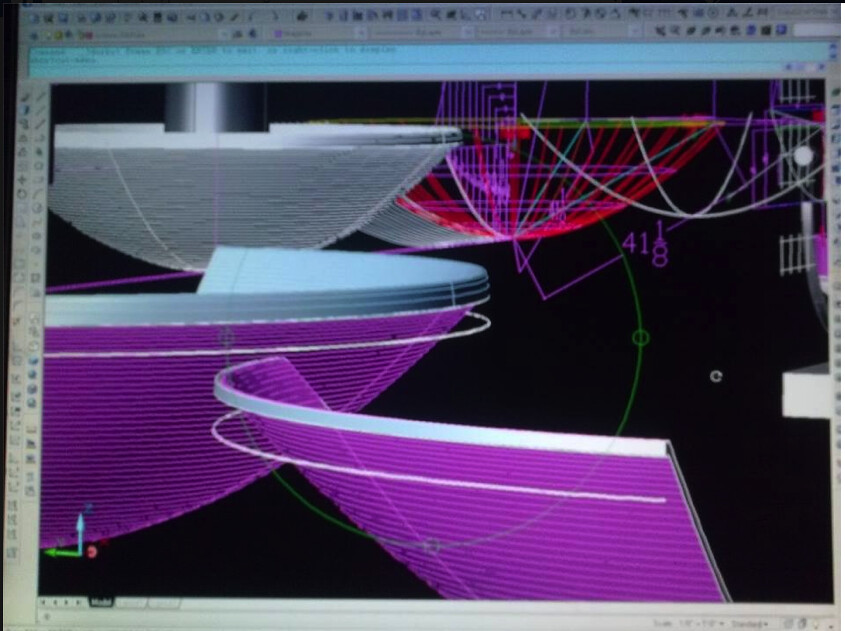
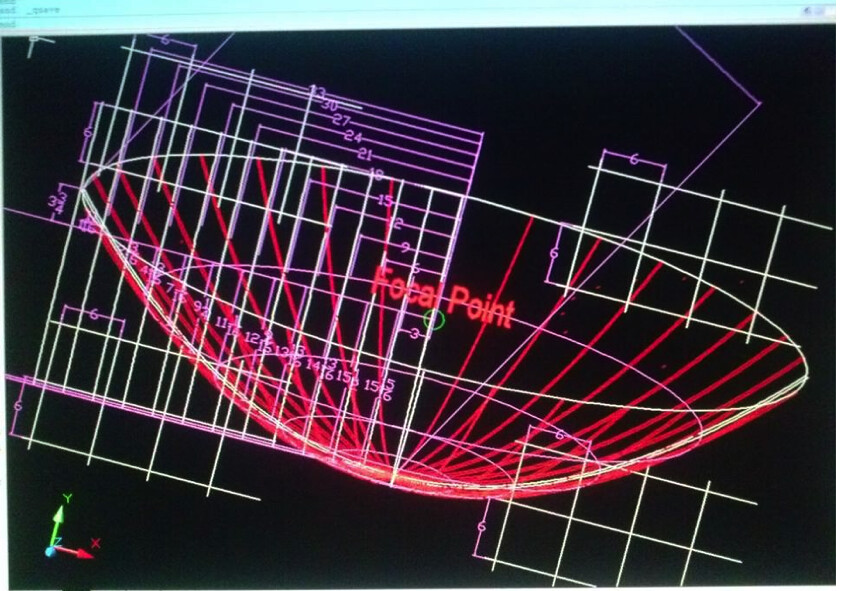
Very efficient and good beam design using AutoCAD. Searchlight has a parabolic shape design that uses 60% of the available light radiating from bulb onto primary reflector. Searchlight uses much of the remaining 40% of the otherwise wasted light by bouncing it from the split reflector back through the H.M.I. arc chamber onto the large primary reflector making a brilliant collumnated searchlight beam..

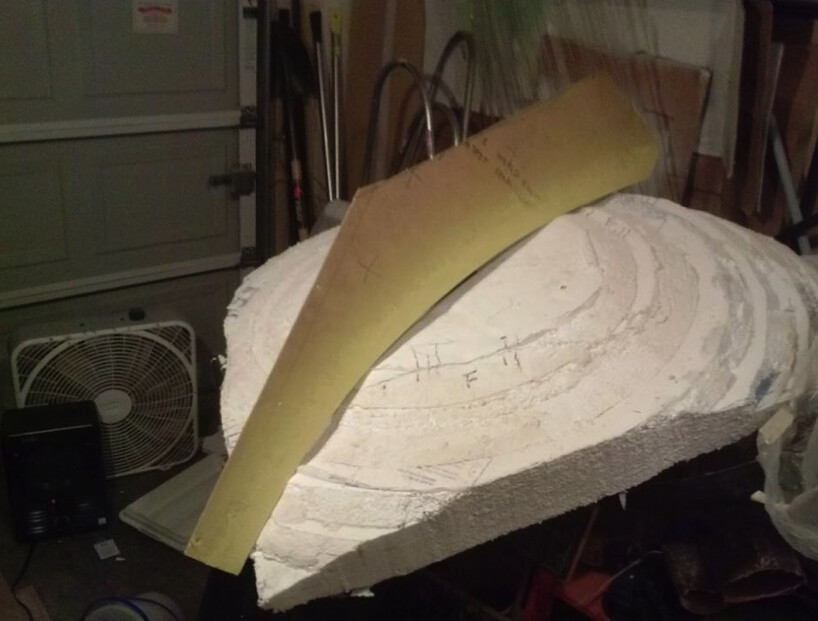
Life size of half the reflector profile of eventual total diameter of 72 inches. Test image was not the actual one used, the finished image was more aligned and then stripped to the basic parabolic profile. Eventually the template will be finished to with in a thousandth of an inch accuracy. This gives me a good idea of what to expect.
Most household stoves have to have a dedicated 50 amp 240 power circuit, so unplugging the stove and wiring up the pig tale to fit the stove outlet would give you the power needed for the 6,000 or 4,000 watt bulbs, equal to 24,000 or 16,000 watt Xenon or halogen respectively well within the 12 kw available on most home stove wall outlets. The lumen output of these lower wattage bulbs are in the ballpark if not exceeding lumen output of the '''60 inch carbon arc searchlights of WWII'''. This should be much brighter than just about anything out there anyway. The higher watts are just simply insane...
I apologize, but one of my photo hosts has unreliable and unstable links, (Facebook based), and this caused a large amount of my photos to vanish over he last few days. Apologize, but with all the photos I posted I'm not able to update all them do to a variety reasons, mostly time.
(Sneak Preview) Here is a quick look at the Searchlight when half finished, using only a 100watt HID bulb. Eventually I did Upgrade to a 1200 watt HMI with the help of the IgnITEor.
Very efficient and good beam design using AutoCAD. Searchlight has a parabolic shape design that uses 60% of the available light radiating from bulb onto primary reflector. Searchlight uses much of the remaining 40% of the otherwise wasted light by bouncing it from the split reflector back through the H.M.I. arc chamber onto the large primary reflector making a brilliant collumnated searchlight beam..
Life size of half the reflector profile of eventual total diameter of 72 inches. Test image was not the actual one used, the finished image was more aligned and then stripped to the basic parabolic profile. Eventually the template will be finished to with in a thousandth of an inch accuracy. This gives me a good idea of what to expect.
Last edited: