EV_007
Enlightened
Very pic heavy... dial up users beware...
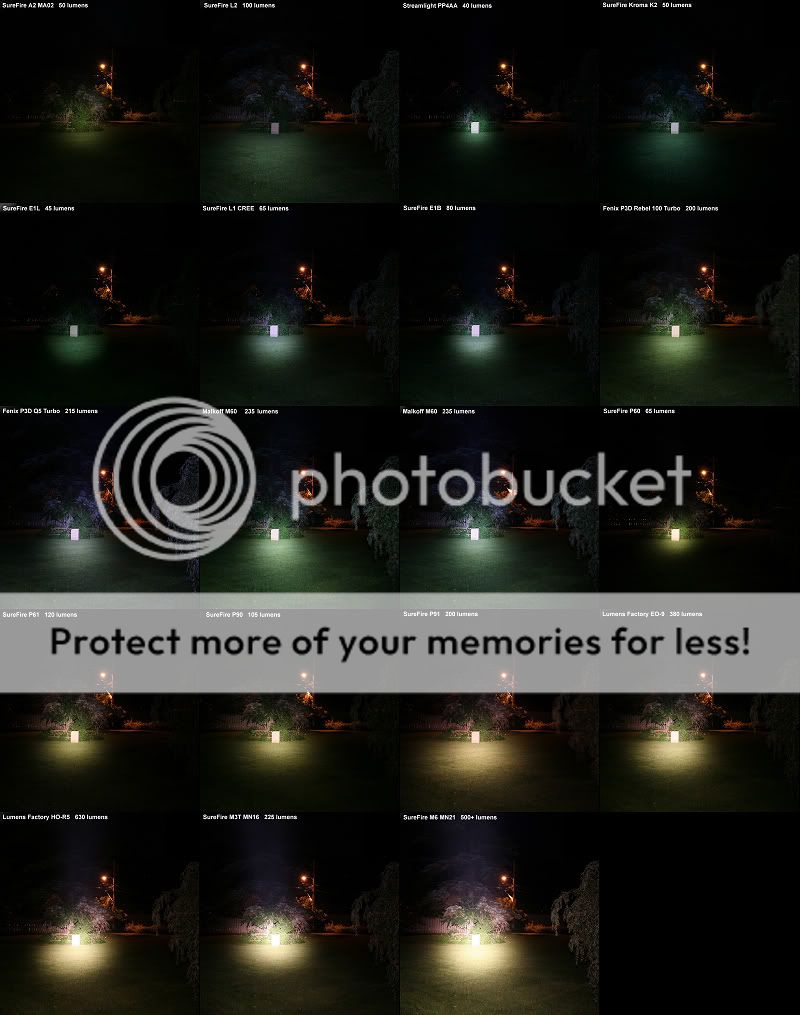
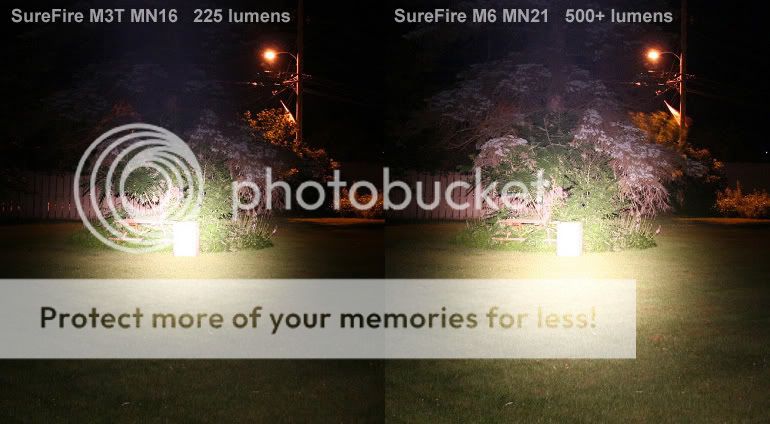
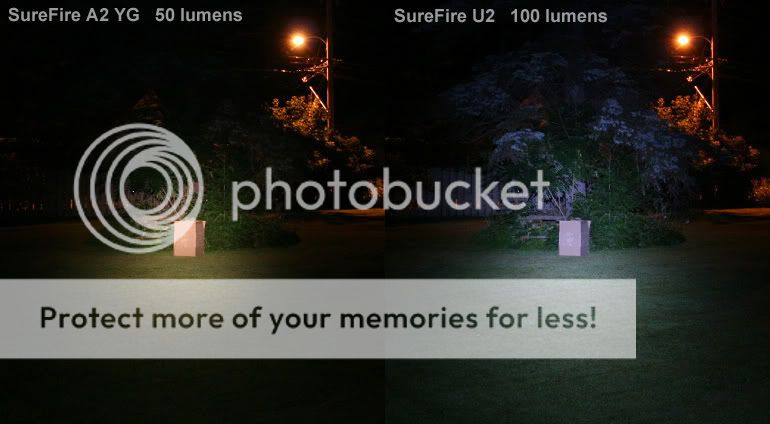
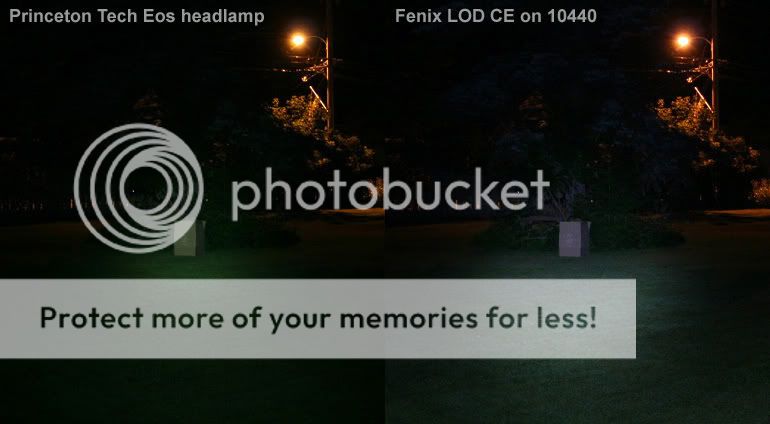
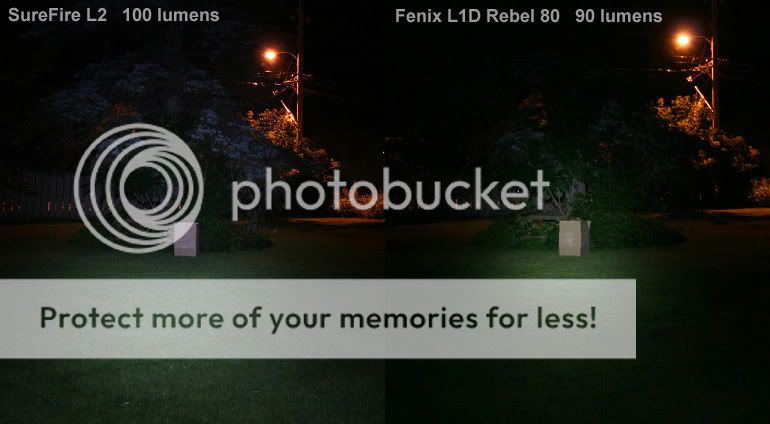
So all this talk about beamshots and seeing them inspired me to go out to the back yard and snap a few of my own comparing some of the popular lights and lamp assemblies.
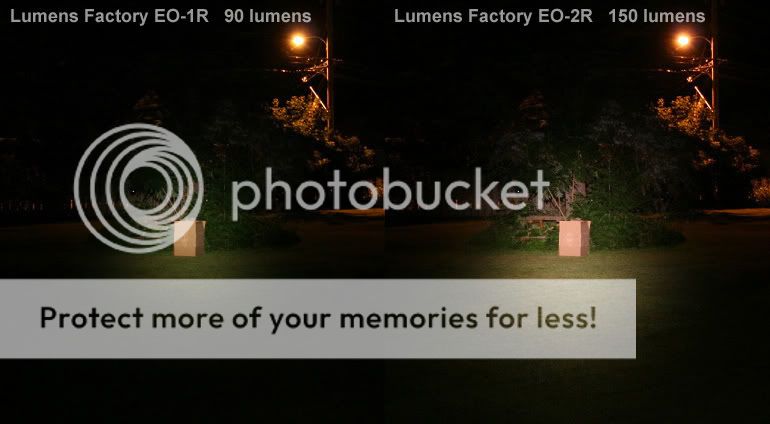
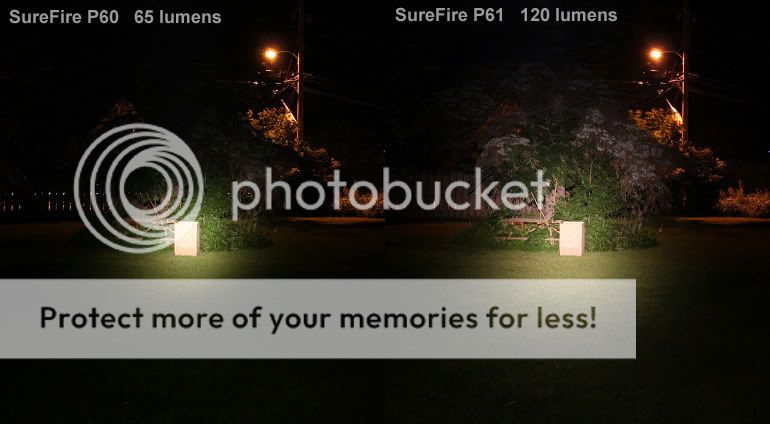
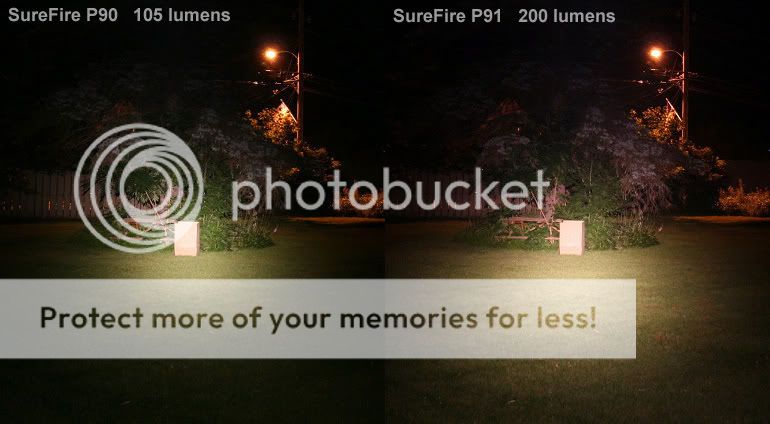
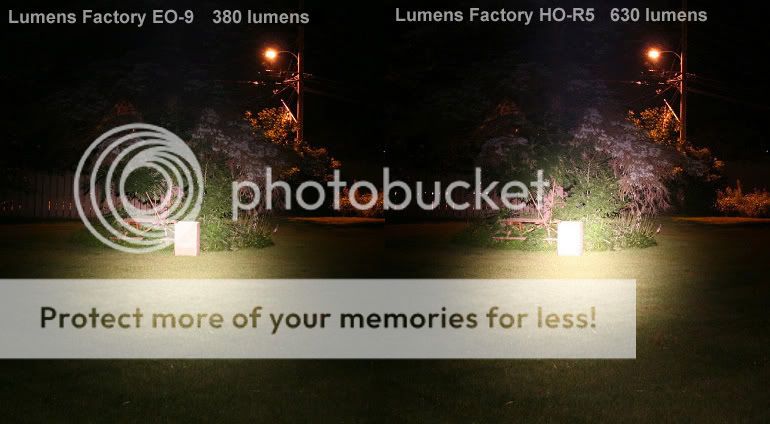
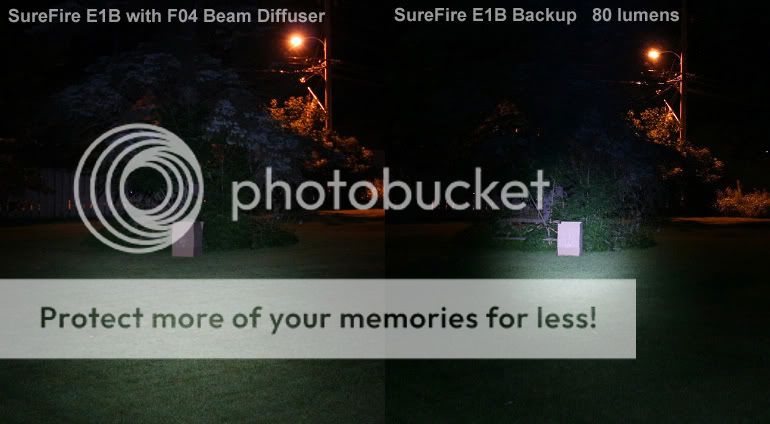
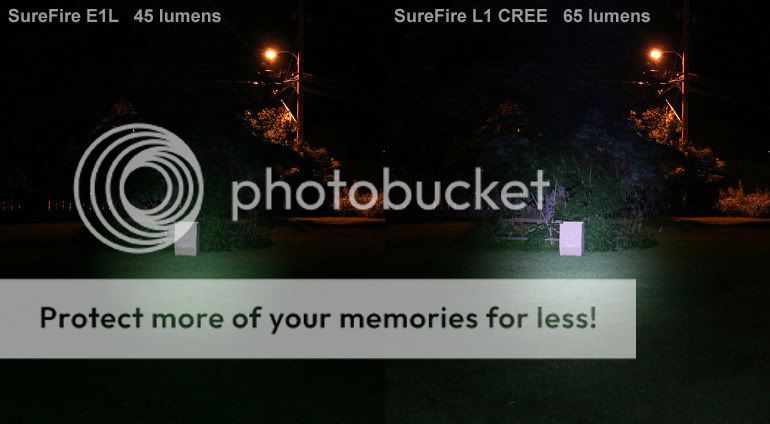
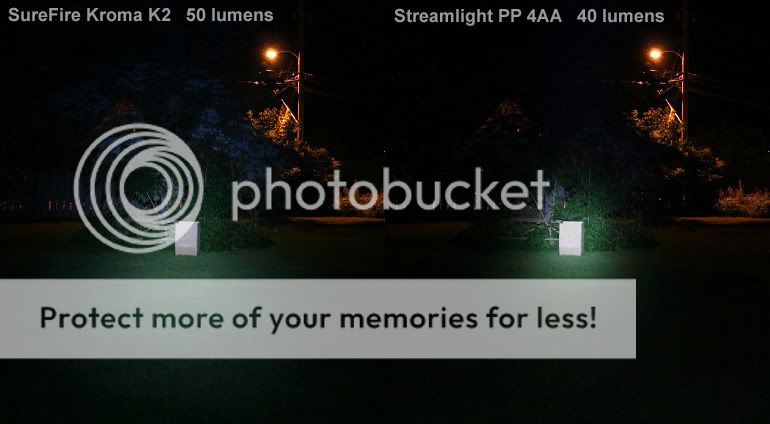
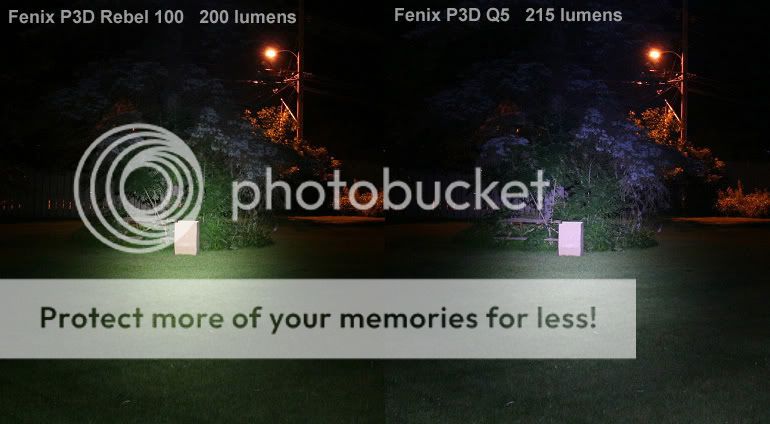
This series of images only shows overall brightness compared to other lights. This is only ONE variable in a flashlight. There is also form factor, size, power source and user interface that also play into the overall characteristics of a flashlight.
You can get pretty good beamshots even when ambient light is present in the city or burbs in my case. For example, the streetlight actually acts as a constant point of reference which shows the exposure locked down and is pretty consistent from shot to shot. Also this is a "standard" object which everyone knows.
I also have a picnic table and a cardboard box in the "target" area in the name of standardized consistency.
I overexposed the series slightly to show the spill of the beams rather than the detail in the hotspot. If I were more ambitious and not getting eatin' by mosquitoes, I would have bracketed one above and below the average settings.
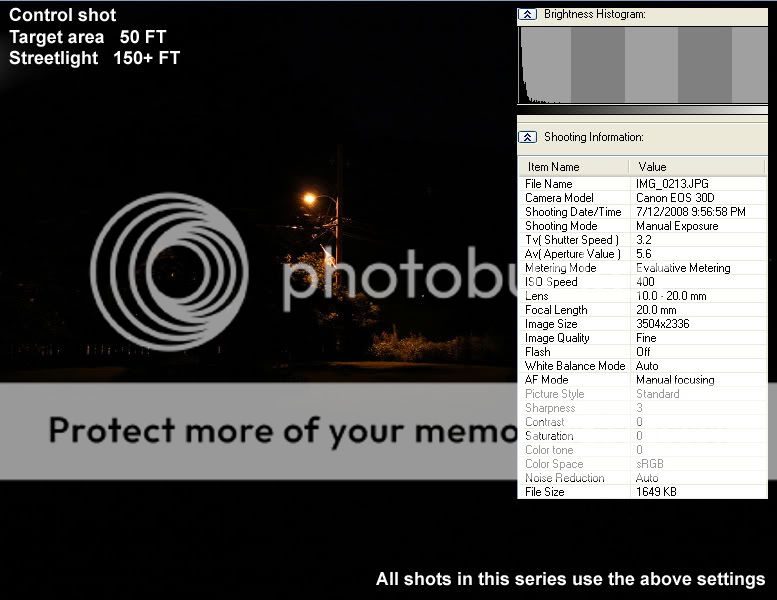
I also found an interesting feature with the software that came with my camera. When downloading images to the PC, it gives you brightness histogram of EACH image. Thought it would be useful in seeing the brightness level graphed out. The control shot shows the camera settings for all the shot in the series. I wanted to bracket and do three different distance shots, but the bugs were attracted by all the lumens. Go figure eh? I think the neighbors thought I was looking for a prowler or something.
 I now see why people don't like to do beamshots in the city.
The 50 feet mark would be average distance most people would encounter when using lights outdoors. The yard goes back to 150 FT, but again the bugs put a kobosch to that idea.
I used the low on my A2 YG to make notes during the shots which I found extremely well adapted for close up night work. A table was another helpful item to have when comparing lights so that you can lay them out.
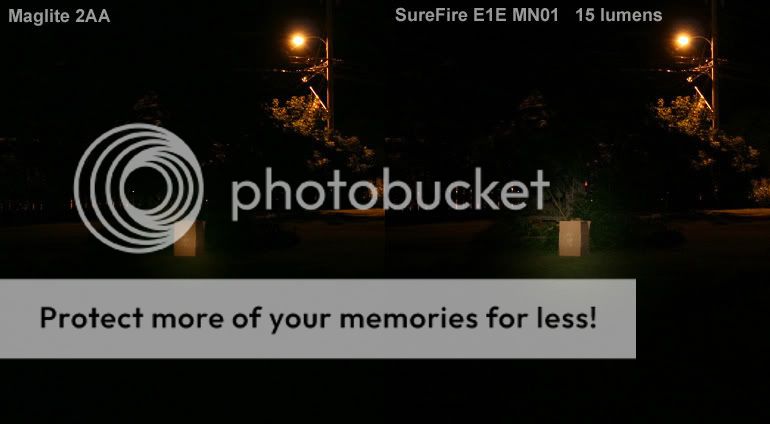
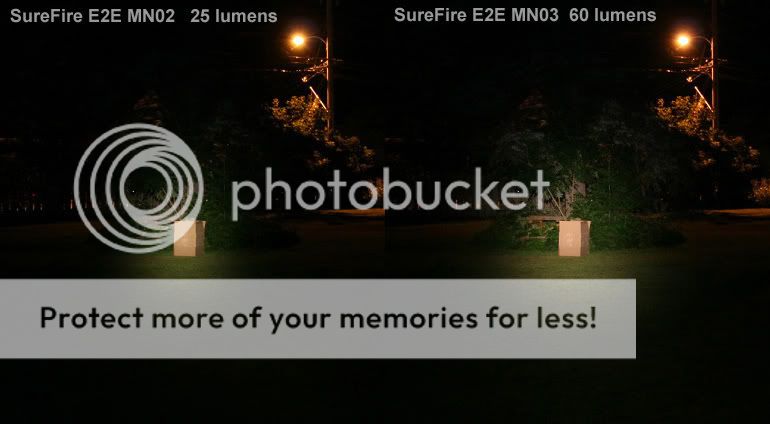
Tree and picnic table and cardboard box in shadow. I did a second series of shots a couple of nights later, thus the images may not line up exactly, however, the distance to subject and camera settings remain the same.
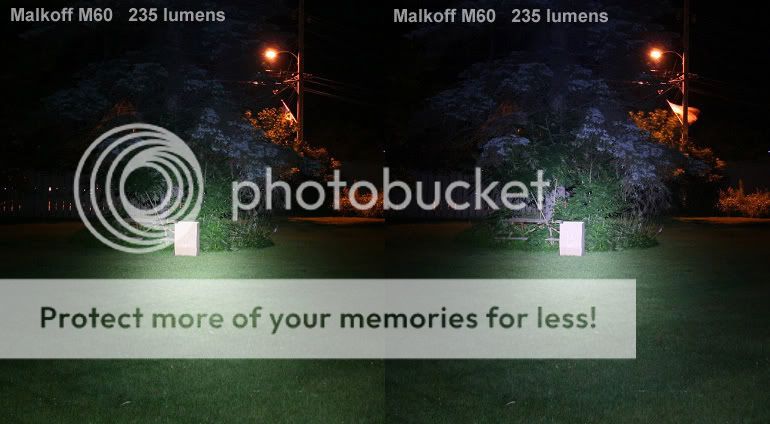
The two Malkoff M60 drop-ins I received were slightly different in tint from each other. Both are by far the nicest LEDs I've seen in terms of overall output and tint. I prefer the warmer version.
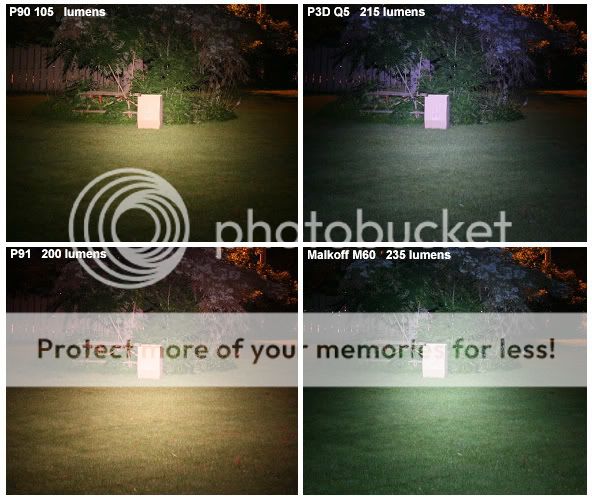
Quick look at similar powered incan and LEDs side by side.
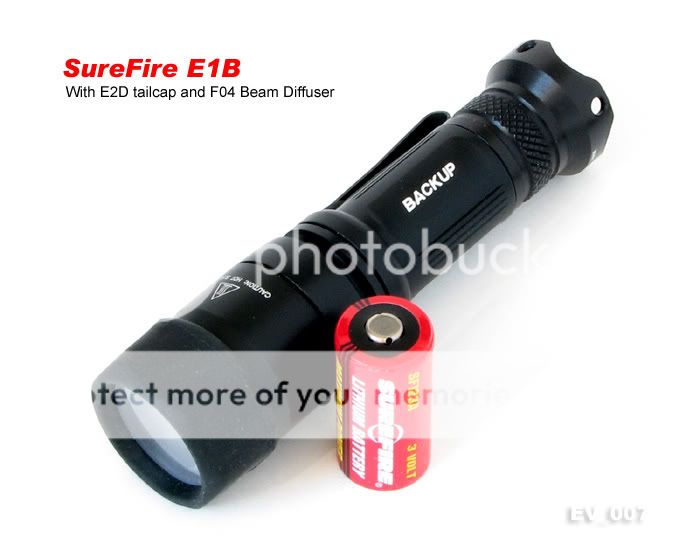
This is the E1B with the F04 setup along with the E2D tailcap for tail standing with teeth.
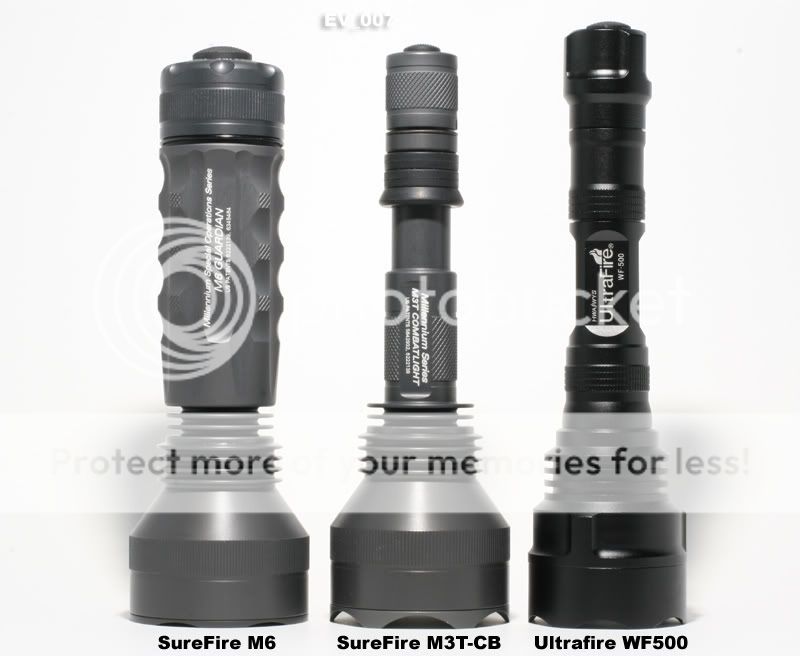
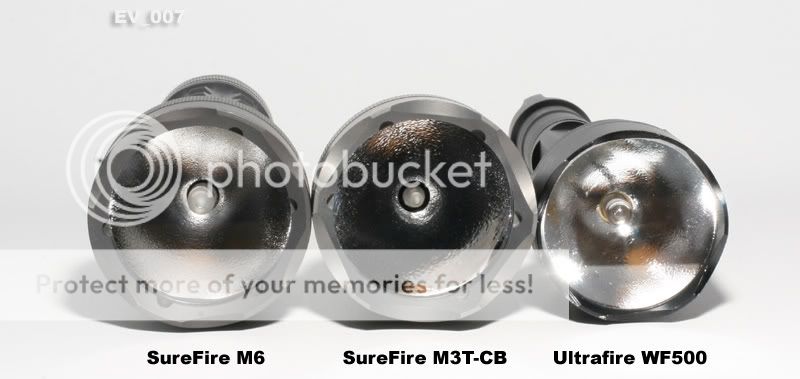
Just a quick lineup of the top "brightest" performers of the night. The M6 MN21 on primaries which have been in there for a few months. The M3T CB powered by AW 2x17670s (A19 cell extender not shown) and the WF500 with Lumens Factory HO-R5 bulb run on AW 2x18650s.
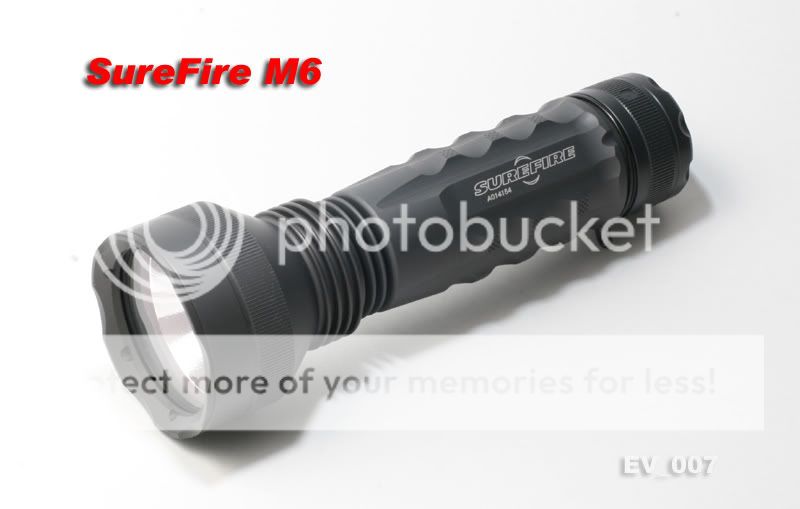

The M6 in stock form.
SureFire measure the lumens from the light that actually comes out of the front of the lens whereas most other manufacturers measure and advertise their lumens at the bulb. This is why the higher lumen ratings on non-SureFire lights do not appear brighter than SureFires. Example the MN16 rated at 225 lumens in the SureFire M3T is brighter than the 630 lumen HO-R5. They are housed in similar sized reflectors.
The HO-R5 is quite a performer for the money in the Ultrafire WF500 package.
UPDATE: I decided to "play" with the WF500 the other night and when I clicked on the light, no joy! The tailcap did not click in all the way. I opened it up to see if I can fix it, but he cheap soder joint came loose. The switches on lights is the weak link IMHO since it is a moving part. Very disappointed that it went out without warning and only on its first charge too. The Ultrafire batteries got tossed long ago. I guess you do get what you pay for. I was able to get it to light by unscrewing the cap and removing the metal ring, but now it only goes on when screwed in half way. All is not lost, but safe to say I will not be buying fauxations anymore.
So all this talk about beamshots and seeing them inspired me to go out to the back yard and snap a few of my own comparing some of the popular lights and lamp assemblies.
This series of images only shows overall brightness compared to other lights. This is only ONE variable in a flashlight. There is also form factor, size, power source and user interface that also play into the overall characteristics of a flashlight.
You can get pretty good beamshots even when ambient light is present in the city or burbs in my case. For example, the streetlight actually acts as a constant point of reference which shows the exposure locked down and is pretty consistent from shot to shot. Also this is a "standard" object which everyone knows.
I also have a picnic table and a cardboard box in the "target" area in the name of standardized consistency.
I overexposed the series slightly to show the spill of the beams rather than the detail in the hotspot. If I were more ambitious and not getting eatin' by mosquitoes, I would have bracketed one above and below the average settings.
I also found an interesting feature with the software that came with my camera. When downloading images to the PC, it gives you brightness histogram of EACH image. Thought it would be useful in seeing the brightness level graphed out. The control shot shows the camera settings for all the shot in the series. I wanted to bracket and do three different distance shots, but the bugs were attracted by all the lumens. Go figure eh? I think the neighbors thought I was looking for a prowler or something.
 I now see why people don't like to do beamshots in the city.
 The 50 feet mark would be average distance most people would encounter when using lights outdoors. The yard goes back to 150 FT, but again the bugs put a kobosch to that idea.
I used the low on my A2 YG to make notes during the shots which I found extremely well adapted for close up night work. A table was another helpful item to have when comparing lights so that you can lay them out.

Tree and picnic table and cardboard box in shadow. I did a second series of shots a couple of nights later, thus the images may not line up exactly, however, the distance to subject and camera settings remain the same.


The two Malkoff M60 drop-ins I received were slightly different in tint from each other. Both are by far the nicest LEDs I've seen in terms of overall output and tint. I prefer the warmer version.

Quick look at similar powered incan and LEDs side by side.

This is the E1B with the F04 setup along with the E2D tailcap for tail standing with teeth.


Just a quick lineup of the top "brightest" performers of the night. The M6 MN21 on primaries which have been in there for a few months. The M3T CB powered by AW 2x17670s (A19 cell extender not shown) and the WF500 with Lumens Factory HO-R5 bulb run on AW 2x18650s.


The M6 in stock form.
SureFire measure the lumens from the light that actually comes out of the front of the lens whereas most other manufacturers measure and advertise their lumens at the bulb. This is why the higher lumen ratings on non-SureFire lights do not appear brighter than SureFires. Example the MN16 rated at 225 lumens in the SureFire M3T is brighter than the 630 lumen HO-R5. They are housed in similar sized reflectors.
The HO-R5 is quite a performer for the money in the Ultrafire WF500 package.
UPDATE: I decided to "play" with the WF500 the other night and when I clicked on the light, no joy! The tailcap did not click in all the way. I opened it up to see if I can fix it, but he cheap soder joint came loose. The switches on lights is the weak link IMHO since it is a moving part. Very disappointed that it went out without warning and only on its first charge too. The Ultrafire batteries got tossed long ago. I guess you do get what you pay for. I was able to get it to light by unscrewing the cap and removing the metal ring, but now it only goes on when screwed in half way. All is not lost, but safe to say I will not be buying fauxations anymore.
Last edited:


