wquiles
Flashaholic
This custom 6D is part of an order from one of my customers in the UK. He asked for 3 custom black "D" Mags, all done with the same head/body grooving:
- 1xD with a P7 in DD from 3xAA
- 2xD with a 6xAA adapter
- 6xD custom with a P7 and regulated driver
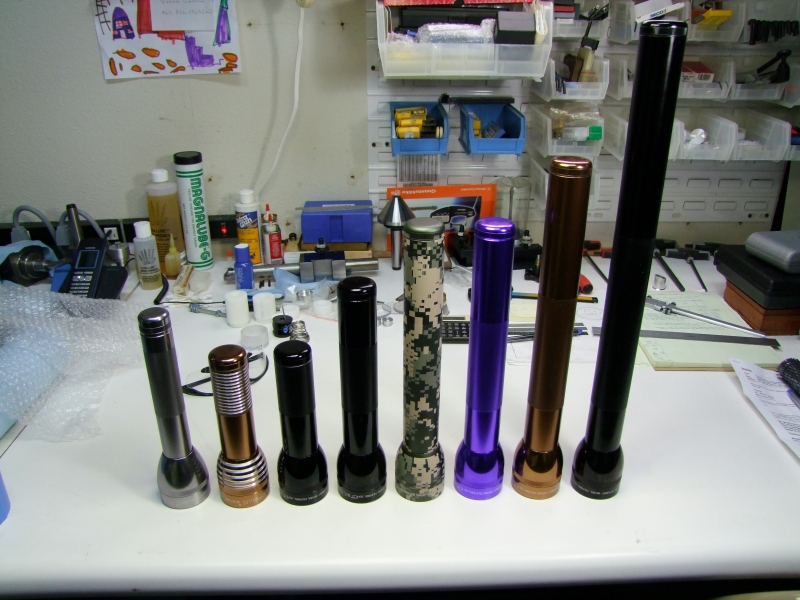
Here you can see the 3 black bodies, along with other Mag's. From left to right: OEM Dark Silver (Pewter) 2xC, WQ 1xD Copper, WQ 1xD Black, OEM 2xD Black, OEM 3xD Digital Camo, OEM 3xD Purple, OEM 4xD Copper, OEM 6xD Black:
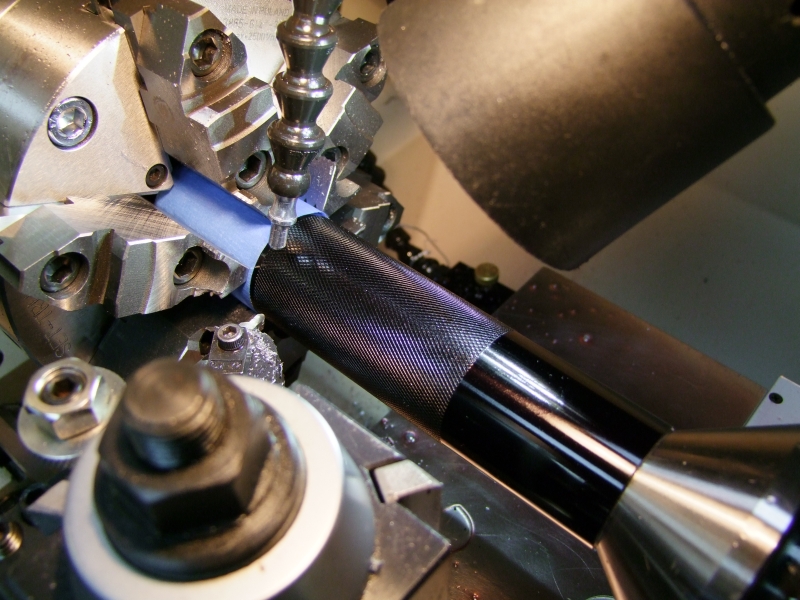
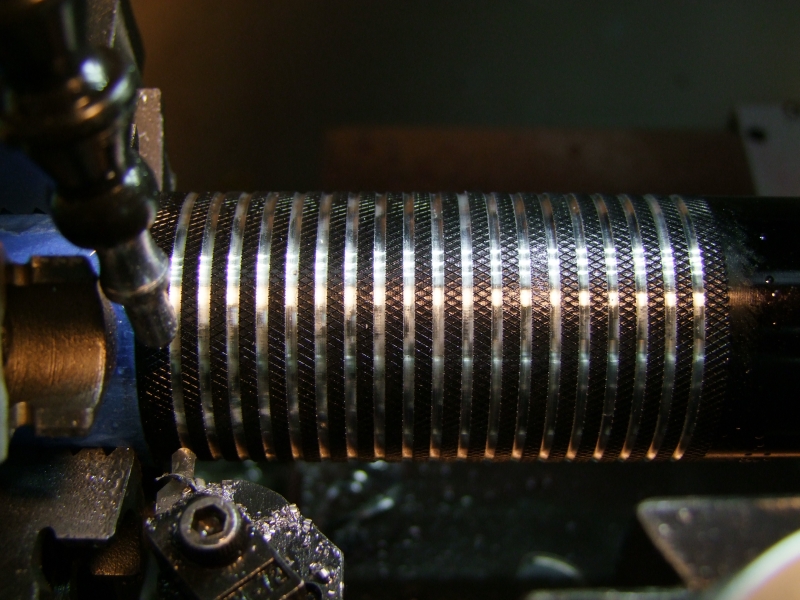
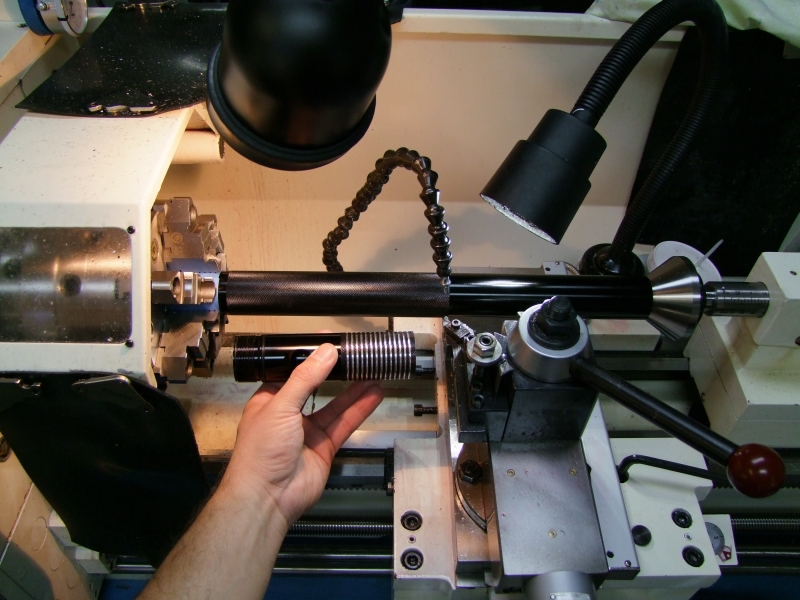
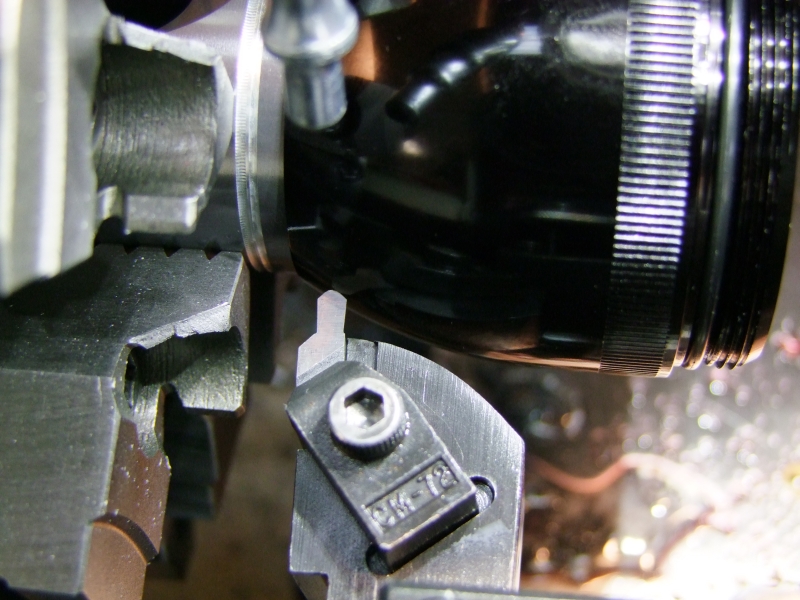
Here I am doing body grooving on the 2xD host:
Here is how it looks when I am done:
Here is a short movie of the body grooving process:
Mag D Body Grooving
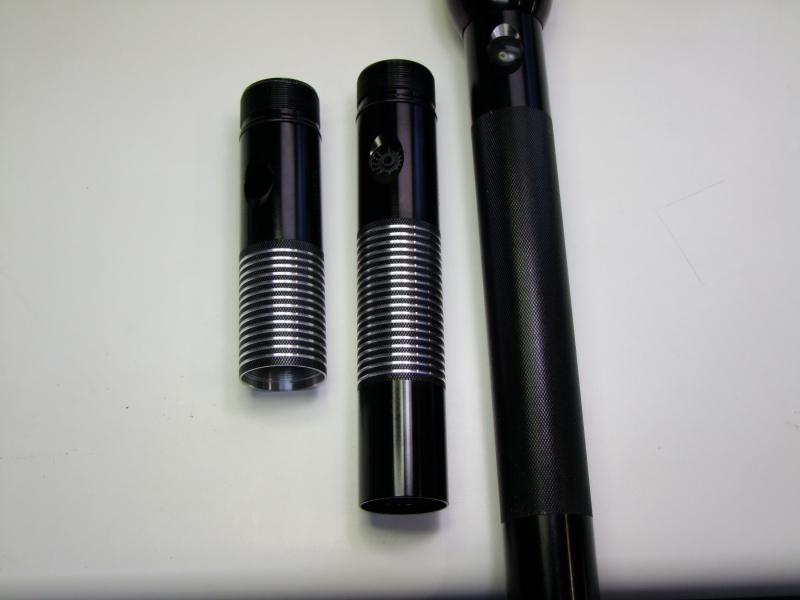
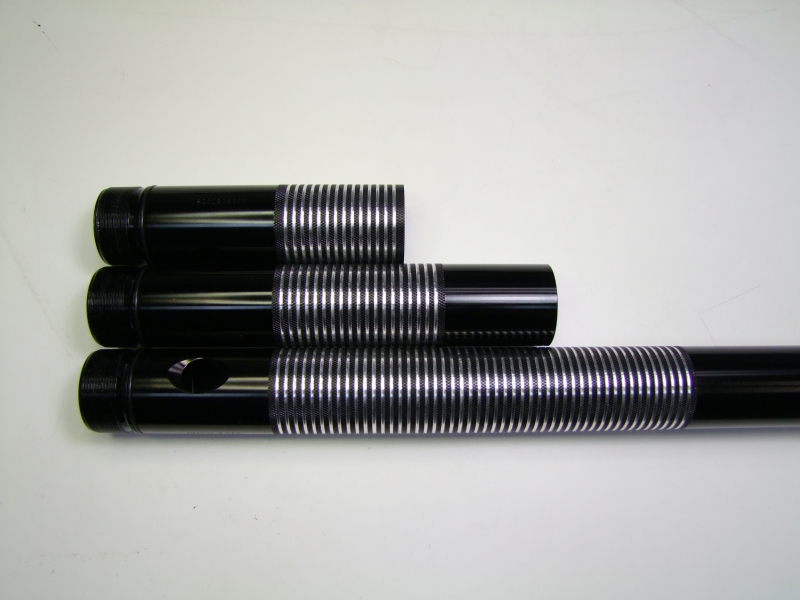
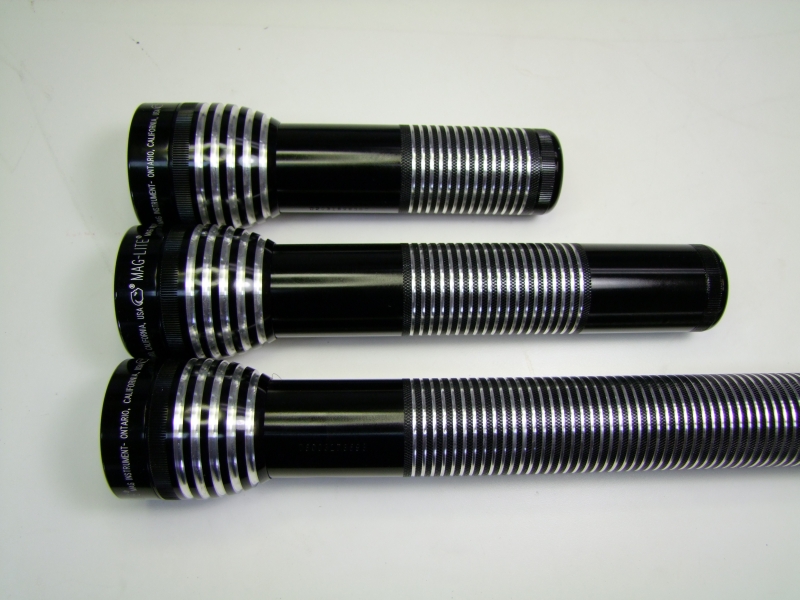
Here the just completed 2xD next to the already completed 1xD, and the soon to be completed 6xD host:
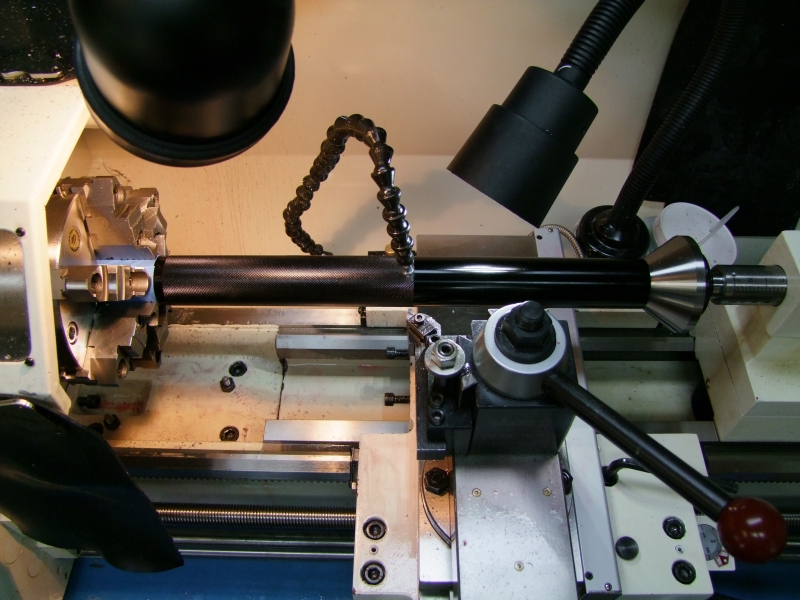
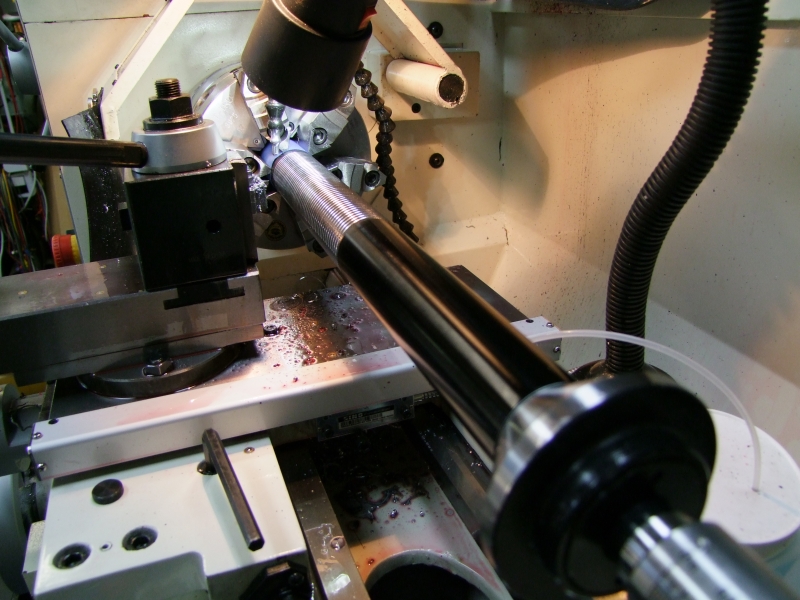
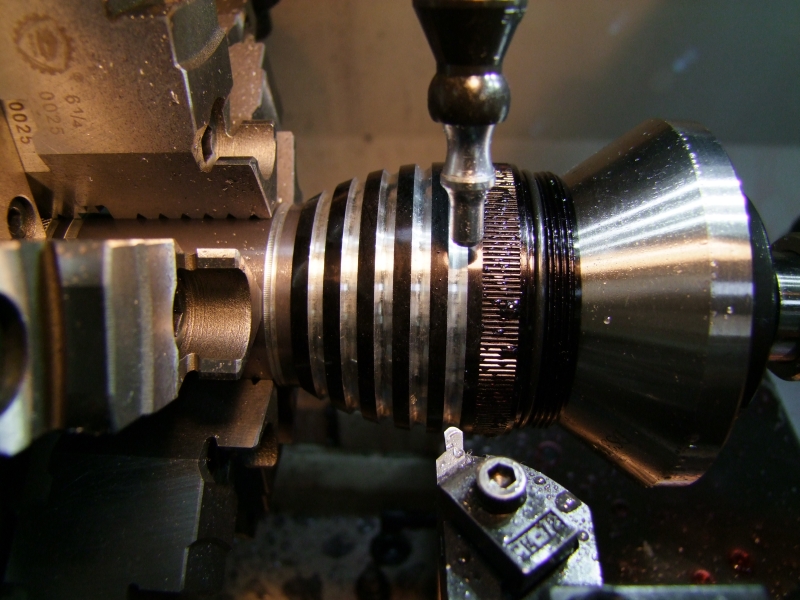
Here is the 6xD on the lathe - I knew there was a good reason I got the 12x36 lathe!:
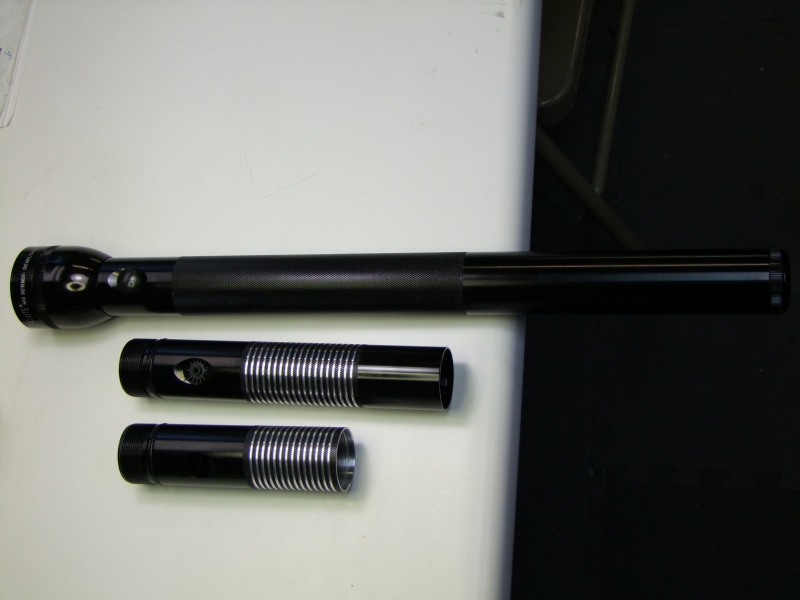
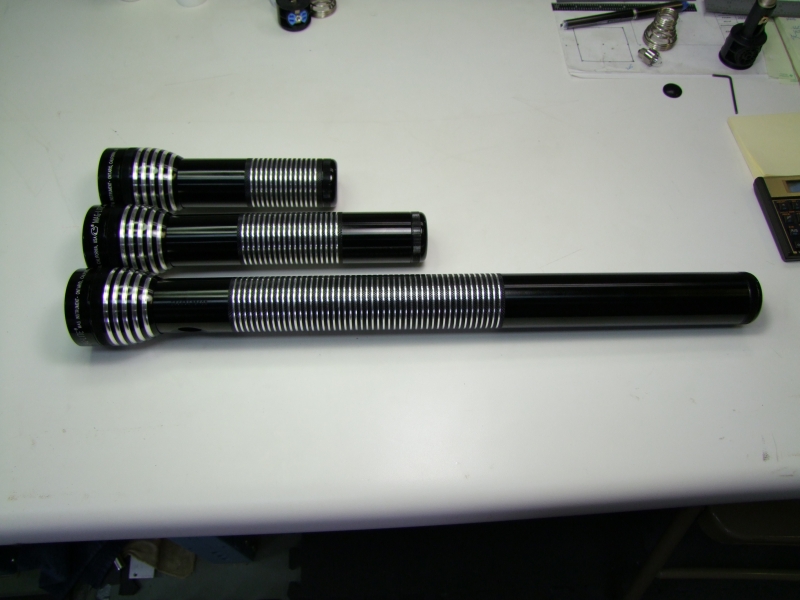
All 3 of them done now:
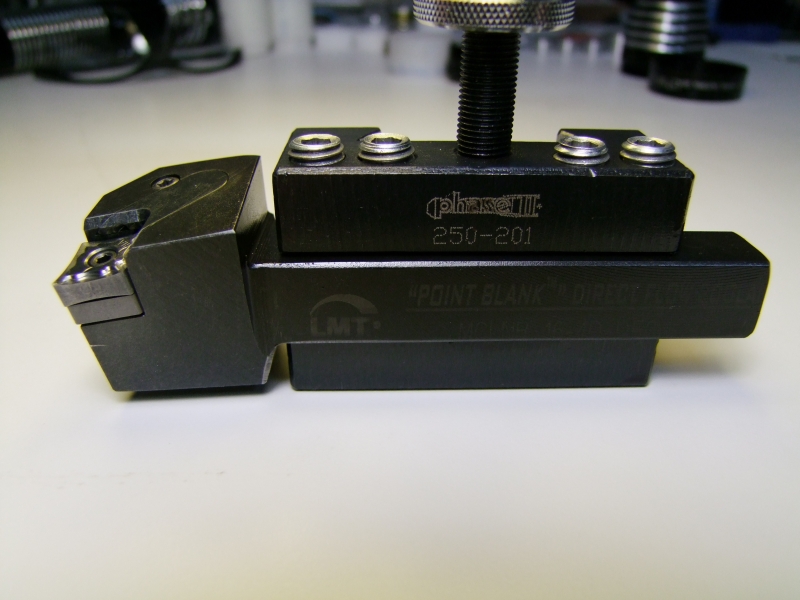
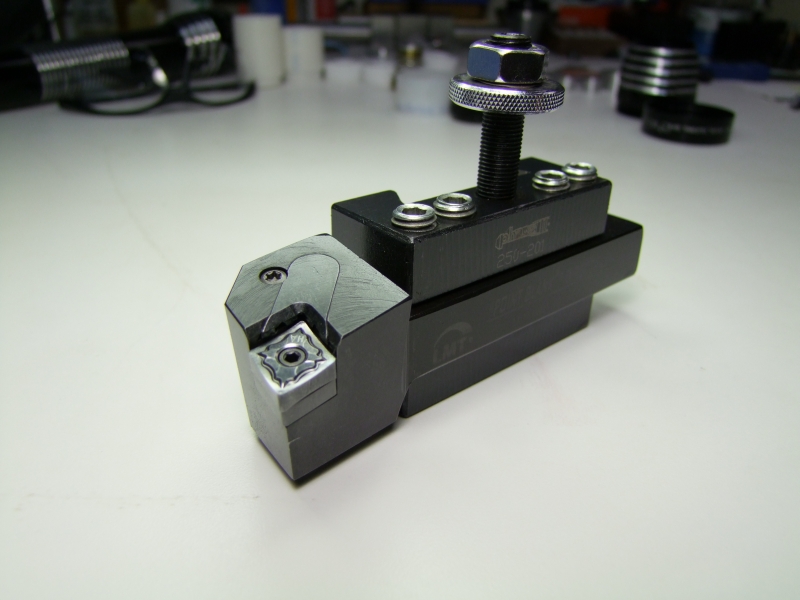
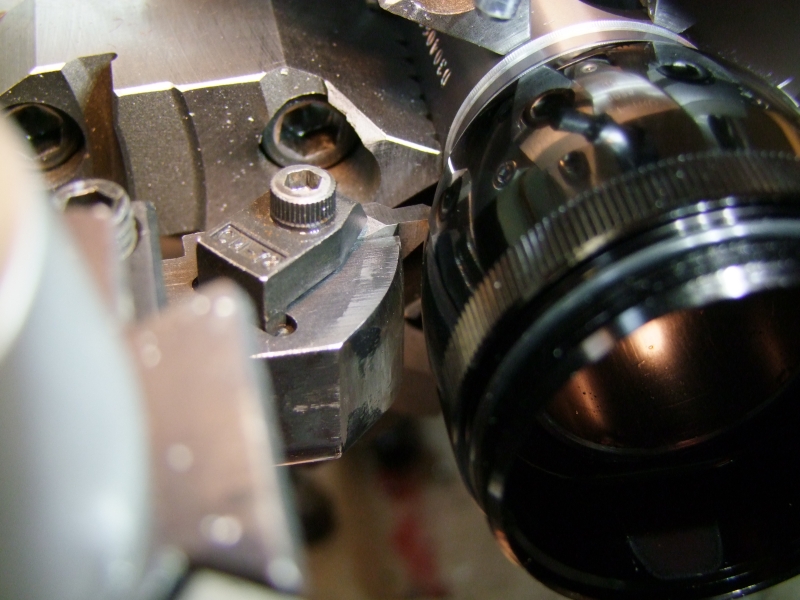
For the head grooving, I wanted to try a more rounded bit, so I had to first grind the end of the holder to get extra clearance:
Here is the completed head:
Here is another short video, this one about the head grooving:
http://www.youtube.com/watch?v=fI8kzJWEpW4
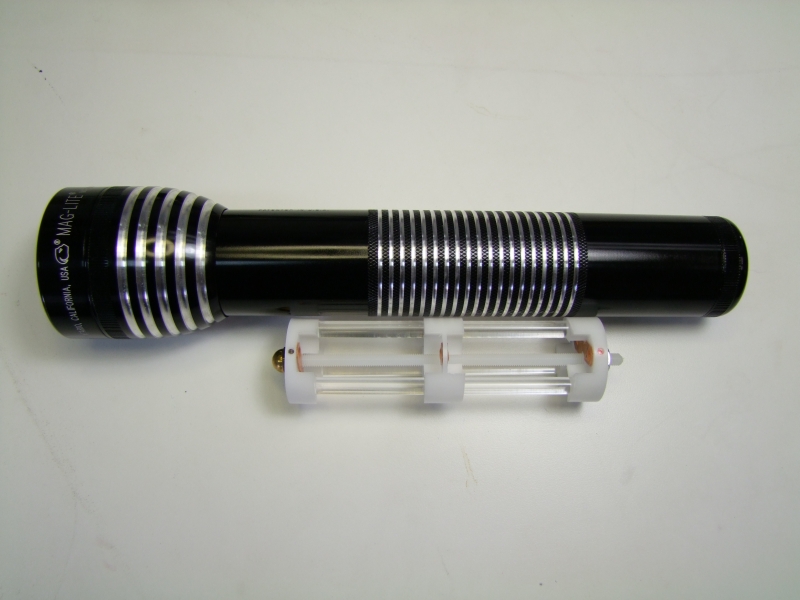
Completed 2xD host with mdocod 6xAA holder:
And all 3 hosts completed:
OK, so here are the parts for the custom 6D:
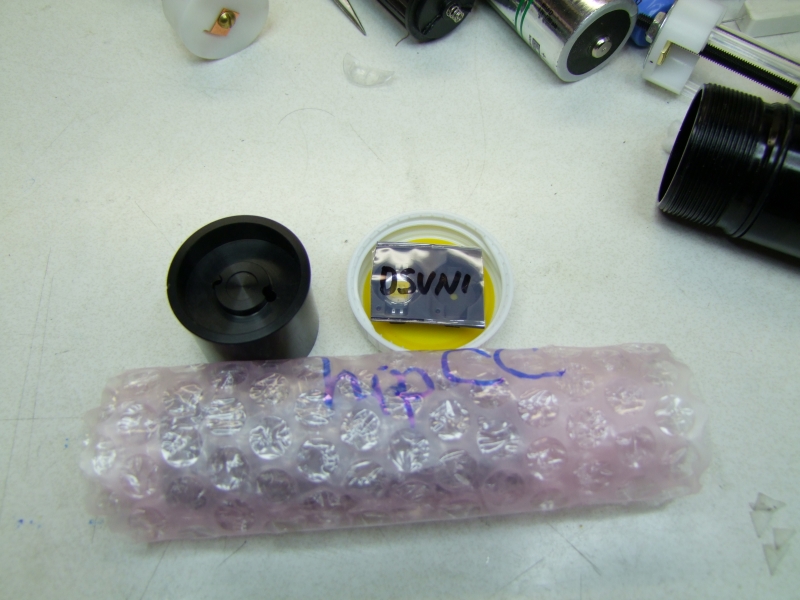
Unfortunately the hipCC does not quite fit on the Britelumens P7 heatsink:
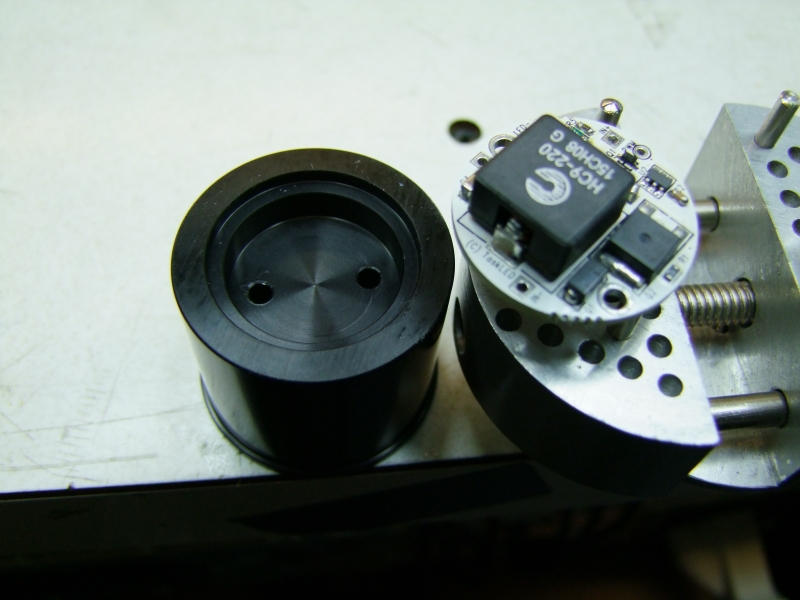
Plus, even if it fit diameter-wise, you still have to figure out how to provide a thermal path and wire the LED, so I needed a way to "suspend" the driver inside the heatsink. Since I had pure copper left from my diving head project, I decided to use it.
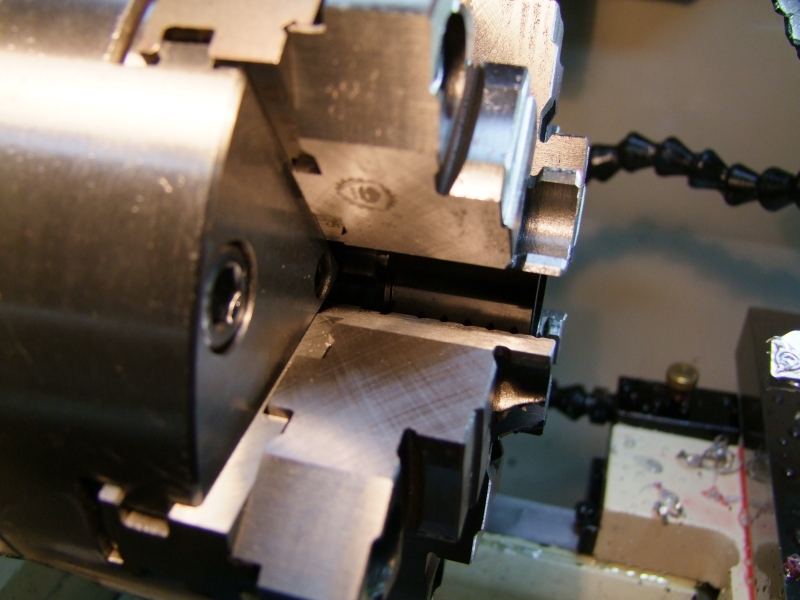
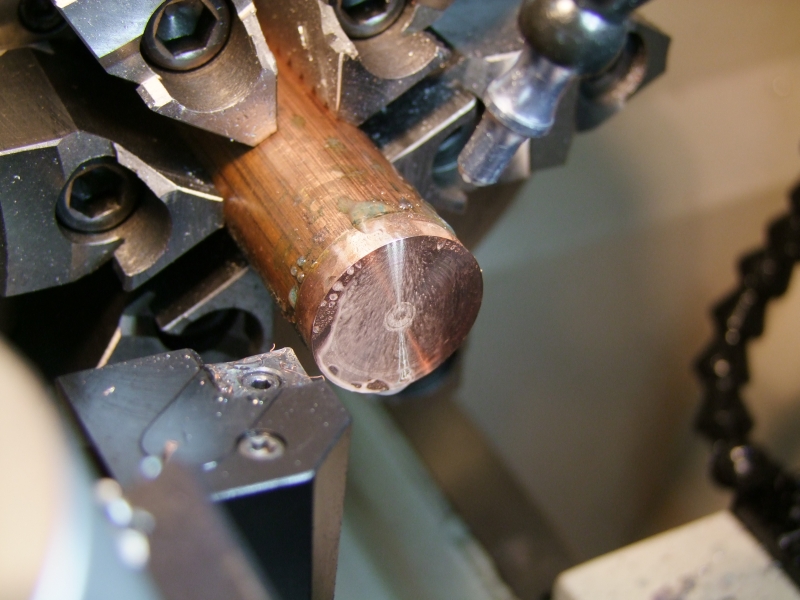
First I had to modify the heatsink and make the hole for the copper plug - luckily the jaws on my chuck have a small cutout that matches perfectly the lip on the heatsink:
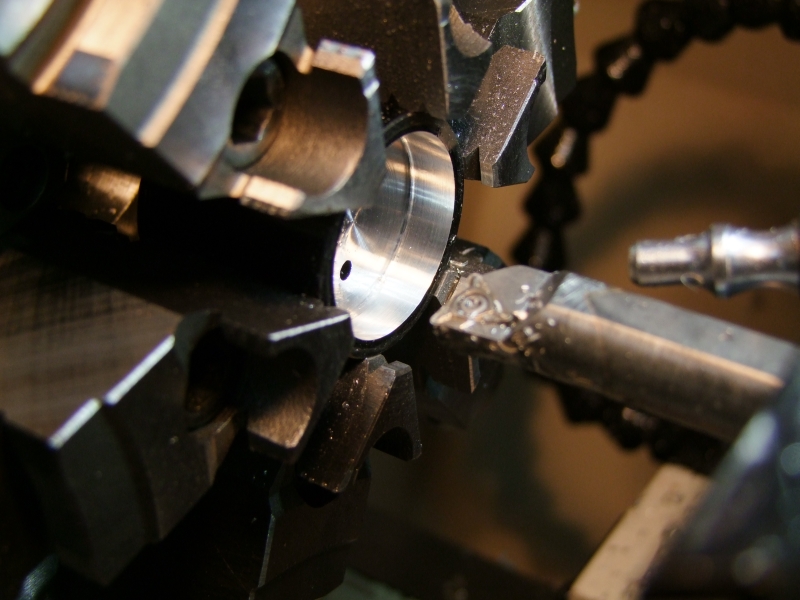
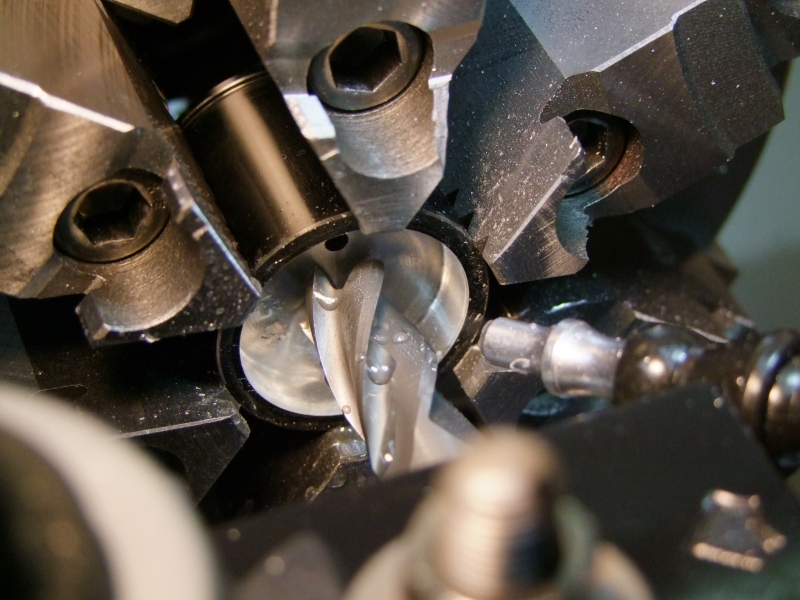
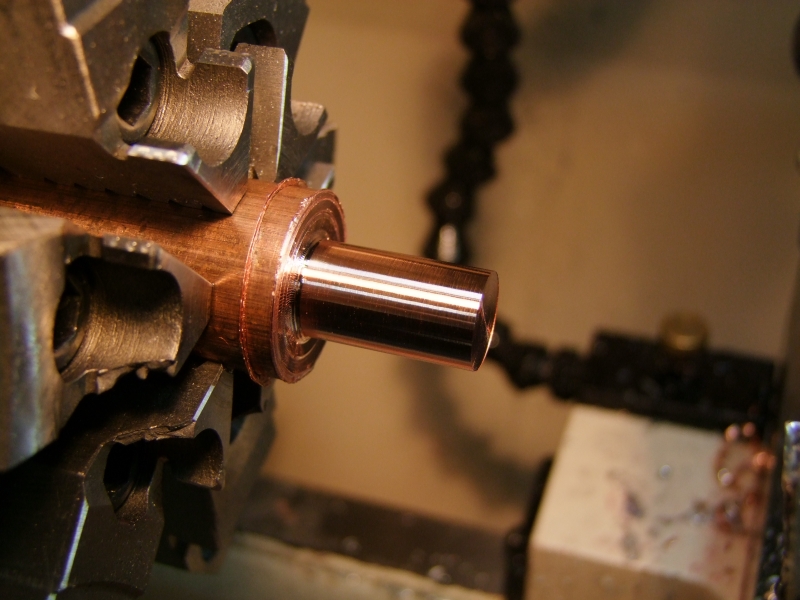
After a couple of operations, I got the heatsink ready:
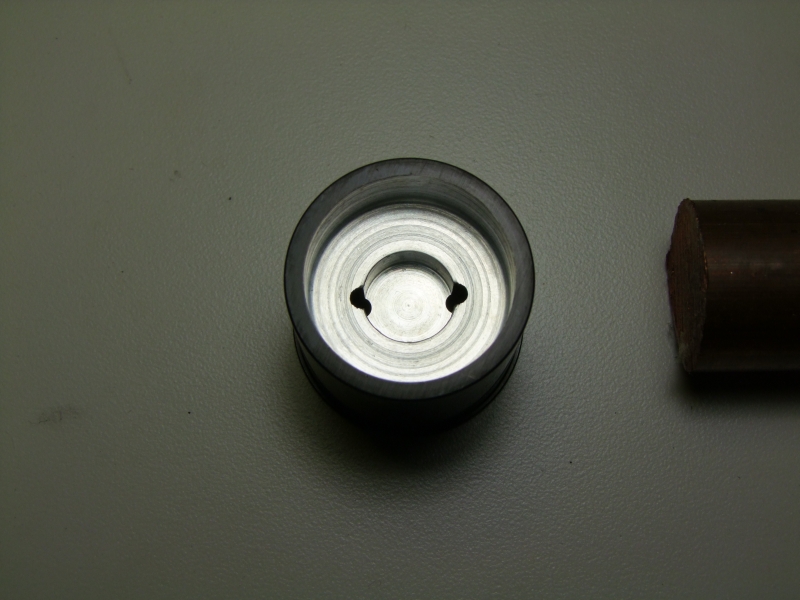
I then made the fitted copper plug:
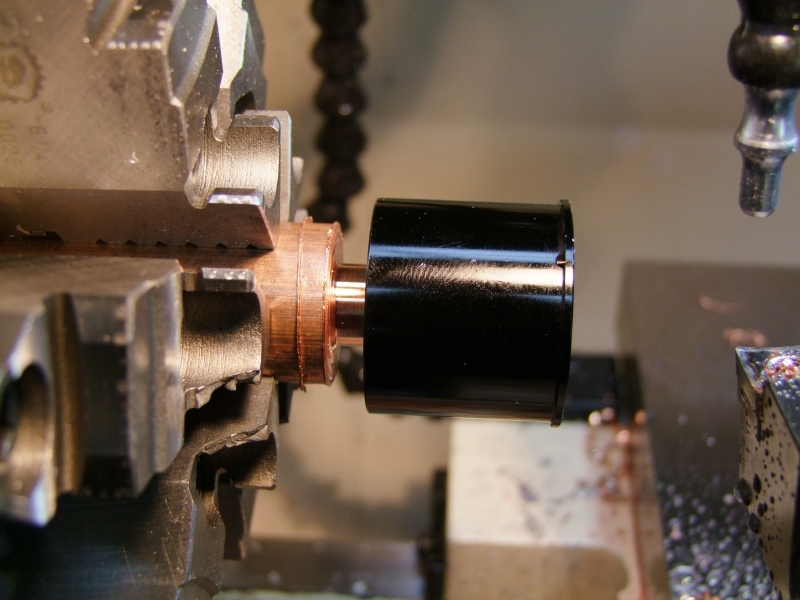
Check for fit:
Clean the cut-off side for good thermal transfer:
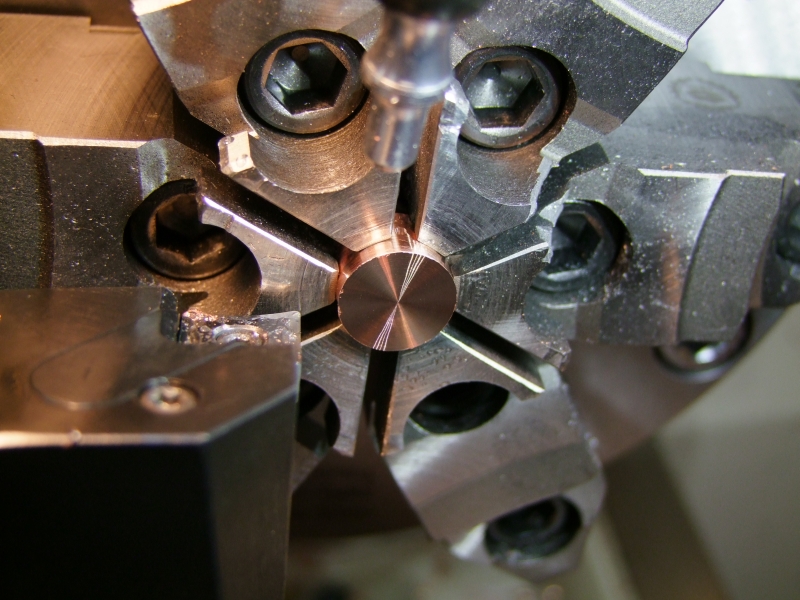
Ready:
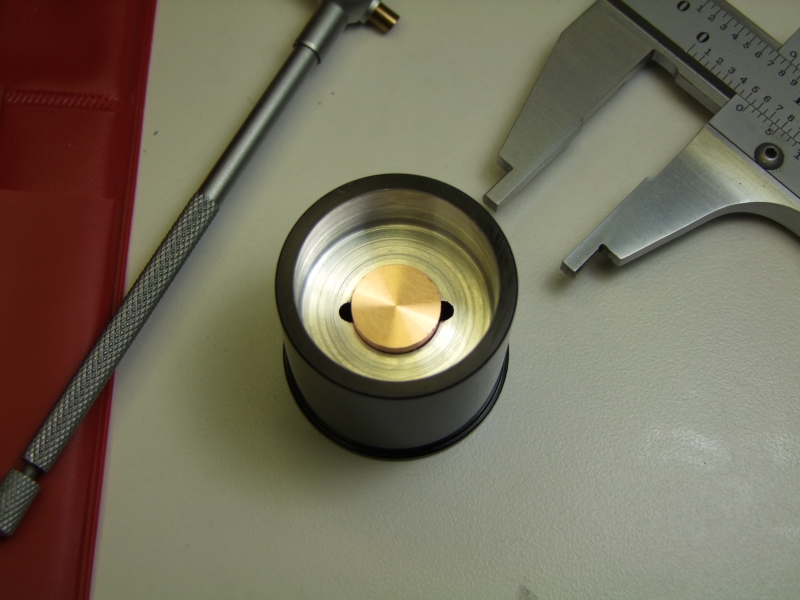
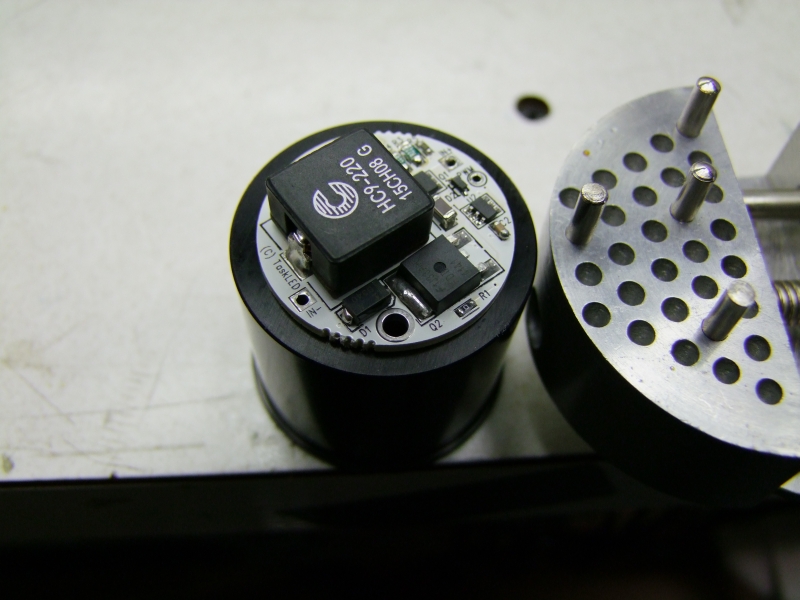
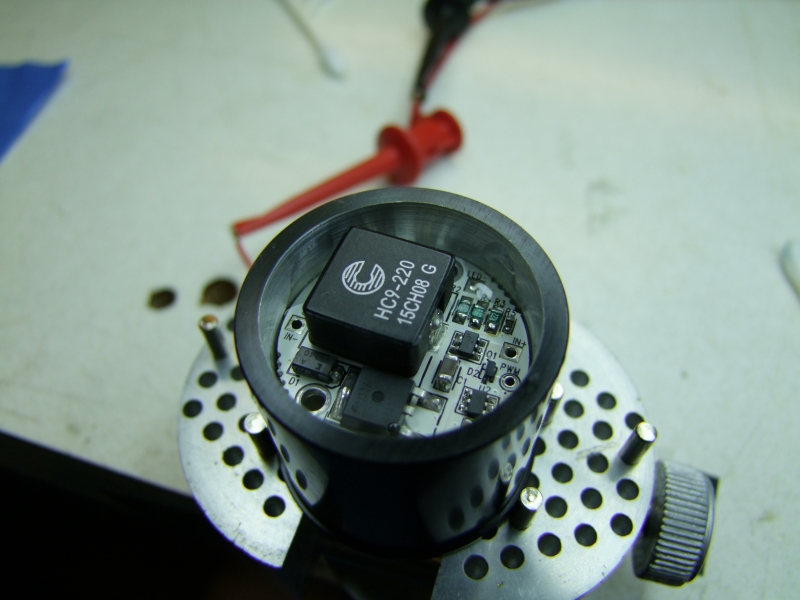
This is how the hipCC fits:
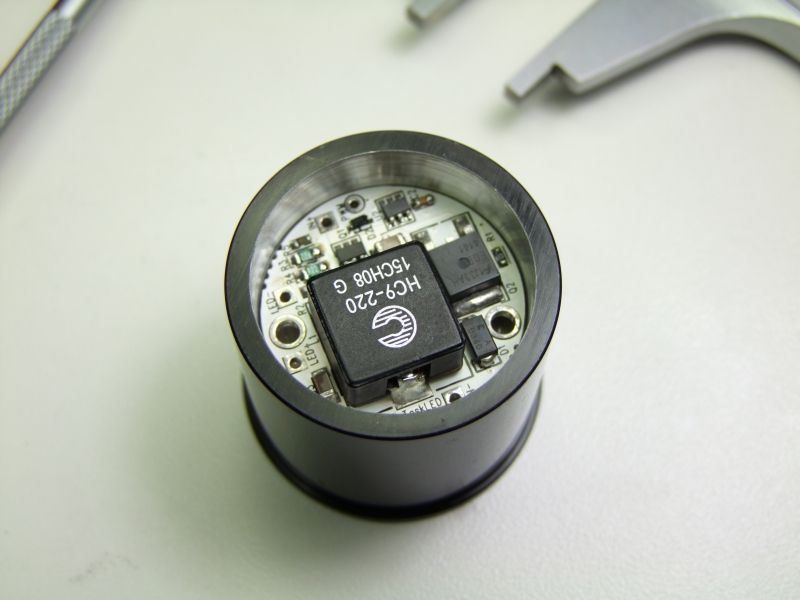

Use thermal epoxy to set the plug in place permanently:

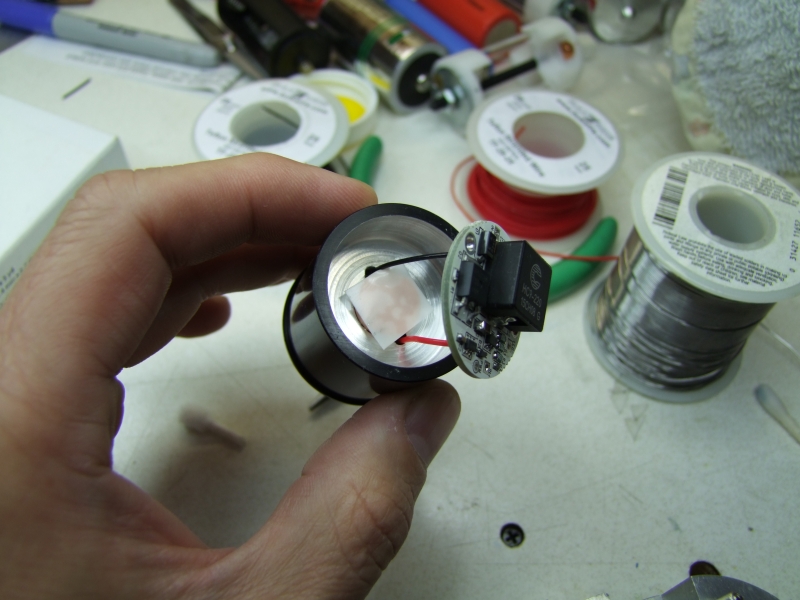
Wire the hipCC:


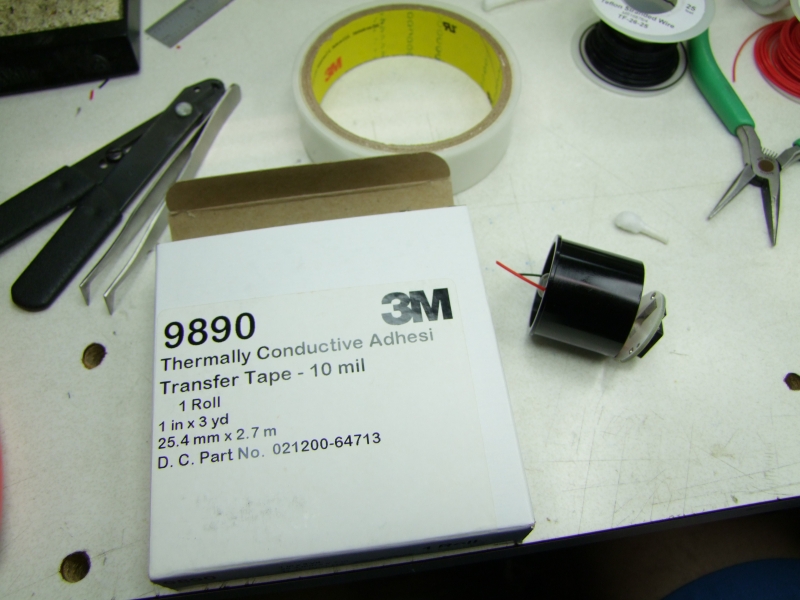
Use 3M 10mil thermal two-sided tape and solder P7 wires:
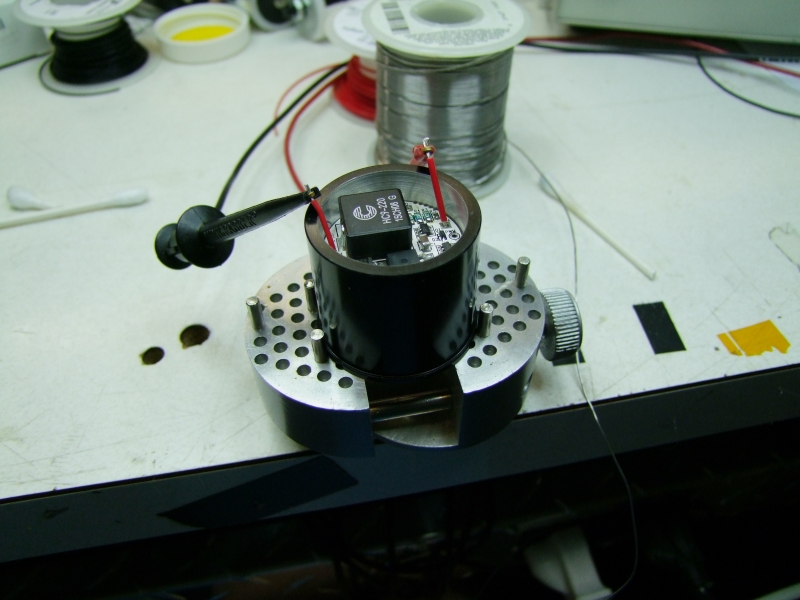
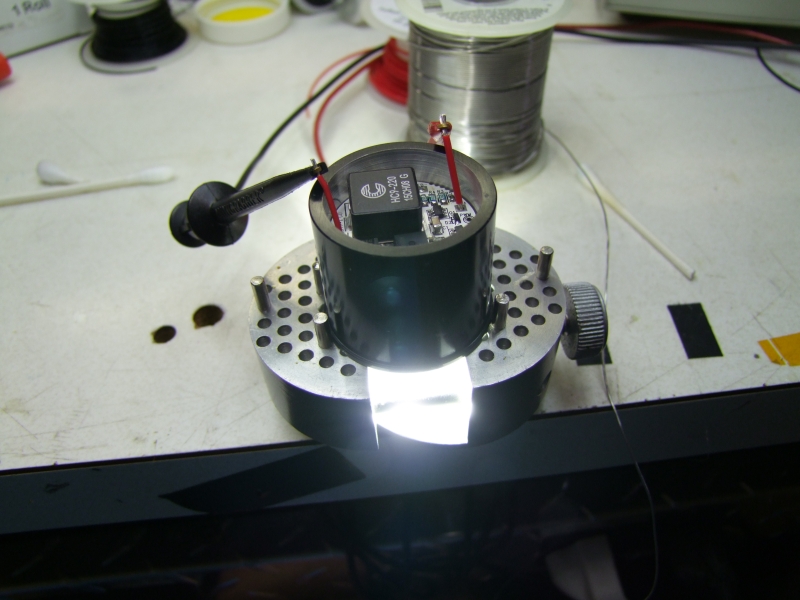
Test it on my bench supply:
Set the driver in place with two-part clear epoxy applied over the edge of the driver at 3 places:
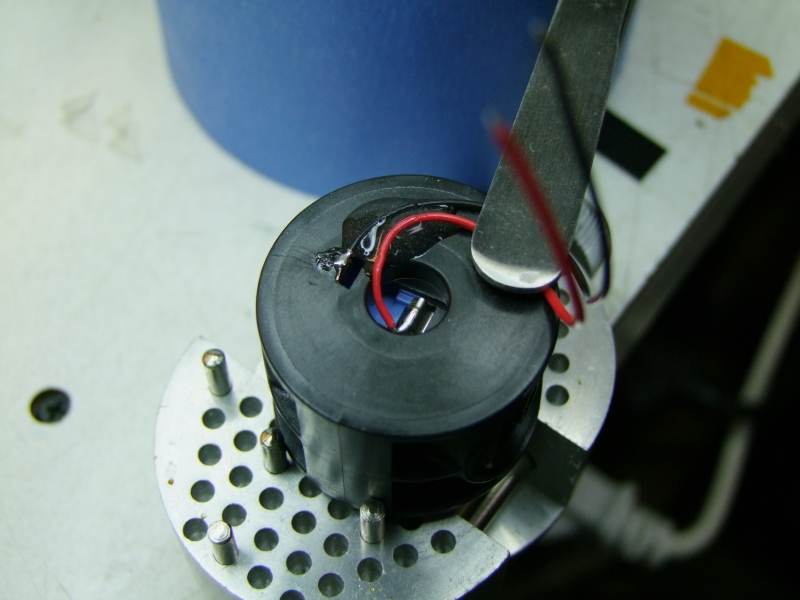
Solder, pre-bend, and epoxy wires in place:
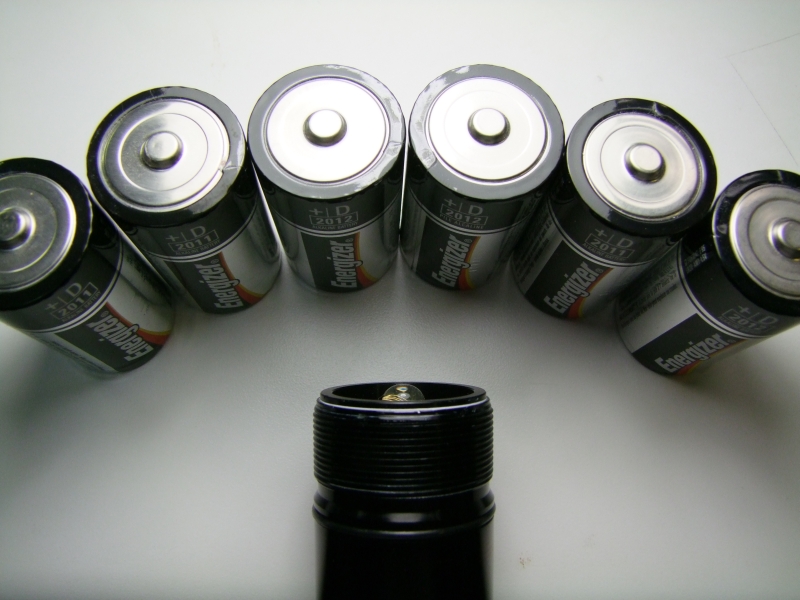
Test switch/wiring just in case (using 6x "D" Alkaline cells):
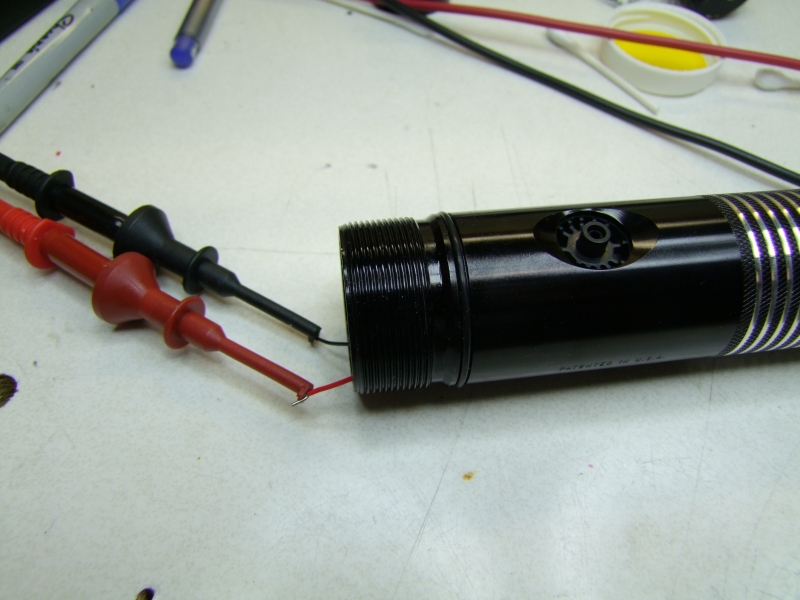
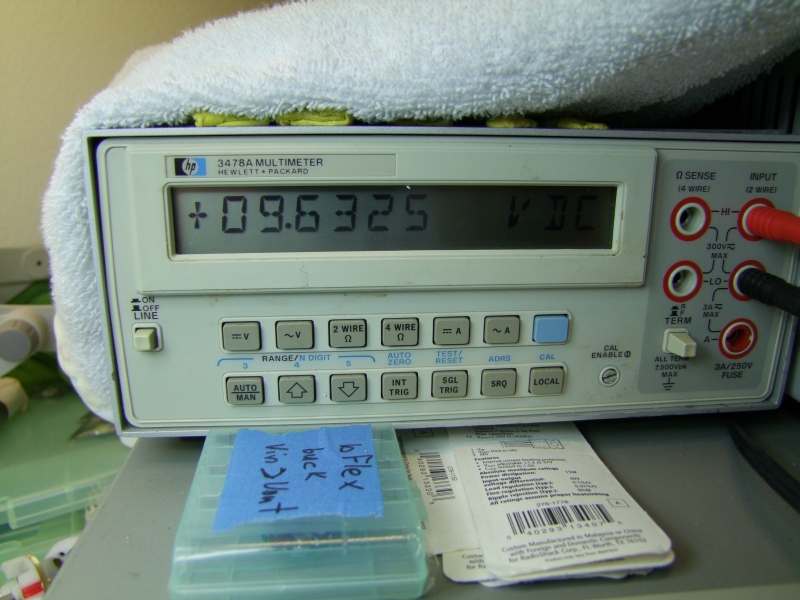
Solder driver and test one more time (again using the Alkaline cells):

I have not cleaned yet the excess thermal epoxy in these pics, but it is now almost ready:
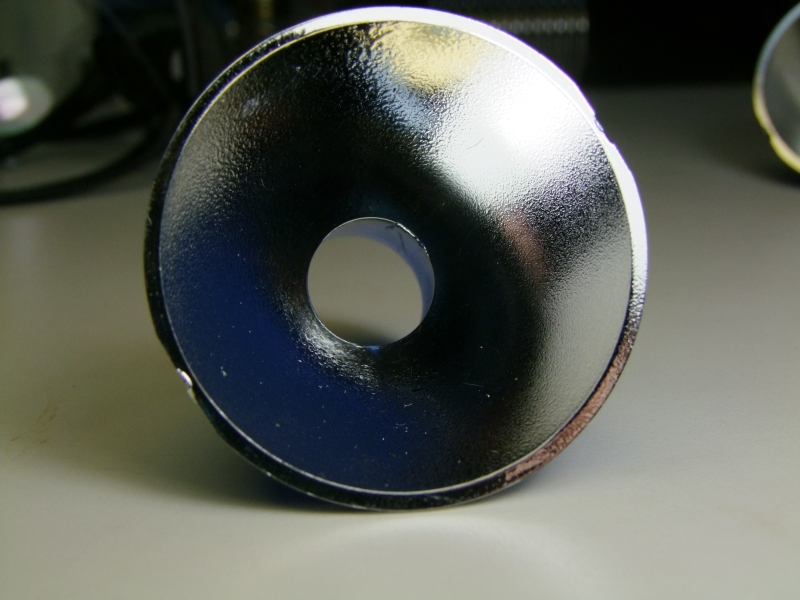
Final step was to sputter some of the OEM plastic reflectors (inspired by forum member darkzero, who does a fantastic job on this process). I have been practicing some, and they are getting better and better (some dust on the reflectors while taking the picture!):
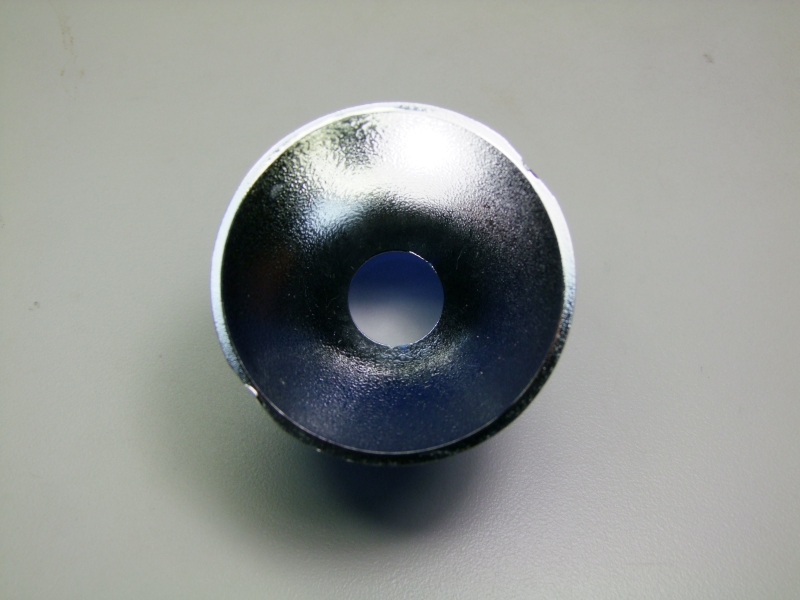
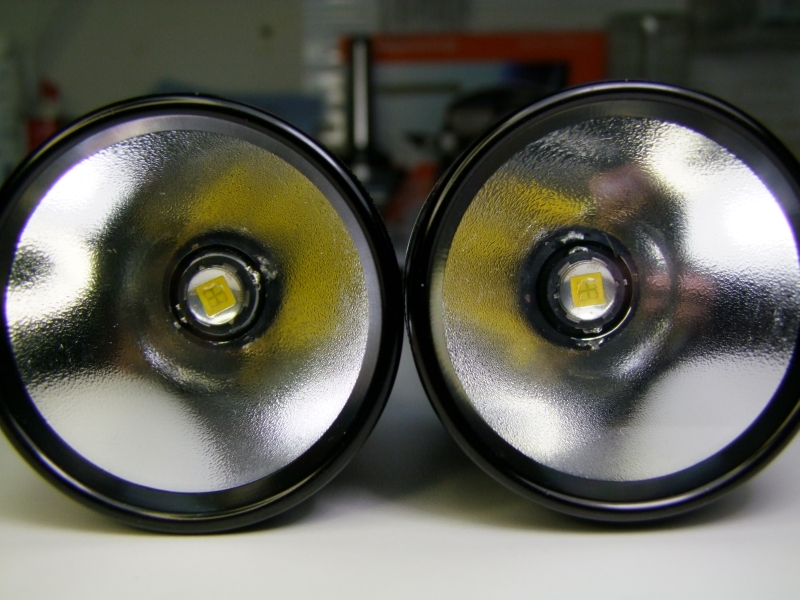
Here is the final shot of the reflectors once installed on the 1xD and the 6xD:
Will
- 1xD with a P7 in DD from 3xAA
- 2xD with a 6xAA adapter
- 6xD custom with a P7 and regulated driver
Here you can see the 3 black bodies, along with other Mag's. From left to right: OEM Dark Silver (Pewter) 2xC, WQ 1xD Copper, WQ 1xD Black, OEM 2xD Black, OEM 3xD Digital Camo, OEM 3xD Purple, OEM 4xD Copper, OEM 6xD Black:
Here I am doing body grooving on the 2xD host:
Here is how it looks when I am done:
Here is a short movie of the body grooving process:
Mag D Body Grooving
Here the just completed 2xD next to the already completed 1xD, and the soon to be completed 6xD host:
Here is the 6xD on the lathe - I knew there was a good reason I got the 12x36 lathe!:
All 3 of them done now:
For the head grooving, I wanted to try a more rounded bit, so I had to first grind the end of the holder to get extra clearance:
Here is the completed head:
Here is another short video, this one about the head grooving:
http://www.youtube.com/watch?v=fI8kzJWEpW4
Completed 2xD host with mdocod 6xAA holder:
And all 3 hosts completed:
OK, so here are the parts for the custom 6D:
Unfortunately the hipCC does not quite fit on the Britelumens P7 heatsink:
Plus, even if it fit diameter-wise, you still have to figure out how to provide a thermal path and wire the LED, so I needed a way to "suspend" the driver inside the heatsink. Since I had pure copper left from my diving head project, I decided to use it.
First I had to modify the heatsink and make the hole for the copper plug - luckily the jaws on my chuck have a small cutout that matches perfectly the lip on the heatsink:
After a couple of operations, I got the heatsink ready:
I then made the fitted copper plug:
Check for fit:
Clean the cut-off side for good thermal transfer:
Ready:
This is how the hipCC fits:
Use thermal epoxy to set the plug in place permanently:
Wire the hipCC:
Use 3M 10mil thermal two-sided tape and solder P7 wires:
Test it on my bench supply:
Set the driver in place with two-part clear epoxy applied over the edge of the driver at 3 places:
Solder, pre-bend, and epoxy wires in place:
Test switch/wiring just in case (using 6x "D" Alkaline cells):
Solder driver and test one more time (again using the Alkaline cells):
I have not cleaned yet the excess thermal epoxy in these pics, but it is now almost ready:
Final step was to sputter some of the OEM plastic reflectors (inspired by forum member darkzero, who does a fantastic job on this process). I have been practicing some, and they are getting better and better (some dust on the reflectors while taking the picture!):
Here is the final shot of the reflectors once installed on the 1xD and the 6xD:
Will
 i really cant wait till i get them delivered!! thanks for your help,videos and photo during and after:thumbsup: