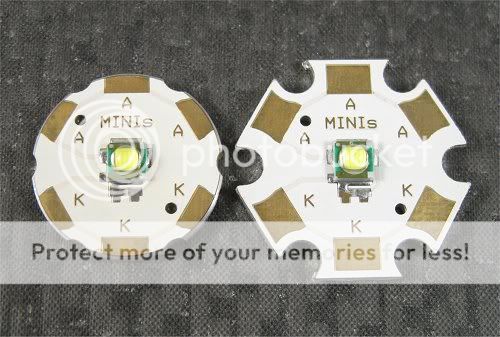
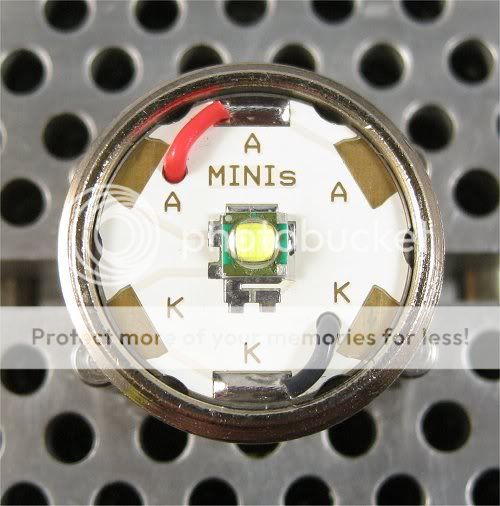
Turning a mounted led

Thanks for the reply, I'm sorry I should have posted a pic from the get go. http://s457.photobucket.com/albums/qq296/Wraytex/?action=view&current=r5.jpg

As you can see I'd just chuck up the rear of the sink, and you can see the board just slightly overhangs the sink tower, I'd like to trim it down flush. Is the arctic alumina epoxy strong enough to allow some fine shaving down of the board or will it send the thing flying?
 
Is the arctic alumina epoxy strong enough to allow some fine shaving down of the board or will it send the thing flying?

Yes but the MCPCB will fall off if you're not careful. Take light cuts to keep heat to a minimal & less strain on the epoxy. Use a sharp positive rake insert/tool if you got it.


Img_5540.jpg


Img_5558.jpg
 
What I would try :
- chuck the LED in the tailstock
- mount a plate on the headstock instead of your chuck, stick double sided tape on it
- approach the tailstock until the LED is sticking to the headstock plate tape, centered
- untight the tailstock chuck but leave a compressive force that will keep the LED against the plate. Pressure is then only on the MCPCB, not the emitter n
- machine the MCPCB without touching the plate of course...

Wouldn't that work?
 
light cuts and you wont have a problem, I have done this a couple times and AA epoxy held up fine.

If you don't have a lathe you can figure a way to attach the sink to the chuck of a drill (duck tape maybe?) wrap some sandpaper around the area to be shrunk (holding it loosely) and slowly turn the drill (sanding) the board until its flush with the sink. Just don't knock the emitter.
dsc01543jt.jpg
 
Thanks for the replies, i had so little to take off i just chucked the heatsink in the 3 jaw and turned it down little by little and it took no time. Spc that's a nice sink, is the switch built in?
 
I have been successful in turning down a few MCPCB's loaded with LED's. My solution is to use an emergency collet with a shallow bore that accepts about half the thickness of the MCPCB in its present diameter. The face or rear of the MCPCB seats on a flat at the base of this bore and provides backing and alignment. I then turn half of the MCPCB down to the desired diameter. I then chuck up the MCPCB by this new smaller diameter in a collet of proper size and proceed to turn down the other half. There may be a seam of formed or still un cut metal but this can easily be removed with a file and you have a good final dimension guide to go by. I hope this explanation made some sense.

If you need to do a number of these and if there are any mounting holes or lead vias that you can put a small screw through, you could use an emergency collet initially bored to hold the MCPCB on center and then with the MCPCB seated in the collet, proceed to drill and tap some mounting holes using the MCPCB as a guide for these holes. Once you have your mounting holes, you could face off the emergency collet and turn it down so that you would have access to MCPCB for reducing its diameter as it remains in place by virtue of the mounting screws.
 
Top