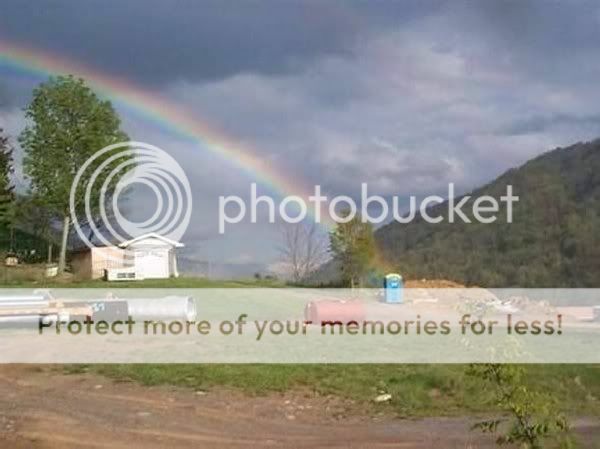
I learned about rainbow photography by trial and error when I lived in Honolulu, Hawaii - there are brilliant rainbows nearly every day there. Here are some useful pointers.
1) Use a circular polarizer. The light from a rainbow is strongly polarized. If you use a polarizer to favor the rainbow, everything else will be reduced in brightness, which makes the rainbow seem brighter in comparison.
2) Reduce exposure (manual exposure compensation) by about 1 F-stop. If the color looks washed out, reduce exposure some more. The rainbow is brighter than the rest of the frame, and if you are reaching 255 on the RGB pixel values, the rainbow will start turning white in the brightest areas of your photo. "To get more color, reduce the amount of light getting to the sensor."
3) I like to use the in-camera "vivid" setting for creating JPEG files in the camera, but I also save the RAW file in case I blow the exposure. You'll have to experiment with your camera to determine what works best for you. On my Nikon D7000 I find that Vivid +1 or +2 is plenty. Vivid +3 is just too much for most subjects.
4) Stop down the lens to get everything in focus - use a large F-stop number (5.6, 8.0, 11.0) if you can. This will make everything look sharper (increased depth of field), and it will also make the rainbow look more solid due to slower shutter speed. A high shutter speed will tend to make the rainbow look grainy because each raindrop will appear to be frozen in midair.
 D7K_2559
 by
A_Super_Guy, on Flickr
Rainbow at the base of Yosemite Falls


 lovecpf

